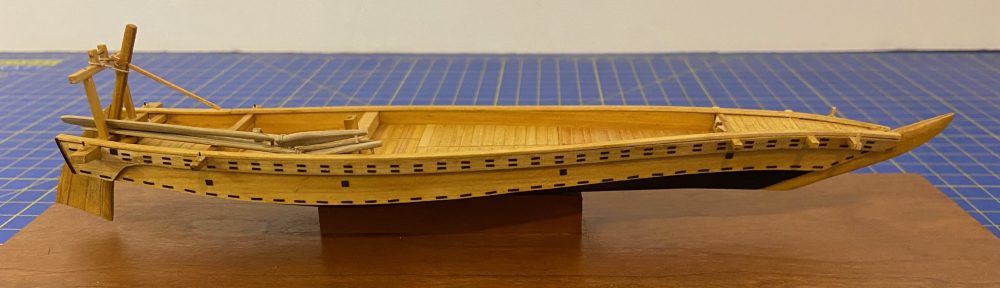
Yet, another brief progress update, so soon after the last one. It seems I’m having fun and feeling more comfortable with the changes I’ve been making on this new Woody Joe kit. Here, I’ve gone through test fitting the box structure shell and then seeing how well it will mate with the lower hull.

The clamps are there to hold the two parts together tightly, so I can see exactly how well the walls will sit on the beams.
I’m kind of thinking now that it might have been a better order of construction to add those beams just before the two sections glued together. But, the fit seems okay.

The biggest problem I had was handling the box structure. The instruction have you leave the door panels in place – I assume for strength. The problem is that every time I picked up the structure, my thumb would pop a door loose. I now have these walls glued to the box structure’s framework, and I don’t think any of the doors remained.
Below, you can see the fit of the walls on the beams. In this photo, you can see that they’re close, but not quite where I want the fit to be. This is about as good as it’s going to get in this area, as the fit is much better closer to the ends. We’ll just have to see if there’s some way I can minimize this apparent gap when I get further along in the build.

Finally, here’s a test fit of the laser-cut external framework piece. Laser-cut design certainly makes this type of construction very easy.

By the way, on the real Atakebune, through those open doors, you should probably end up seeing the sliding wall panels of the samurai living spaces, probably quite decorative. They would form a kind of central structure, probably with a floor plan similar to the castle structure that will go on later.
The castle museum model is a little bit light on detail, so this is similarly light, and probably there would be wooden covers for those firing ports on the top deck. There were also likely similar ports across that middle band as well. But, I think any available information on such firing ports may all be just guesswork.

The fit here looks very good – much better than I’d anticipated.
The one thing yet is that the main wall pieces are very thin, and there’s a little minor warpage around the doors. So, I think I’m going to reinforce those areas with some vertical wooden strips on the inside. They may actually not be necessary with the laser-cut frameworks glued to the outsides, but I’ll do it just to be safe.

How do the doors open? I assume they drop down/pull up.
LikeLike
Good question. While most museum models of the smaller Atakebune show doors that drop down, the large model that Woody Joe’s kit is based on has double-doors. I assume a ramp would have been extended from the openings as needed. However, the Woody Joe kit has ramps. I haven’t decided what to do yet, as my model is primarily an attempt to more or less replicate the museum model. I’ll be bringing up this topic soon.
Thanks for asking!
LikeLike