
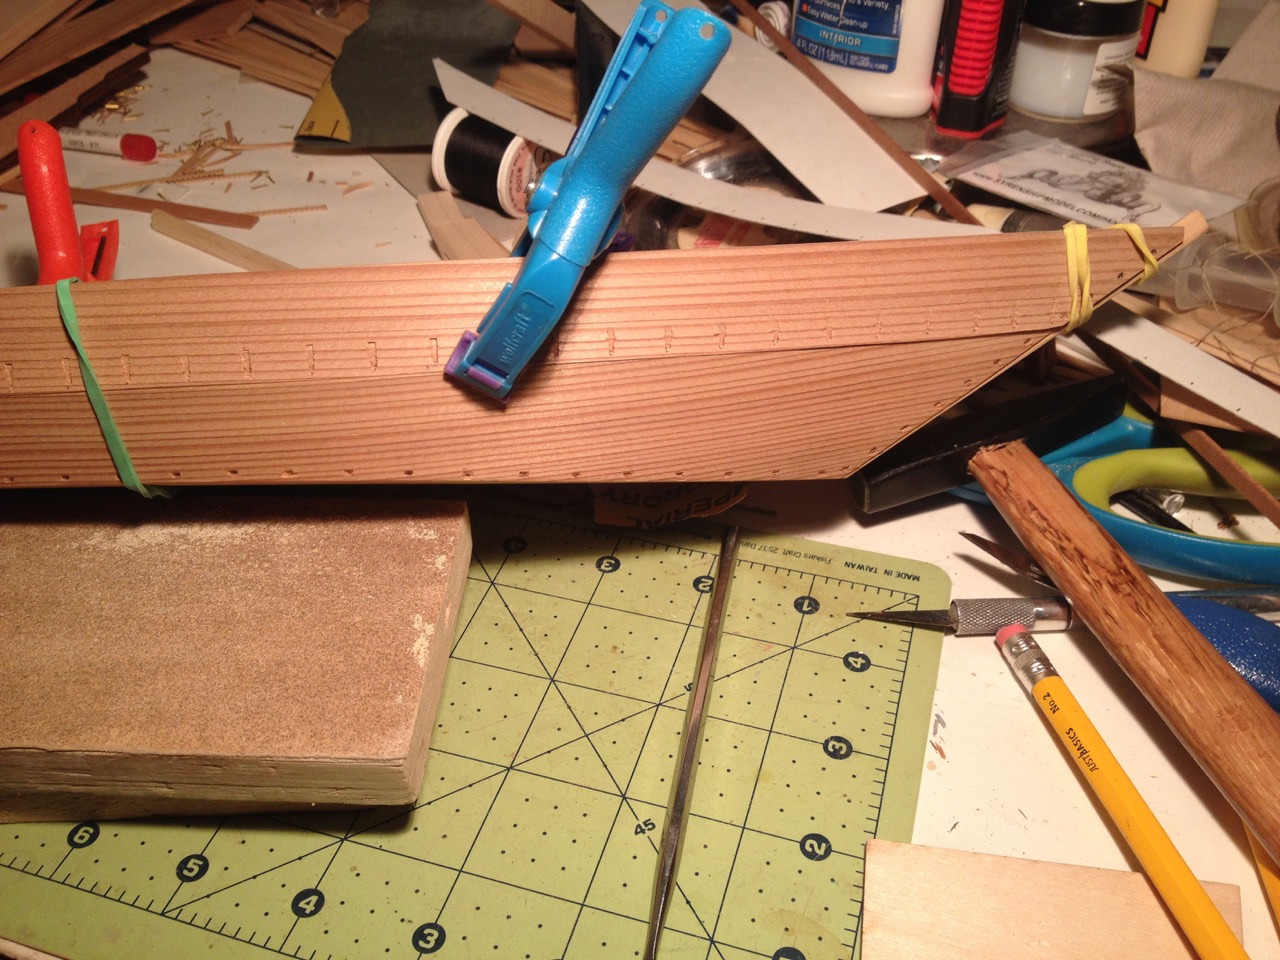
After shaping the transom, or todate, and completing the test fitting, I glued the lower planks, or kajiki into place, using Original Titebond wood glue for gluing everything together. I prefer this glue, as it sets up quickly, and is easily cleaned up with water. Also, Japanese cedar shows CA glue stains very easily, where yellow carpenter’s glue does not. Everything was held in place with clamps and rubber bands, as I described in my previous post.
It was critical at this stage too make sure that the stem was perfectly straight, as the pressure from the clamping can impart a twist. The stem extension of the framework mold helped out a lot here, giving something to which I could clamp the stem, or miyoshi.
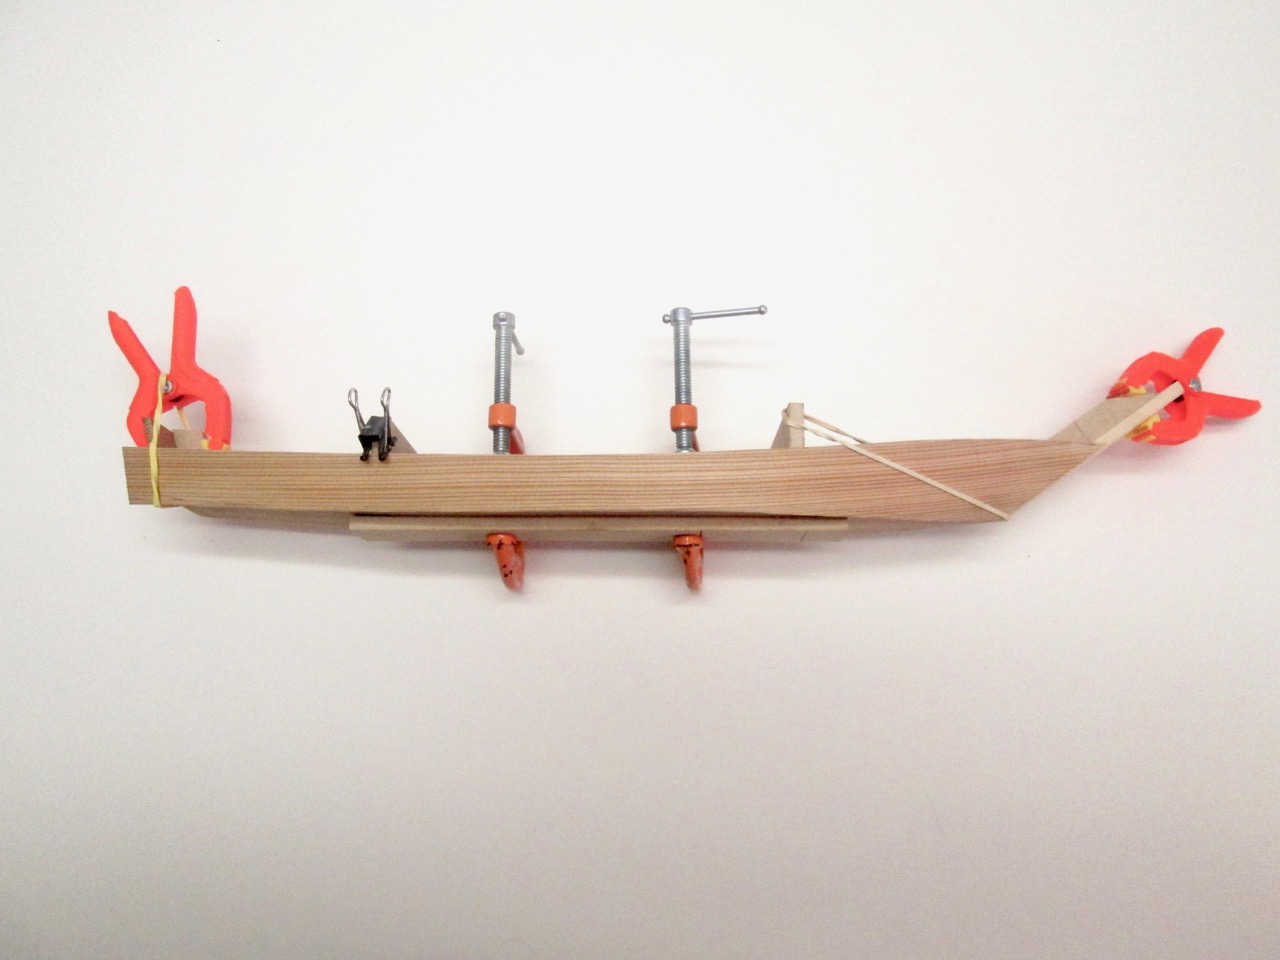
Once the glue had set up, the boat was now very stable and easily worked on. The bottom edges of the kajiki were trimmed flush with the bottom of the boat, or shiki.
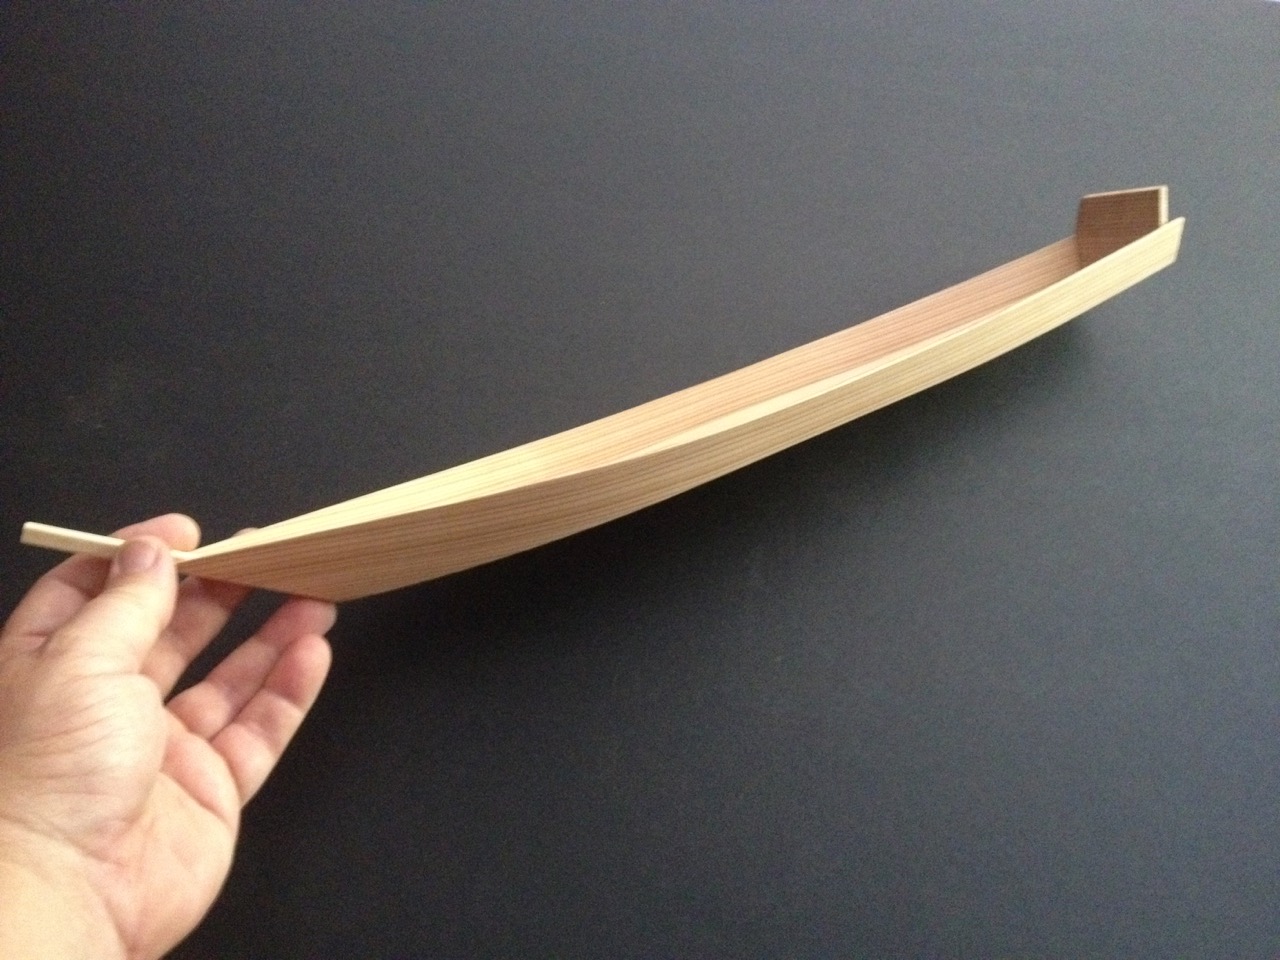
One thing I eventually realized is that these planks are just a tad too short. When you look at the back of a Bekabune, you can see that the planks need to make room for the great beam, or ōtoko, at the stern.
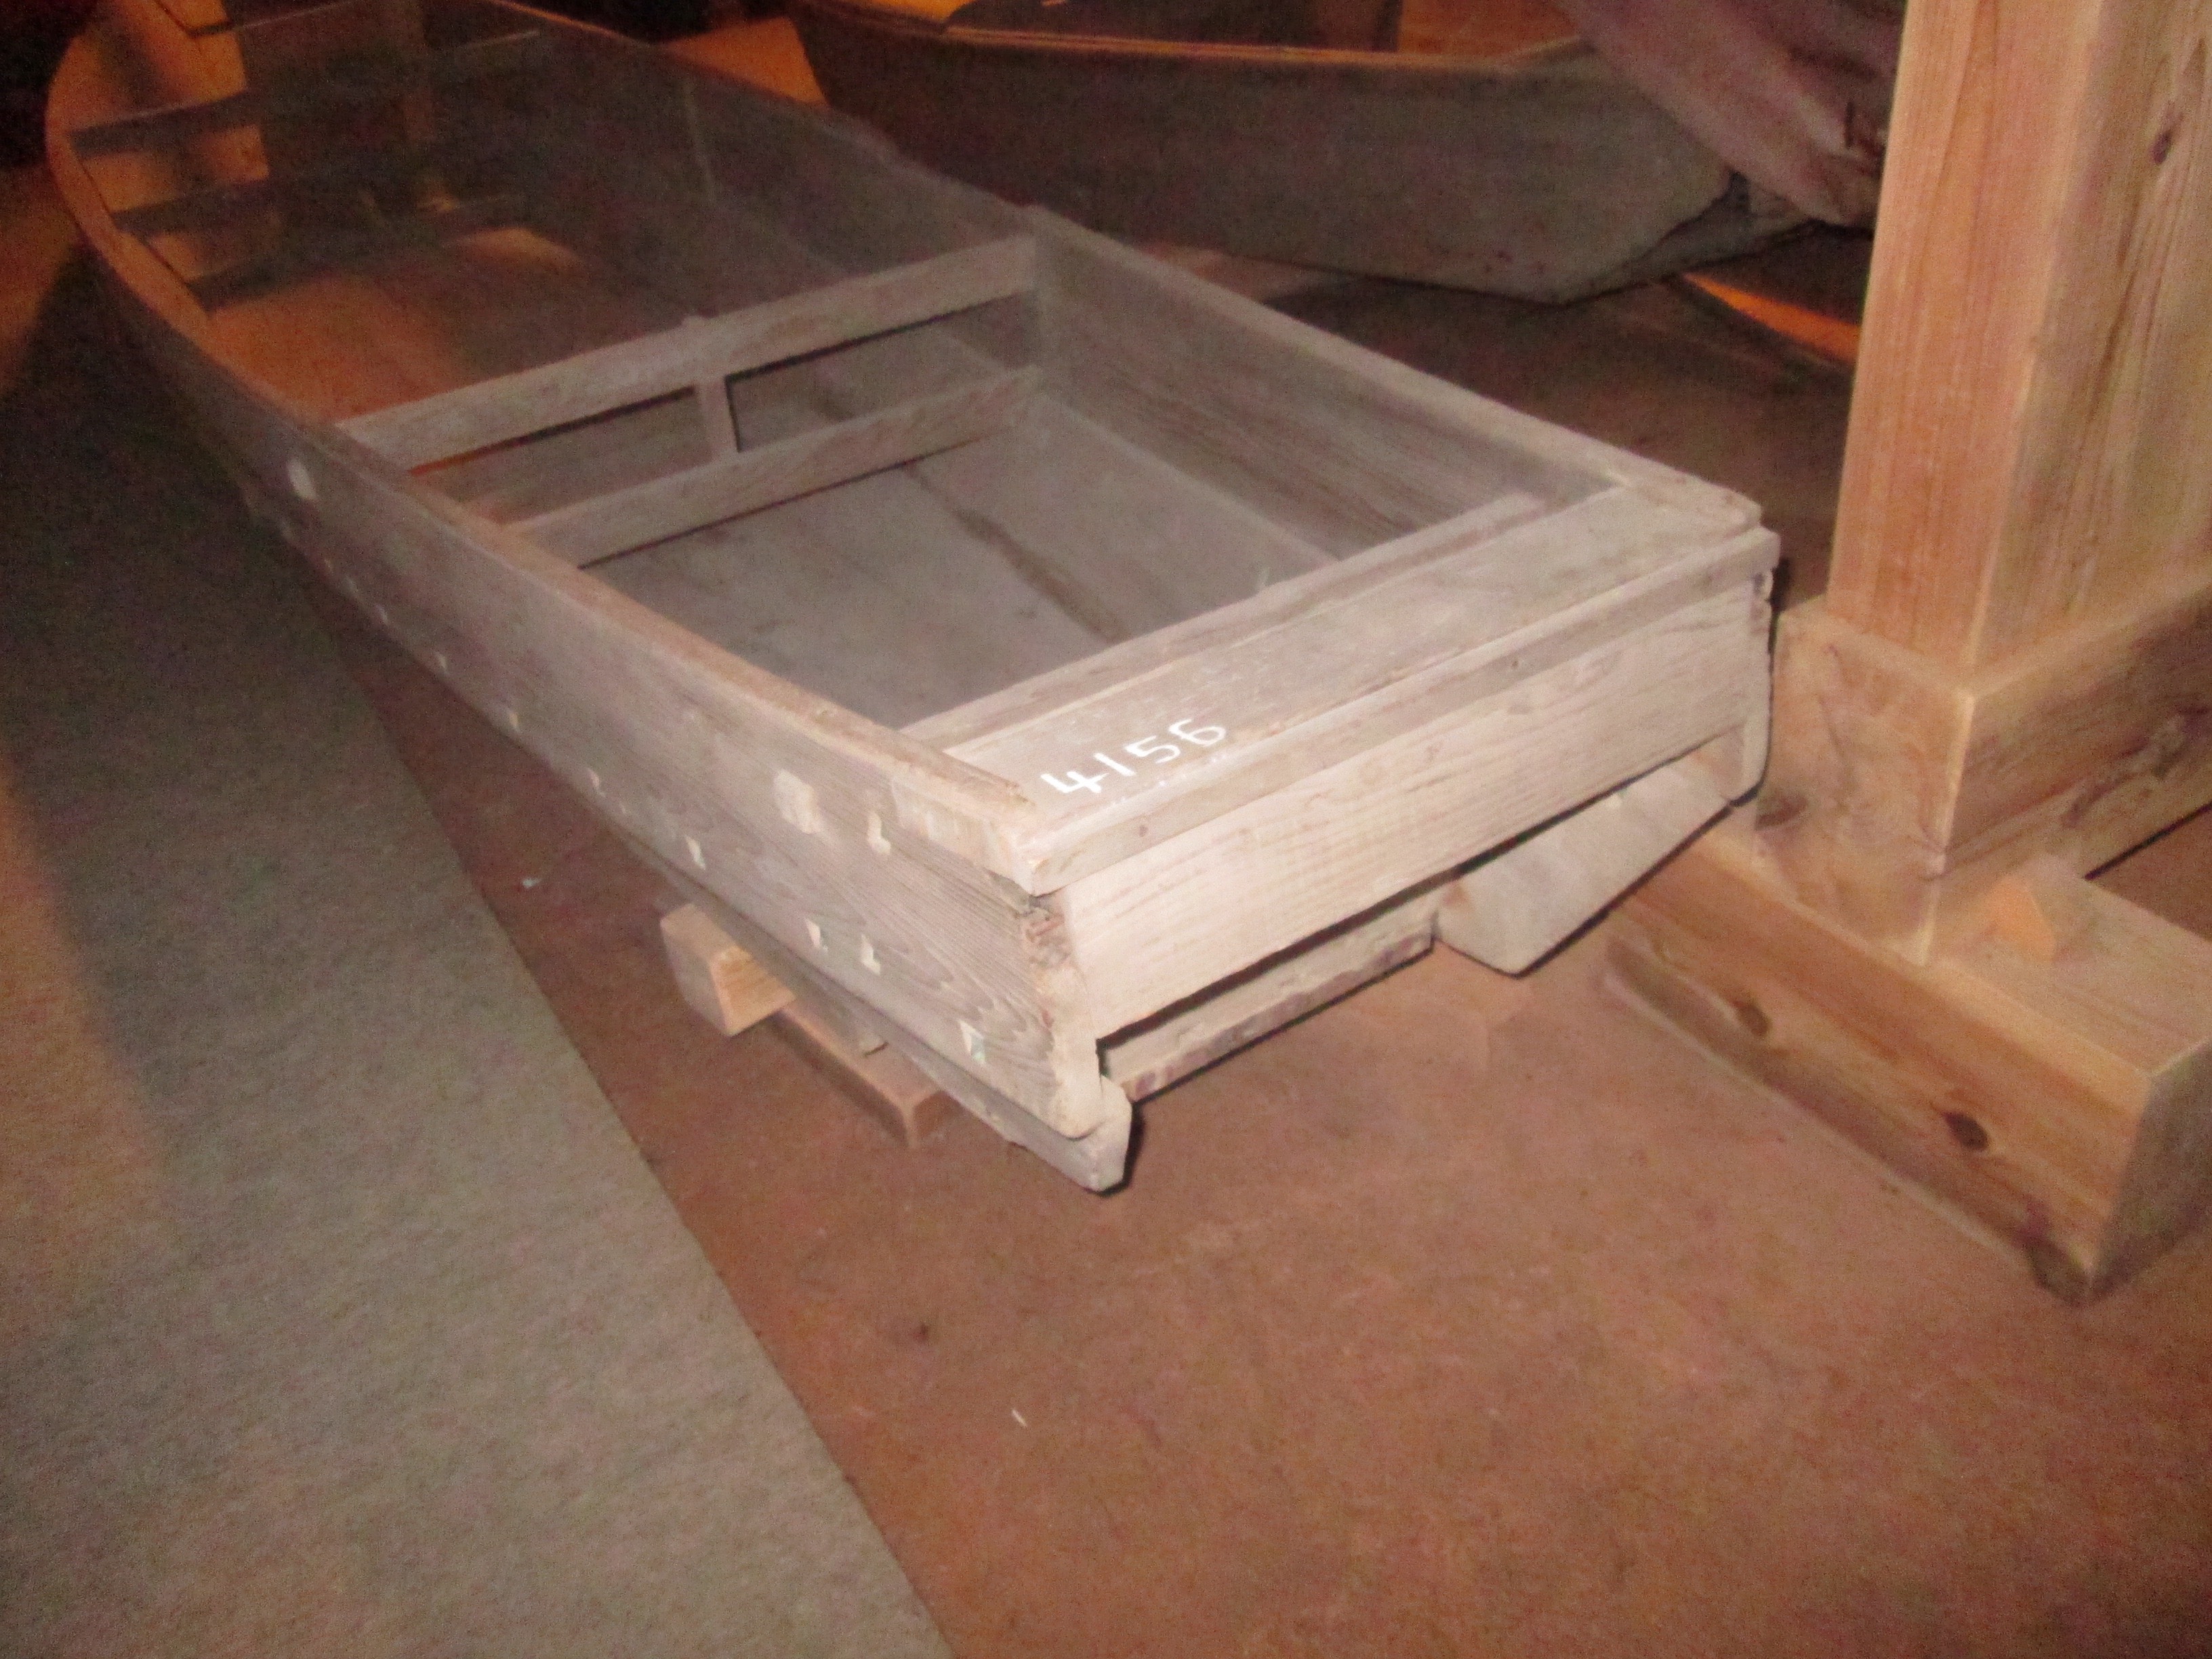
A different style of bekabune in the wasen collection at the Toba Seafolk Museum, but the stern is similar to the Urayasu boat.
With the planks now in place, I started working out the shape of the upper planks, or uwadana. This was done by taping a piece of heavy stock paper to the hull and tracing the shape of the top edge of the lower plank onto it.
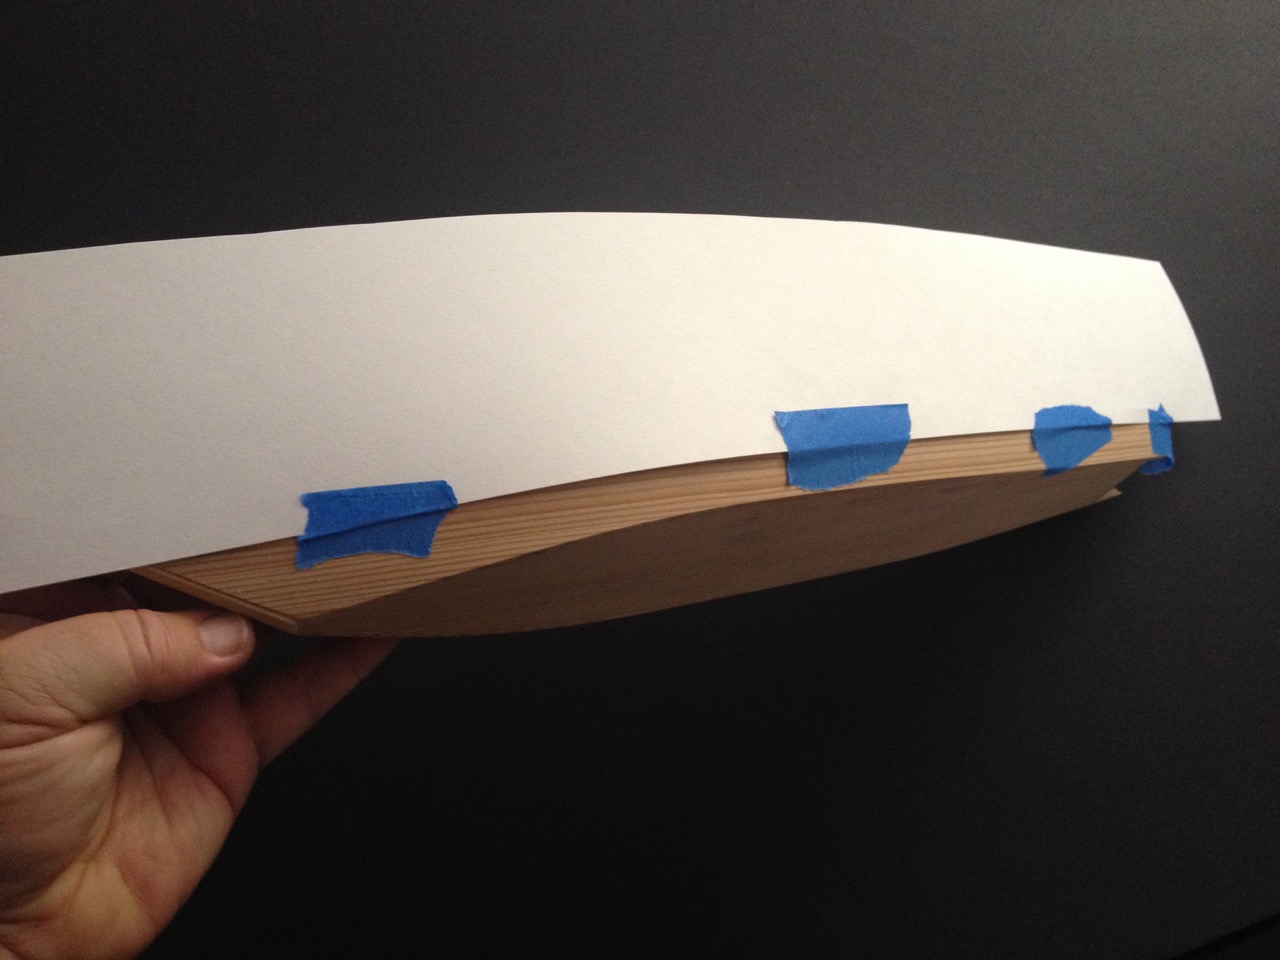
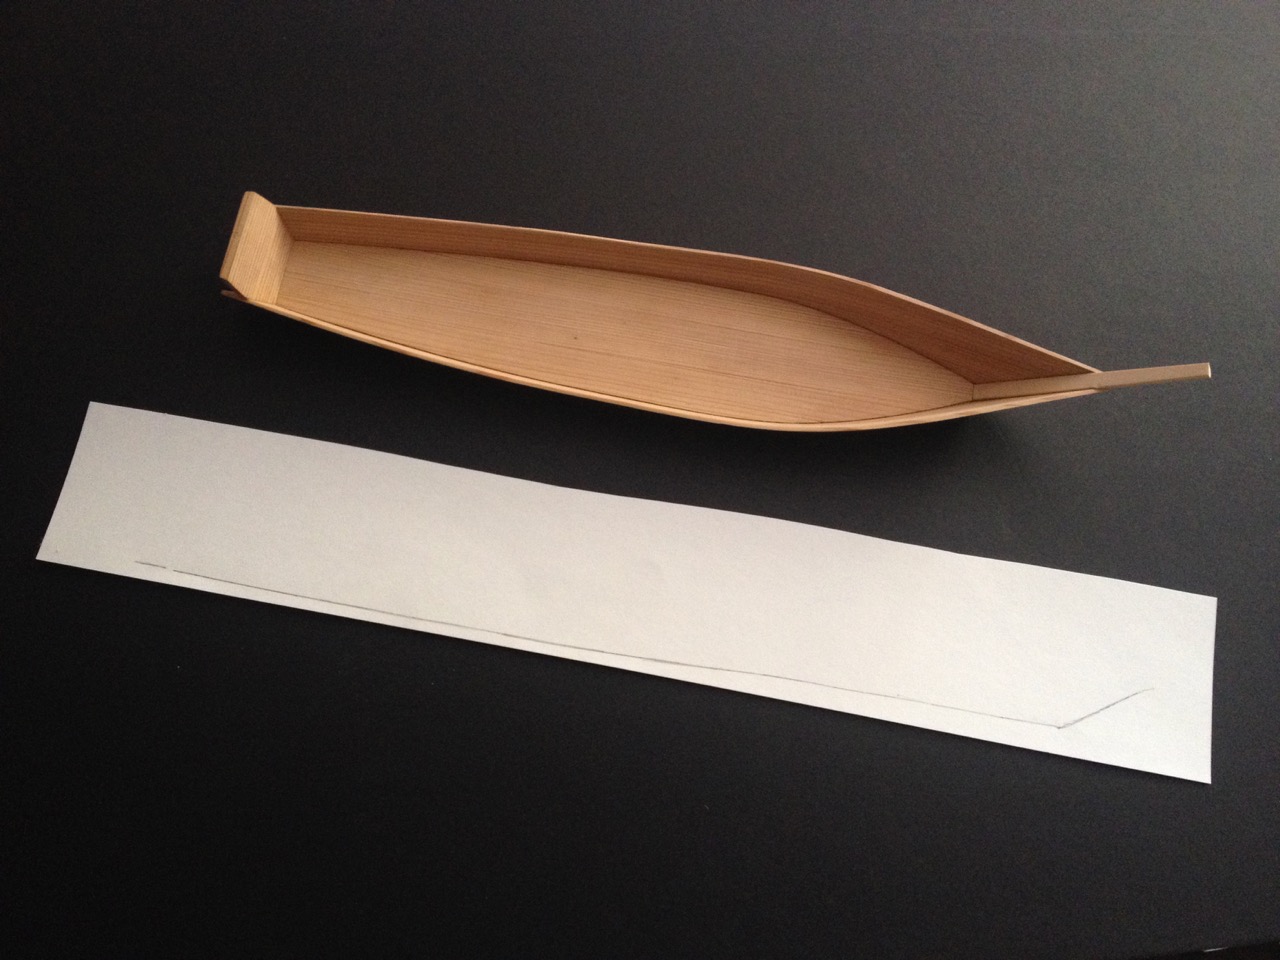
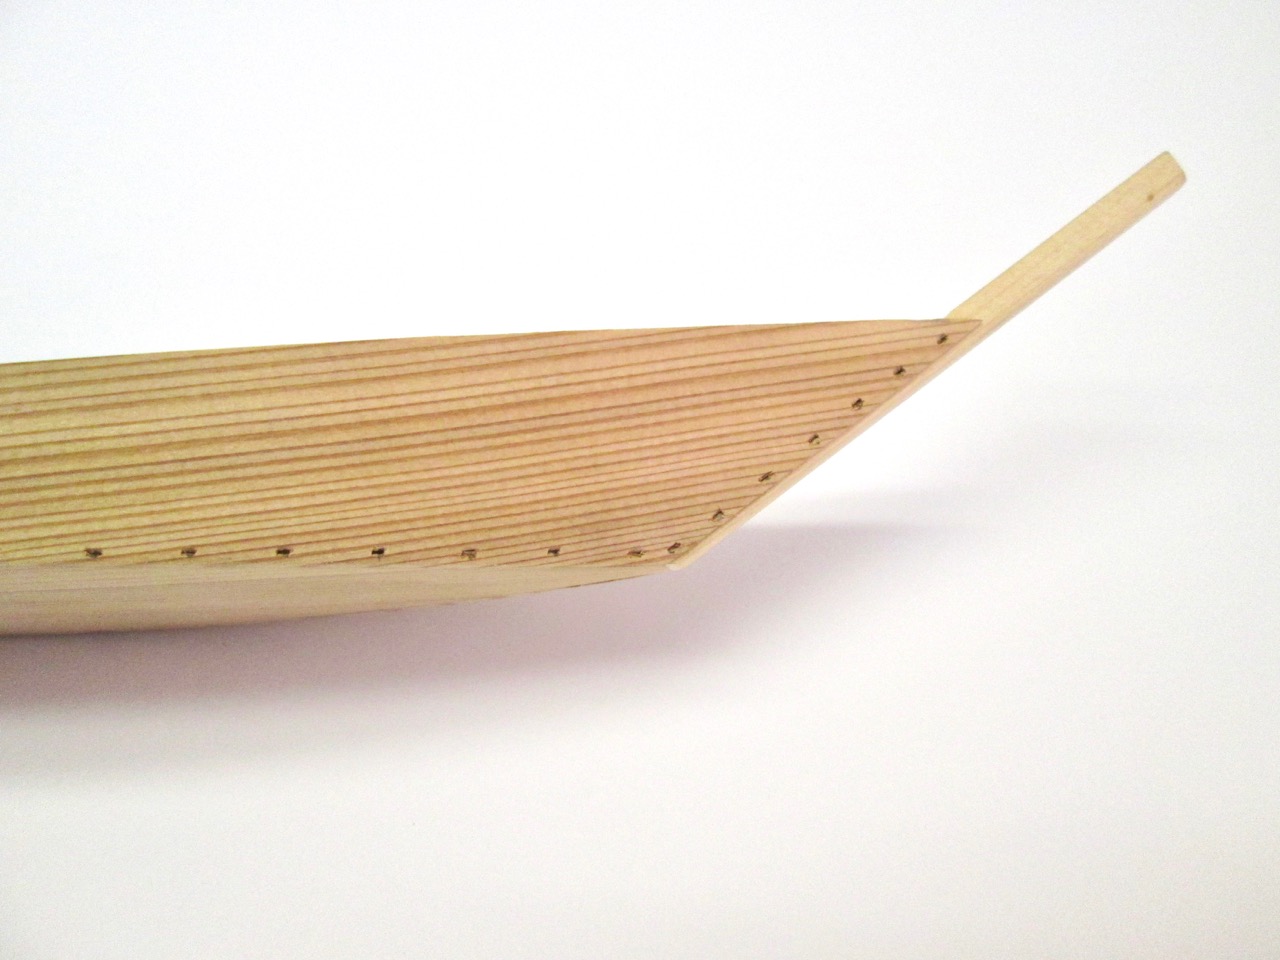
The line gives a shape that’s still approximate and some final shaping of the lower edge of this plank needs to be done. But, before continuing, I took the opportunity to add the simulated mortises to the lower planks. I couldn’t do this before, because I didn’t know where the final edge of the plank would be until I added it into place.
For this job, I used a very small, very sharp Japanese chisel. Working with the grain of this wood is very difficult at this scale, as the dark lines in the wood are very hard and the light lines are very soft. As a result, it’s very difficult to cut those holes very straight – the cut wants to follow the path of the softer part of the wood. After this was done, I could get back to the business of shaping and fitting the upper planks.
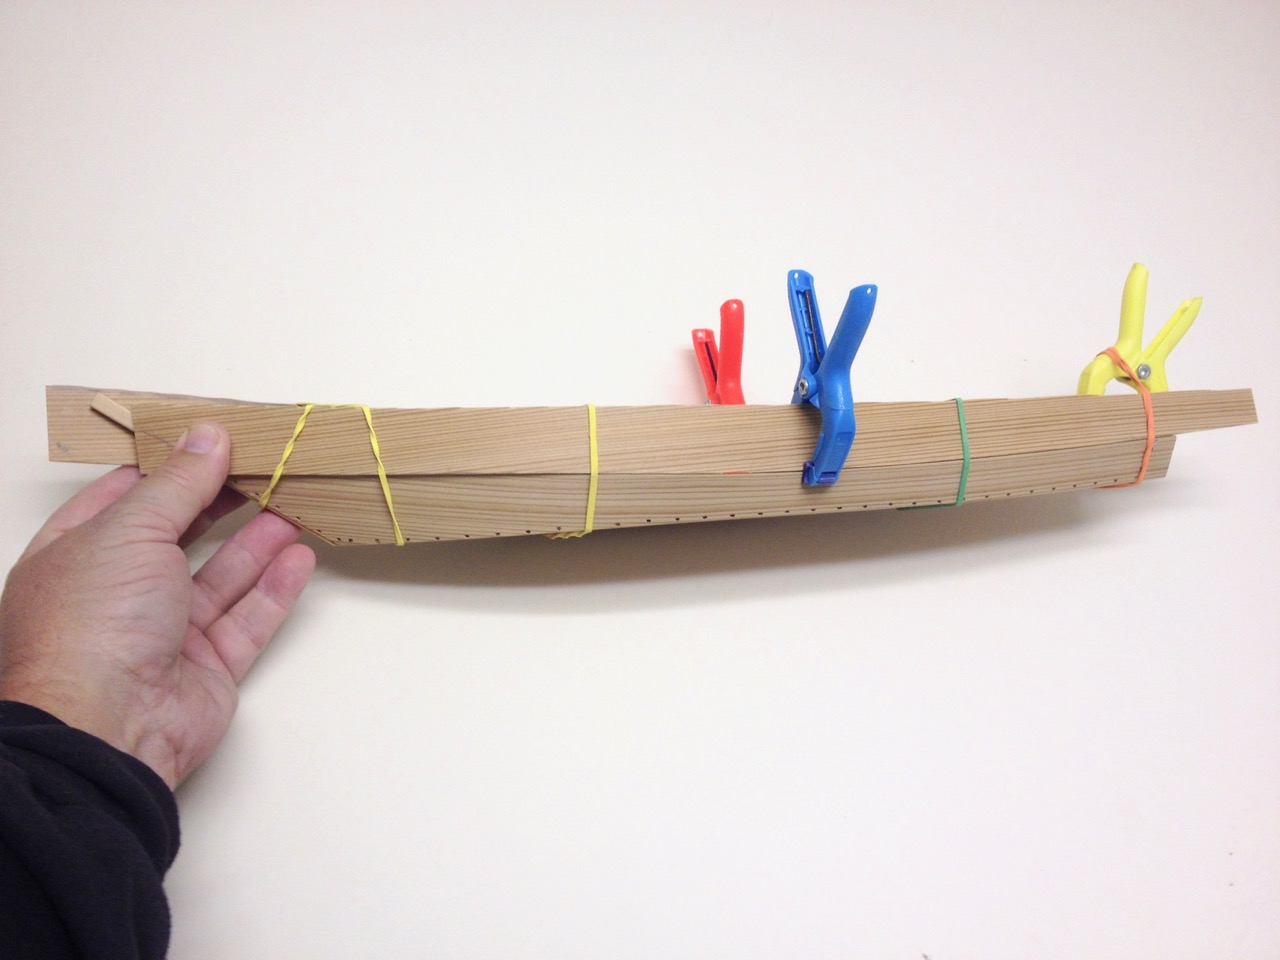
In order to make a good, tight fit between the upper and lower planks, I had to fit them together, look for gaps in between, sand or trim down the contact areas slightly, and recheck. This process had to be repeated many times. Then, once I got to the point where the fit was good, I could mark the final lines for the shape of the bow..
Below, you can see how the planks were clamped into place as the seams between planks was check, sanded, and then re-checked.

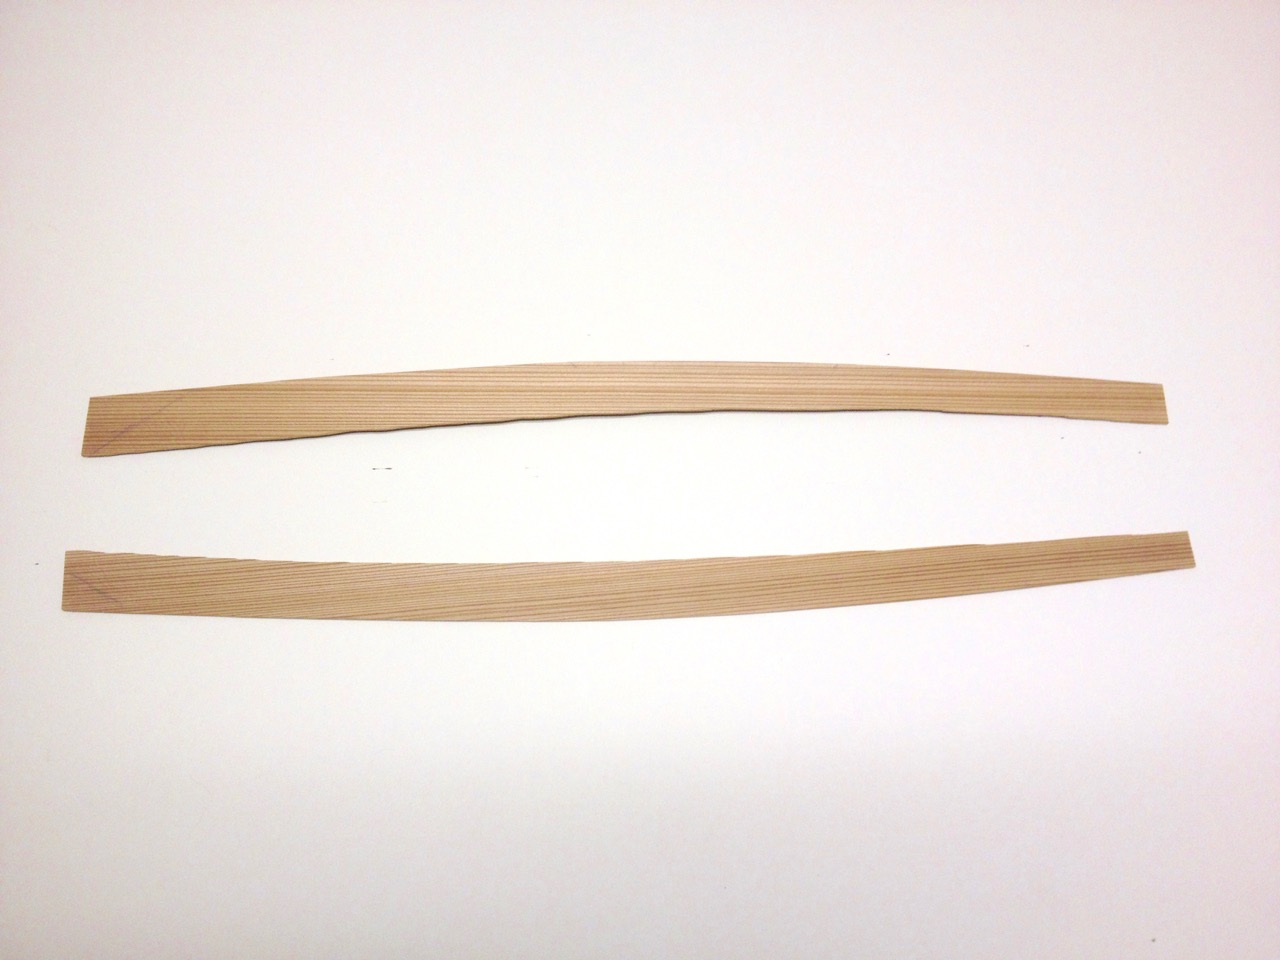
 The final shaping was done to the planks and the shape of the bow end was traced onto them. The planks were left a bit too wide until the final shaping could be done. Then, finally, before adding the planks, I used a metal tool I ground down to create something of a wedge shaped stamp for the simulating of edge-fastening mortises in the upper plank.
I’m not entirely happy with how this tool worked out. Basically, I lined up the tool and tapped it lightly with a hammer, stamping an impression in the wood. This seemed far easier that cutting out each one, as they are very narrow. Perhaps on a future model, I’ll try cutting or chiseling out each one. But, I’ve only seen this kind of mortise on the bekabune.
The final stamped plank, fit into place and ready to be glued.
