
With the uwadana (ウワダナ) cut to shape, there was still the process of giving them a perfect fit, so there’d be no gaps between the planking. In real Japanese boatbuilding, according to Douglas Brooks, this would involve sawing in the seam in a process called suri-awase. In my case, it’s mostly sanding where the planks touch, until the planks touch all along the length of the seam.
To make sure I was consistent on aligning the planks, I drew a small pencil mark to register the proper positions.

Once I was satisfied that the fit was good, I glued and clamped the planks into place. I used yellow carpenters glue. I know instant CA glue would be easier, but it will soak into the Japanese cedar too easily. And, since I’m not going to be applying any wood finish, the glued wood would stand out like a sore thumb.
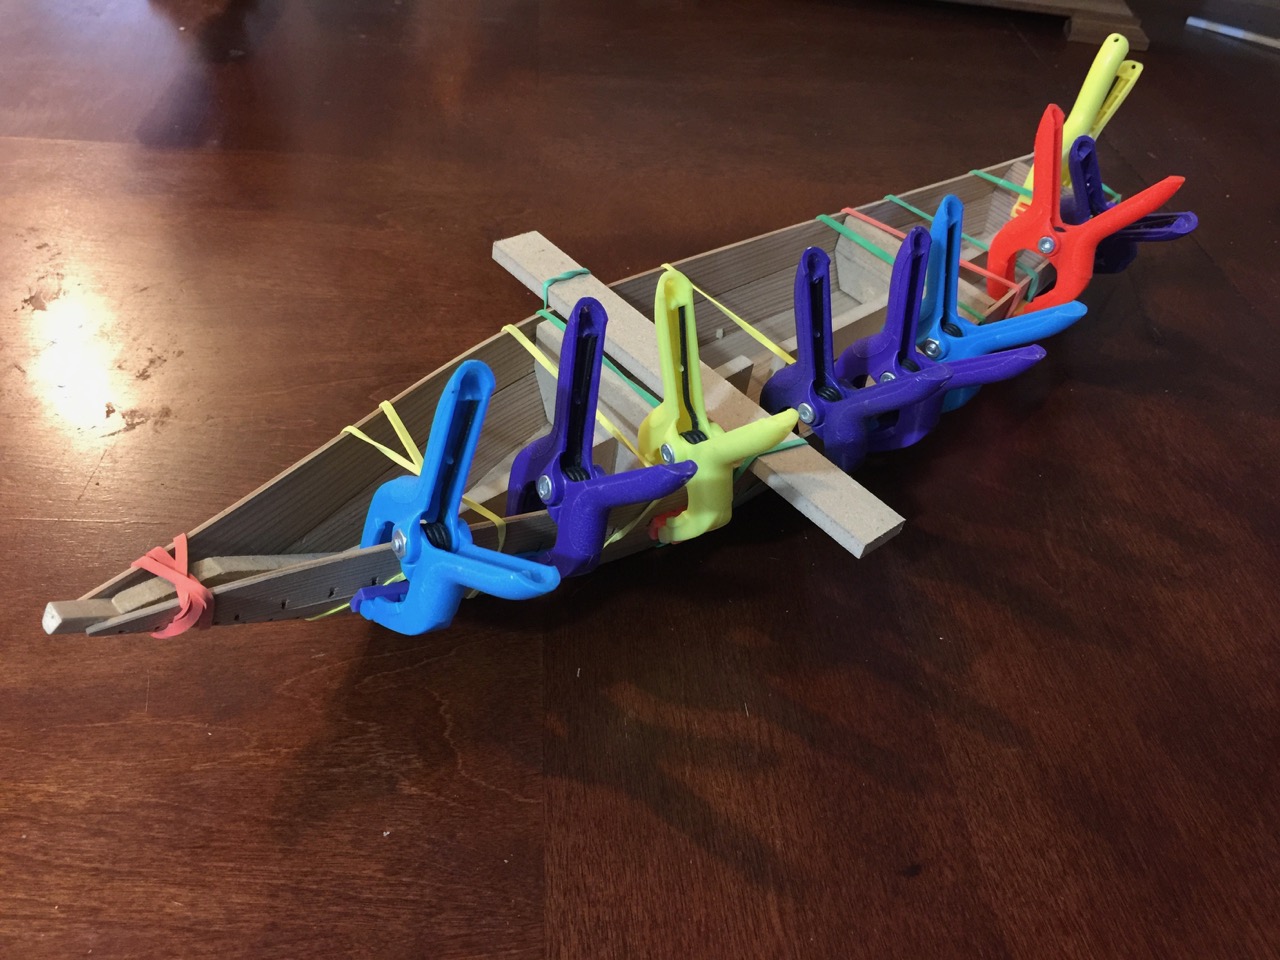
Clamping the planks into place was something of a challenge, as the planks are edge-fastened to the lower planks on the real boat. Pressing the plank edges together required the use of rubber bands and using a piece of wood to provide leverage. I had to place the one shown at the position of on of the hull formers (bulkheads), where it wouldn’t deform the shape of the boat. The plastic spring clamps helped to keep the planking in alignment, and also held a little pressure between the planks.

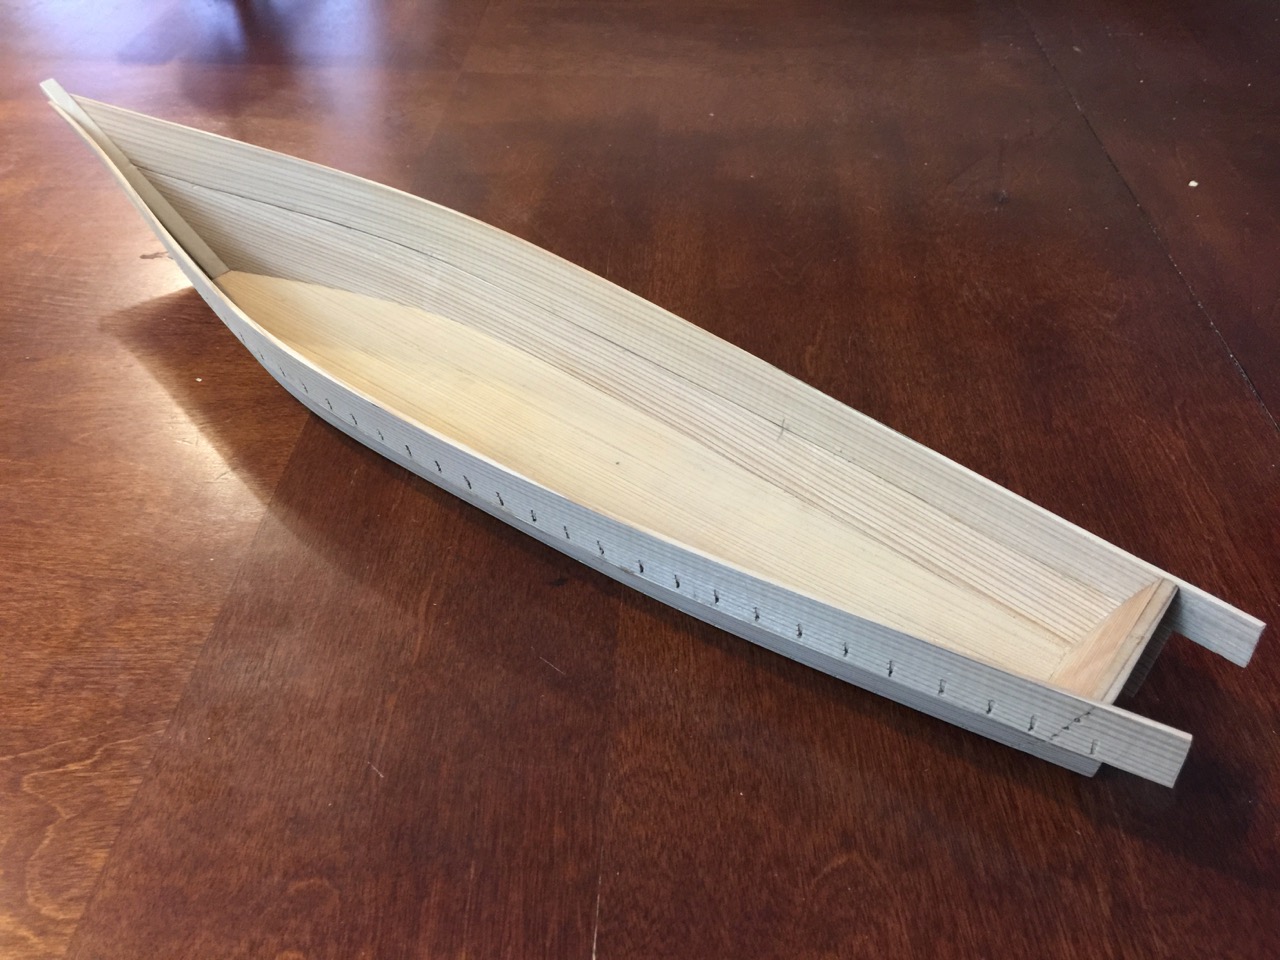
Once the glue was dry, I went over the inside of the seam and ran some diluted glue in some spots, where the fit was less than great. Then, I sanded the interior lightly, letting the sawdust fill in the seams. Note how the upper planks stick out well beyond the lower planks. The lower planks should have been just about 1/4″ longer to get the proper shaping of the stern, but this will do.
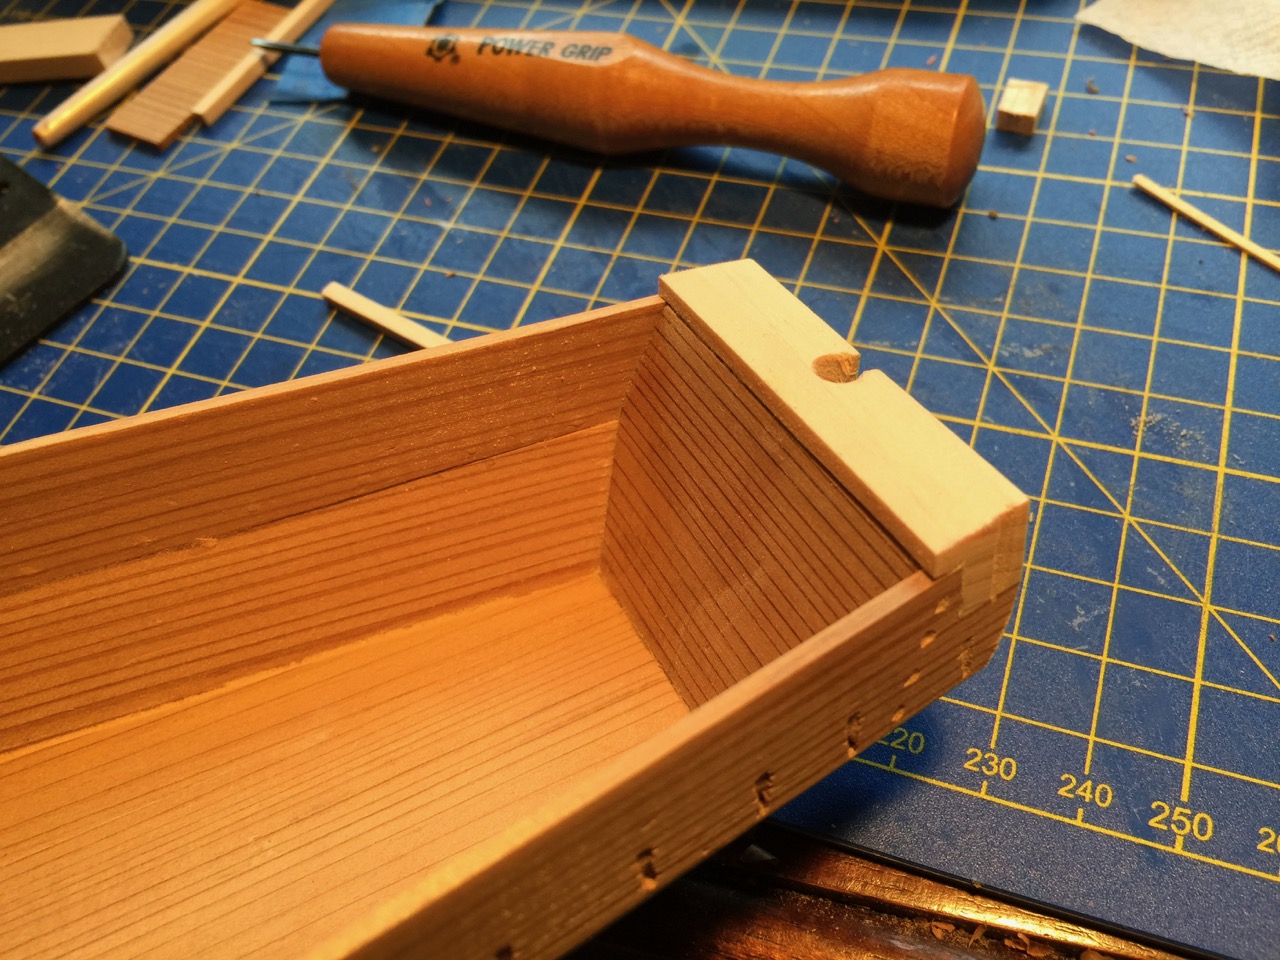
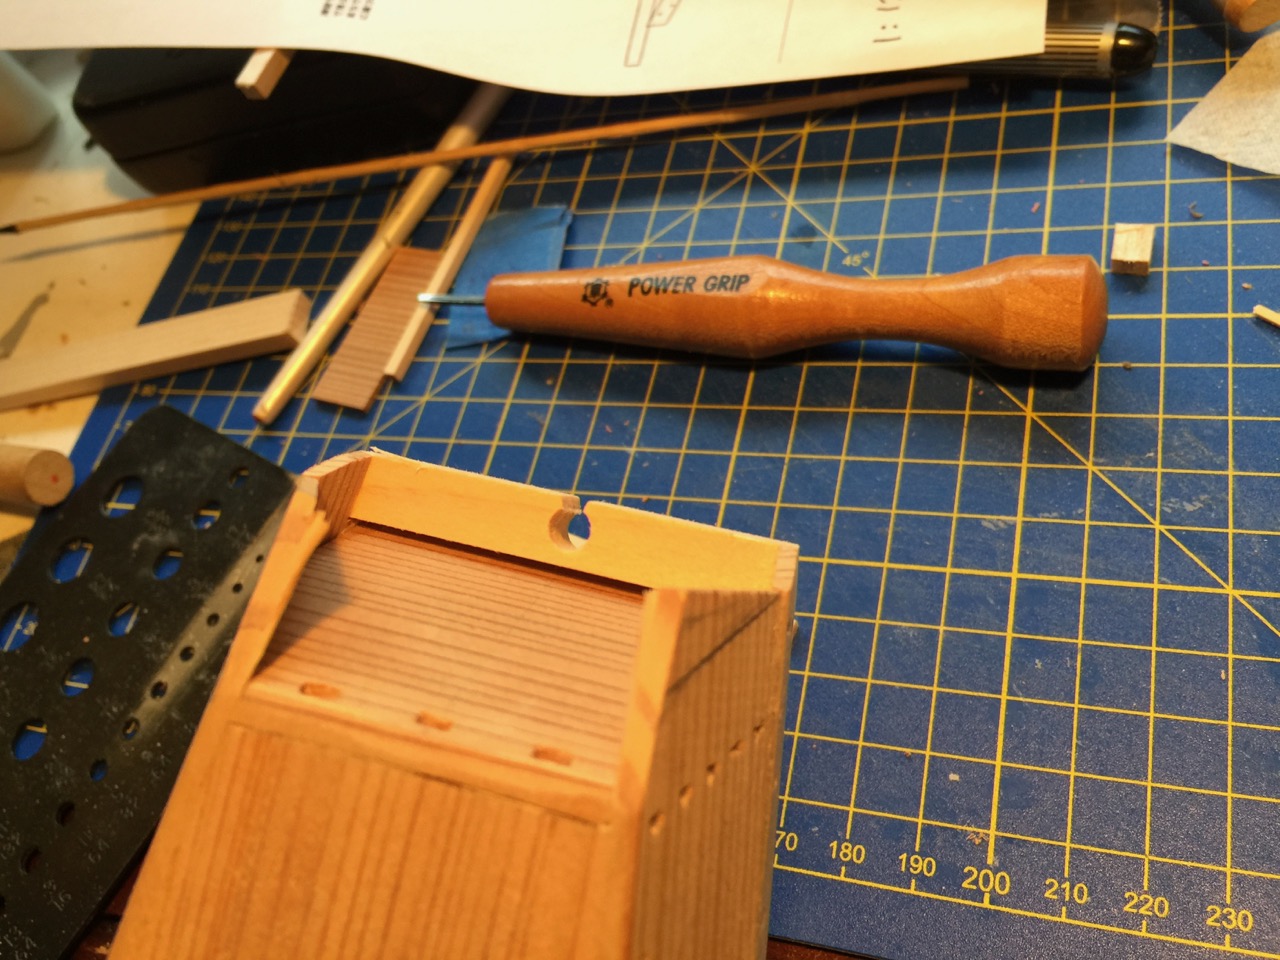
I cut a piece of hinoki for the ōtoko (オオトコ), or great beam at the stern. This was essentially a square cross-section piece, but it had to have a notch cut out of it, so that the top of it would overlap the todate (トダテ) or the transom bulkhead.
It also needs to have a hole cut into it for a rudder, which could have been fitted when under sail. I used a 3/16″ drill bit for the hole. There is then a wedge-shaped notch that I cut out of the back side of the beam with a razor saw.
Note that smaller bekabune usually weren’t designed to be fitted with sails, and they did not have this rudder hole. Such is the case with the one at the Toba Seafolk Museum that I posted photos of last time.
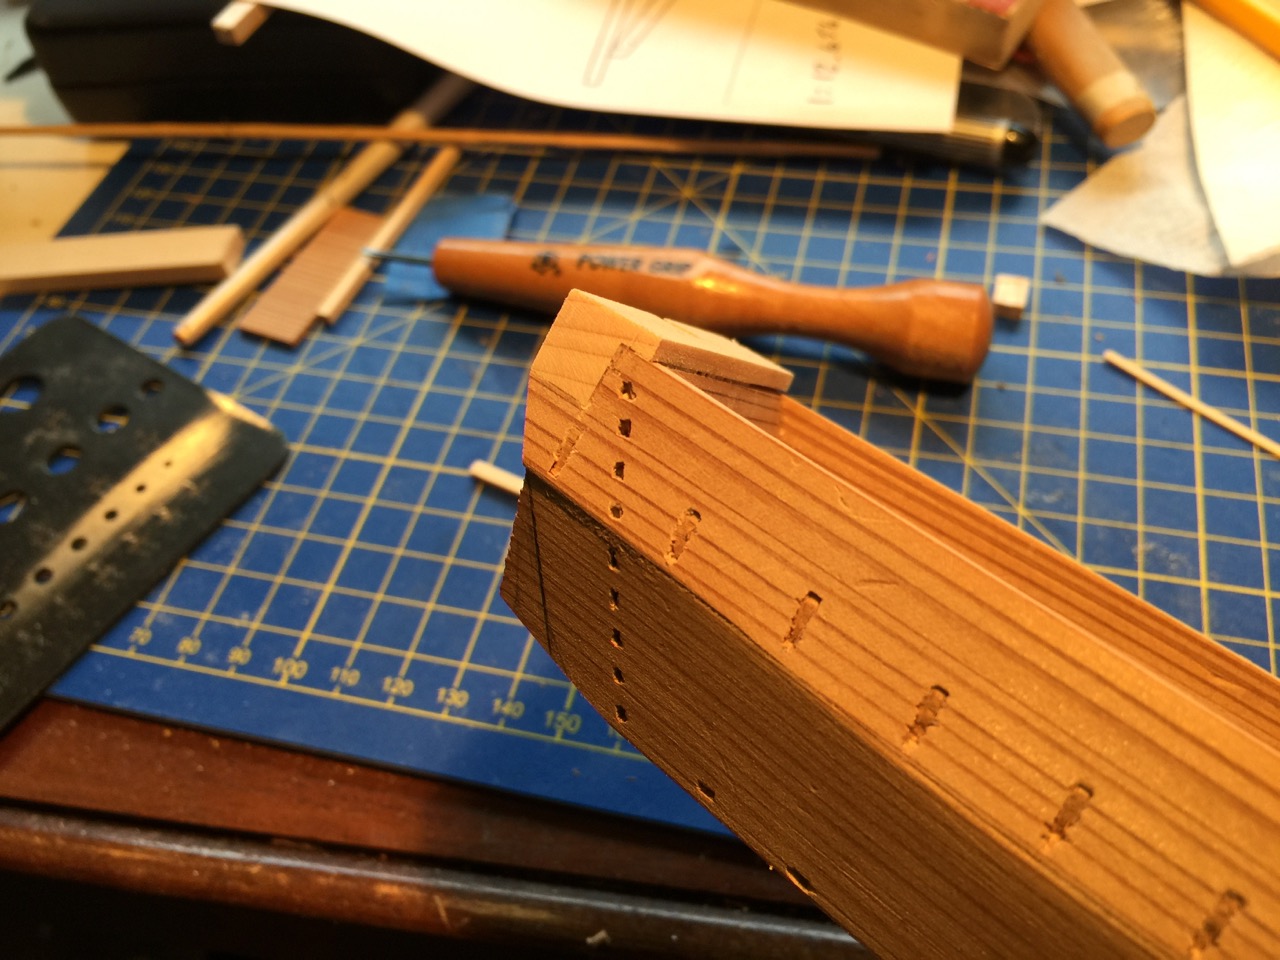
You can see in the following photos, the pencil line marking the final shape of the lower plank. The upper plank has already been cut to shape, including the section where the ōtoko is fit into place. The piece was cut to length before fitting.
On some larger bekabune I’ve seen, the rubrail, or koberi(コベリ), has a kind of fashion piece that covers the end of the beam. On this bekabune, while there is no fashion piece, the rubrail will cover the lower part of the beam end.
The next posting will begin with the construction of the beams, or funabari (フナバリ).
