
It took me a long while before I had any hull planking in place, as I considered ways to work on the model with no frames. I also wanted try to figure out a way to build the model as closely as I could to the way the Japanese boatbuilders did it, which is upright, and not on a mold. So, my model actually sat for quite a while.
When I went to Japan, in September of 2016, and visited the museum in Urayasu, I saw that the model builders there had made a special L-shaped fixture that the model rested on with the stem supported by the leg of the “L”.

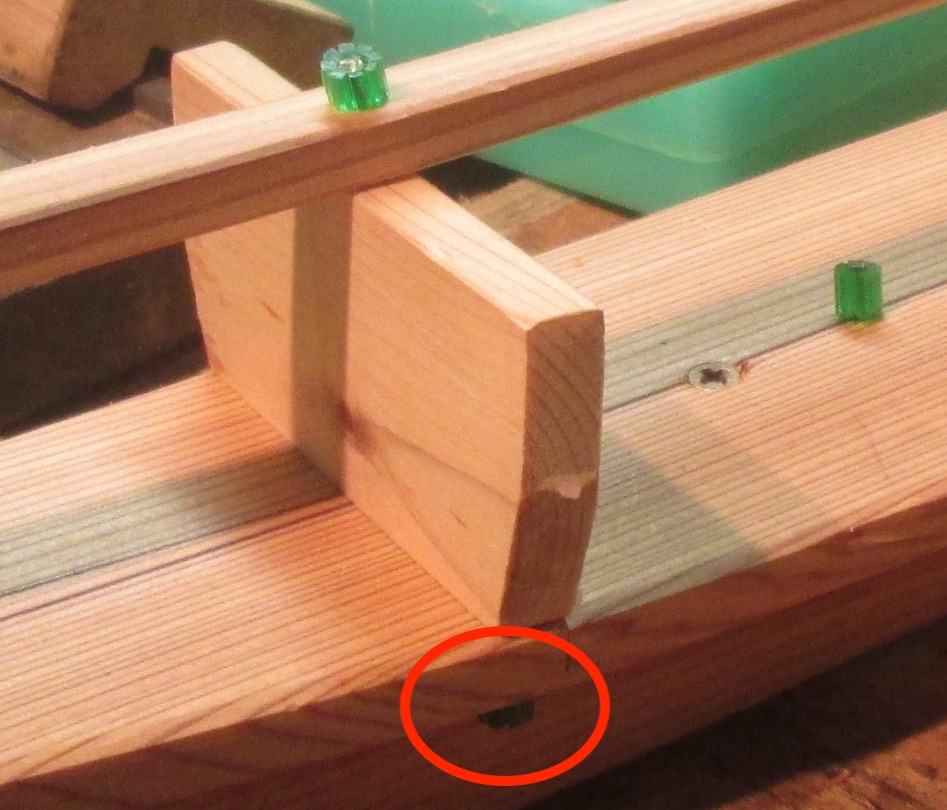
This was interesting, and I can see how it would work very well. But, in order to make it work, they ran a screw through the bottom of the hull. They also had to fasten temporary formers to the bottom as well. I didn’t notice any signs of glue in the bottoms of their models, so I’m figuring these were temporarily pinned or nailed together with nails that had a plastic grip on the ends. In fact, if you look at the zoomed-in photo below, you can see the one on the underside.
The construction method of the Urayasu model makers got me to thinking, but in fact, I’d already come up with a way to secure the model without screws and nails. The need to progress on the model was driven by the 2016 Nautical Research Guild’s annual conference. Held in San Diego in October, I’d agreed to do a co-presentation on Japanese boats and their models with Douglas Brooks.
While I’d built plenty of Japanese boat model kits, I questioned my own authority on the subject, knowing I had SO MUCH to learn. However, it was pointed out several times that what I did know about Japanese boats and models might, in fact, be more than any other ship modeler in the U.S., or at least at the conference. Anyway, my part of the talk was short, and it went fine, by the way.
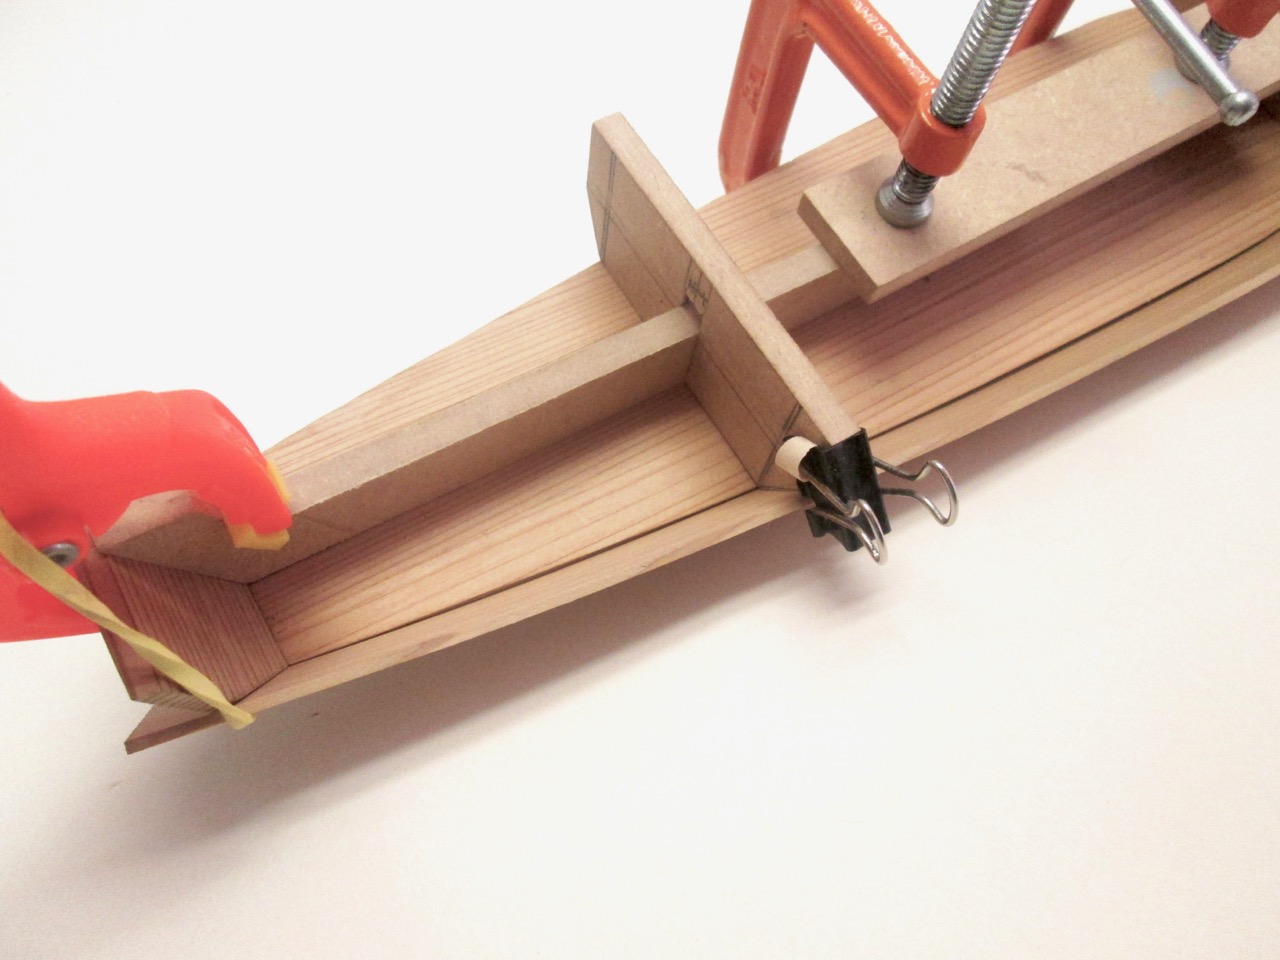
So, I did manage to come up with a method of using a floating mold to work on this model. I decided to make the mold in two sections – one forward, one aft. This had the benefit of allowing me to screw up a little on the length of the model and not having to redo the mold.
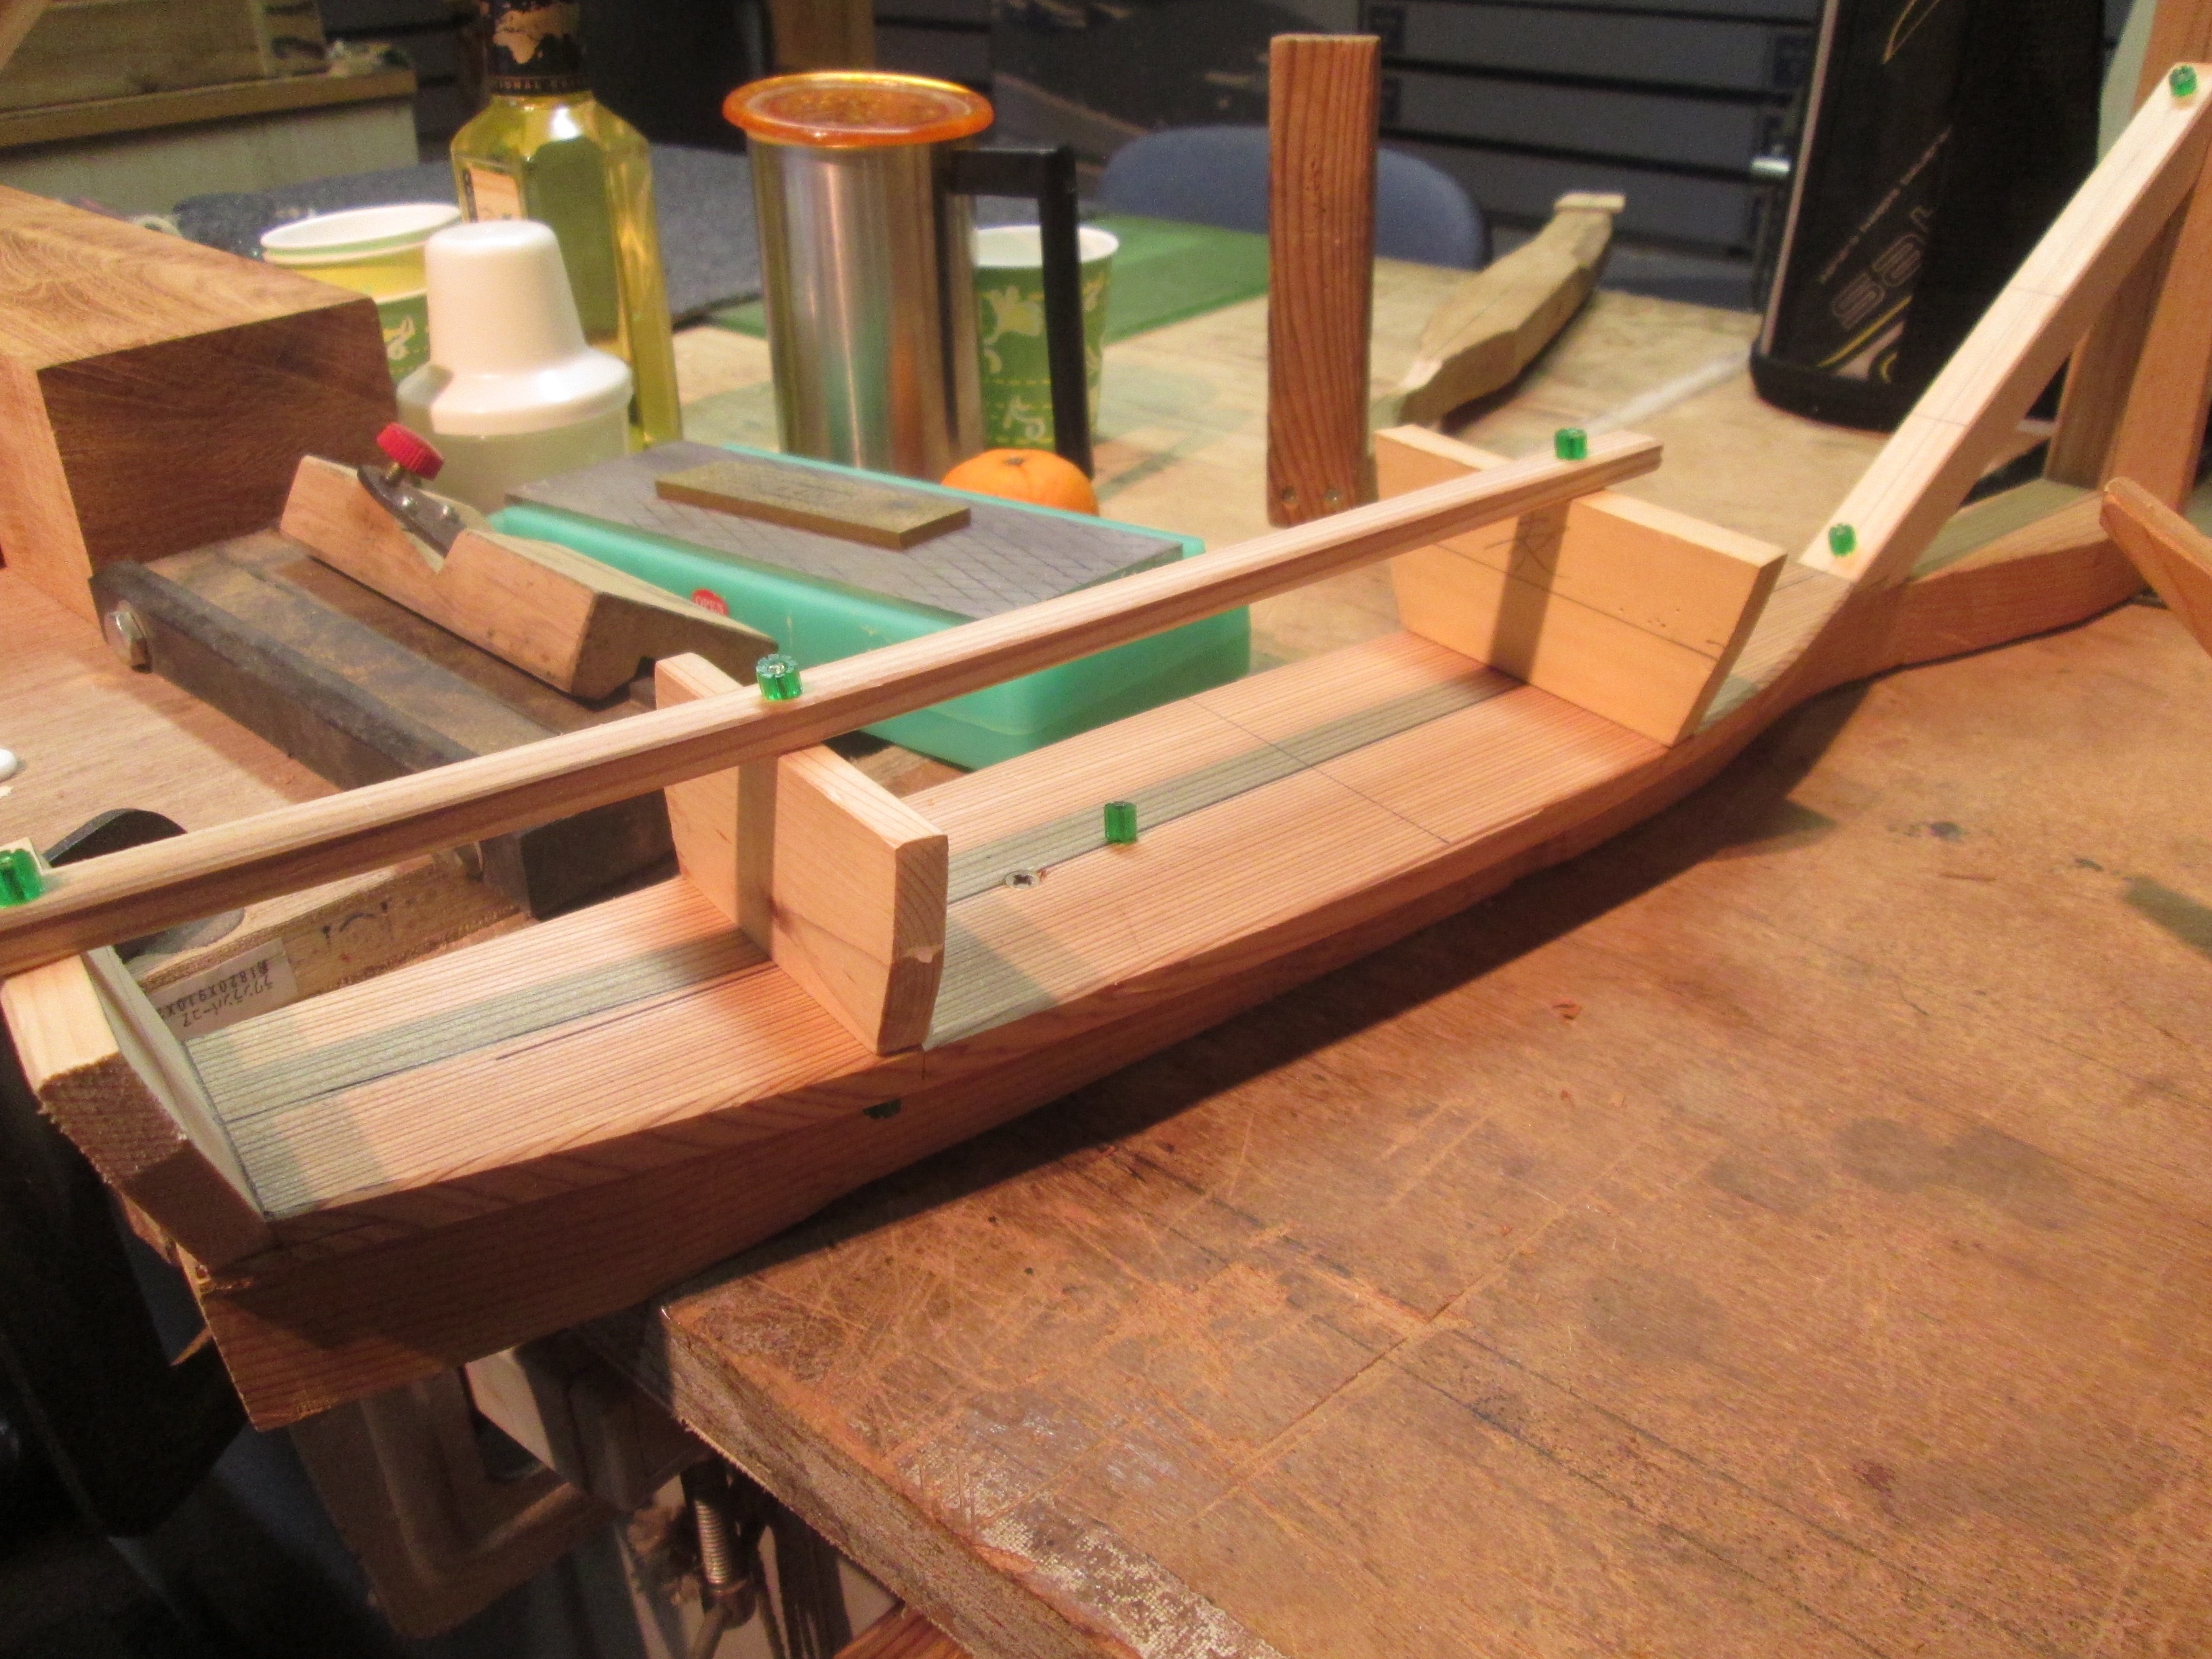
So, I took the assembly from my Japanese boatbuilders workshop diorama and set up the new mold using clamps and rubber bands to hold everything together instead of screws and pins or nails. I had to be very careful with the clamps as the sugi and hinoki woods are soft and easy to mar. Still, the mold needed to be held very securely to the shiki or hull floor, so I used C-clamps for the main body, but use a strip of scrap particle board in between.
This method was definitely a bit flimsy, and I’ve since upgraded to a more stable method, but it worked. As you can see, I have a piece of wood in place on the starboard side of the hull for the kajiki, or garboard plank.
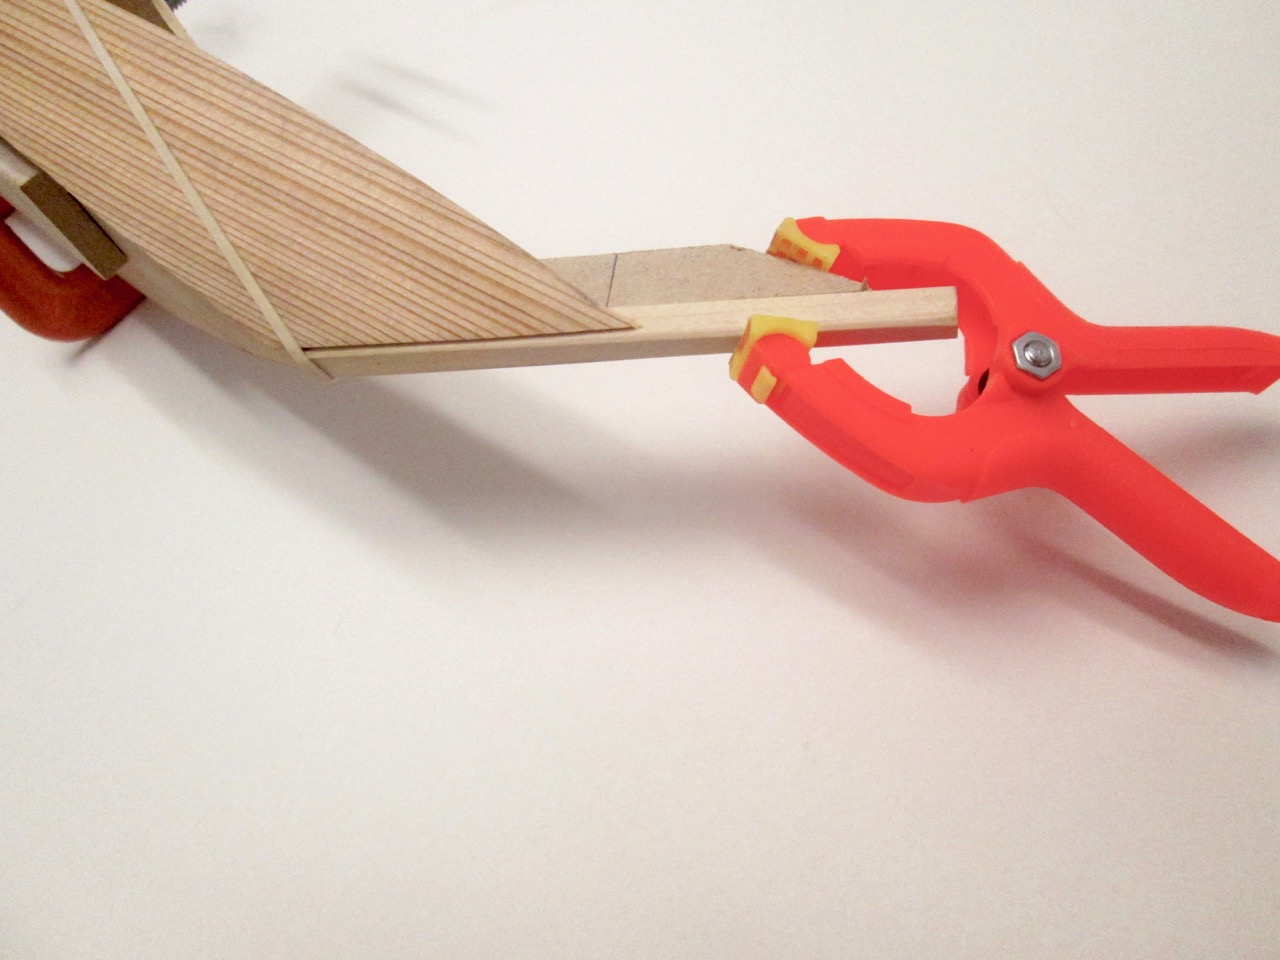
I actually began by using a piece of cardboard in place on the hull, and traced along the hull bottom in order to derive the proper curve. I then used measurements of the width of the plank from the drawings I had, and marked the points on the cardboard. Afterwards, I used some ship’s curves templates to draw the upper edge of the plank. This became the template from which my first planks were shaped.
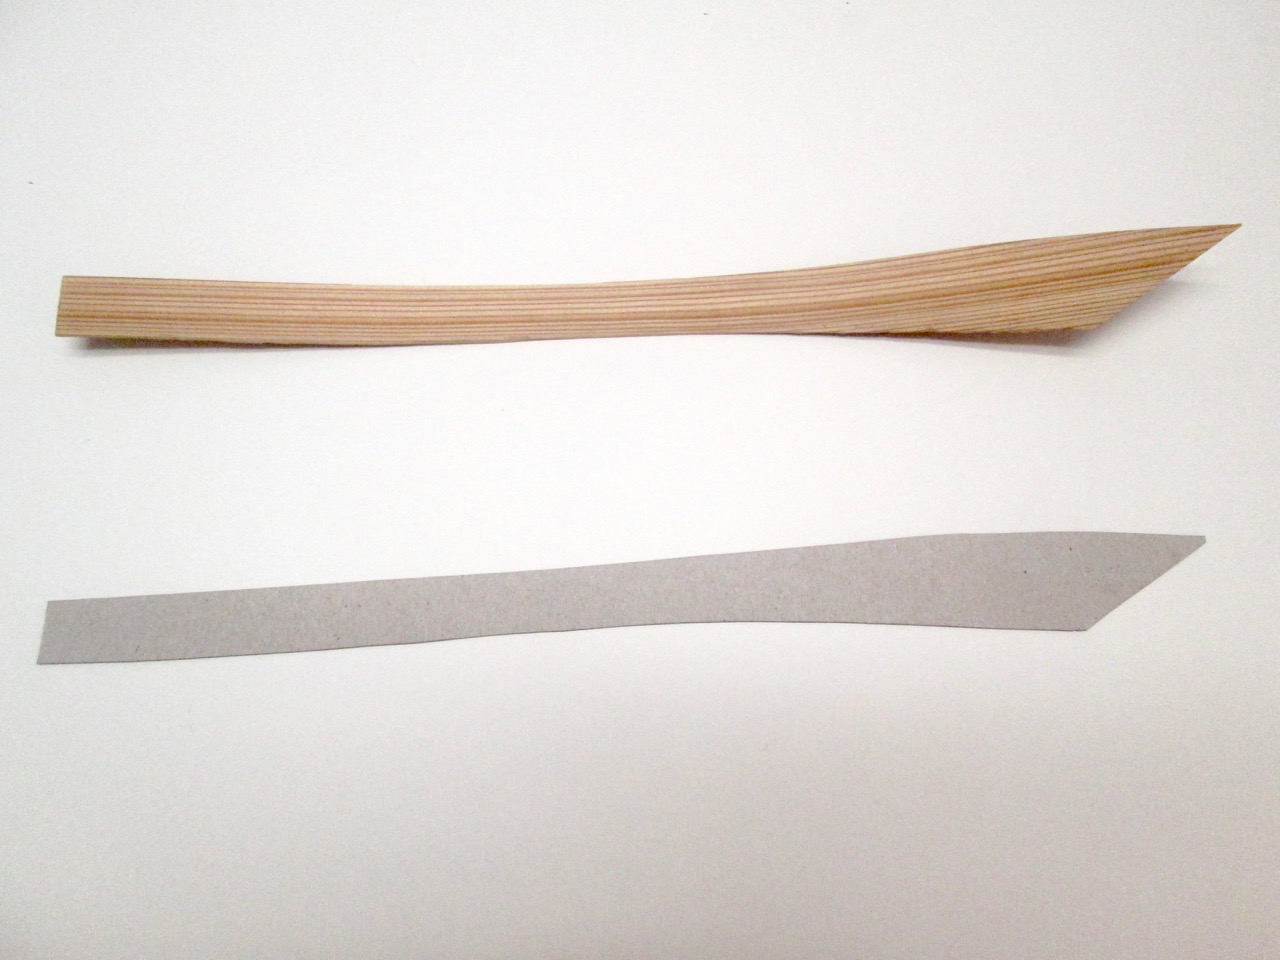
You may notice a slight difference between template and plank. There is some distortion as I had already begun to bend the plank to shape when I took this photo. But, I also erred on the side of caution, as I didn’t want the plank to be too narrow or too short.
A Note of Caution: As it turned out, I did end up making the plank just about 1/8″ too short. But, I didn’t notice this until too late. As a result, the shape of the stern planking is a little off. For these models in particular, it’s always better to cut the planks a little too long.
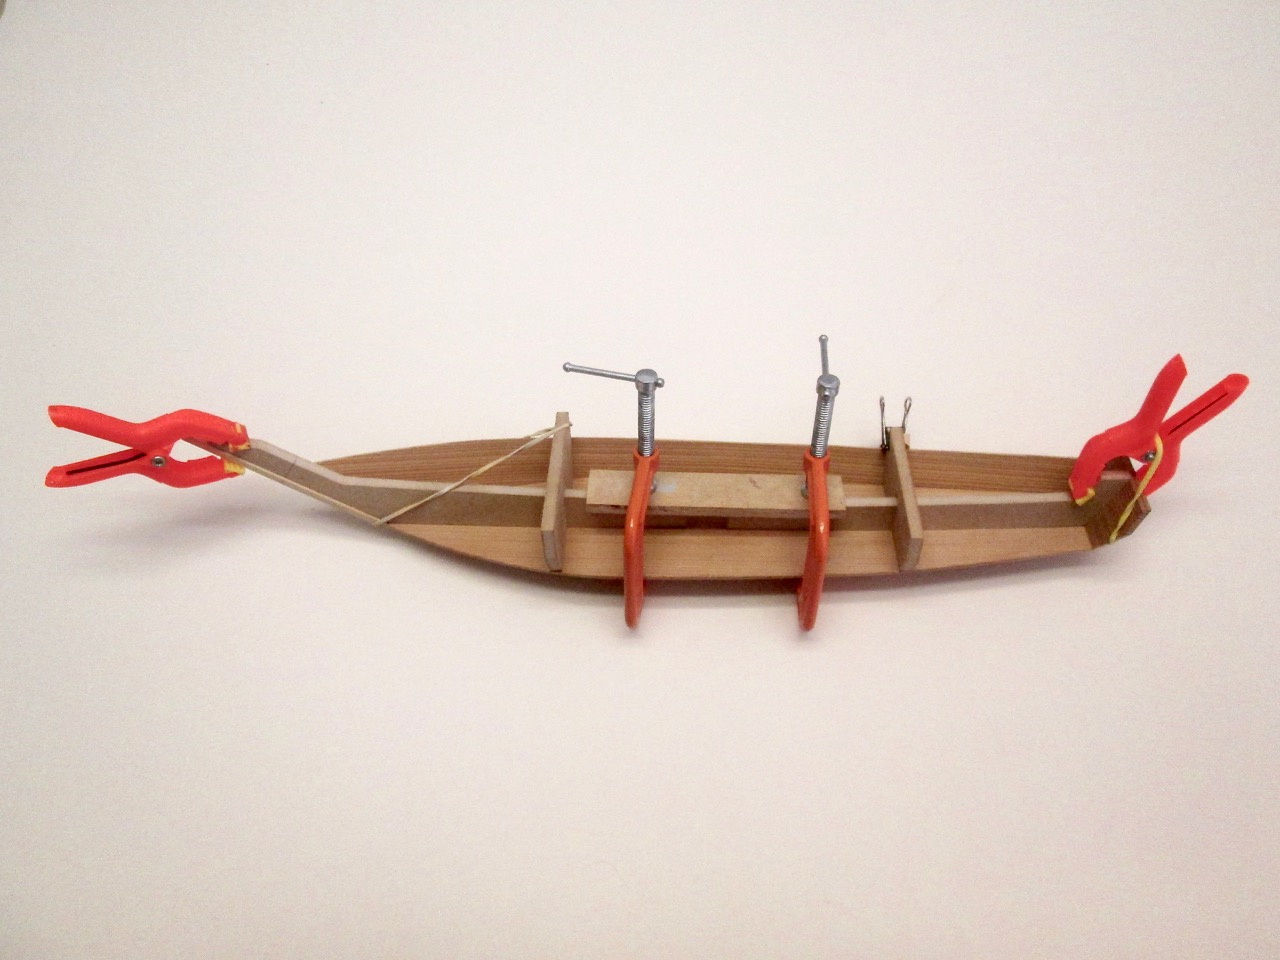
Dampening the hull plank with water makes the soft wood quite bendable. It wasn’t necessary to apply any heat. I just kept it wet and carefully applied force to bend and twist the board. To let it dry, I strapped the plank to the hull former assembly.

You’ll notice in the photo below that you can see the gap between for the forward former and the after former. You’ll also note that because of the stresses I put on the former “bulkhead”, it’s one solid piece, constructed much like a bulkhead in a ship model kit, with a slot in the center for the longitudinal former.
You may also notice that I did not bevel the formers, as I felt there was no need. The forward edge of the forward former is the proper shape at that station. Similarly, the aft edge of the aft former is the proper shape at its station.

Holding the plank against the formers required some creative methods. But, I think all ship modelers are accustomed to getting creating with binder clips, rubber bands, clamps and more.
Before gluing the planks into place, it was necessary to do a final filing of the todate or transom. I went through a couple of these during the model’s construction. I discovered, after I made the first one, that it was best to make this piece a bit oversized.
