
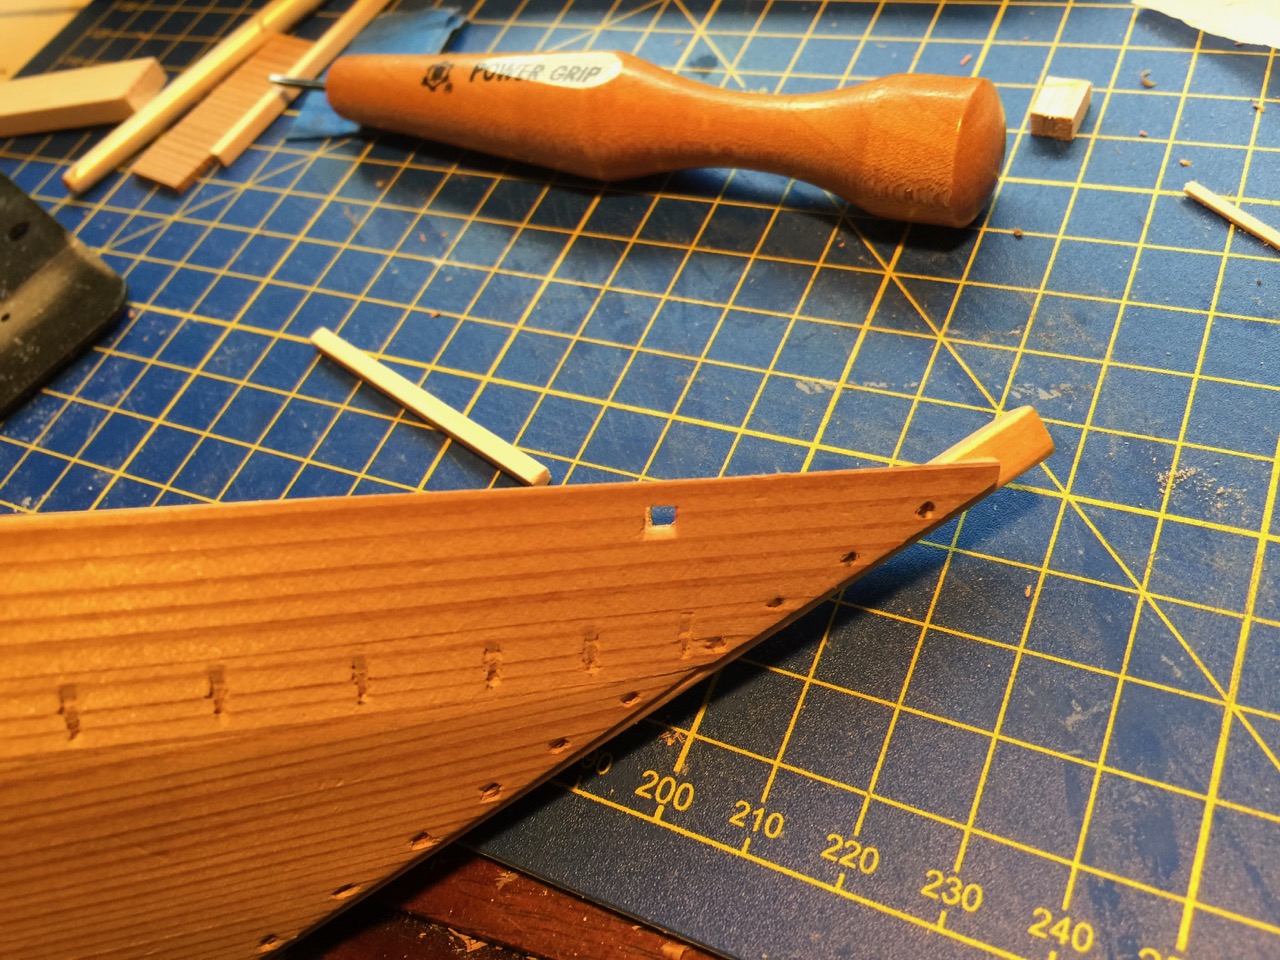
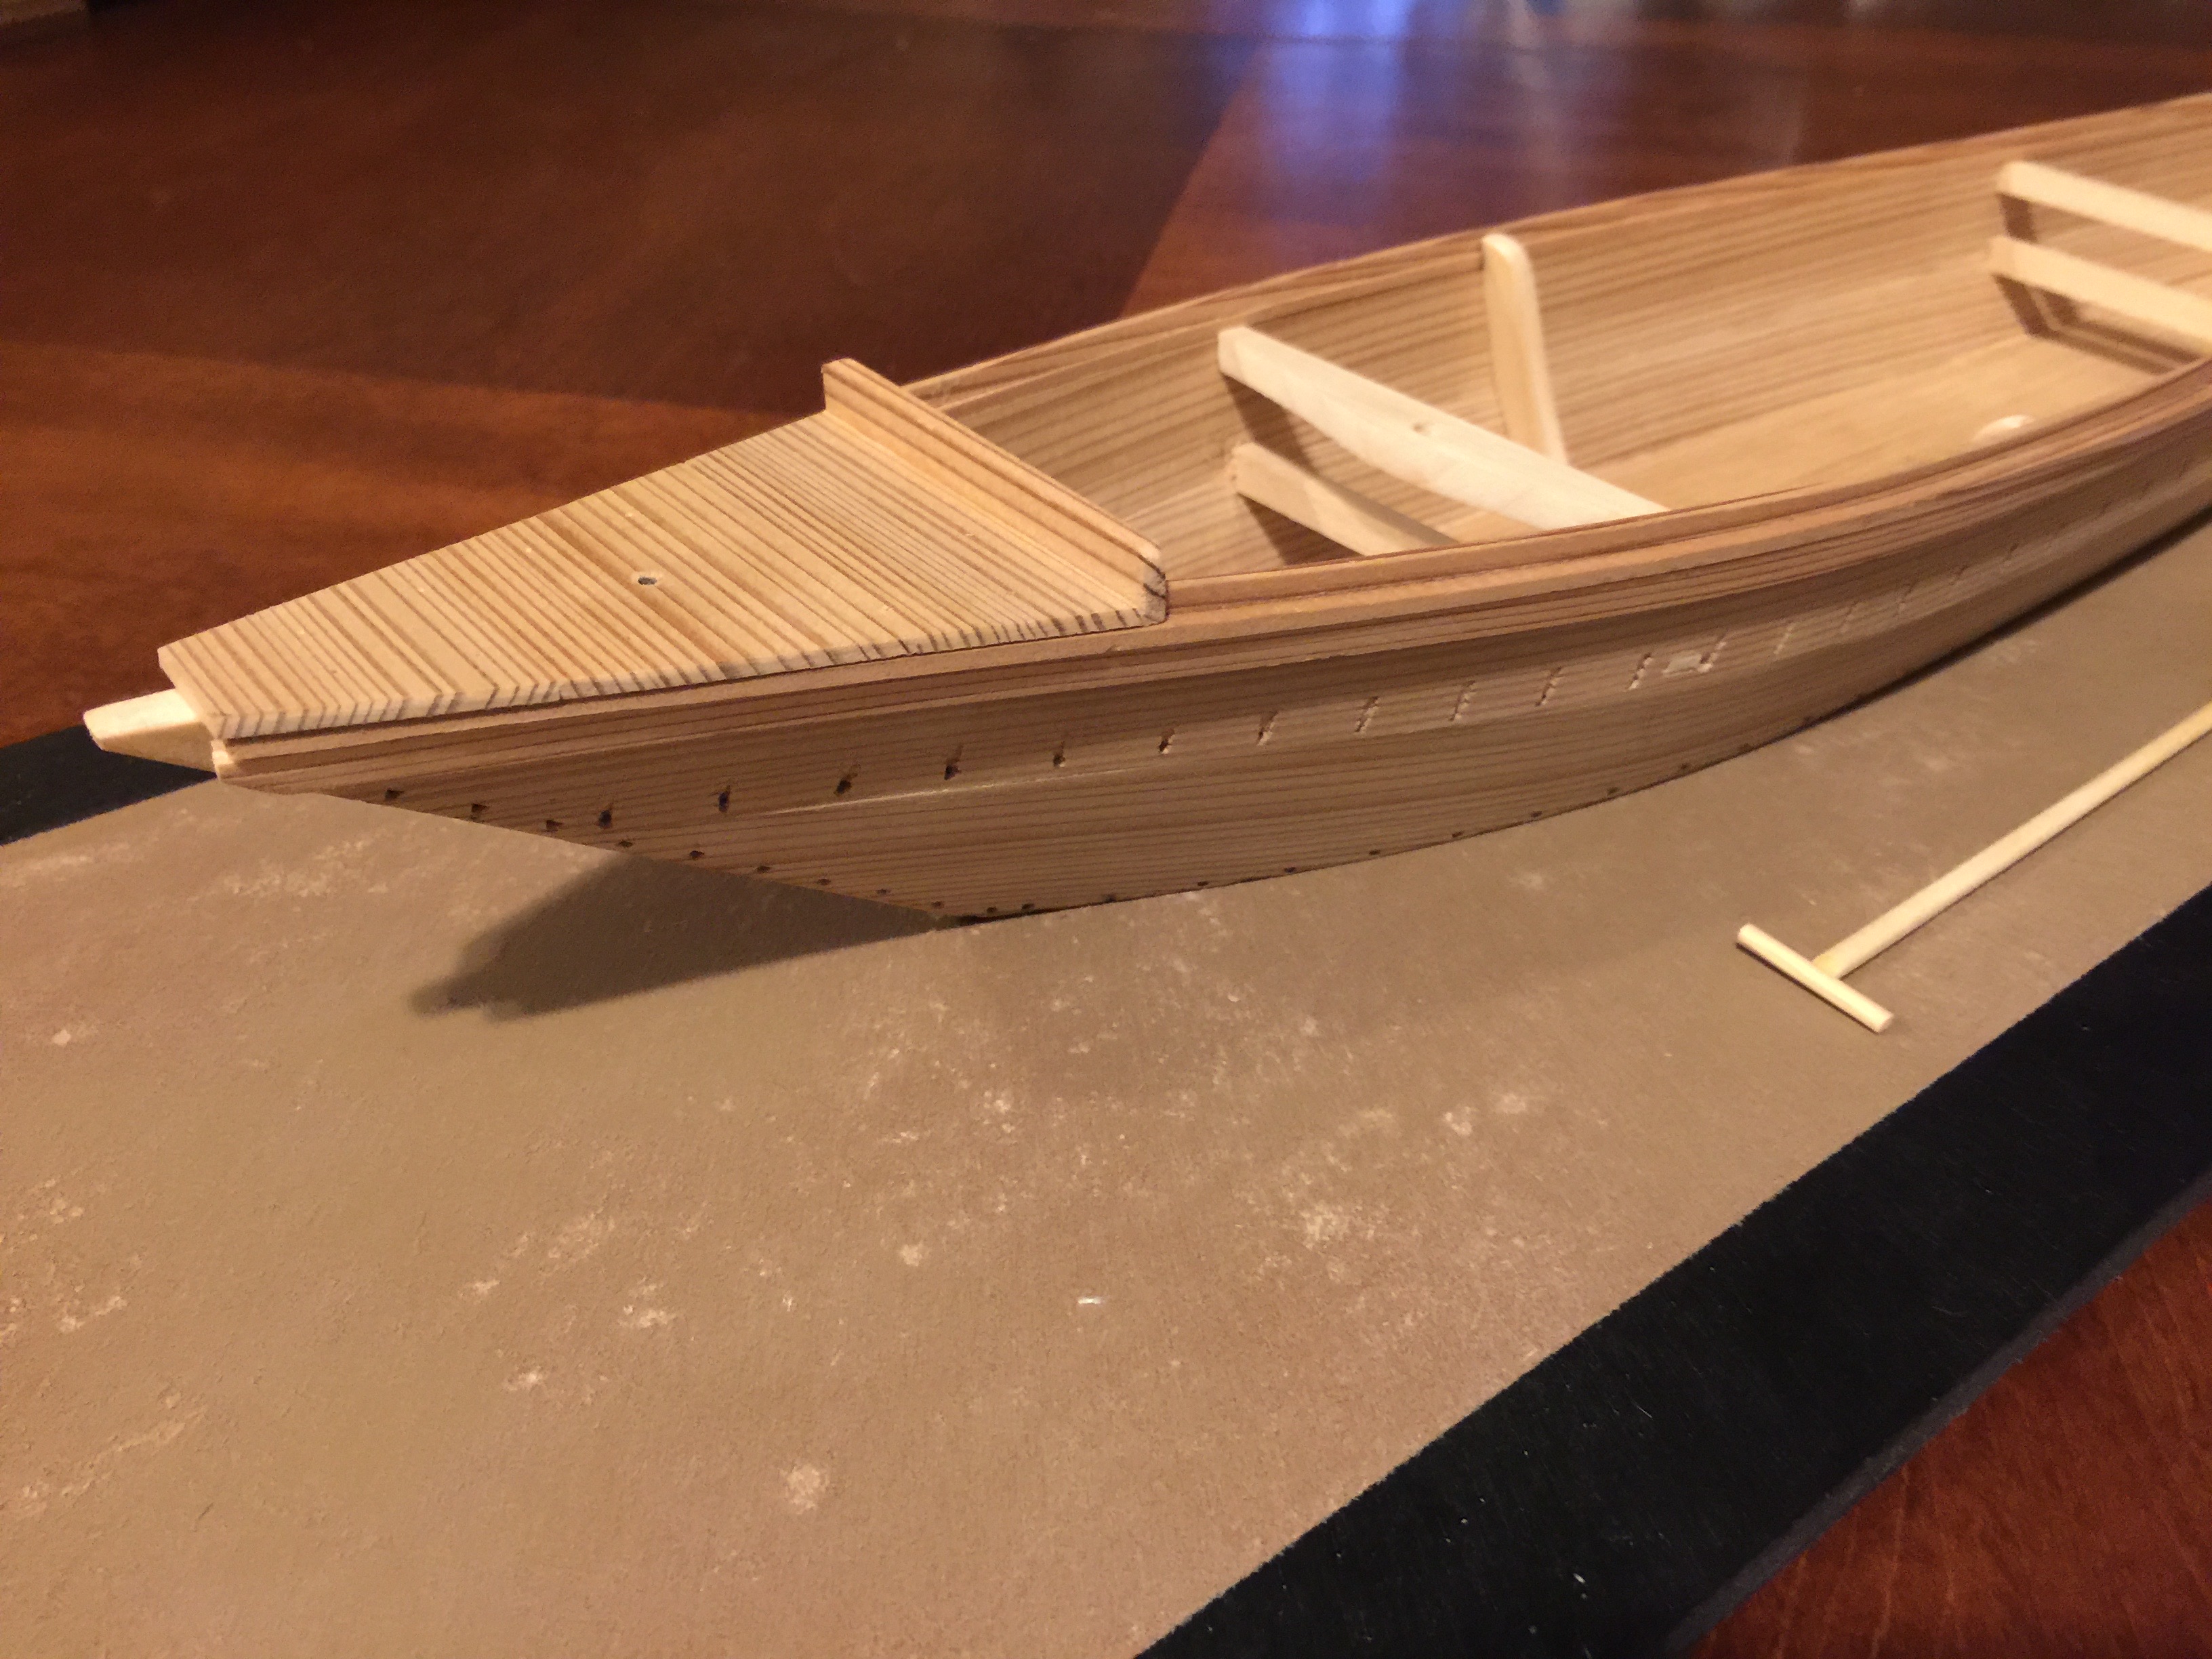
At the bow was the first challenge of cutting a small square hole for the small beam at the bow. I made sure my chisel was good and sharp and lightly cut the shape, little by little. Too much pressure can chip or split the wood, particularly on the back side of the cut, so this took a lot of care.
With the first hole cut to size, the alignment of the opposite hole was aided by running the beam into place to see where it lined up. It was then cut in the same manner.

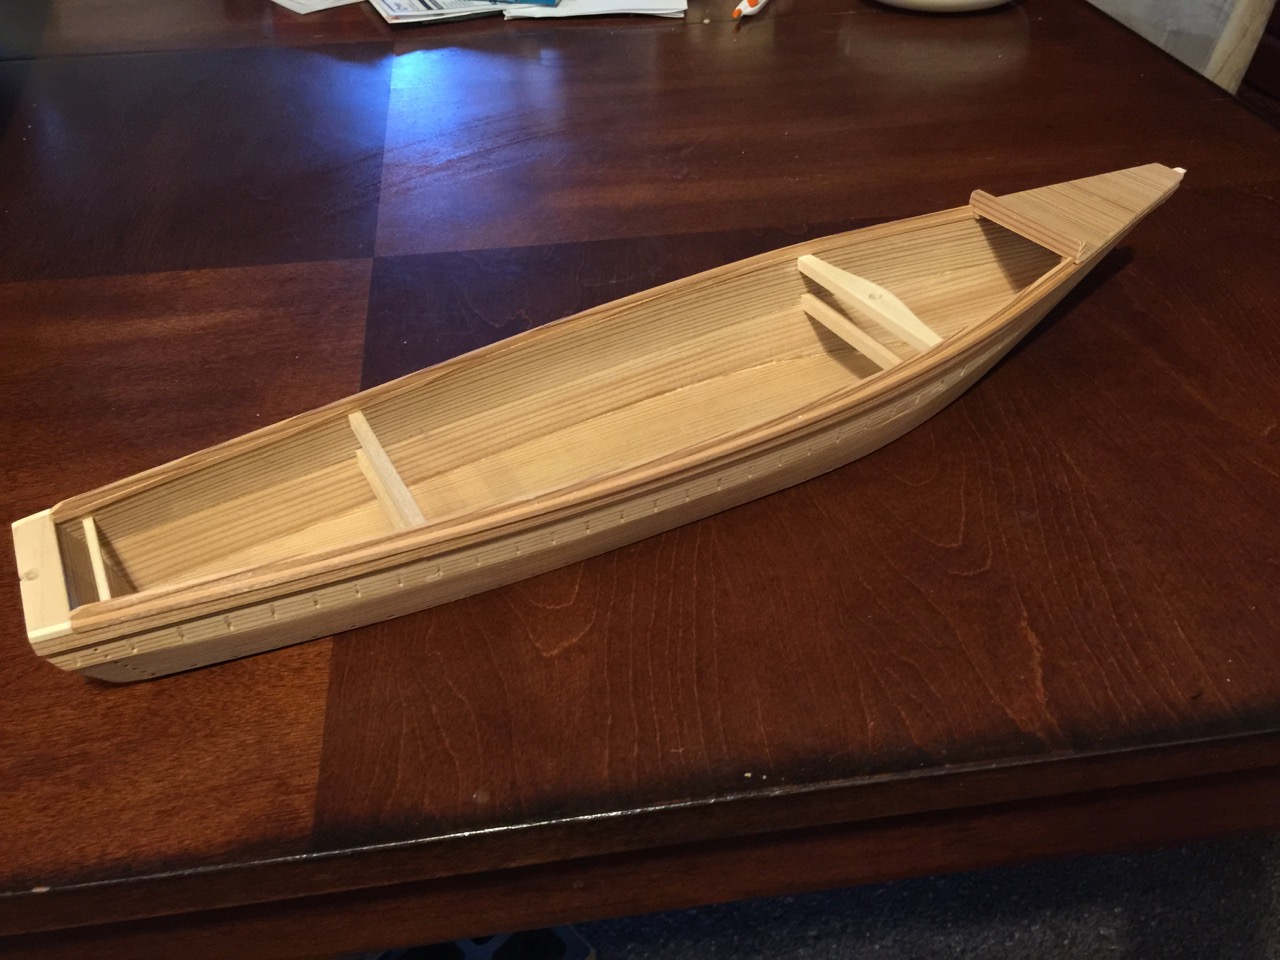
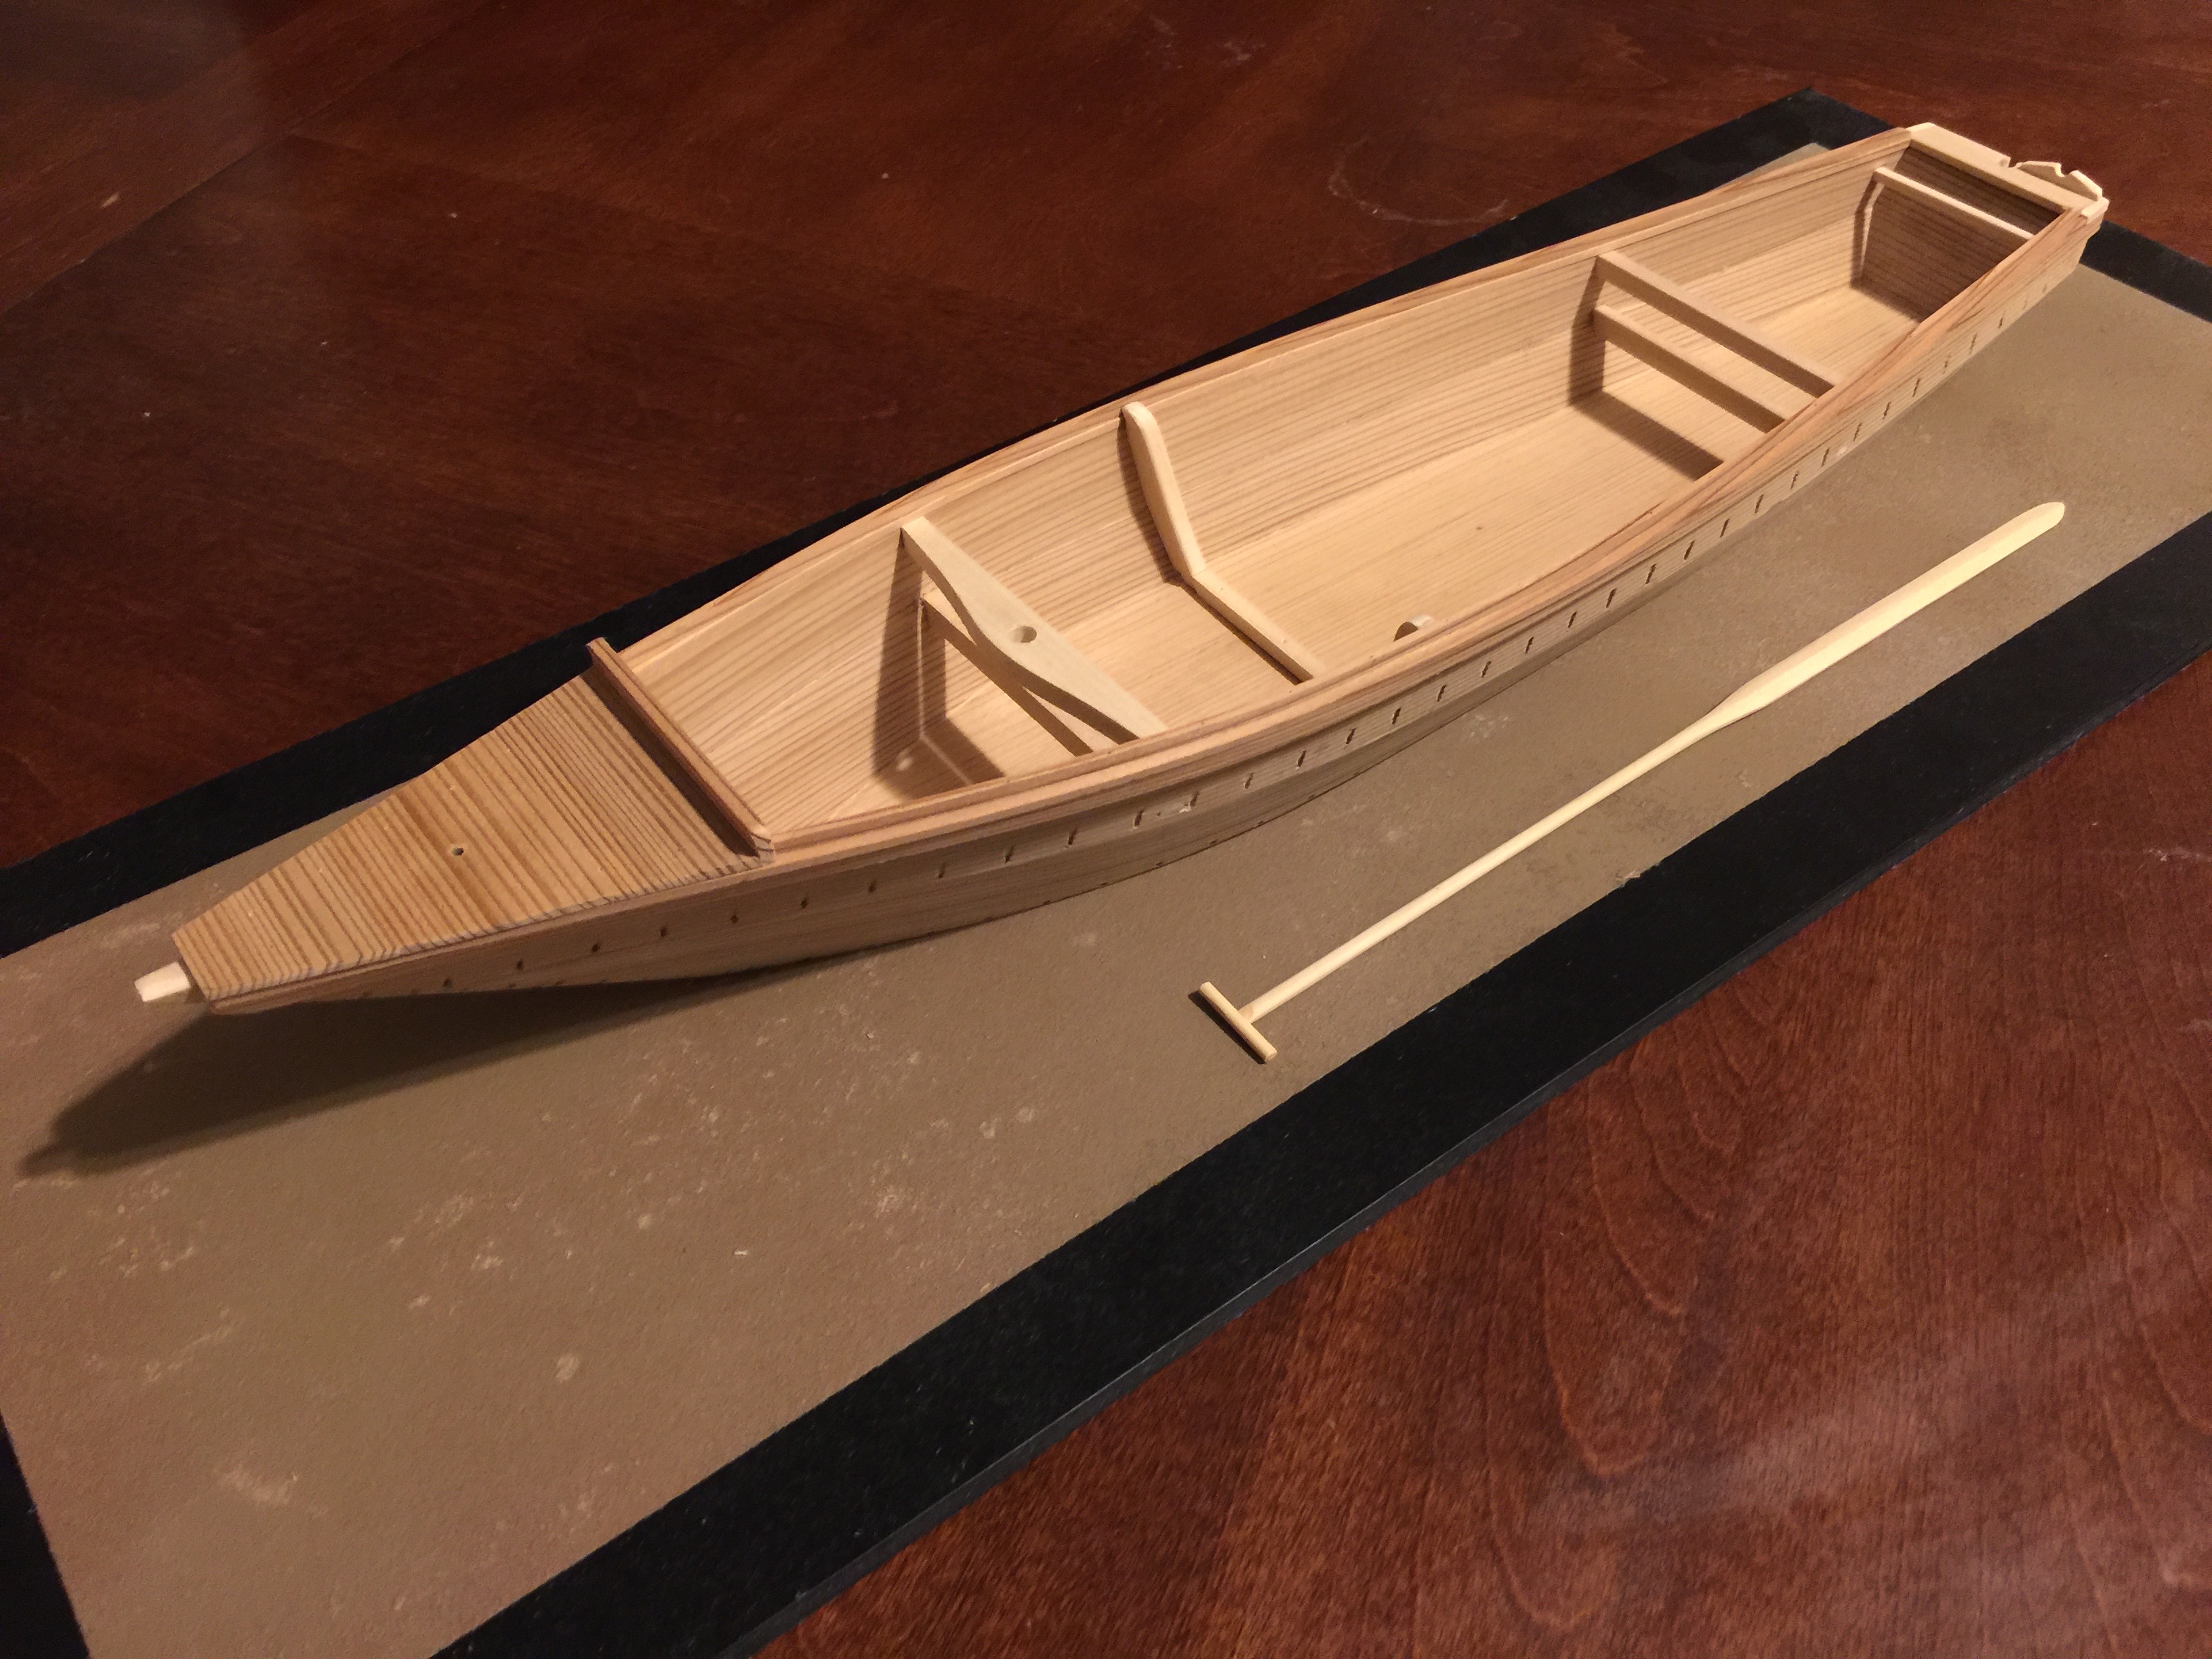
Once I added this first beam, called a kotsunagi, I was on something of a roll, installing the other beams, funabari, adding the rubrail, koberi, the caprail, uwakoberi, and trimmed the top of the stem, or miyoshi.
The most difficult step here was cutting mortises in the hull for the lower beams. As I mentioned before, the Japanese cedar is a little tricky to work with, so I had to work very carefully, first cutting a small hole, then enlarging it little by little.
The end of the aft lower beam itself was shaped as below with the protruding piece on the left fitting into the hole cut in the hull.

The upper beams have a similar design, but since the hole cut into the hull would be covered by the rubrail, I didn’t bother cutting the hole or doing anything sophisticated with the shaping of the beam, I simply cut it to fit into place.
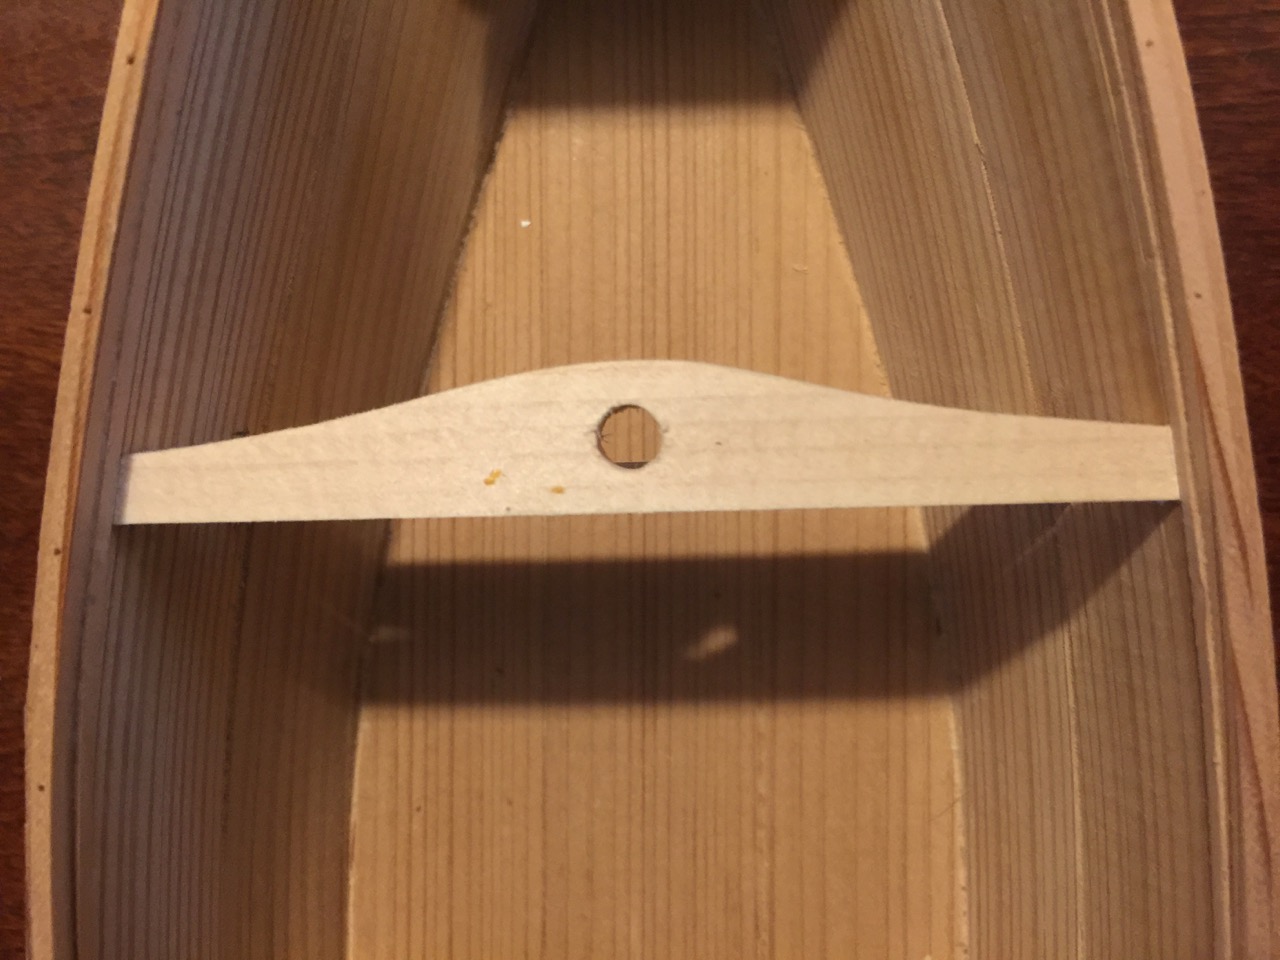
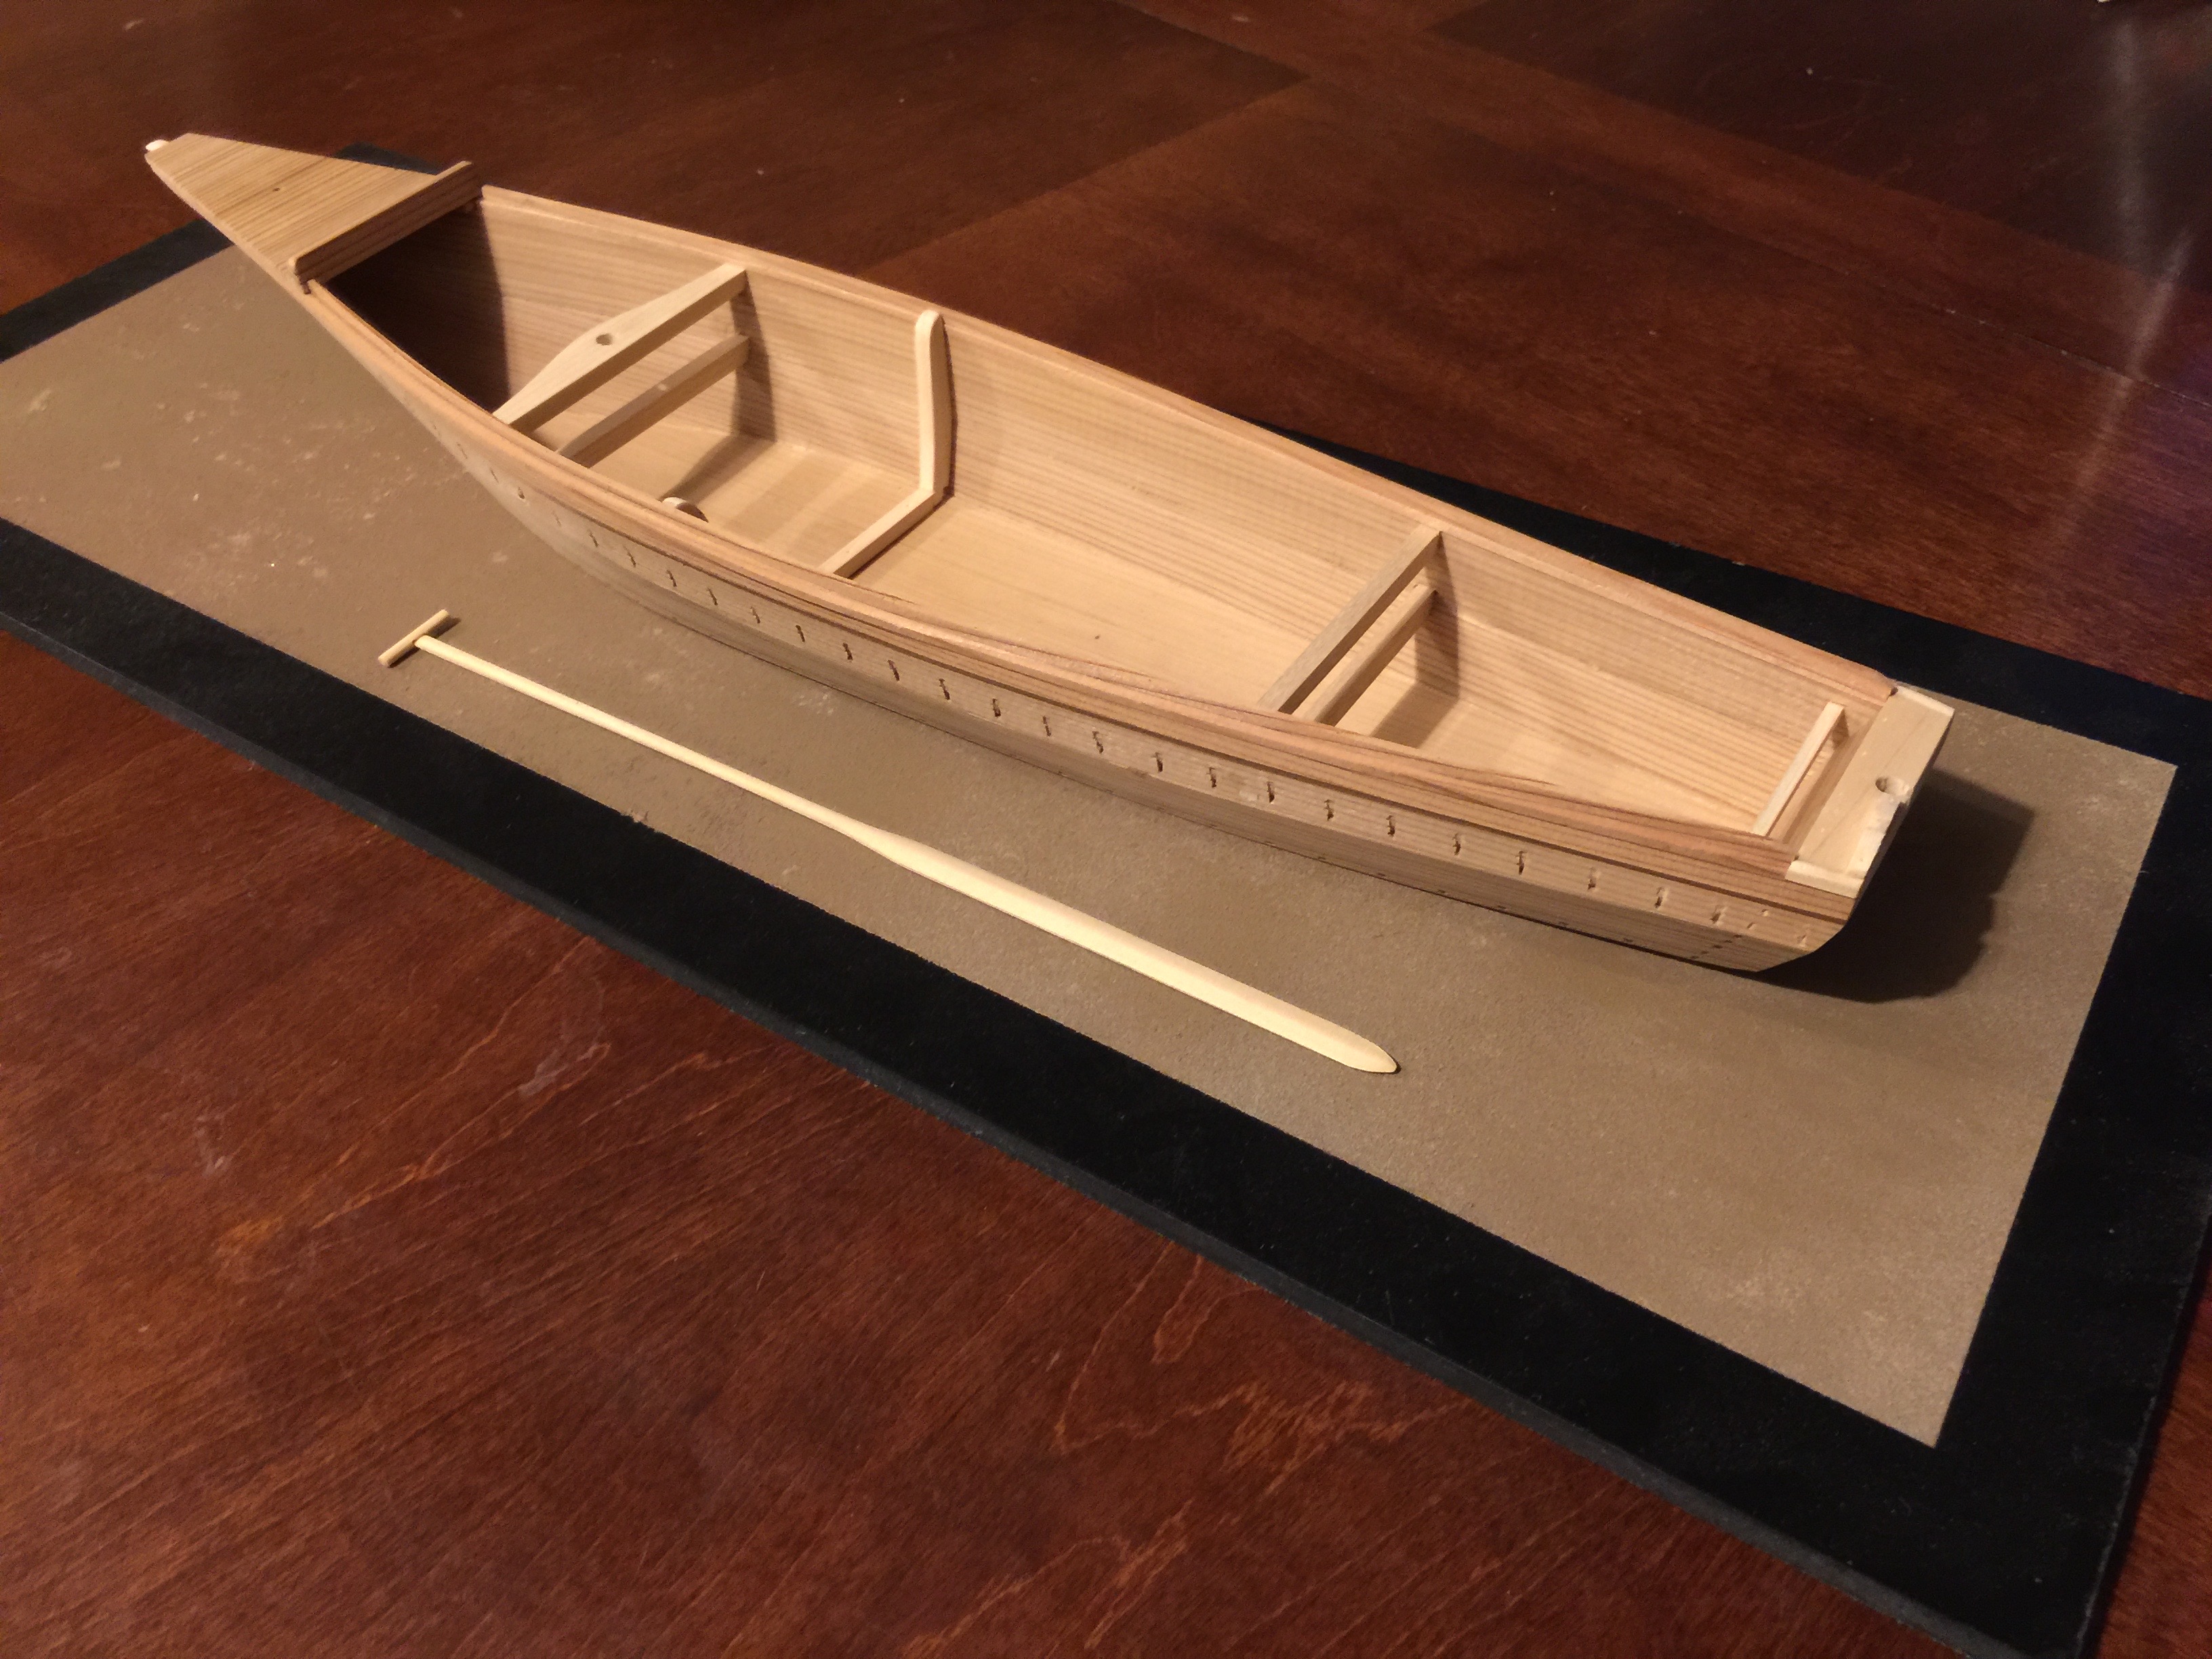
The upper forward beam is slightly more complicated, as it has a hole for a mast, so I focussed on installing all the other beams first. I also added the rub rails and the toko, which is the heavy beam at the stern.
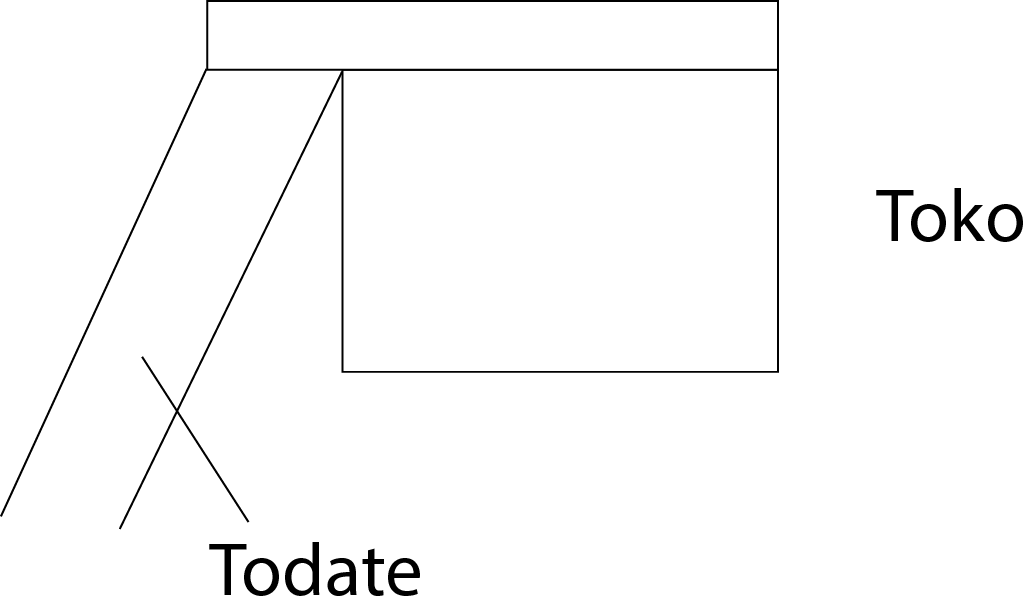
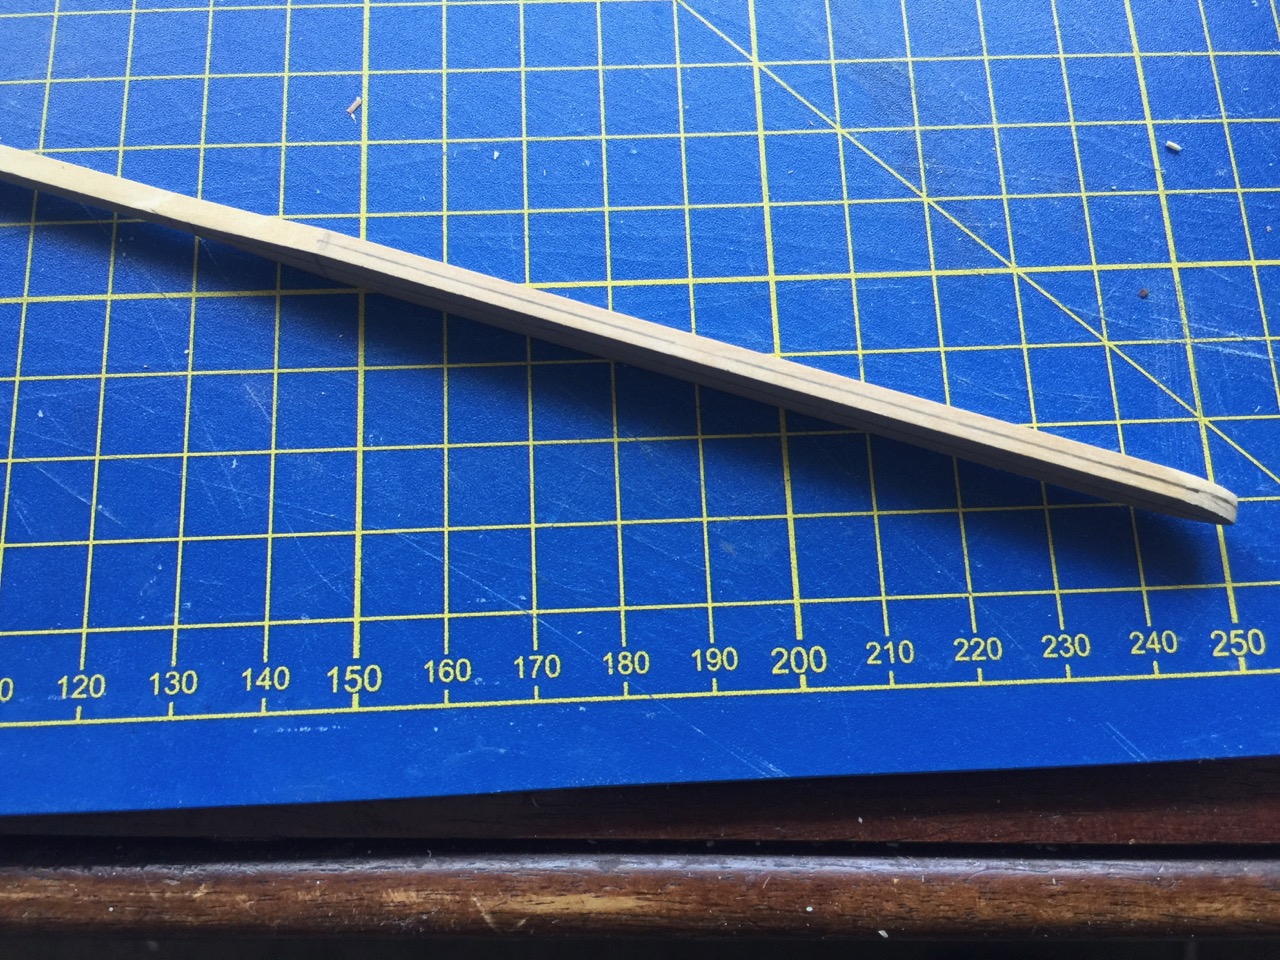
The toko has an L-shaped cross section. I made mine by cutting a strip of wood with a large rectangular cross-section, and then used my table saw to trim out the notch.
I made the mistake of fitting the toko to the inside the hull planking at the stern. However, the top of the toko is supposed to overlap and rest on the hull planks as well as the todate, or transom. Rather than make a whole new piece, I decided to cheat a bit and simply place a filler piece as each end once the toko was fit into place.
But, before fitting into place, it was necessary to cut a hole for a rudder post, with a notch cut out of the stern for the rudder blade.
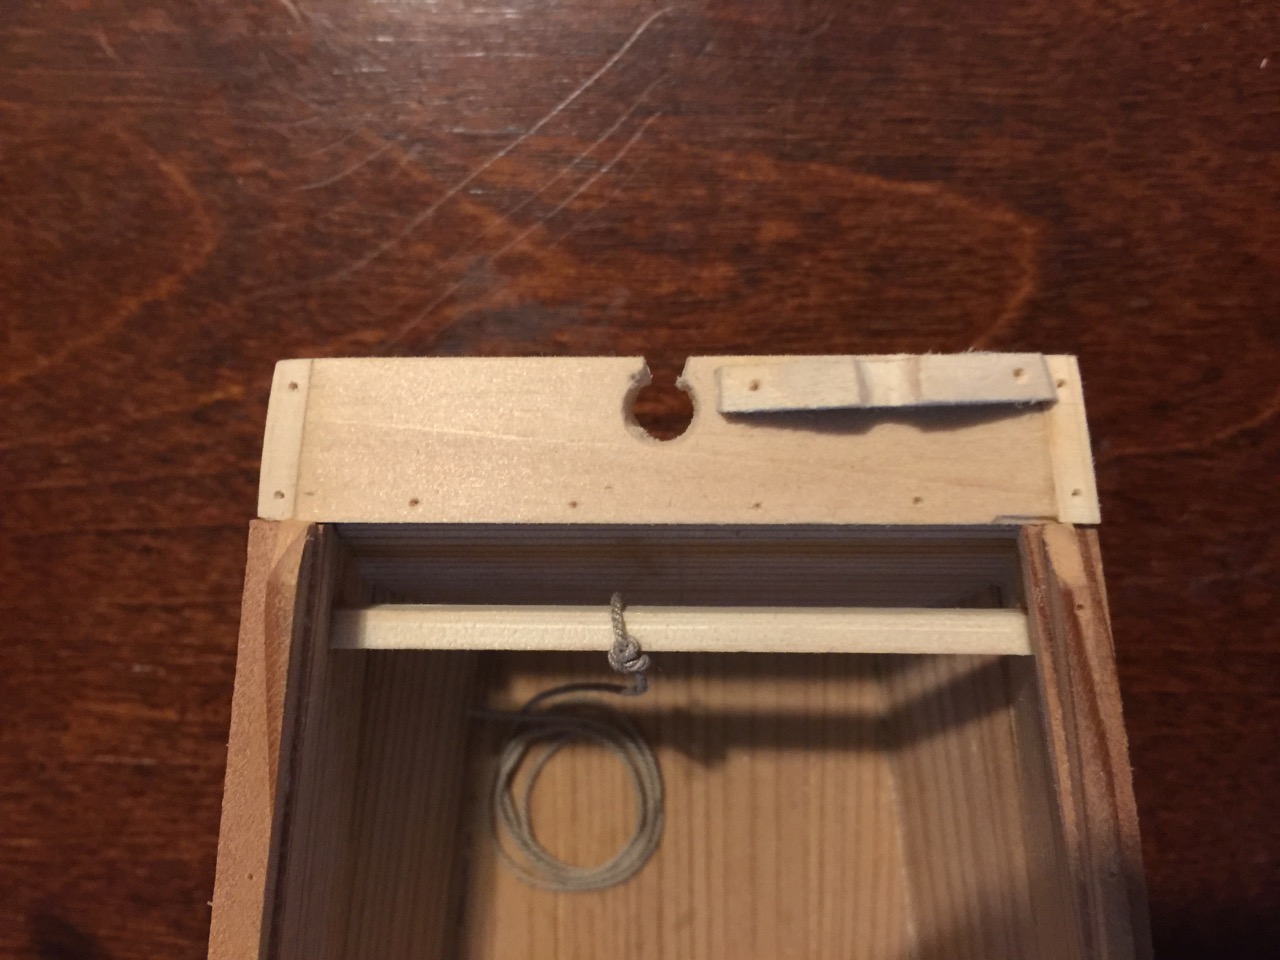
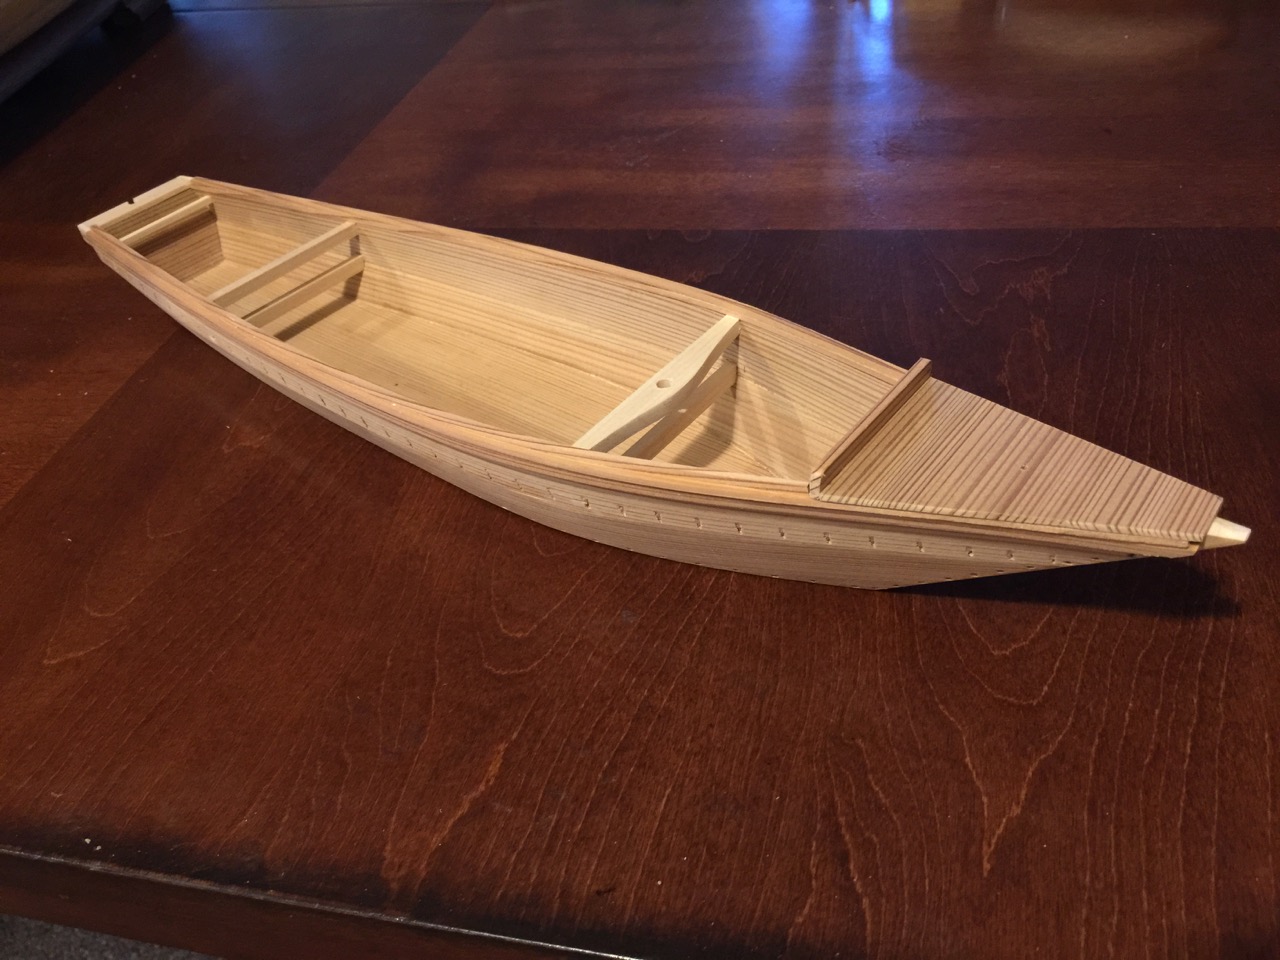
Toko shows the pieced I had to add at the ends. Also, note the photo was taken after I installed the yoke for the sculling oar and a mooring line on the aft kotsunagi.

After shaping adding the last beam, it was a simple matter to add the nibumi, which is a small rail that rests on the caprail. Some bekabune also have a kappa, which is the splash cover at the bow.
This cover is removable and I simply glued a couple strips to the underside that keep it from sliding out of position. A hole drilled in the center of the cover allows a mooring rope to be passed through and tied to the bow kotsunagi.
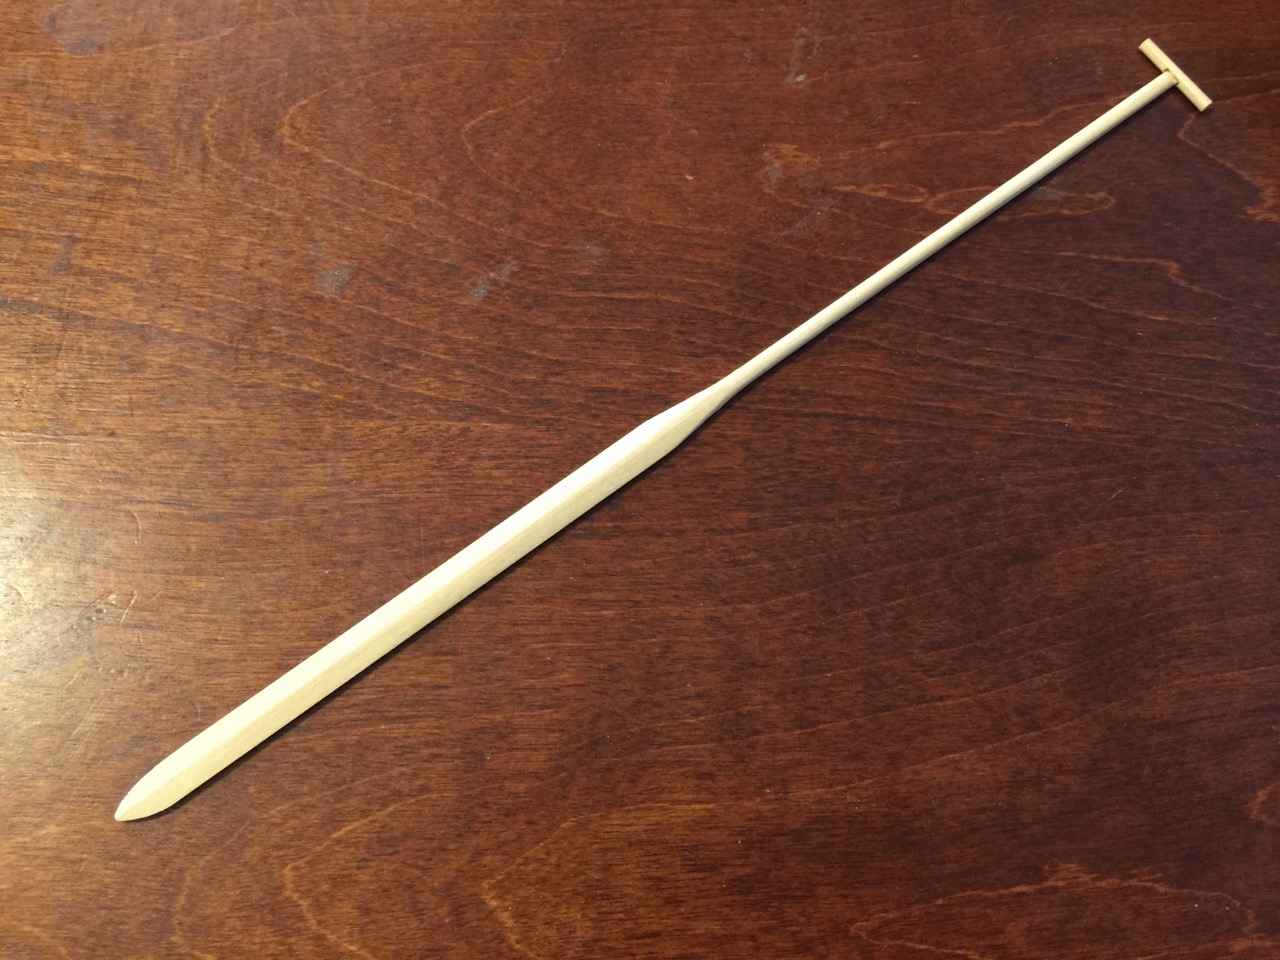
The only accessory I decided to add to the boat is a large paddle or kai. This had a T-handle at the end and could be used as a paddle or as a sculling oar. Because of the length and delicate nature of the paddle, this is the only item I made from non-Japanese wood. I considered milling down an old Japanese drumstick I have, which was made of ho, which I believe is Japanese magnolia. But, I took the easy way out and just used a strip of Castello Boxwood I had on hand.

The final Urayasu Bekabune model on a “dirt floor-style” display base. This photo was taken before I decided to add a mooring rope at stern, which is on it now. Also note that I added the final structural pieces a the center here, making up the matsura, or frame.

Ω
