
The Atakebune is the subject of a new kit from the Japanese wooden kit manufacturer Woody Joe. It’s something that I, Kazunori Morikawa of Zootoyz, and a few others were actively petitioning Woody Joe to produce. There was hesitancy on their part as there is actually very little solid information on the construction of these largest of Sengoku Period Japanese warships.

I don’t know what changed their minds and got them to produce this kit, but my feeling was that if they could produce a kit based on a museum model, then it would essentially be a model of a model, which is not without precedent, and is a perfectly valid subject, in my opinion.
The first news I heard that Woody Joe was actively developing this kit was in early Summer, and that they were basing it on the large model in the Saga Prefectural Nagoya Castle Museum. I was initially hoping that they would produce the kit at a scale of 1:72, as that is then scale comparable to their Higaki Kaisen and Kitamaebune kits. It would also then be compatible with available 1/72-scale samurai figures. But, the demands of the manufacturing process, costs, shipping boxes, and all meant it would be 1/100 scale.
In any case, we finally got word that the kit was to be released at the beginning of November. As I had four months to prepare to place my order, I had saved up and asked Mr. Morikawa at Zootoyz to set aside two kits for me. And, as soon as shipments went out from Woody Joe, I placed my order. Amazingly, less than a week after they were shipped from Japan, they were at my door.

The costs of wooden kits from Japan are pretty pricey, and at ¥38,000, this kit is no exception. However, I had actually expected this kit to be a little more expensive. As it is, with the current exchange rate in our favor here in the U.S., the price comes out to about $336.
Now, shipping is a particularly difficult issue, as it was expensive before Covid. Then, for about a year, Japan Post would ship at all to the U.S. That changed in the Summer, but prices for shipping were higher than before.
About the Kit
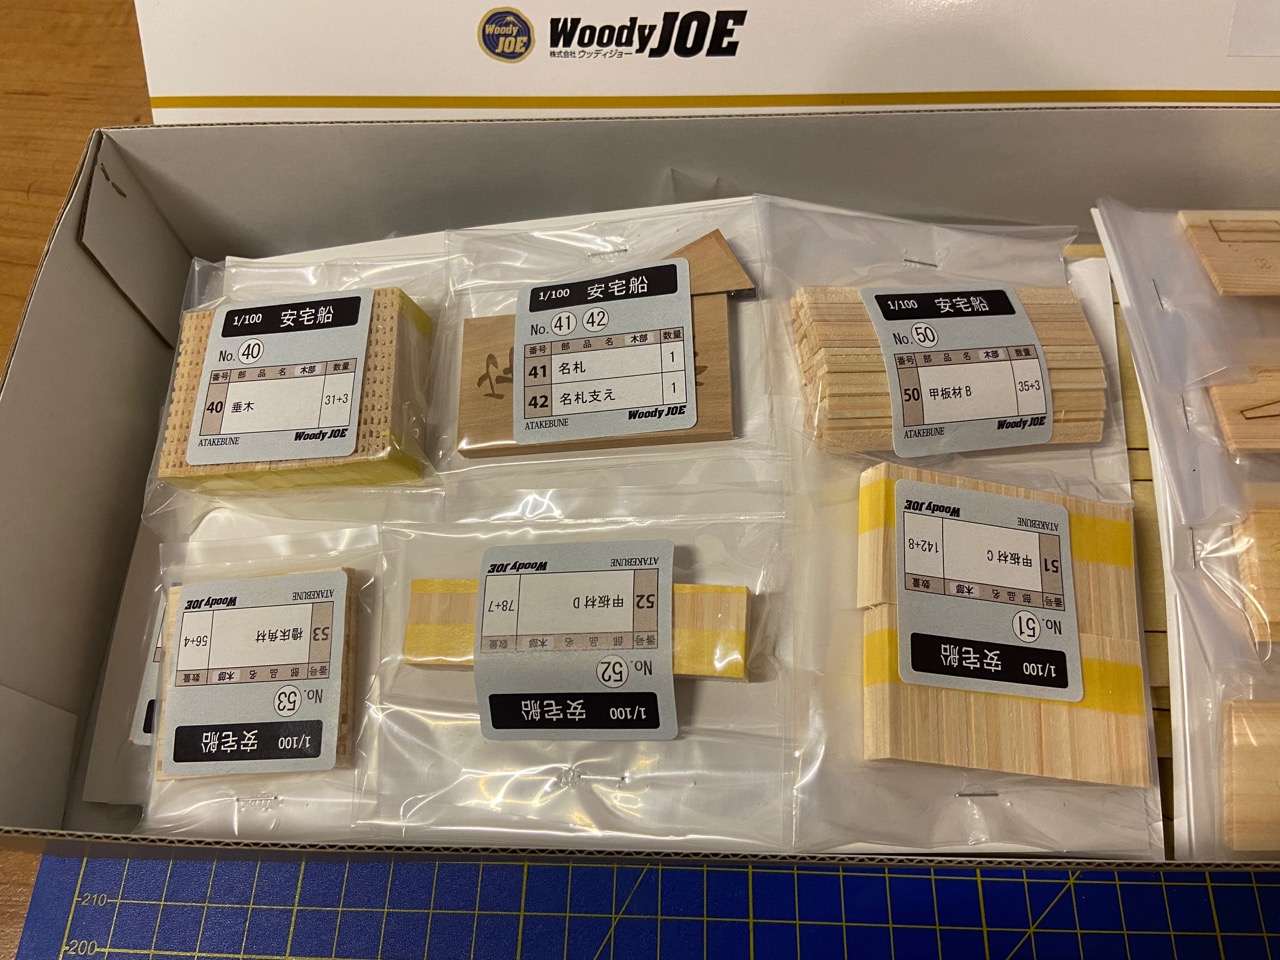
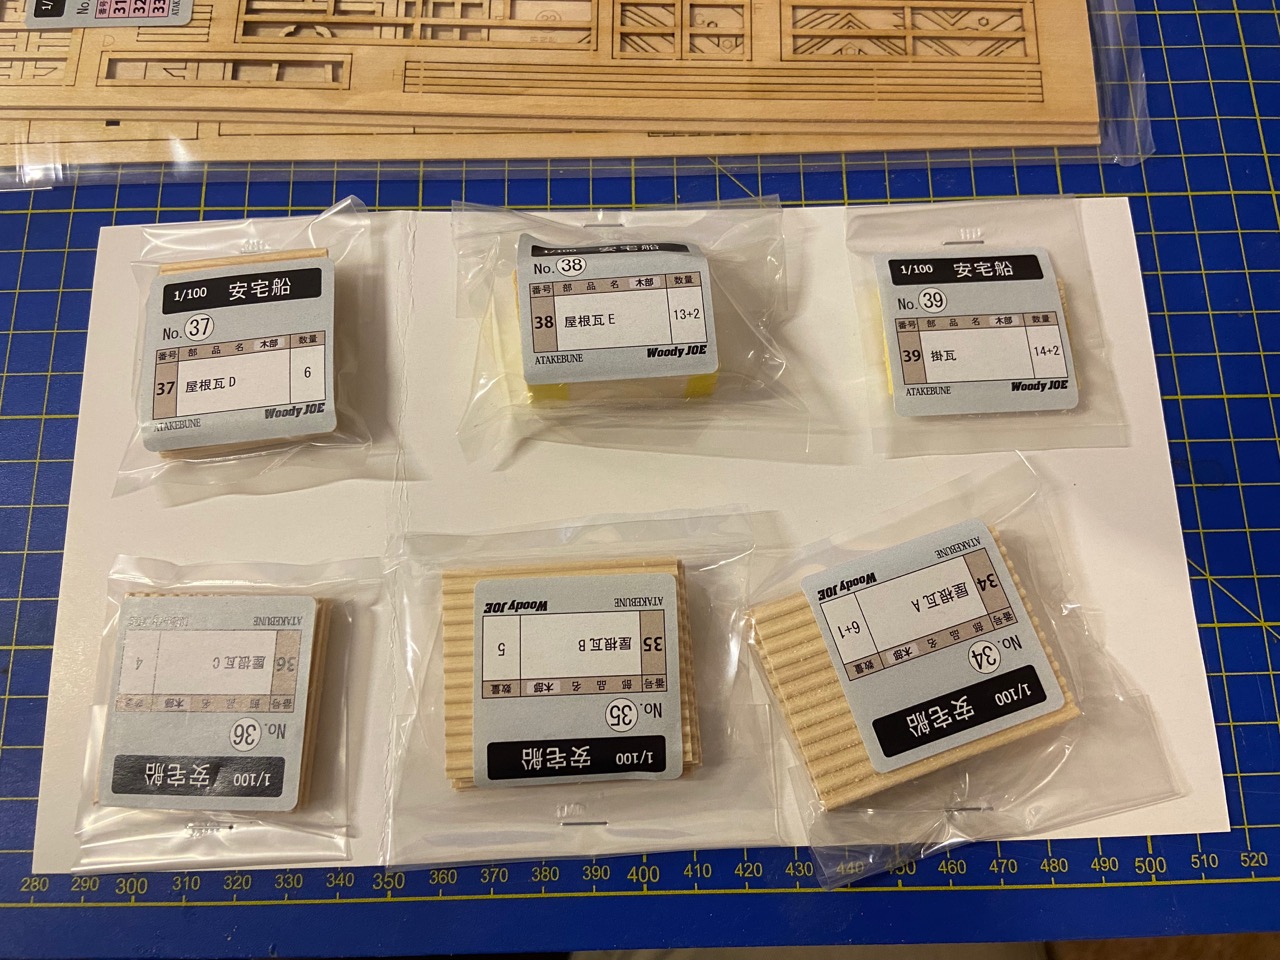
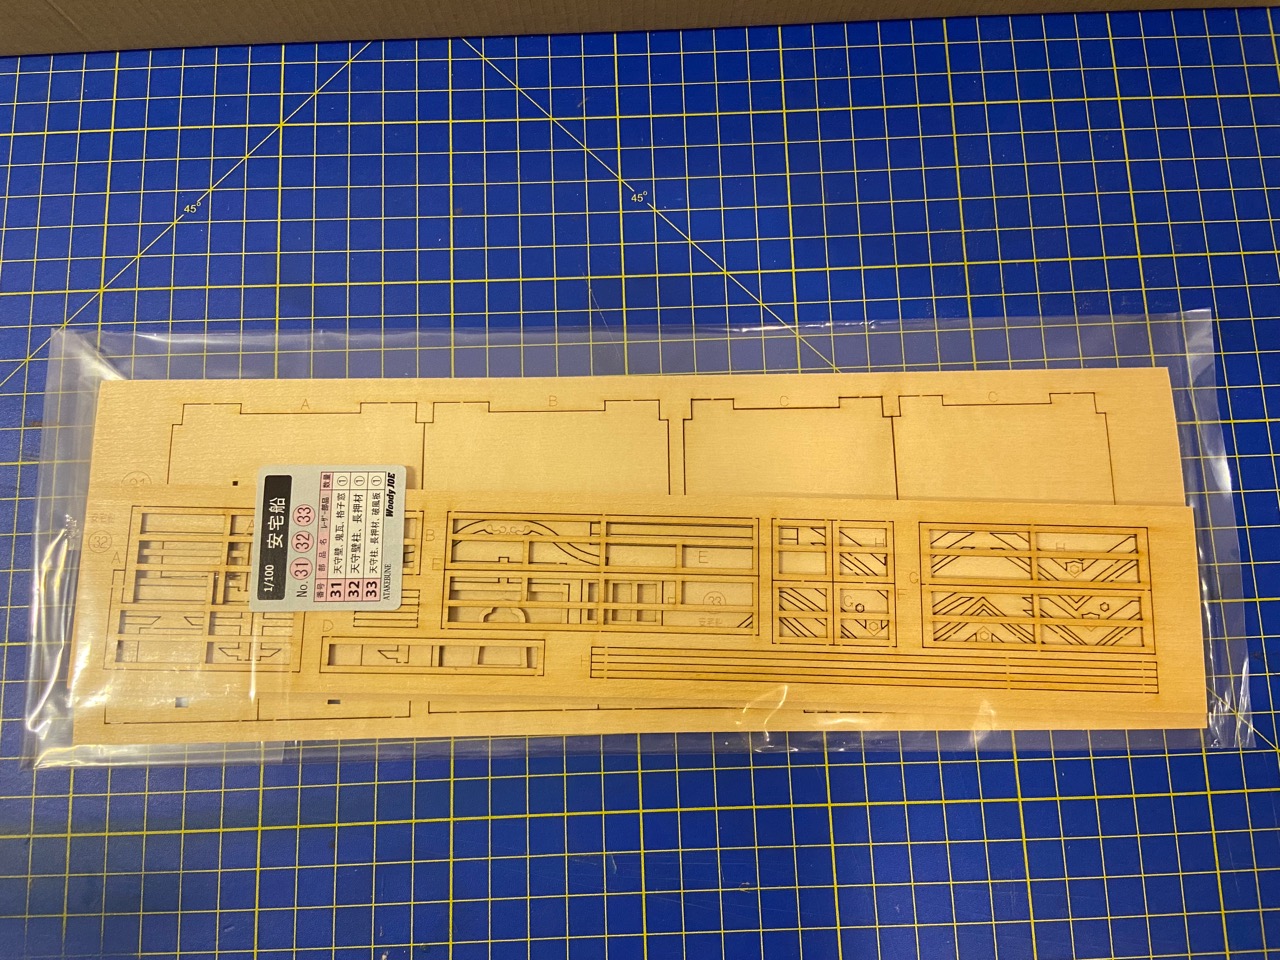
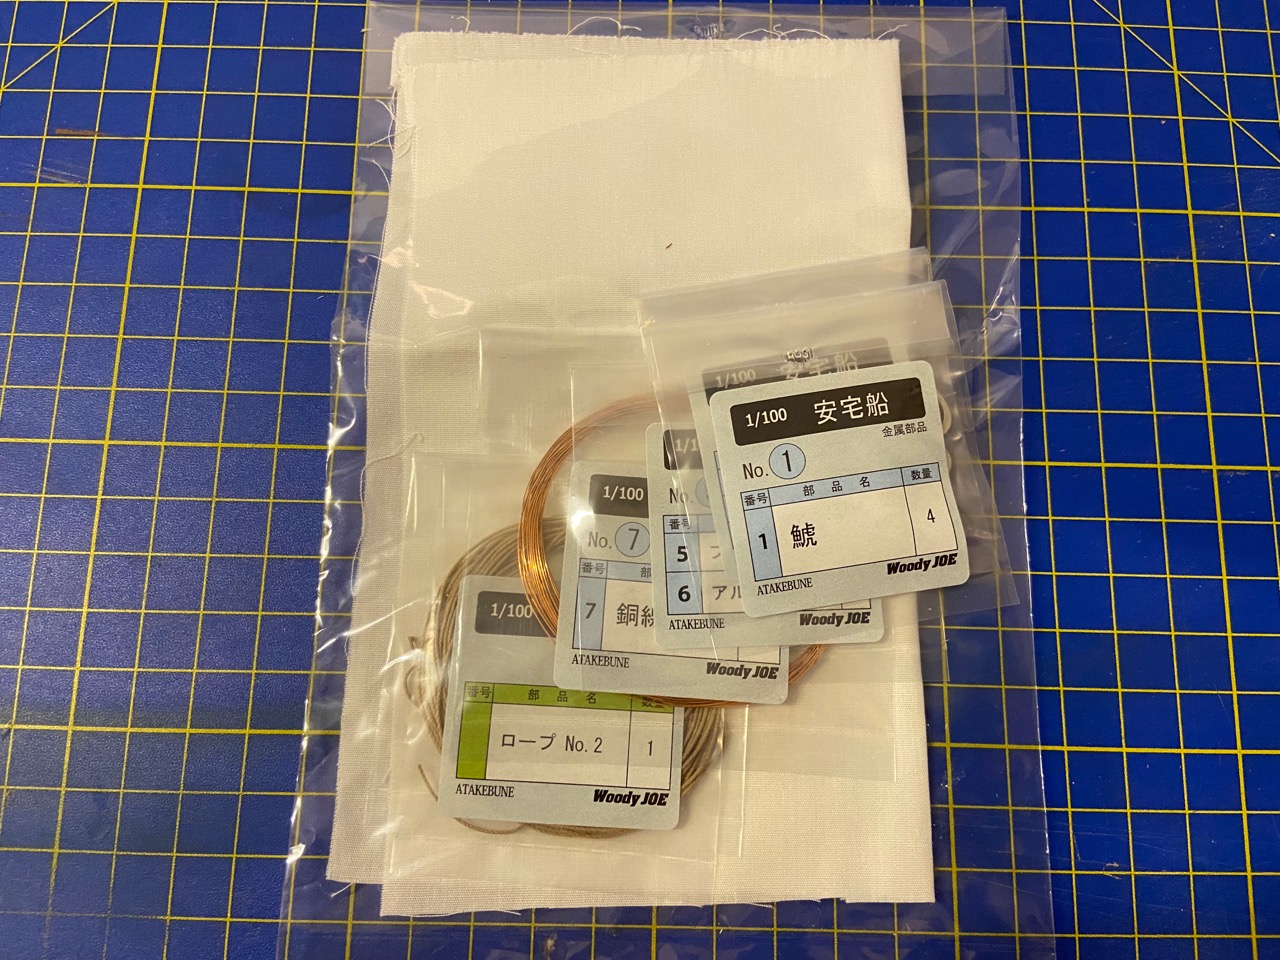
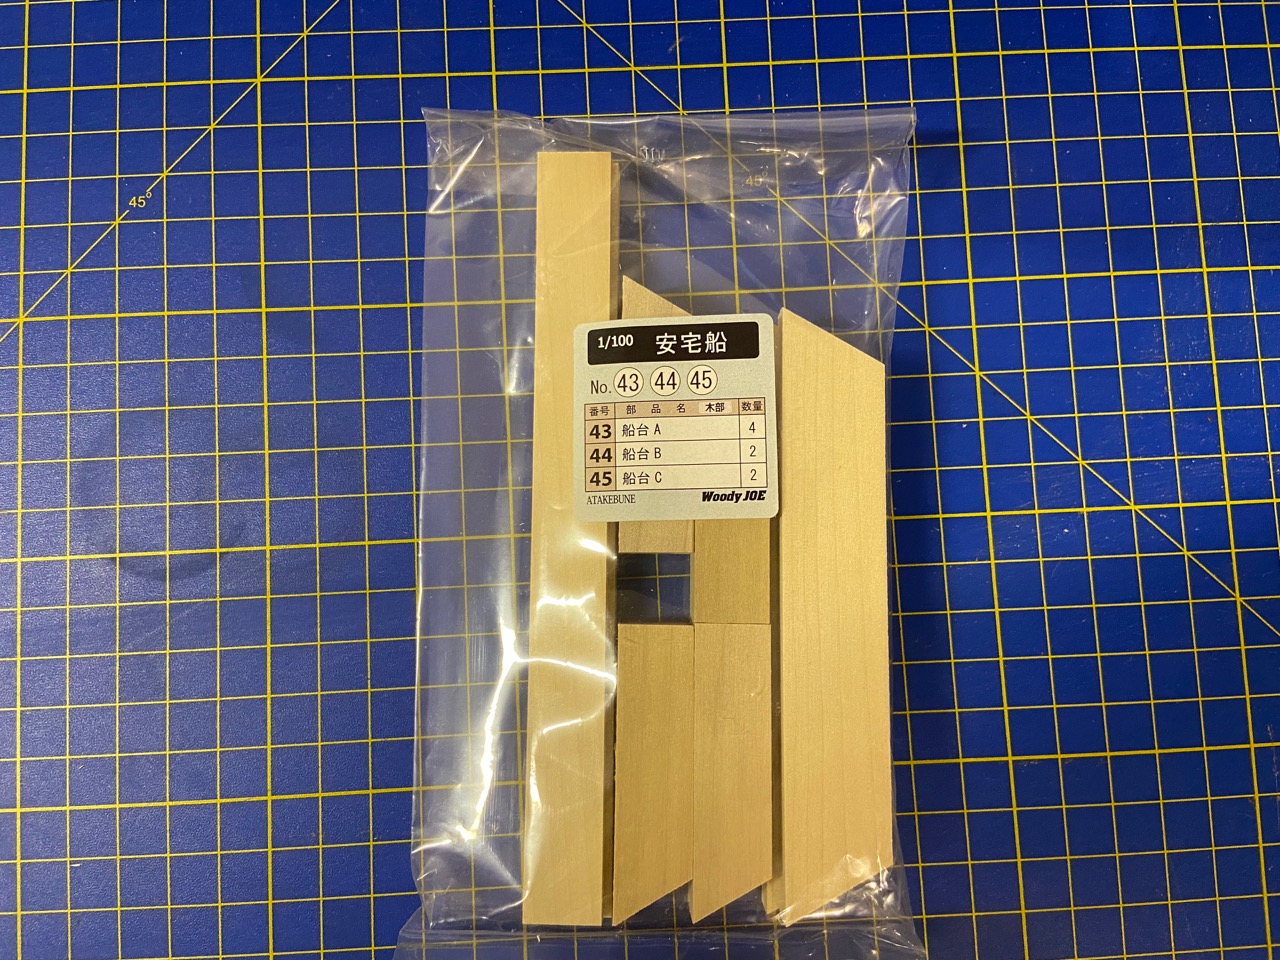
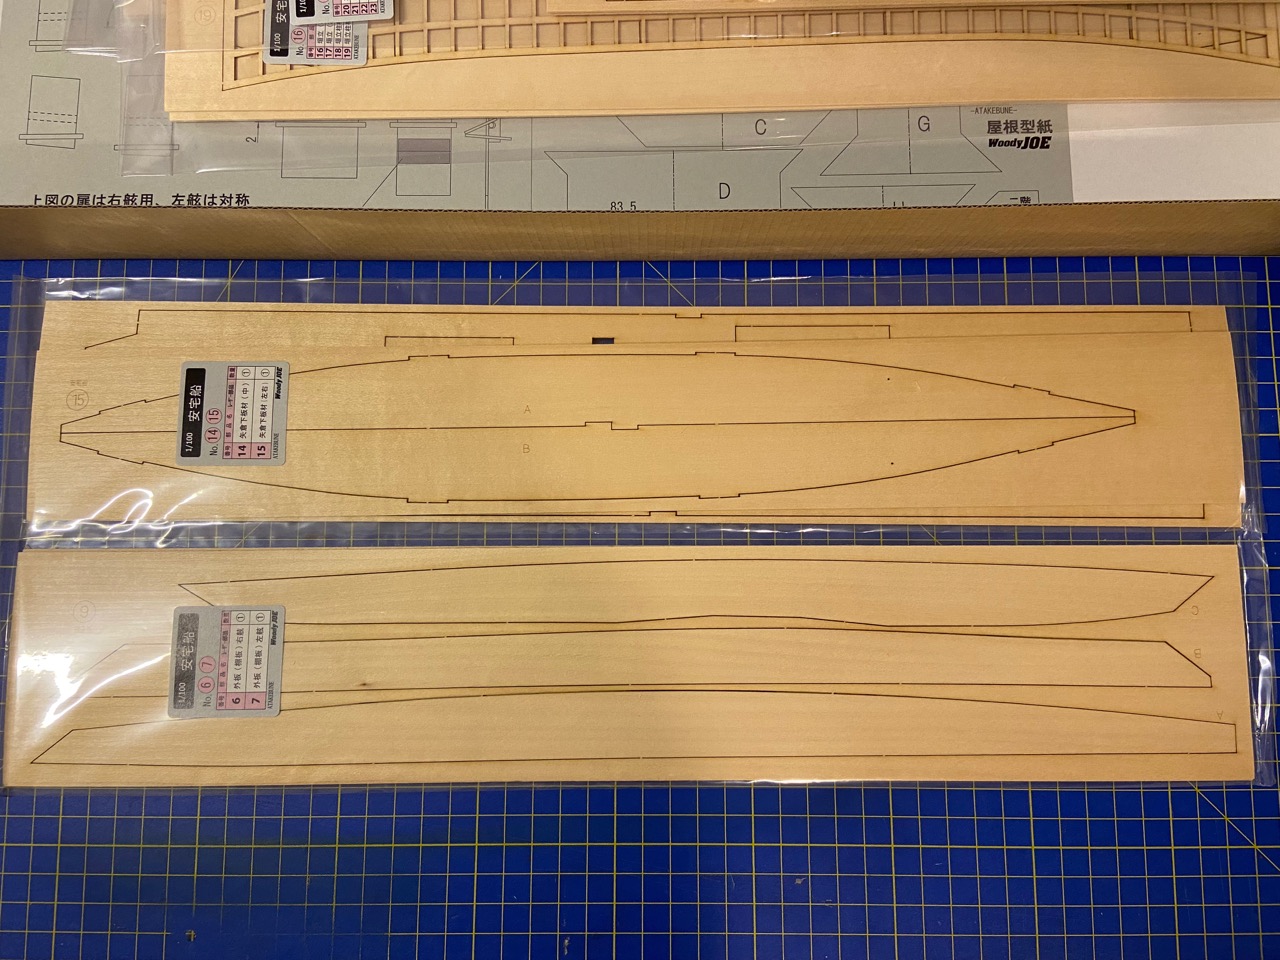
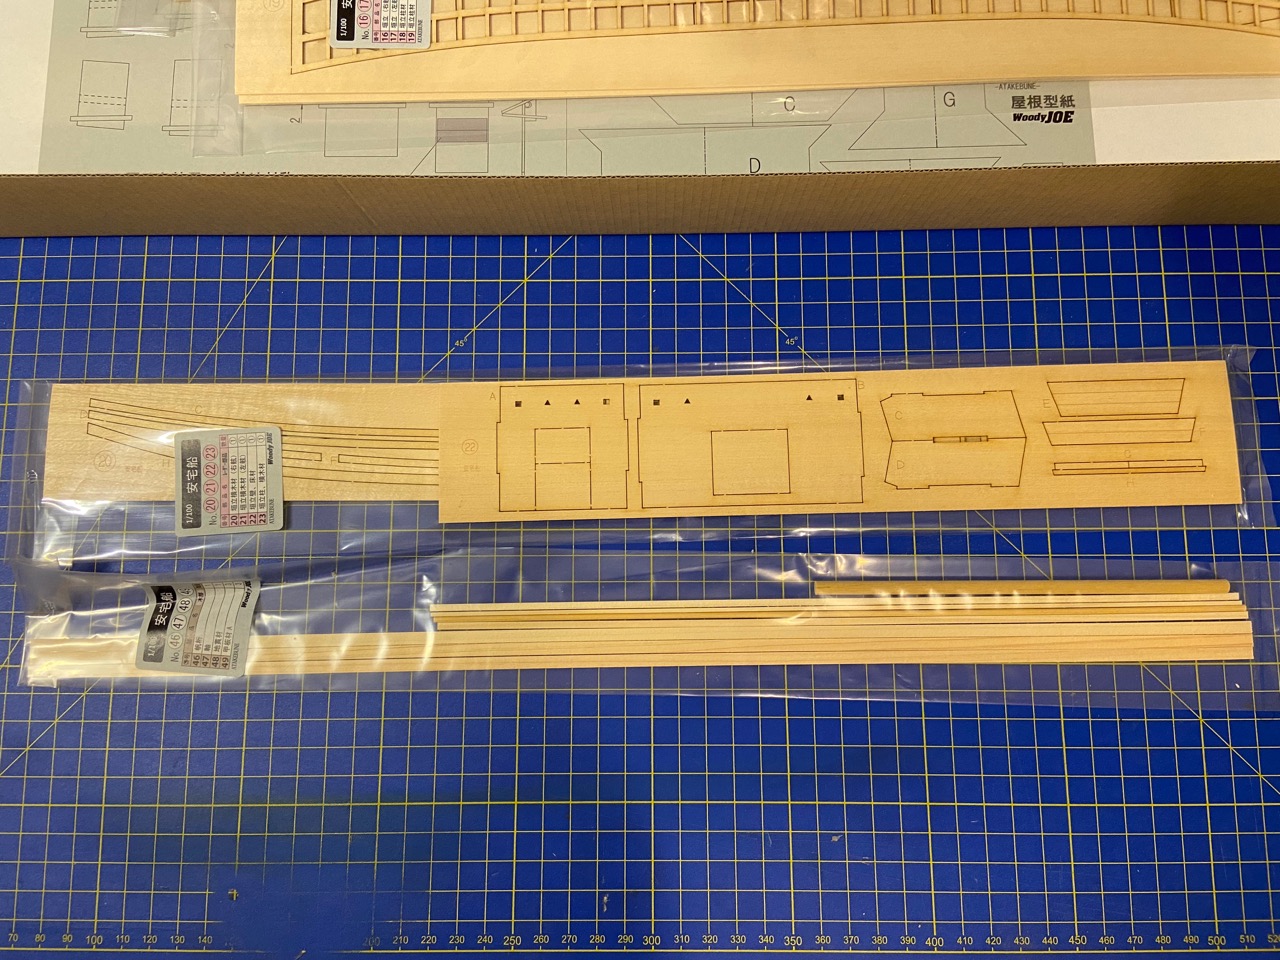
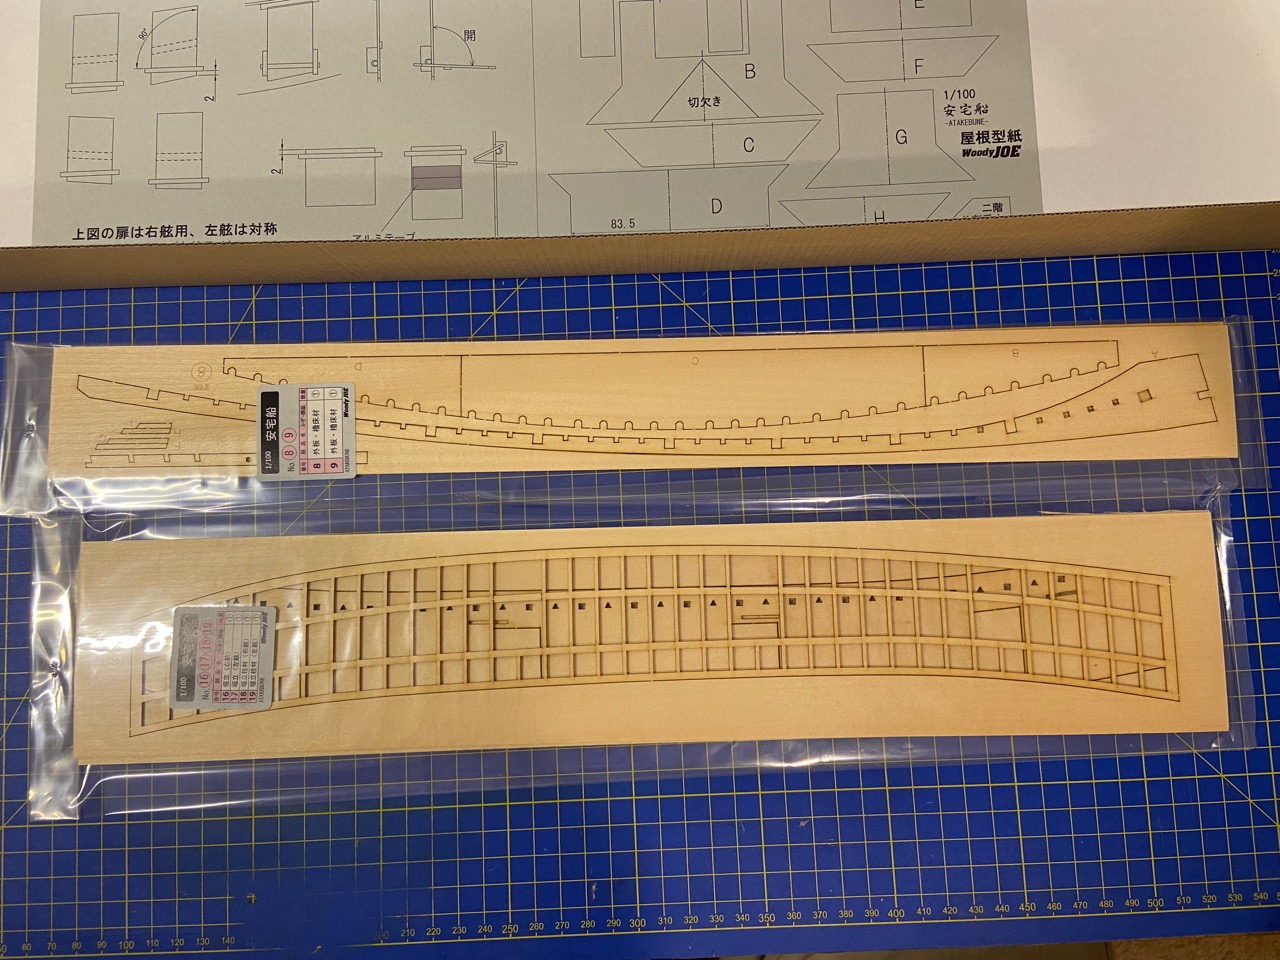
I’m not going to get into a lot of detailed description of the kit contents. Woody Joe kits are pretty consistent in terms of what you get, what the instructions are like, how parts are identified, and all. So, I’ll just post some photos of the kit contents as I removed them from the box.


According to the Woody Joe product information, this kit will take approximately 80 hours to complete. Of course, that figure goes out the window if you are going to add any extra details to it to improve on the basic kit. But, this gives a good comparison, whereas their Hacchoro kit is listed at 50 hours, their Kitamaebune kit at 70 hours, and their Higaki Kaisen kit at 100 hours.
In terms of difficulty, the Atakebune is rated by Woody Joe as a skill level 3 kit on their scale of 1 to 5, with 5 being the most difficult. In comparison, both the Hacchoro and Kitamaebune are listed as skill level 2, with the Higaki Kaisen listed as a skill level 4.
My Atakebune Build
Build logs can get very repetitive after you’ve read or written a few. So, I think I’ll keep this pretty simple and just post some photos as I go. I’ll discuss issues and modifications along the way.
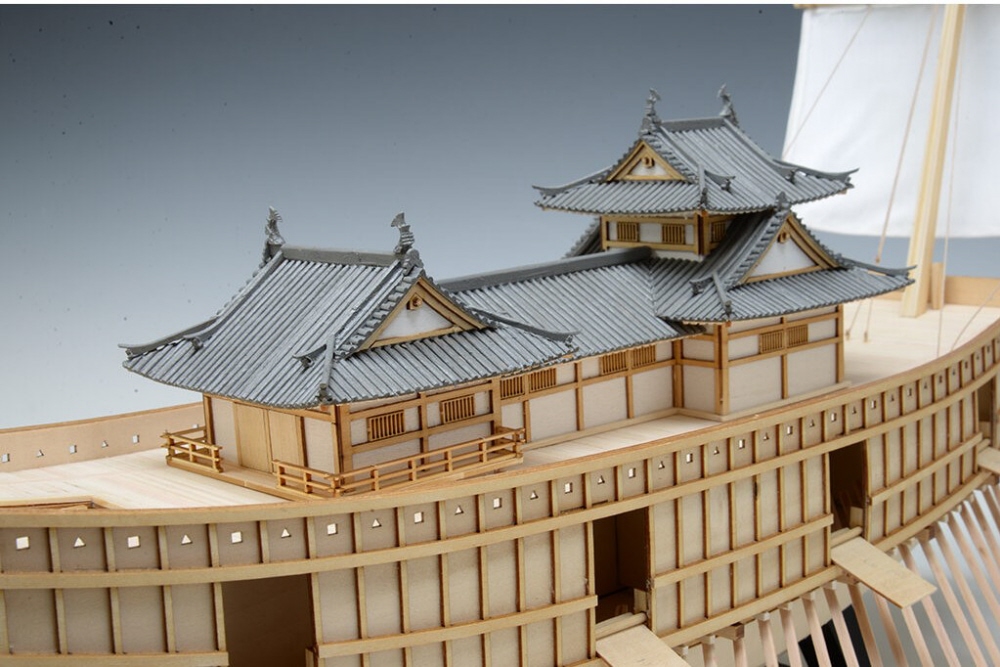
But, I’ll begin by saying that this seems like a very straightforward kit. It’s a little bit light on some small details, but all the major details appear to be here. I think the challenge of this kit is that it’s like a ship kit PLUS a small castle kit, so you get the challenges of both.
As for accuracy, it appears very close to the museum model it’s based on, though there are a few minor difference that can be spotted right away. One is the doors in the side of the hull structure. On the museum model, these are basically double doors that swing outward. The Woody Joe kit makes these drop down doors that act like a boarding ramp. I don’t know which is correct, but I have seen drop down doors on other Atakebune museum models. Perhaps this is Woody Joe’s work to make the model more accurate, or maybe it just to make it more interesting, as these seem to be designed with hinges, so you can open them up as you like.
My first planned modification of the model is to dye all the exposed wood, so I made up my mixture of wood dye, going a little darker than I have in other models, and prepped a pair of jars, which should last through this model. But, I’ve recorded my formula, so I can always mix some more if needed.

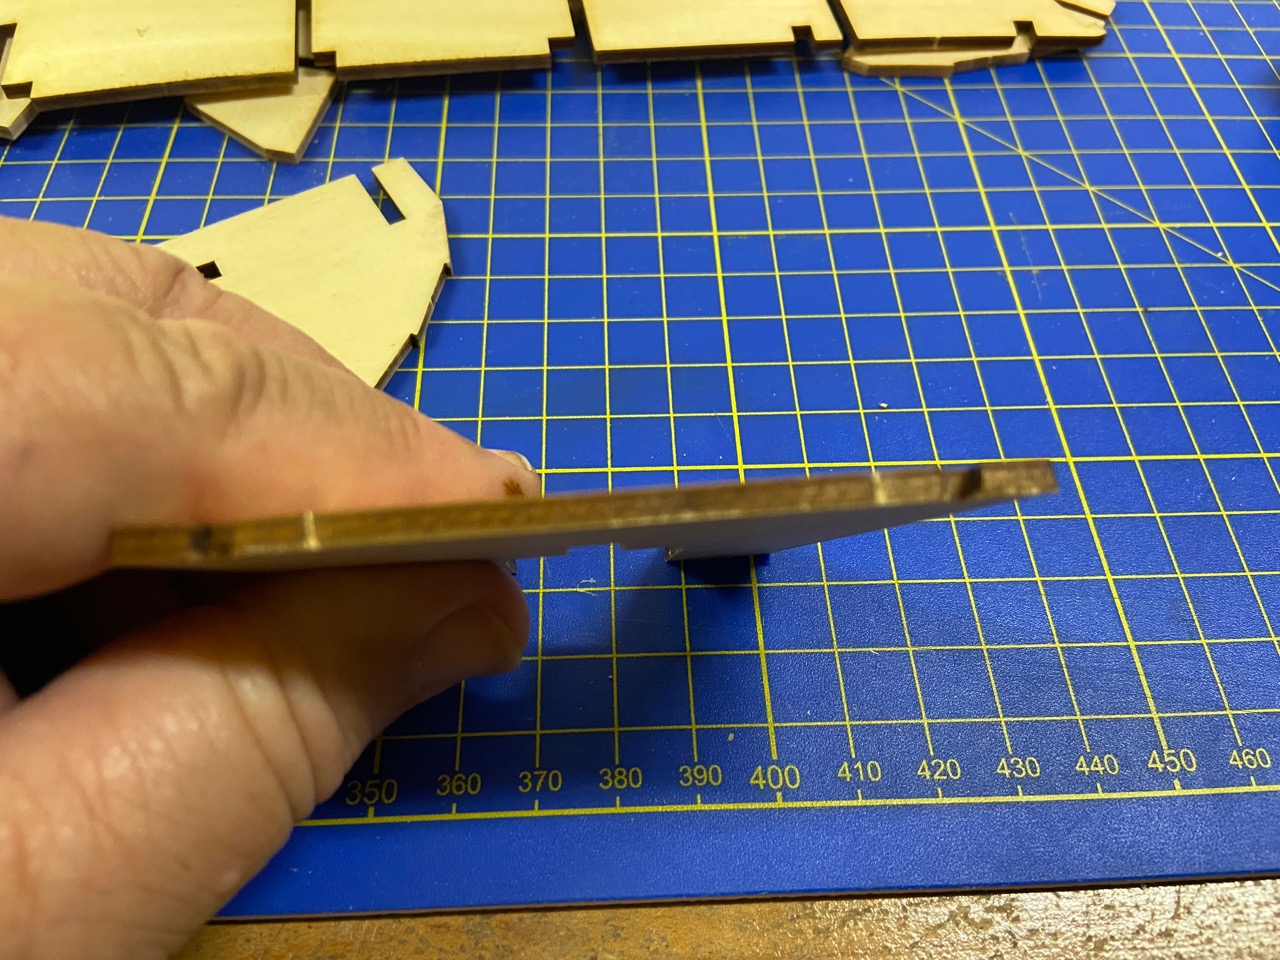
With laser cut parts, you always end up with char on the edges. As ship modelers, we’ve trained ourselves that char must be removed to make for better glue joints. But, with laser-cut kits, you have to be very careful about this, as the kits are engineered to fit together as designed. It’s a good idea to file off some of the char, but you don’t want to remove much wood, as that will change the way parts will fit.
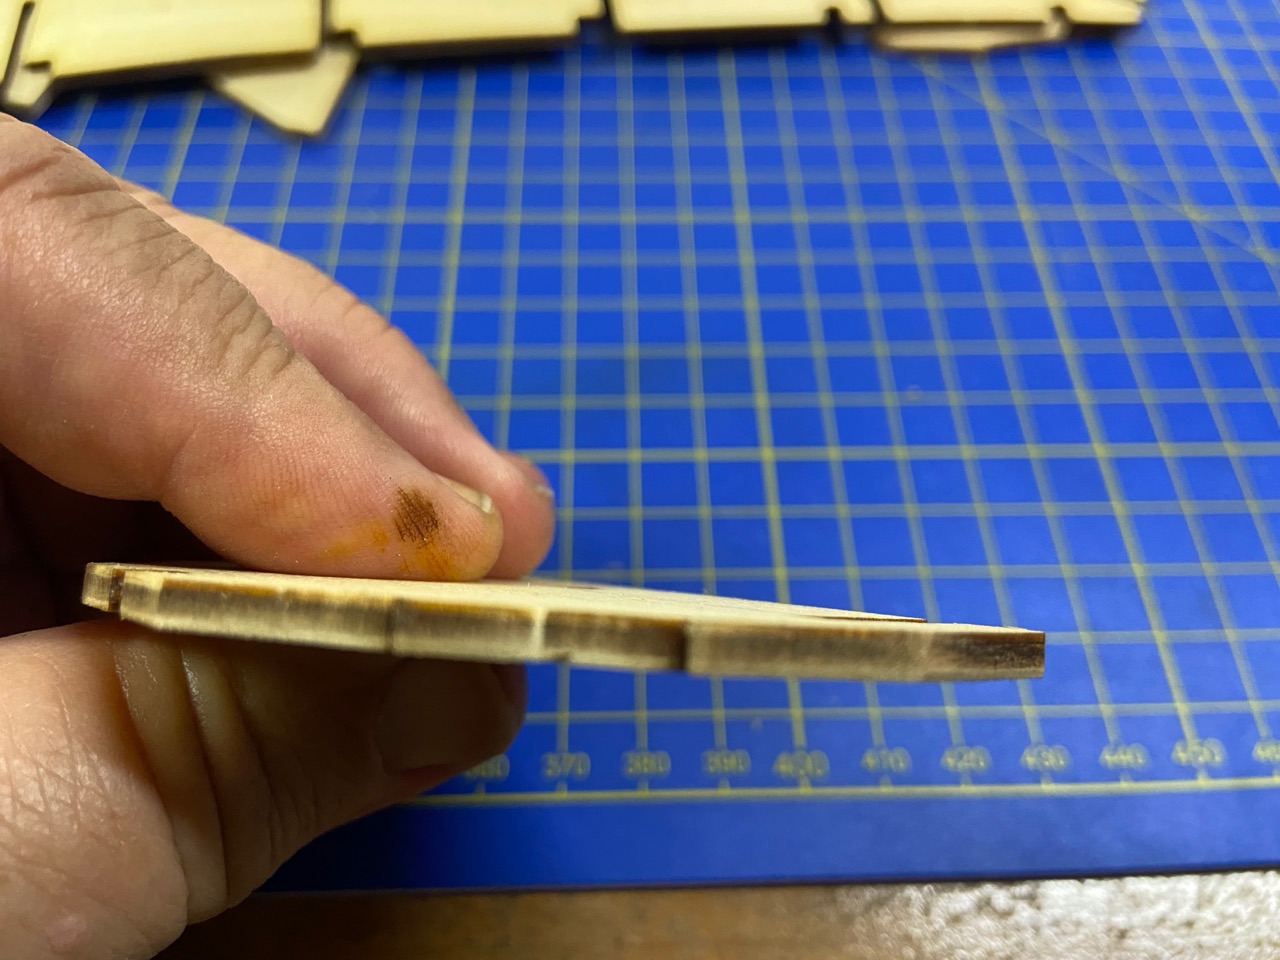
So, below, you can see how much char is on the edge of a part that hasn’t been cleaned up, and then the edge of one after I’ve rubbed it down with a few light strokes of a sanding block.
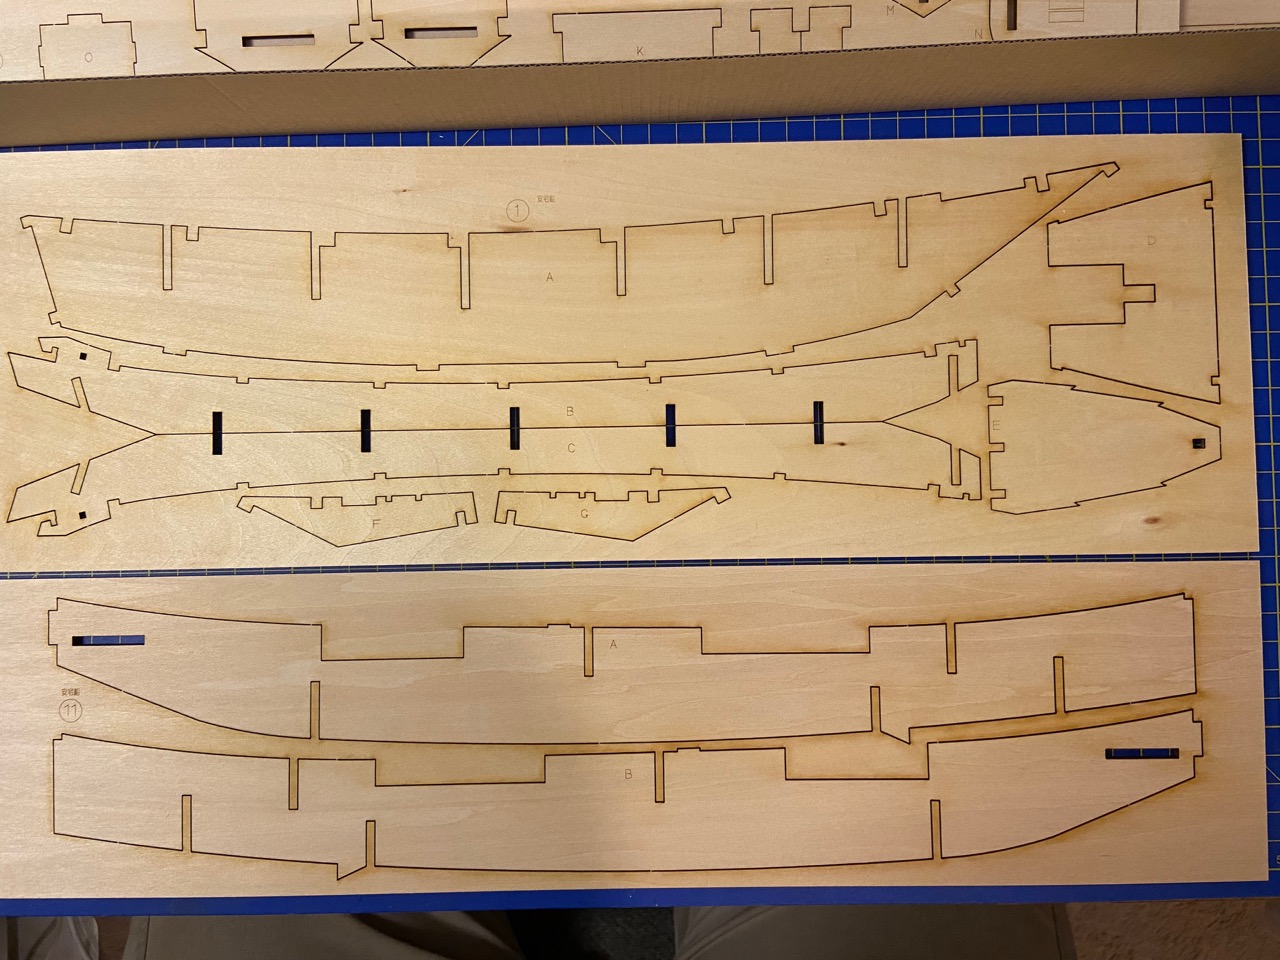
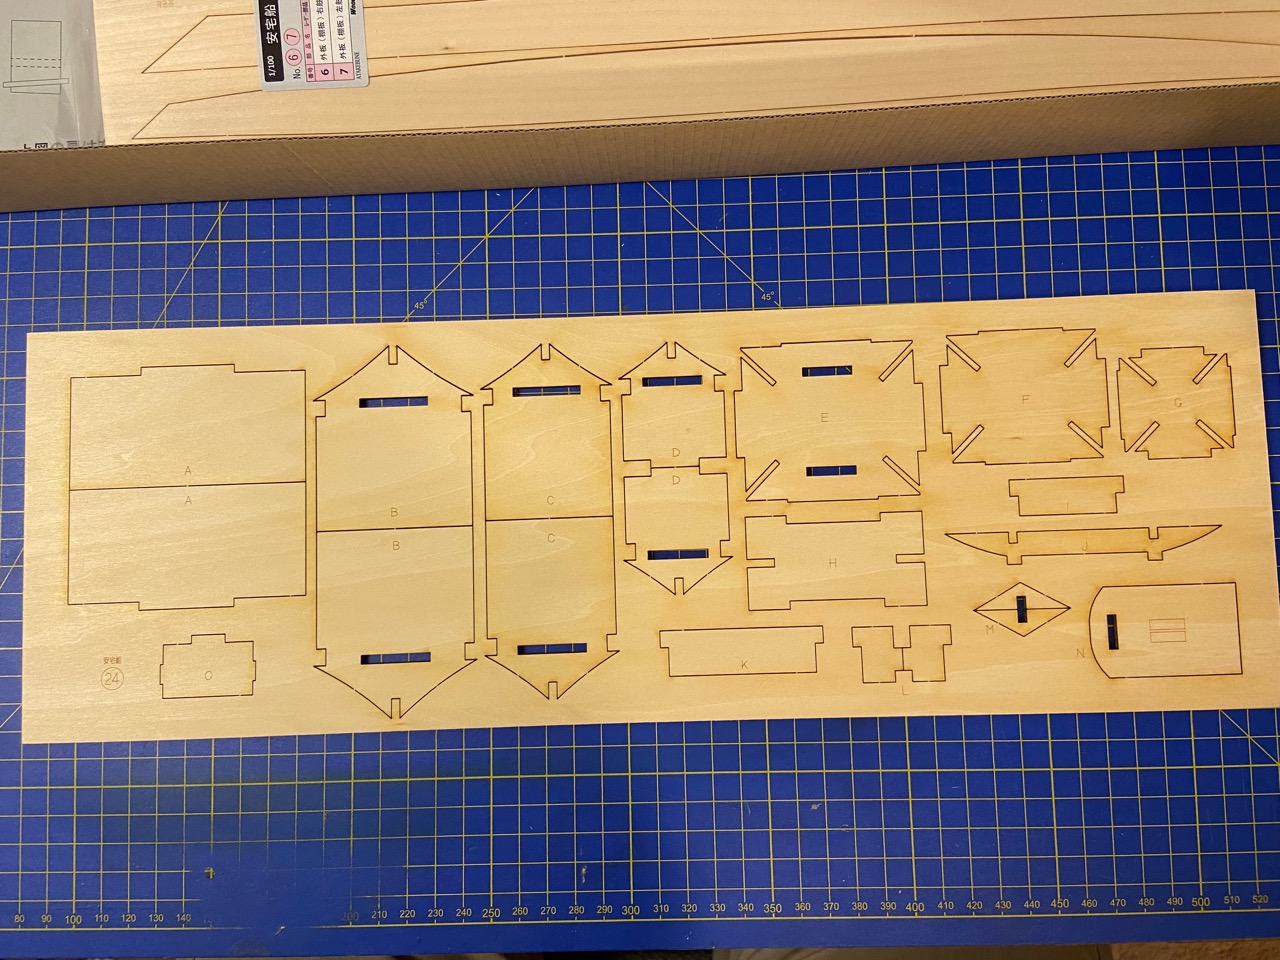
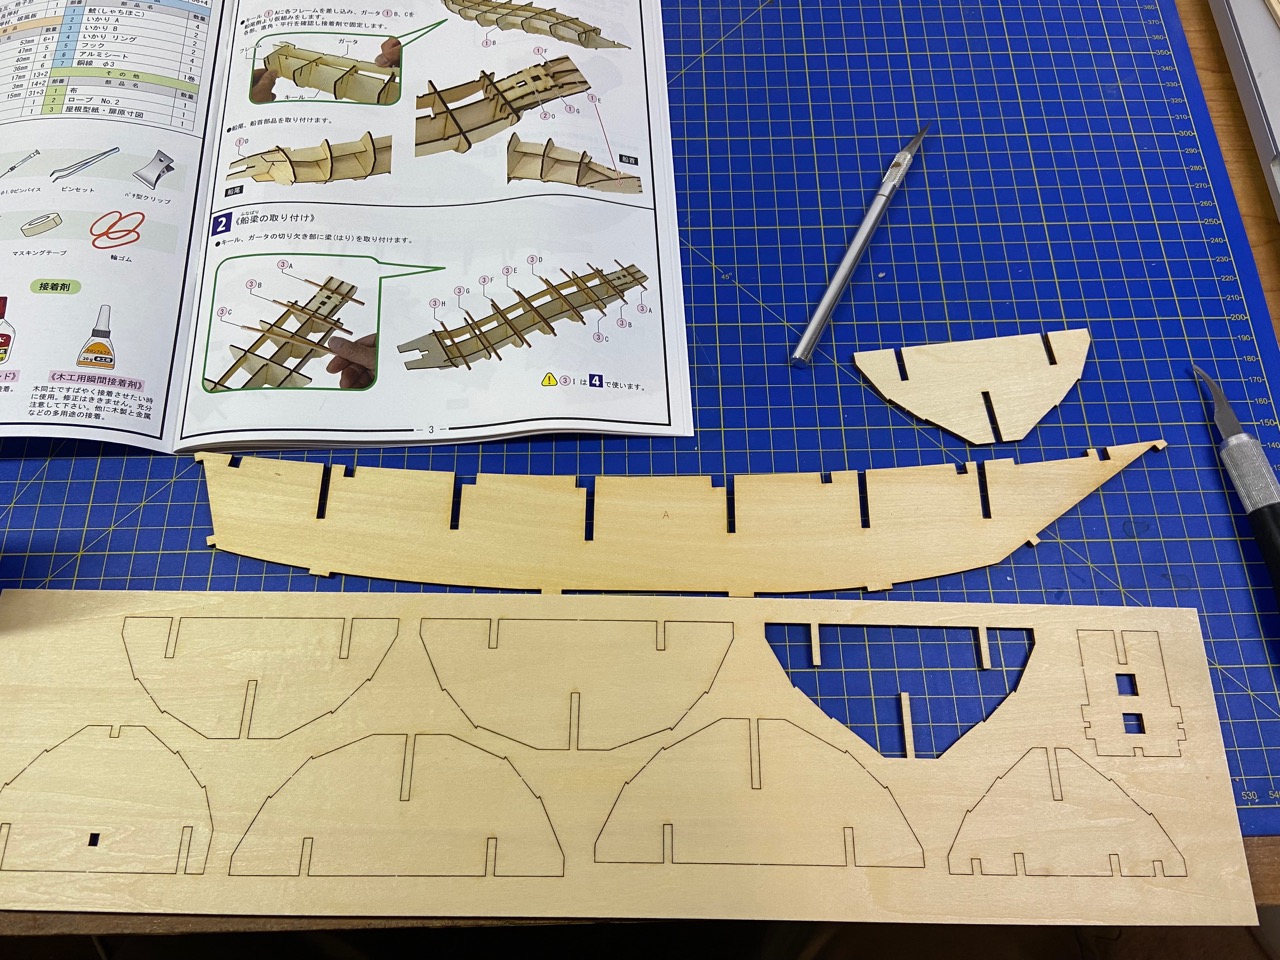
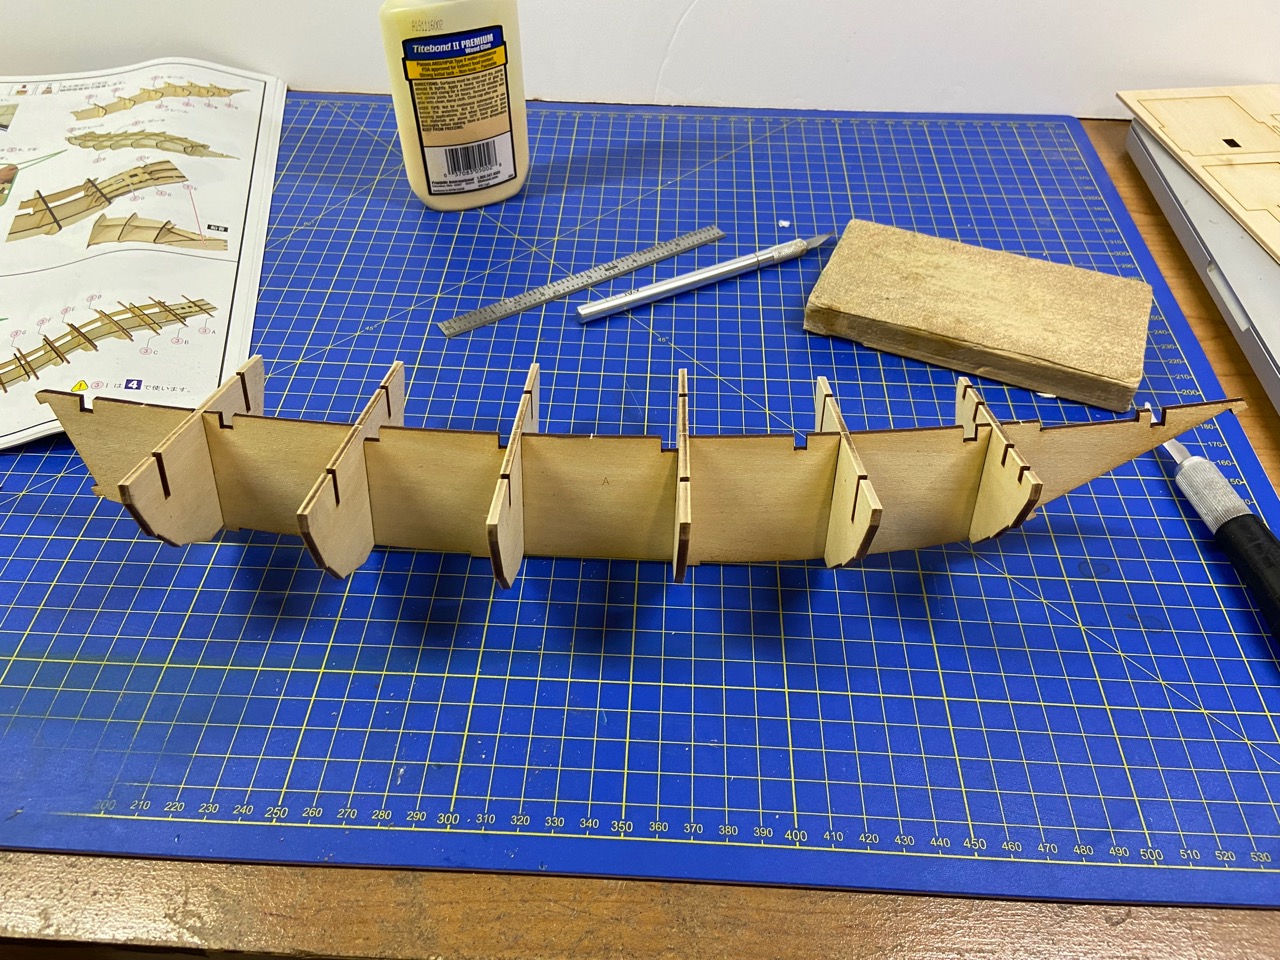
 Below, you can see the first parts I’ve cut out for the hull skeleton. But, at this stage, I’m just test fitting. Next time, I’ll have some parts glued up.
 In the meantime, Mr. Morikawa of Zootoyz is building the Atakebune as his first wooden model kit, and you can follow his work as he posts his progress on the Zootoyz Facebook page here.
As I begin the first steps of this kit, I am thinking about how to make this kit more like the museum model. But, at the same time, I am wondering how accurate the museum model is. Many Japanese museum models that I’ve seen in person and on the Internet are built to represent a particular ship or type of ship or boat, but are not necessarily built with detail and scale accuracy.
For instance, the hull planks on this and the museum model are made from a single sheet of wood. Certainly, on a ship of this size, that’s not possible. I’ve seen some Atakebune museum models and illustrations that show large areas where planks are overlapped. And, certainly, planks as wide as those used for this ship are made up of narrower planks that were edge fastened. But, at this scale, those individual planks would not be noticeable, though large overlapped joints would be quite visible. But, since they are not on the museum model, we’ll assume that this is correct.
However, one feature that appears on the museum model that could easily be added here are the beams whose ends just pierce the hull. You can see these along the length of the museum model.
 In addition, you can see the nail mortises along the edge of each plank. These are normally covered with copper plates, as are the ends of the beams, including those that support the sculling oars above. I’ve simulated these as an oxidized brown color on my Kitamaebune model, and I could do that here as well.
One more thing that I spotted is that if you look closely at the following photo of the museum model, you can see a kind of gallows structure at the head of the rudder. This would be a pair of heavy posts supporting a windlass. I don’t know what the windlass is for exactly, but a similar structure exists on the Higaki Kaisen and Kitamaebune, and the whole thing generally supports a rope that wraps around the rudder head to keep it in position.

This structure should be easy enough to add. In addition, I noticed that the whole platform that is slightly recessed down below the top deck has no planking. It’s just a solid piece of plywood. So, I plan on fixing that too.
I’m sure there are some other places where I think the model can be improved, but these should go a long way toward a nicer looking model.

Do you have a list of locations with wasen models in Japan?
LikeLike
No I don’t. But, if you look under the References menu, I do try to maintain a list of museums that have some amount of wasen and wasen models displayed.
LikeLike