
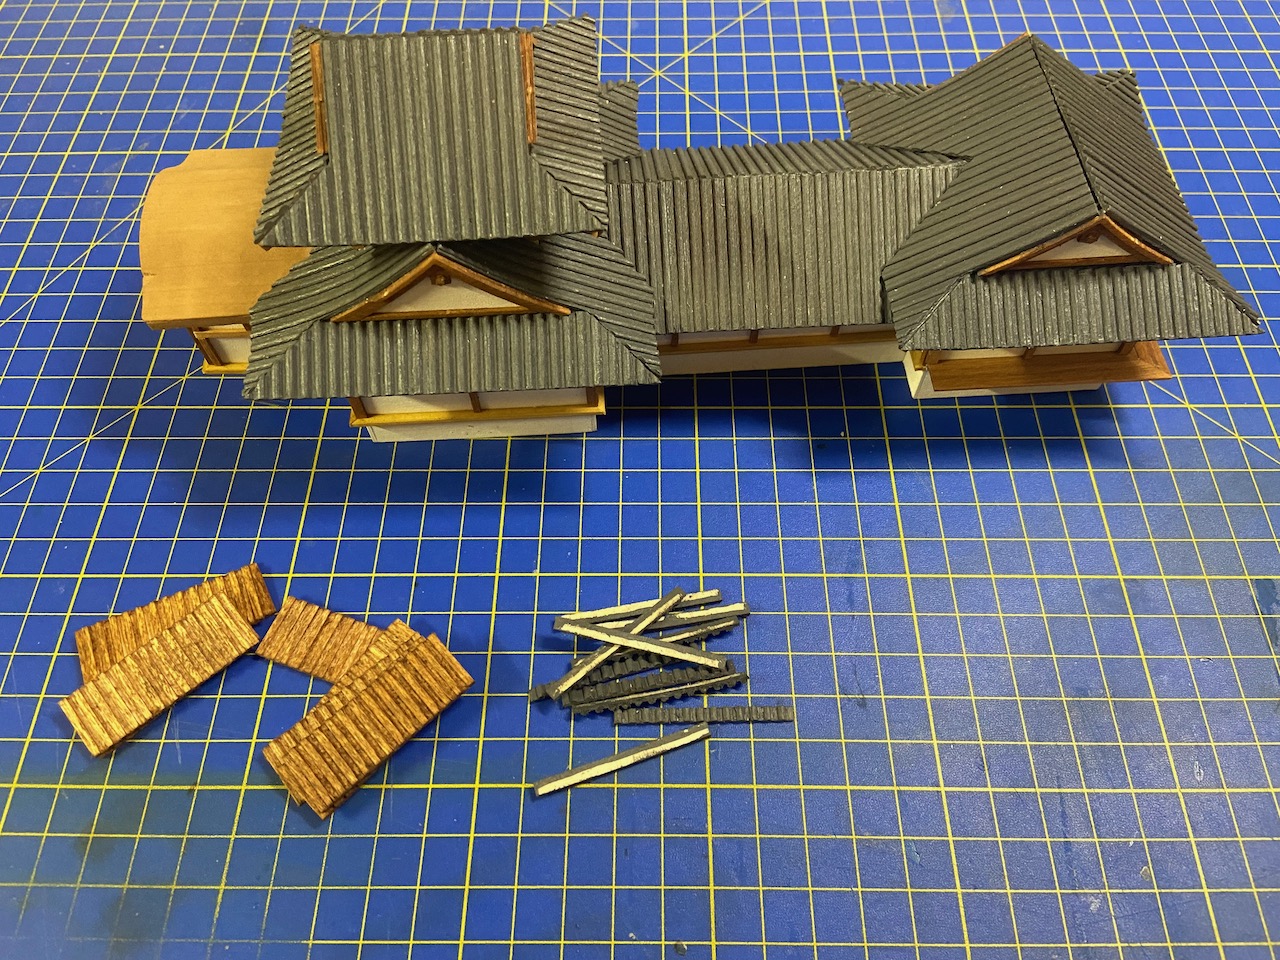
It’s time to finish the Atakebune’s castle structure. Basically, what’s left is to add the pieces that fit under the eaves of the roofs and also to install some edging pieces and then some final decorative details to the rooftops.
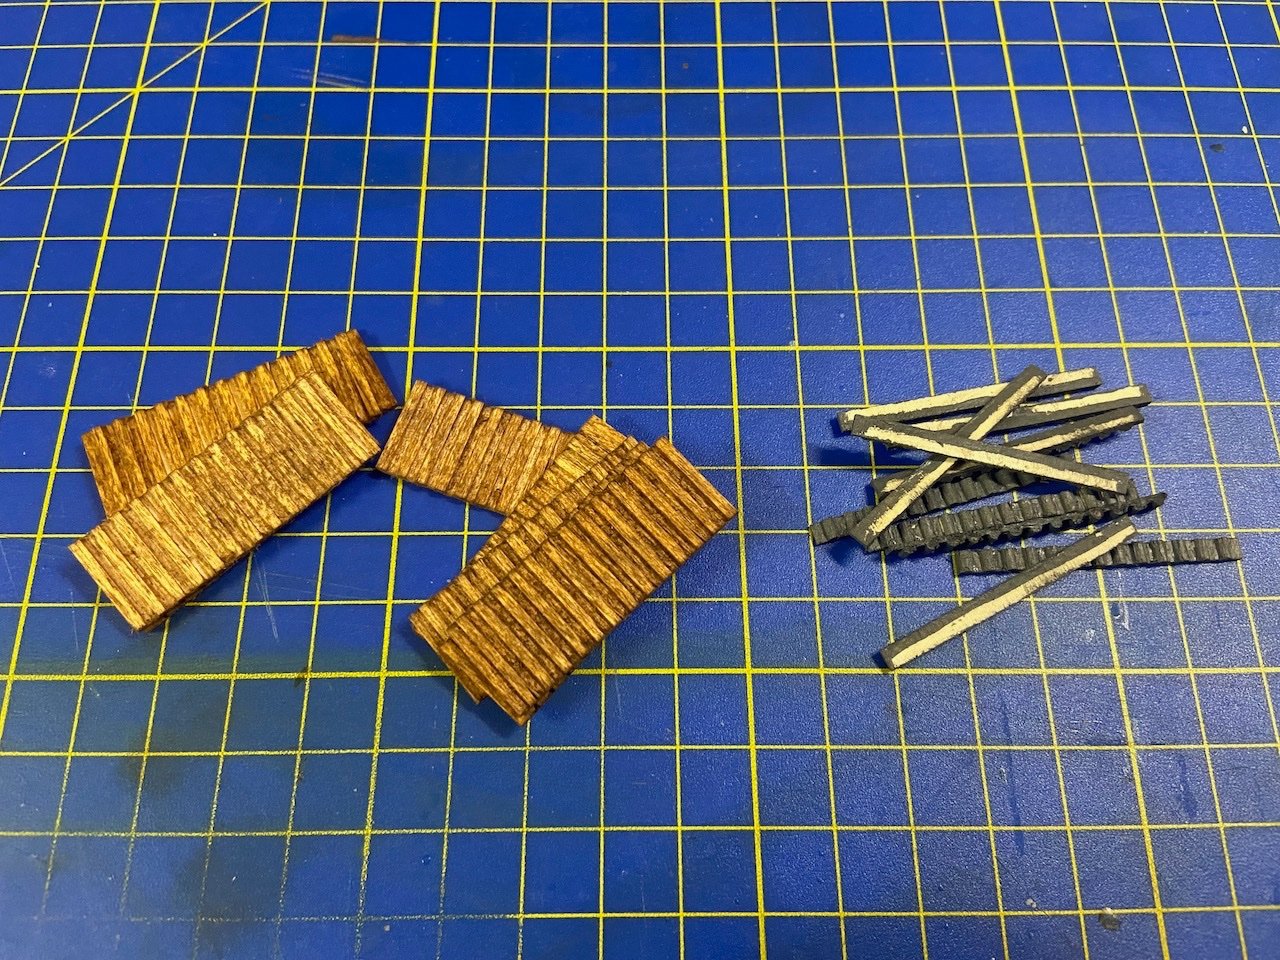
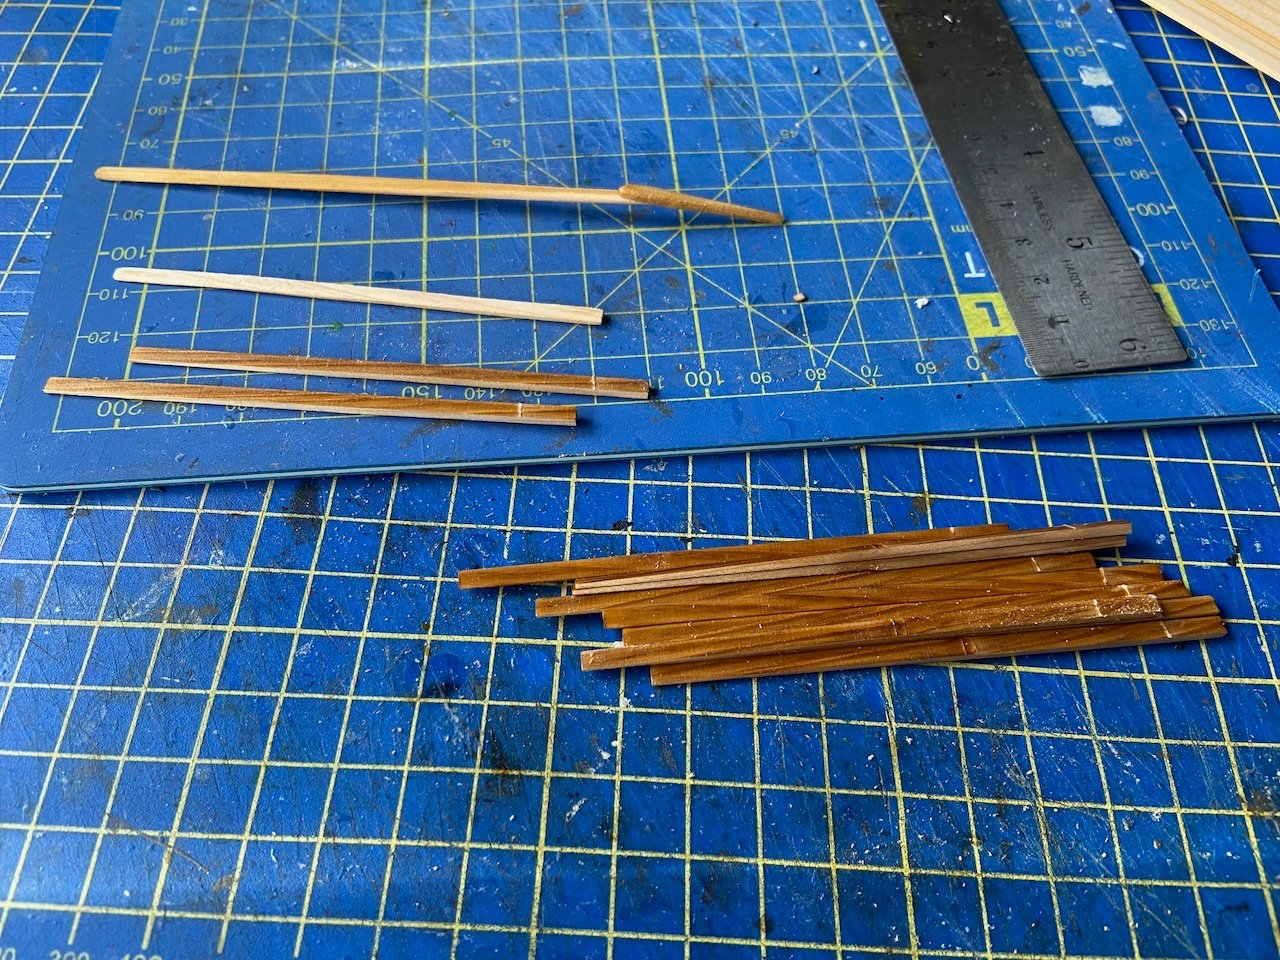
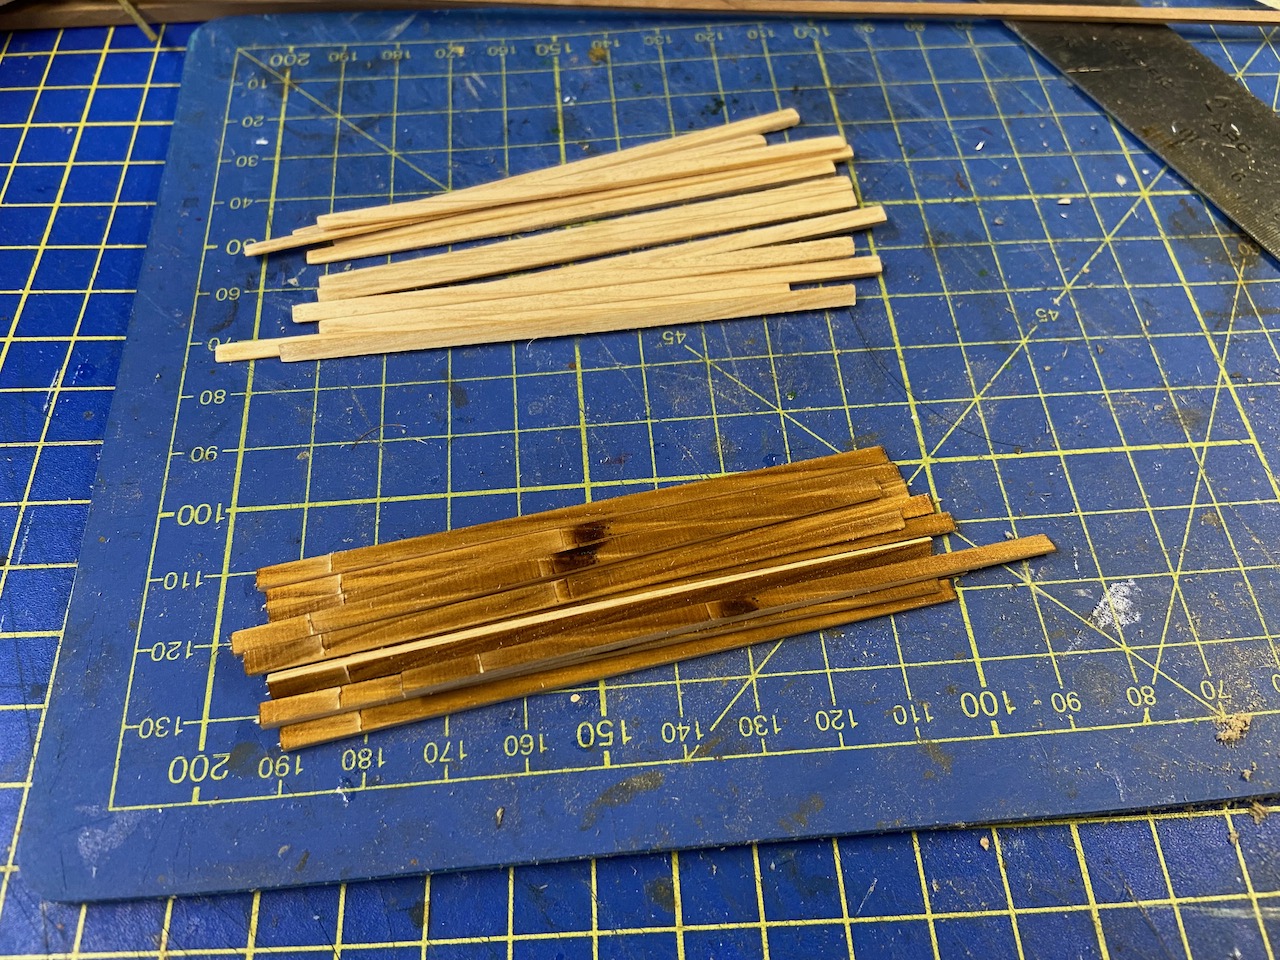
On the left are the pre-milled strips that go underneath the eaves of the roof. I gave these a couple treatments of natural teak stain, but the milled wood has a fairly rough surface from the machining, so the color application isn’t perfectly smooth. Still, it’s actually better than it looks in these photos. Anyway, the parts are mostly unseen, except at the edges. On the right are the edging pieces for the tile roof. These will go on later.
I painted the underside of the roof a dark gray near the edges before I added these eaves pieces. They have to be cut to fit, but all the angles are 45 degree, so that part is actually pretty easy. One thing is that some of the eaves are a little narrower than the rest – that might be a measurement error on my part during the roof construction. So, I had to narrow some of these pieces in a couple places.
The hardest part was fitting pieces under those overlapping corners like the one just left of center in the photo below.
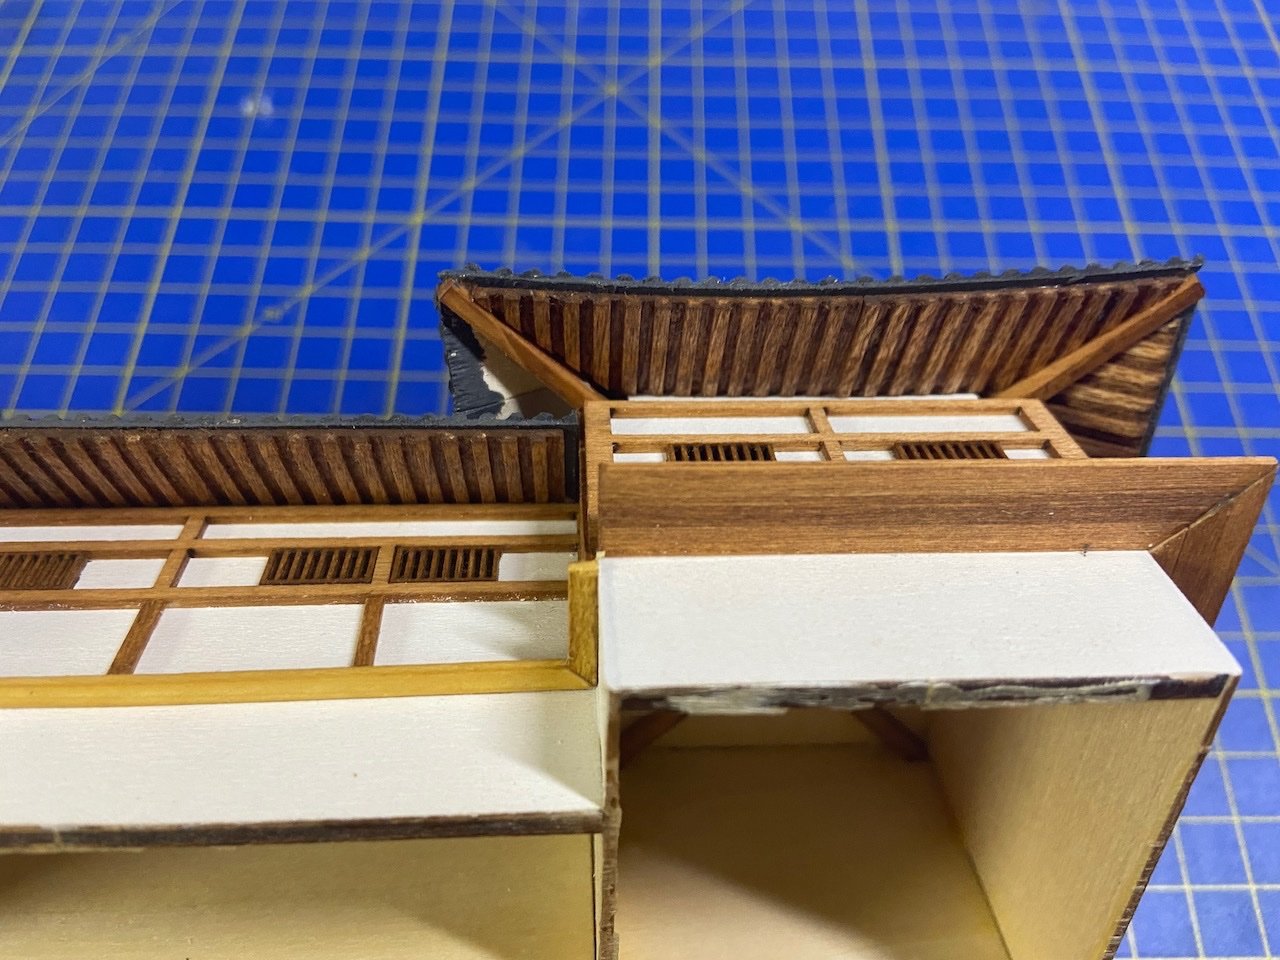
Here’s another angle of that same spot.
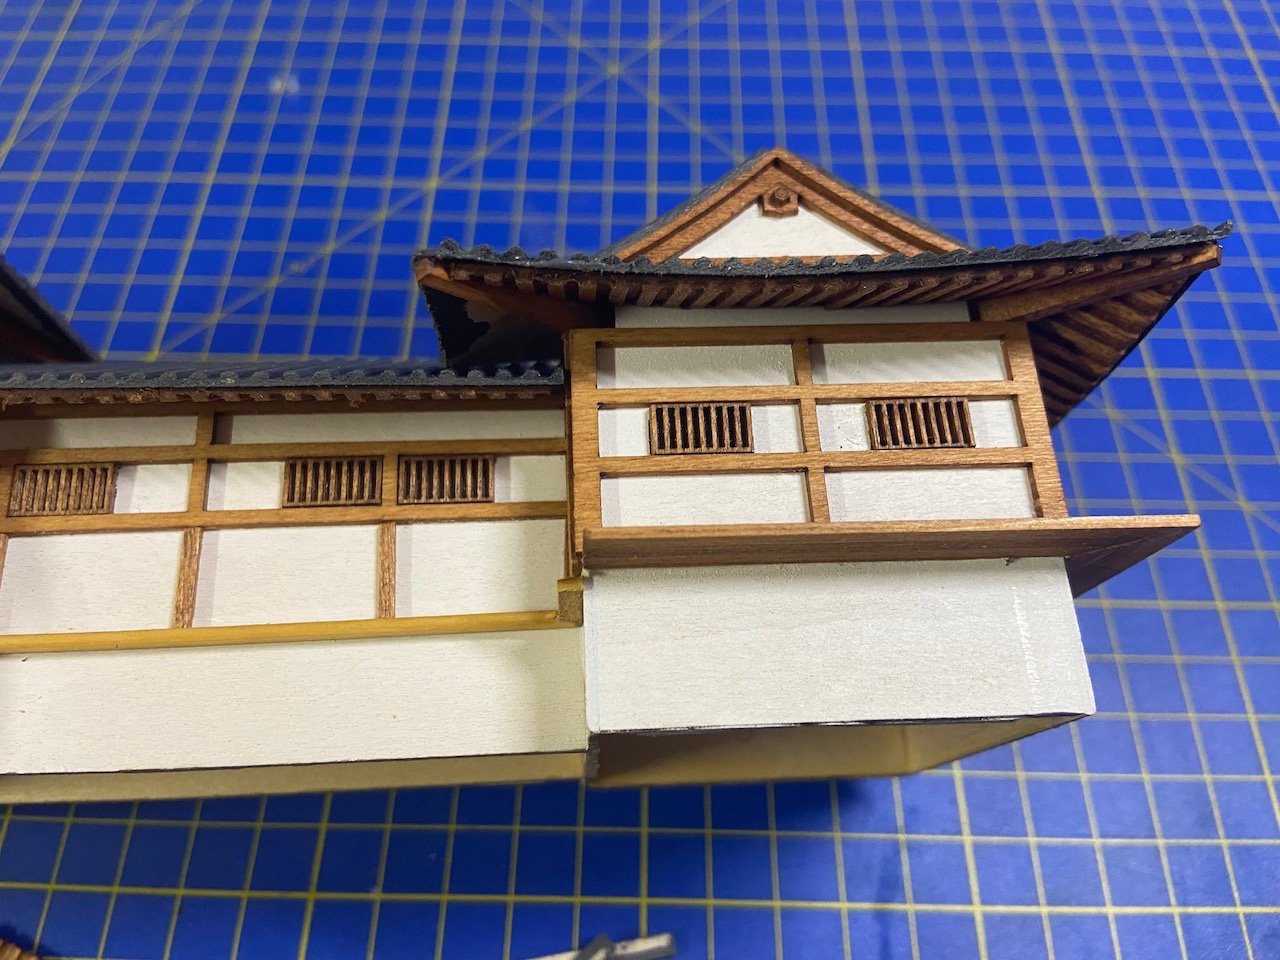
Next step was to add the edging of the tile roofing and then the decorative details on the rooftops.
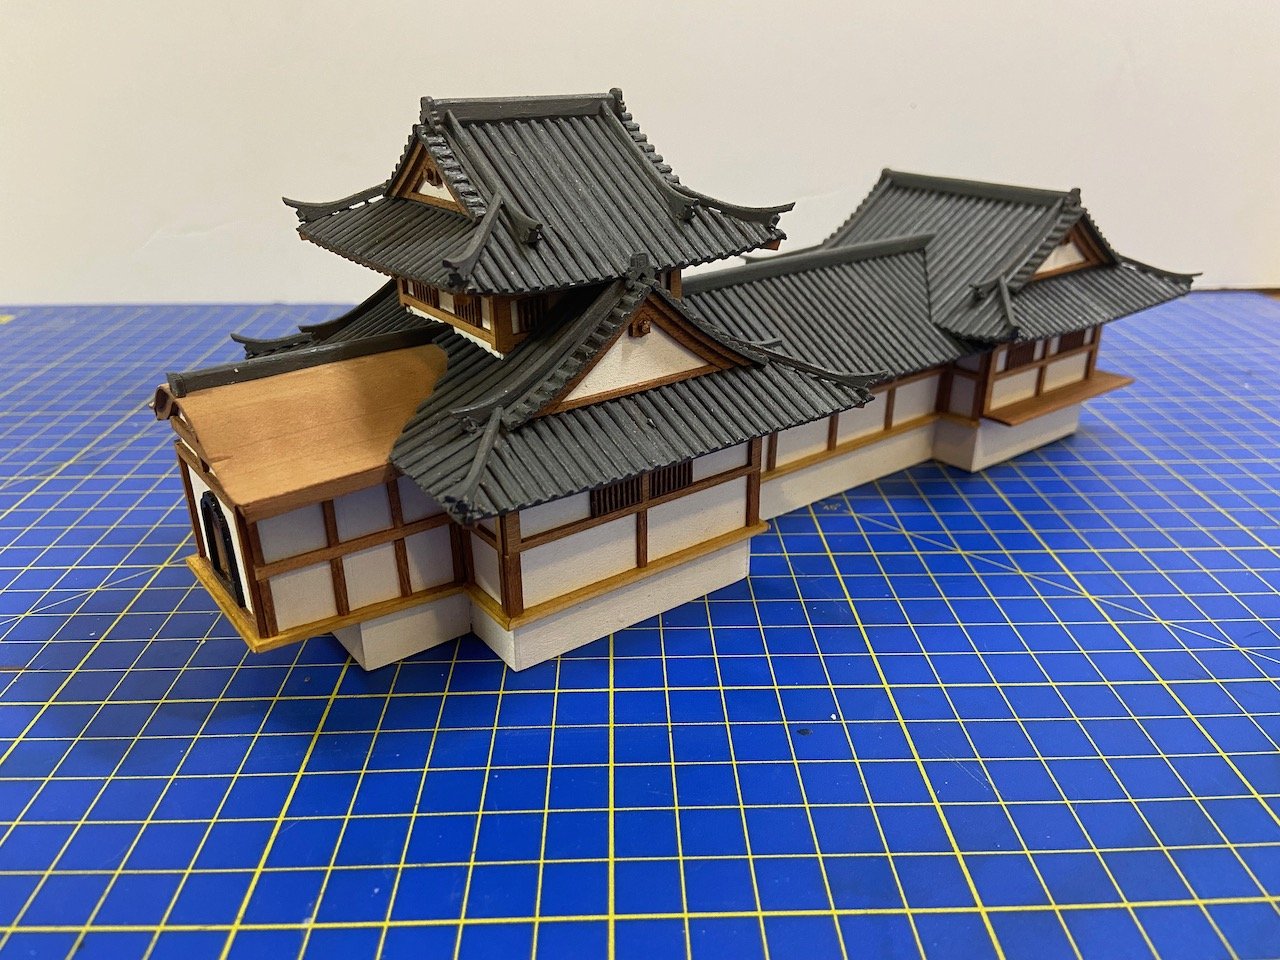
The last step of the castle struture is to add the decorative fish fittings that adorn the corners of the castle towers. These fish figures are called shachihoko and are found on the tops of many castles, gates, and the homes of some nobles. I’ll save these for later, as it’s easy to knock them off during construction – Something I know from first-hand experience.
Sculling Oars
Next, I’ll need to get back to finishing the lower hull modifications. But, before I get to that, I thought I’d start taking care of the many sculling oars I’ll need. These are partial oars, so I don’t have to make the whole oar, just the lower part that sticks out of the ship. This ship is represented as having 36 pairs of oars.
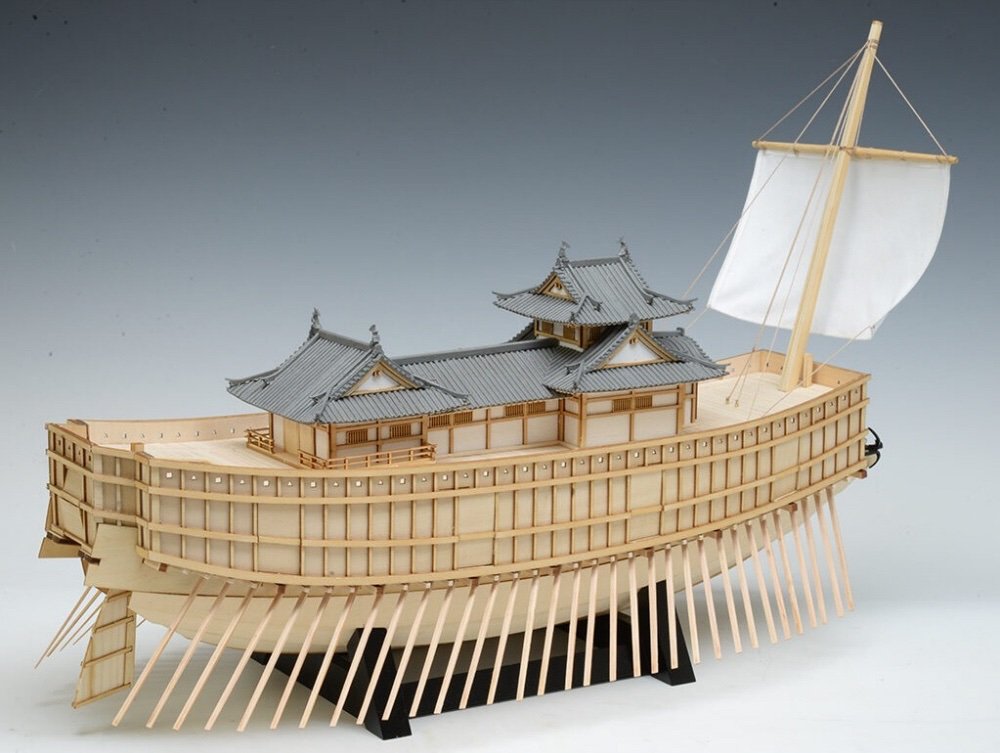
Below, at the bottom, you can see the pieces as provided on the laser-cut sheets. Immediately above those is an example of one oar that’s been cleaned up. At the top is a sculling oar from another model, so you can see what the whole thing should look like. I might have to make some full-length oars from scratch if I display any of the doors open. But, I don’t know if I’ll do that, as that leads to so many other details that aren’t provided in the kit, like the internal deck, walls, and structural members, etc.
Cleaning up all these oars is slow going. Below are 12 cleaned-up sculling oars. Only 60 more to go.
The Mast
Now, another modification I’m considering, though perhaps this one will be fairly minor. The kit includes a forward leaning mast, equipped with a yard and sail. Only a mast is depicted on the museum model, as that’s all that’s shown in the original painting. But, the kit looks like this:
Now, I think whole idea that the mast wasn’t in the center of the ship is somewhat controversial. But, that it leans out in front of the shipmay be even more controversial. To my knowledge, this arrangement isn’t seen on any other Japanese ship in history.
Now, I have noticed that the museum ship has a feature on deck that leads me to think that the forward leaning position might be just to drop it out of the way from the castle structure, and that it might be pulled upright when actually sailing. This would pivot the mast at its base, deep inside the hull, and cause it to come up through the deck, a bit further aft.
Unfortunately, the best museum photo I have that shows any of the deck in front of the castle structure is the on below. But, in it, you can see a few features that I’ve marked out with color arrows.
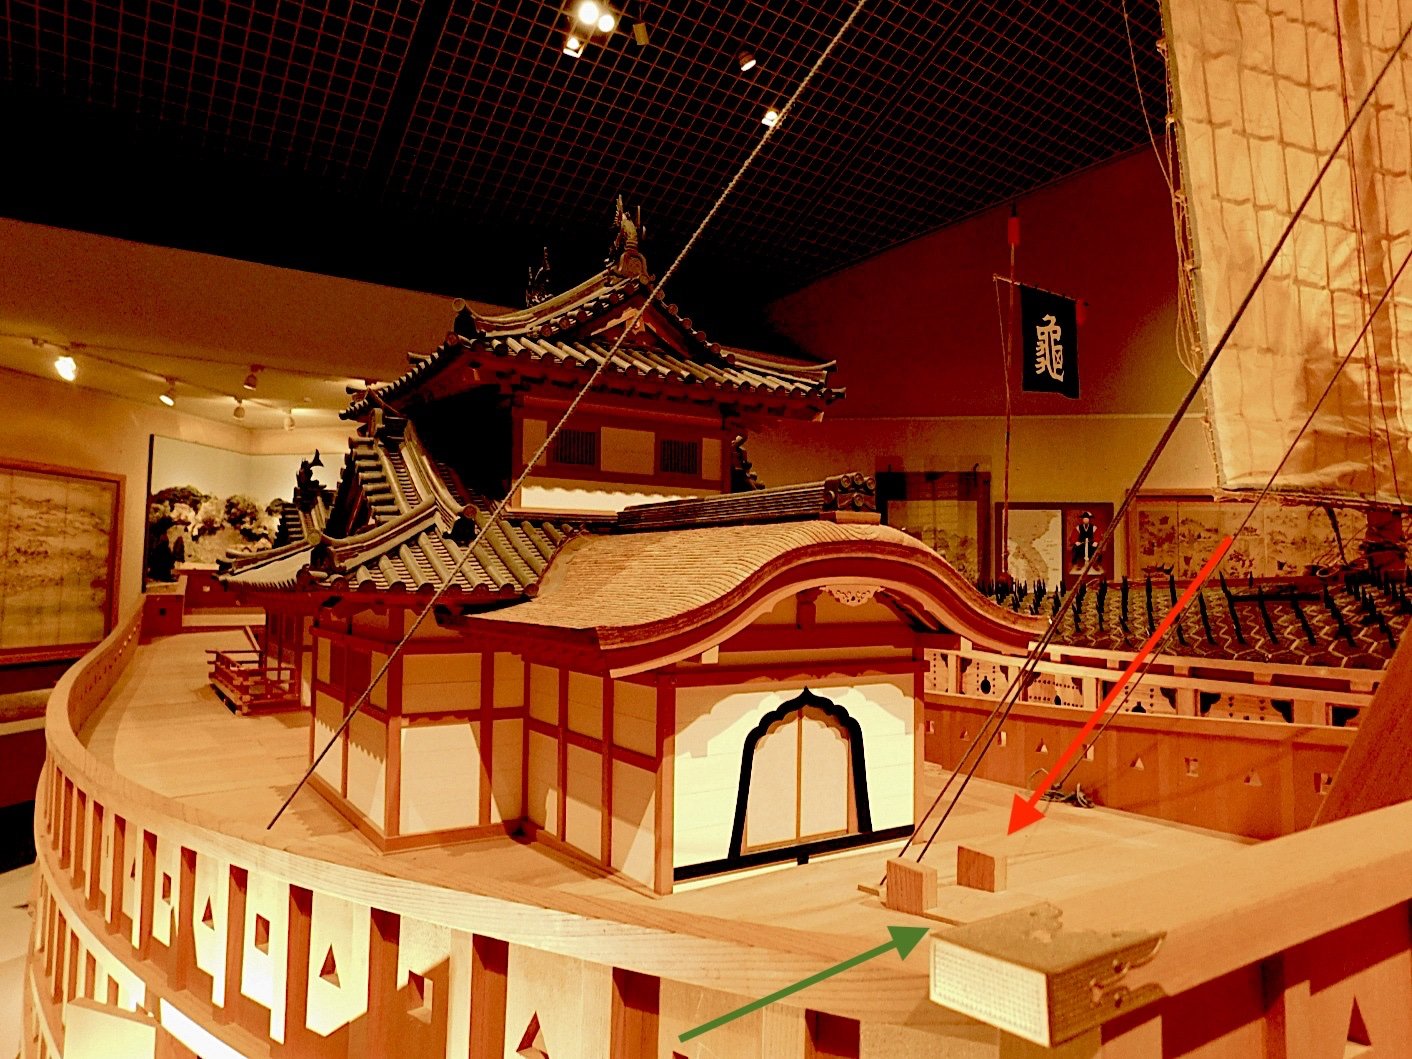
The red arrow points to what look like mast supports. To me, these are familiar as the tops of supports that stand to either side of the mast. The mast would usually be lashed to these supports.
The green arrow points to what look like deck panels. Removable panels that stick up from the main deck would cover a long, narrow opening, through which the mast could be raised to a vertical position. Similar panels are seen on coastal transports. And, similar slots for the raising of masts are seen on other types of Japanese sailing craft.
Now, this could simply be a museum invention to try to explain how this forward leaning mast might work. But, it makes sense to me. I can’t see all the features, but I can speculate. And, it would be easy enough to add this to the deck. Plus, it would give me a reason not to add the sail provided in the kit, which looks a bit odd to me anyway.
I suppose the yard arm could also easily be stored below deck and brought up through that slot when they decide to raise the mast and sail. I’m going to try running this by a couple people who are familiar with atakebune before I make modifications there.

Reblogged this on Ship Modeler and commented:
My build of Woody Joe’s Atakebune kit moves forward. The castle structure is mostly complete, and I’m starting to consider other modifications to the kit. After this, I’ll probably go back to finishing the modifications I started on the hull.
LikeLike