
When I look at how long this project has sat, while I’m off working on other things, it just seems crazy. Fortunately, I’ve found an impetus for finishing up. Before COVID, I used to have displays of Japanese traditional watercraft at a display window in Sand Francisco’s Japan Center Mall. Well, I finally reached out to the bank which has that display window, and I’ve got the display area reserved for late October. So, it’s time to wrap this up, one way or another.
The model itself looks the same as it ever did, but I’m now back to working on the sail. I’ve gone around in circles on this feature and I’ve written enough about ideas and steps I’ve tried taking, considered taking, and so on. So, now, I’m just going to show where I’m at with it.
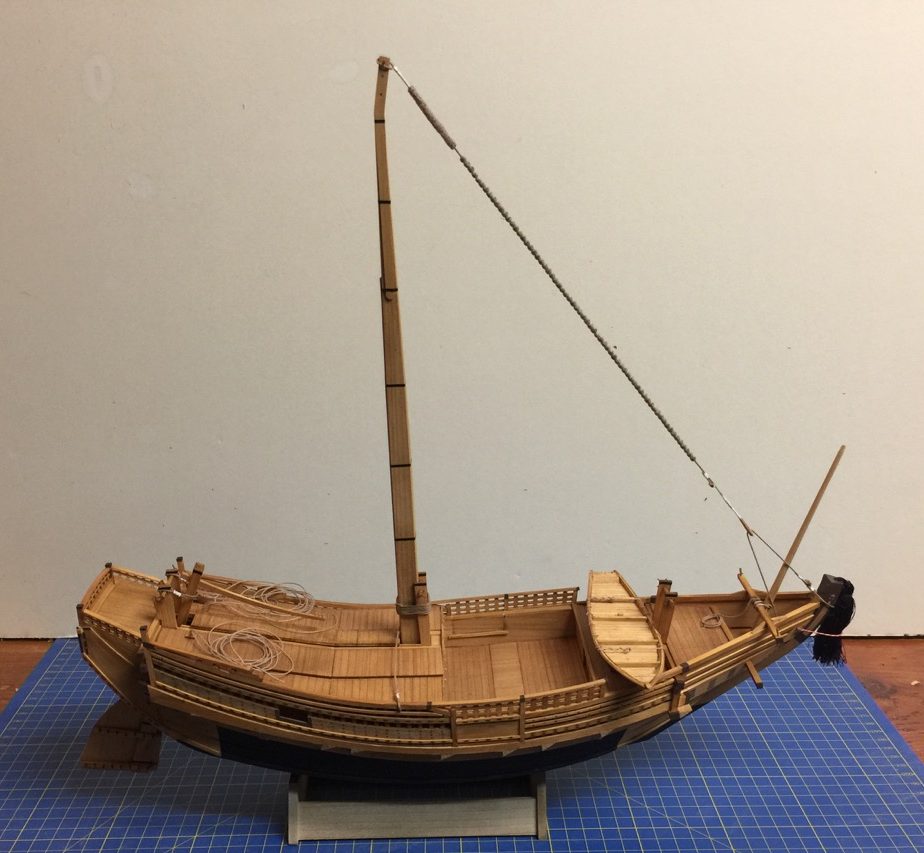
The model, as we last left it.
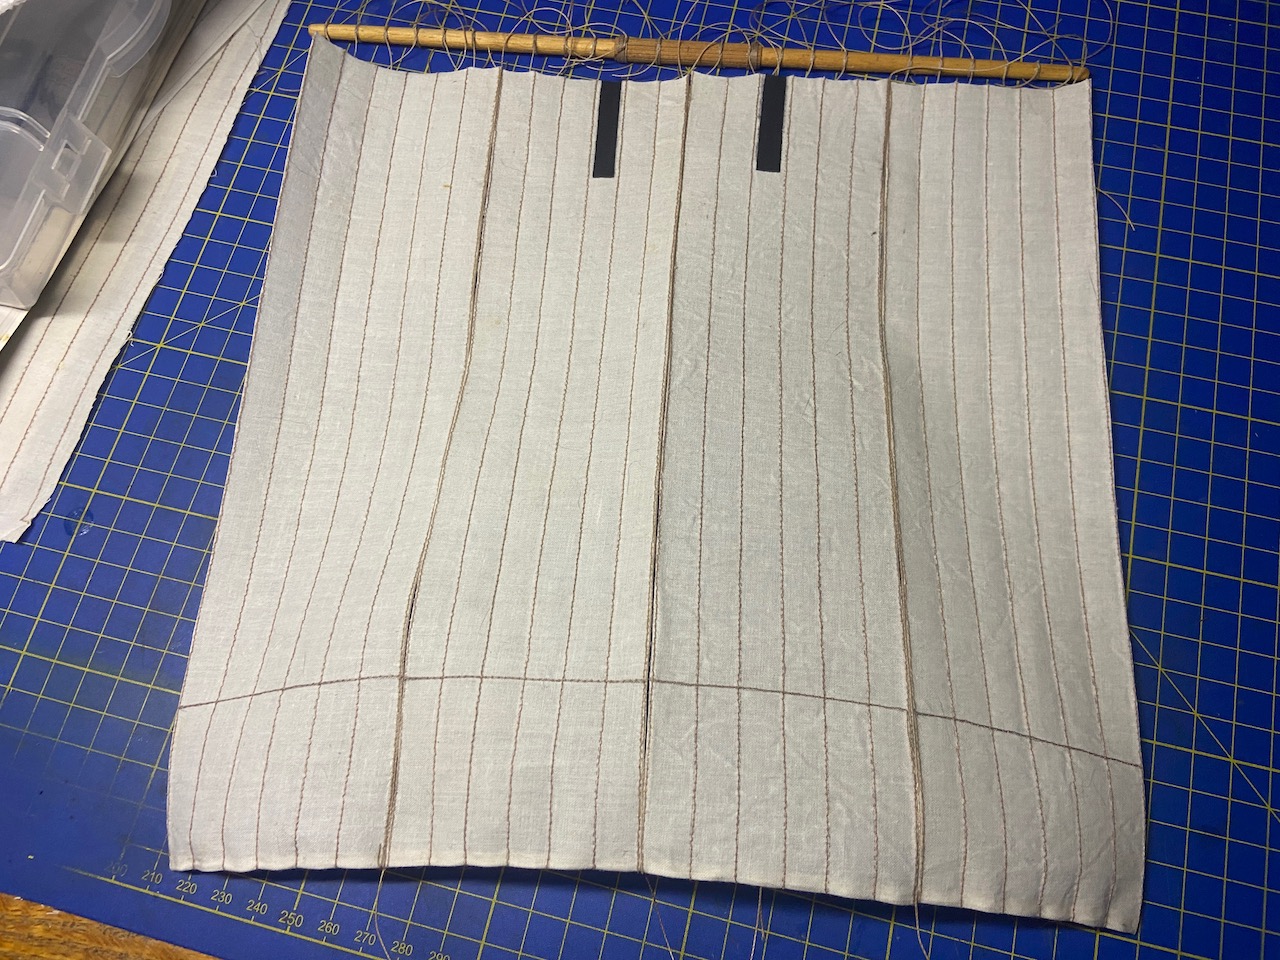
So, as I mentioned last time, I had sewn some new sails and I’ve added some details to it. From my work on the sail of my Tonegawa Takasebune model, I’d learned a few things that should help make these sails look more realistic. After all the sewing was done, I treat the cloth with Terial Magic, which is a fabric stiffener that makes the cloth like paper, but can be washed out, if desired. The sewing itself was treated with Aleene’s Tacky Glue to stiffen up the stitches, and to allow me to cut the whole thing apart into four large panels.
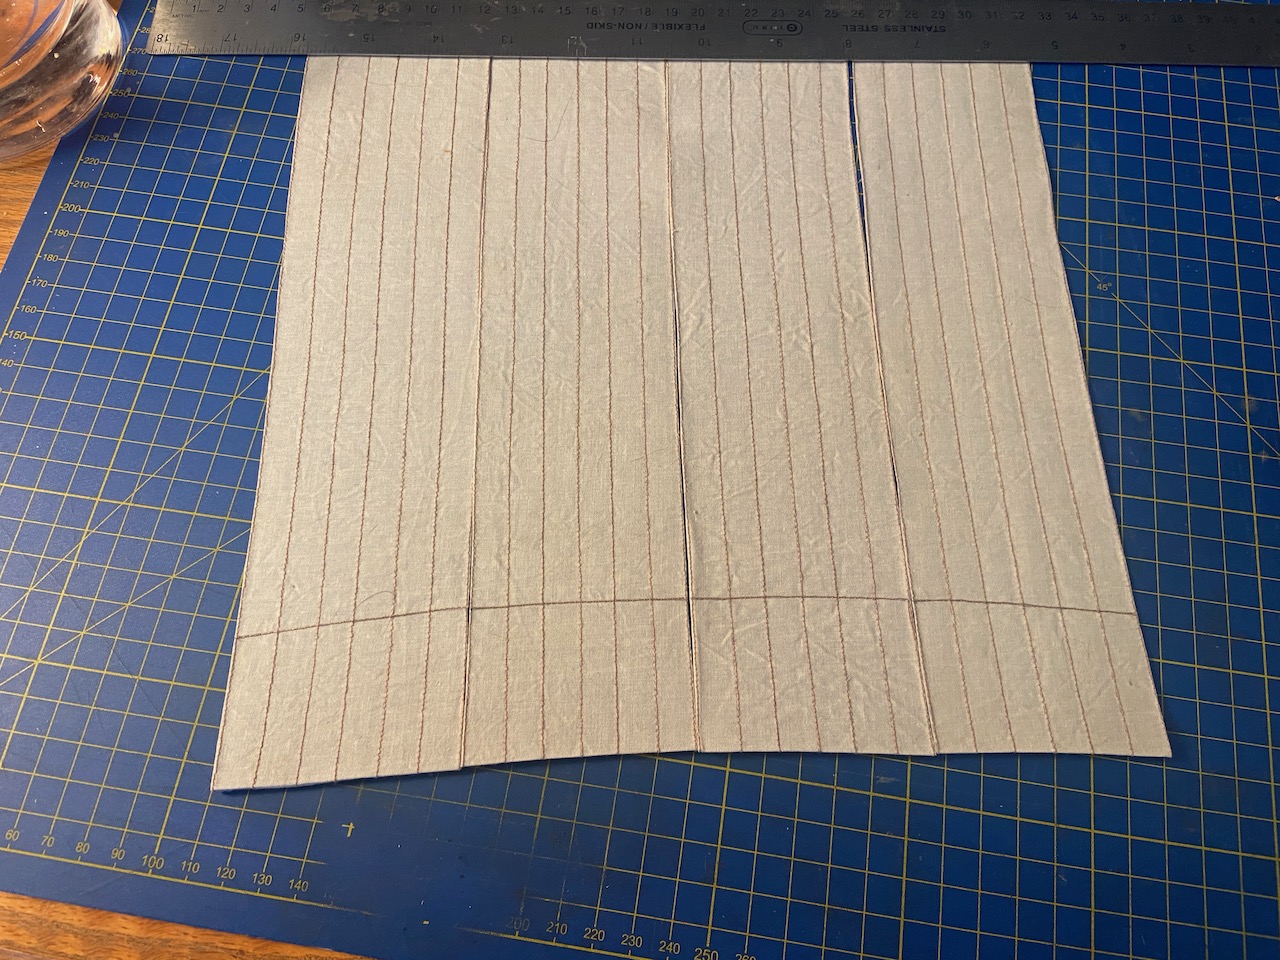
The top edge, I then cut in such a way that it appears scalloped, with the peaks being at each of the stitching lines. On the real sails, the stitching is actually a piece of rope as long as the height of the sail, and tied to the yard. The sail panels on either side of the rope are laced to the rope. So, when the sail is hanging up, it’s held up by these ropes, and the sail cloth in between these ropes hangs a little slack.

Sail cloth before, on the left, and sail cloth after scalloping the top egdge, on the right.
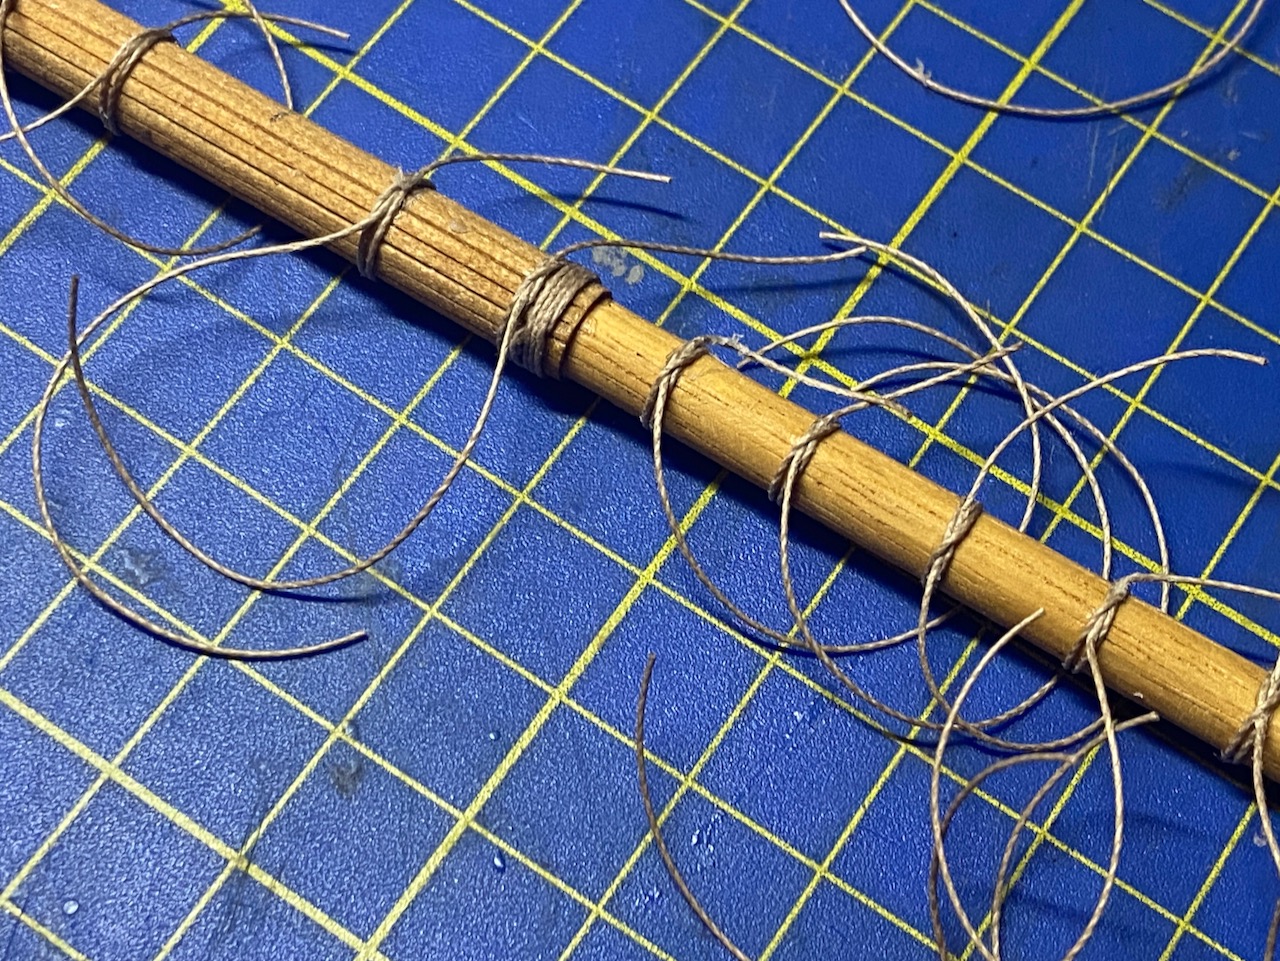
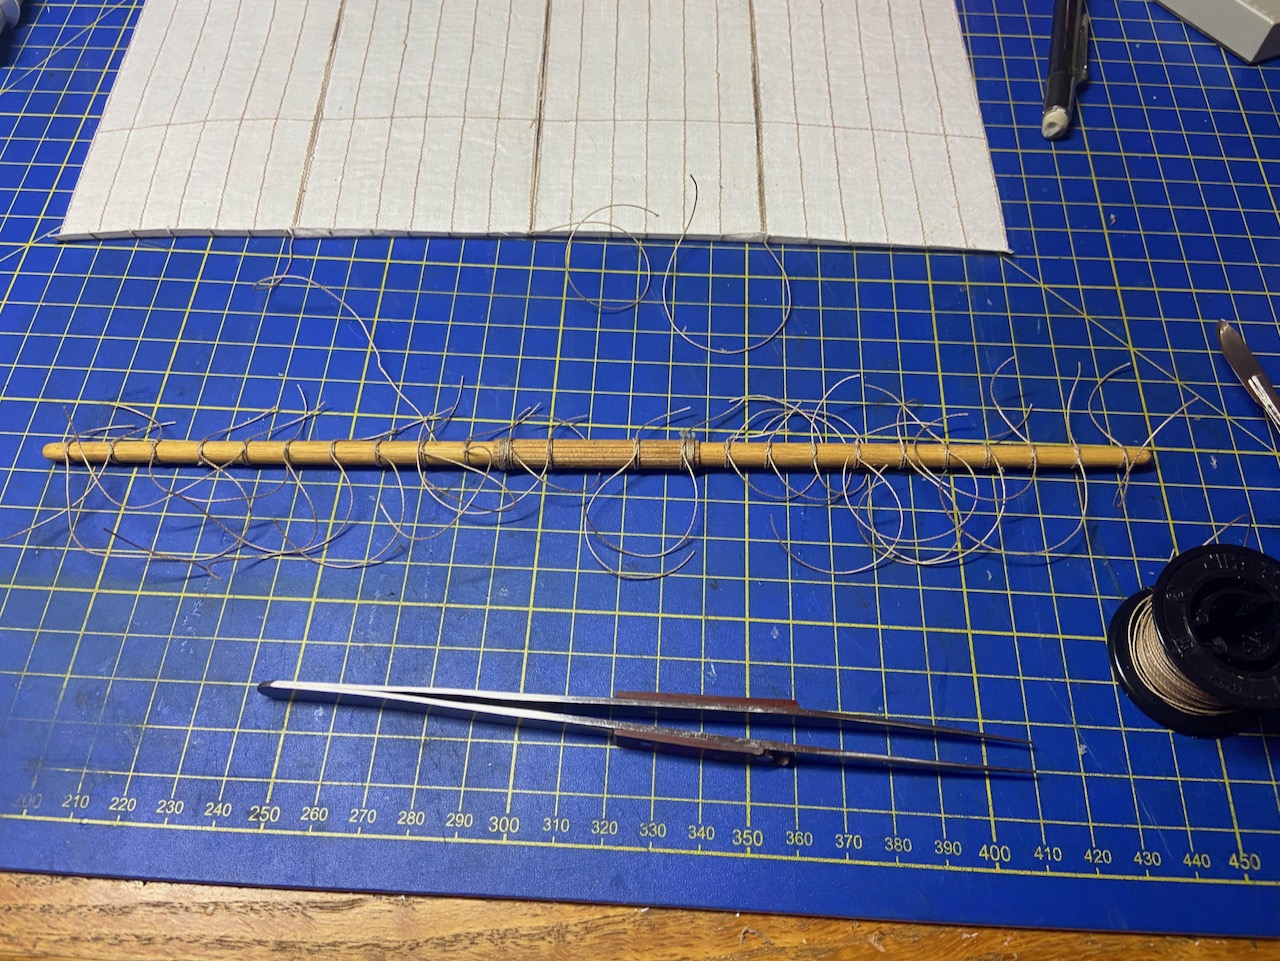
I ran glued a piece of rigging line to one edge of the large panels, so that one piece of line would pass between each adjacent pair of sail panels. Again, I used Aleene’s Tacky Glue. I also created a fold in the bottom edge of the sail, which will be use to conceal a lenth of coated wire. The wire should help me give some shape to the sail.
There is a feature on kitamaebune that I don’t is used on higaki kaisen. This is a marking on the main sail that identifies the owner of the ship. There are probably some known markings of famous Kitamaebune owners, but I just made up something that’s very simple, just black rectangles on the third cloth out from the centerline of the sail. I painted these using some artist’s acrylic that I use mostly for paper models.
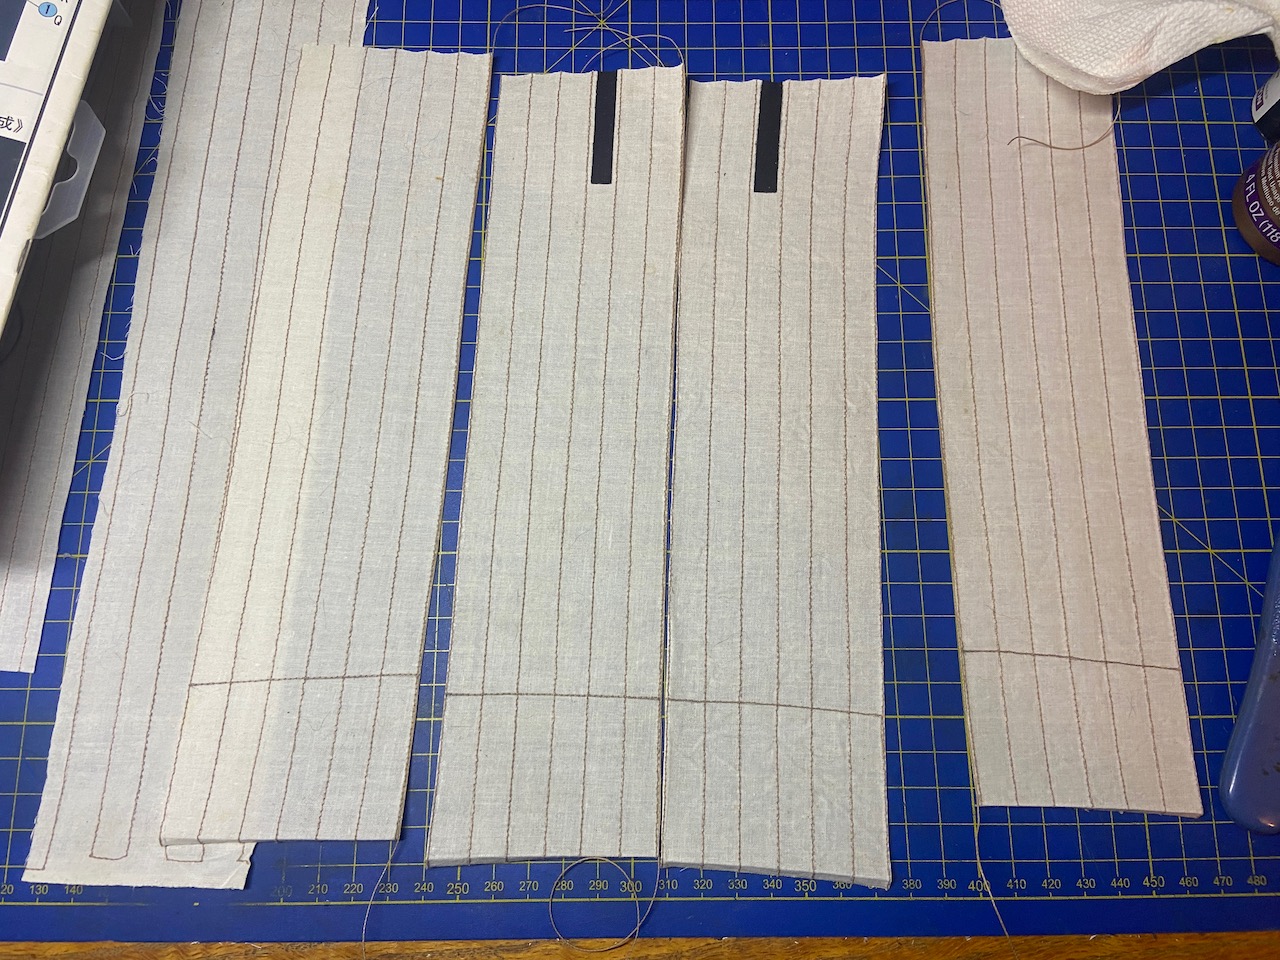
Painting wasn’t too difficult, though the Terial Magic treated cloth doesn’t show much bleed through. But, anyway, the back sites are marked the same as the front sides. I masked off the areas to be painted, but was a bit tricky getting the markings straight. They look better on the front of the sail than they do on the back.
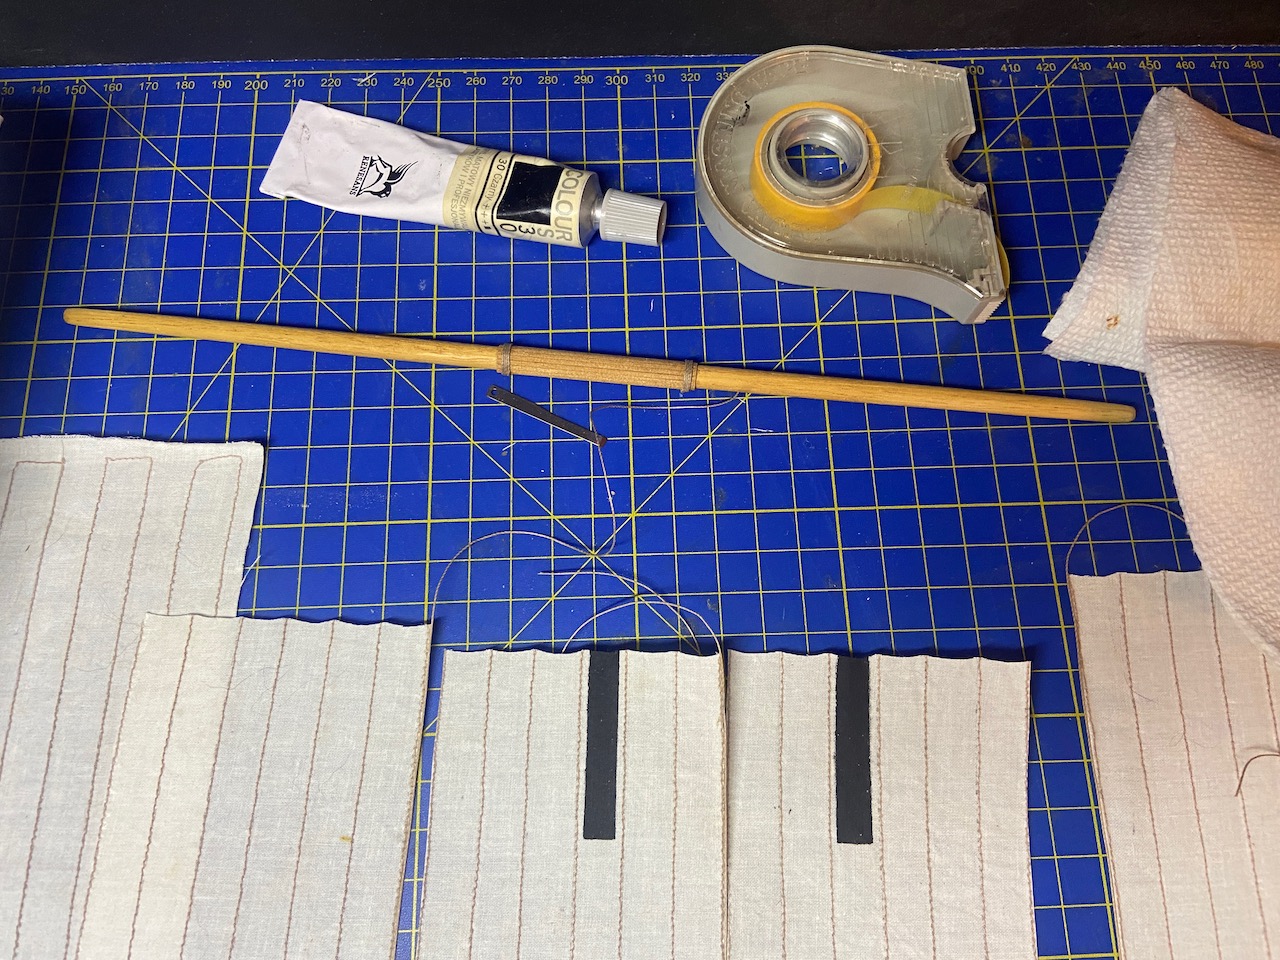 While gluing up and painting the sal was drying, I took the time to add the ropes to the yard according to the kit instructions. These are essentially tied in a clove hitch. This is the same knot used to attach ratlines to shrouds on western ships. However, on this thick yard, tying these was a much different experience. The first 1/4 of the yard took me the longest, trying to tie them using my fingers and not really being able to see the ends of the lines very well. So, I finally got smart and pulled out the headband magnifiers and used a pair of tweezers. The second 1/4 went better, but I needed a break after that.
 After taking a break, I came back and really got into the groove, and the second half went really quickly. The spacing is based on the original kit sail. My sail is just a tad larger, but this should only serve to help give the sail a more correct shape. At least, that is my hope.
 I haven’t attached the sail to the yard yet, I just placed them close to see how the whole thing should look. A piece of coated wire was then run along the base of the sail from the back. The edge was then glued and folded over the wire. Once dry, I started shaping the wire a bit.
The wire should shape the overall sail at the bottom. When the sail is mounted to the yard, I’ll be adding the individual ropes along the bottom of the sail. 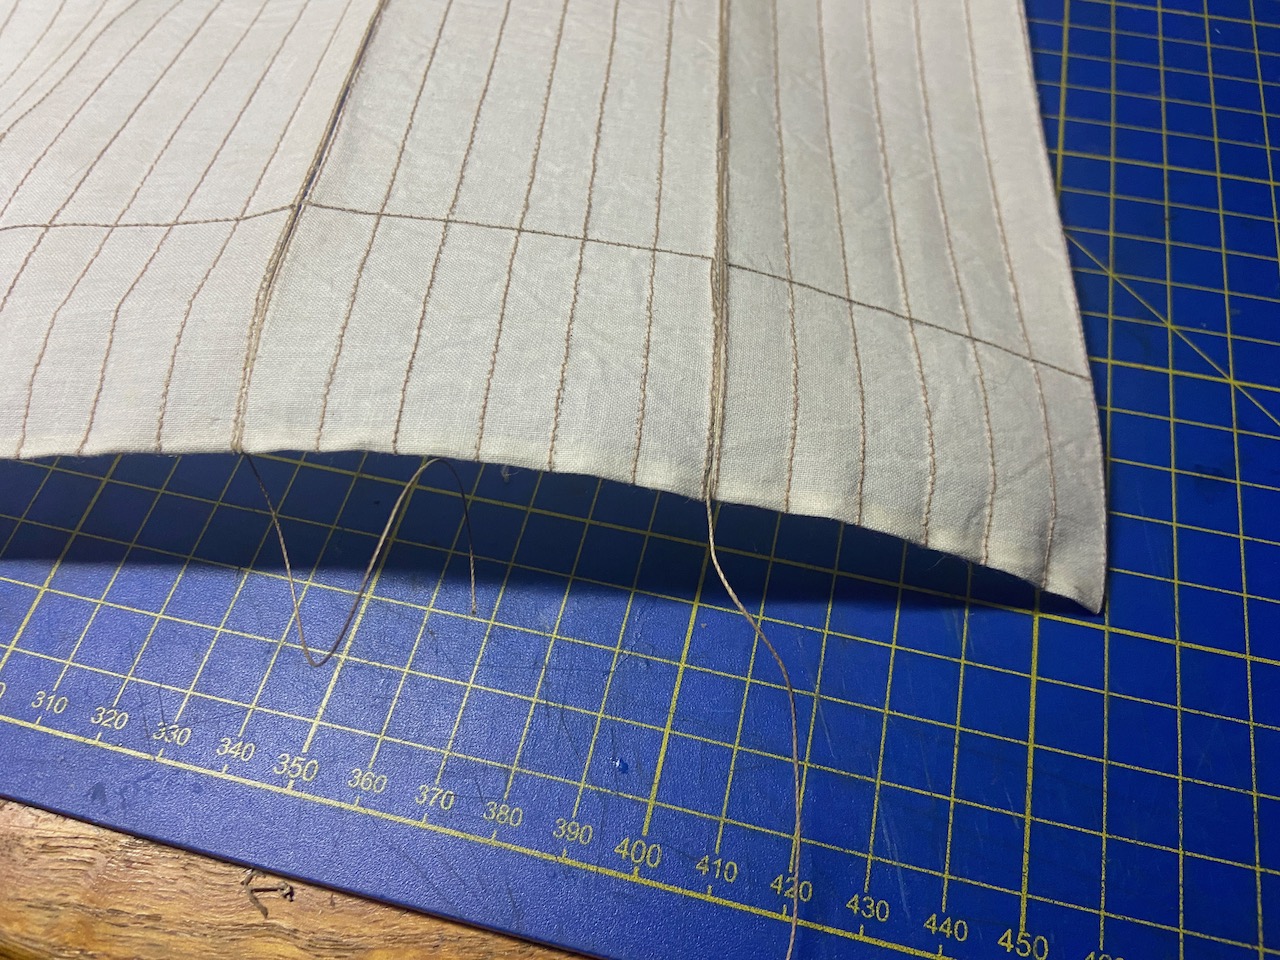 Along with this mail sail, I’m also adding a small, auxiliary sail at the bow. This isn’t provided for in the kit, but these ships often carried one or two of these on their own temporary masts near the bow. Should be a lot simpler to make than the mainsail, though it will be constructed similarly.
More on this and the finishing of the mainsail and the rest of the model next time, which should be very soon!
