
Continuing with the detailing now starting with the bow and stern decks.
The bow deck required installation of support beams. The beams are provided pre-cut, but the ends needed to be tapered to fit snugly against the hull planking.

The deck itself is made up of two pre-cut pieces of cedar.
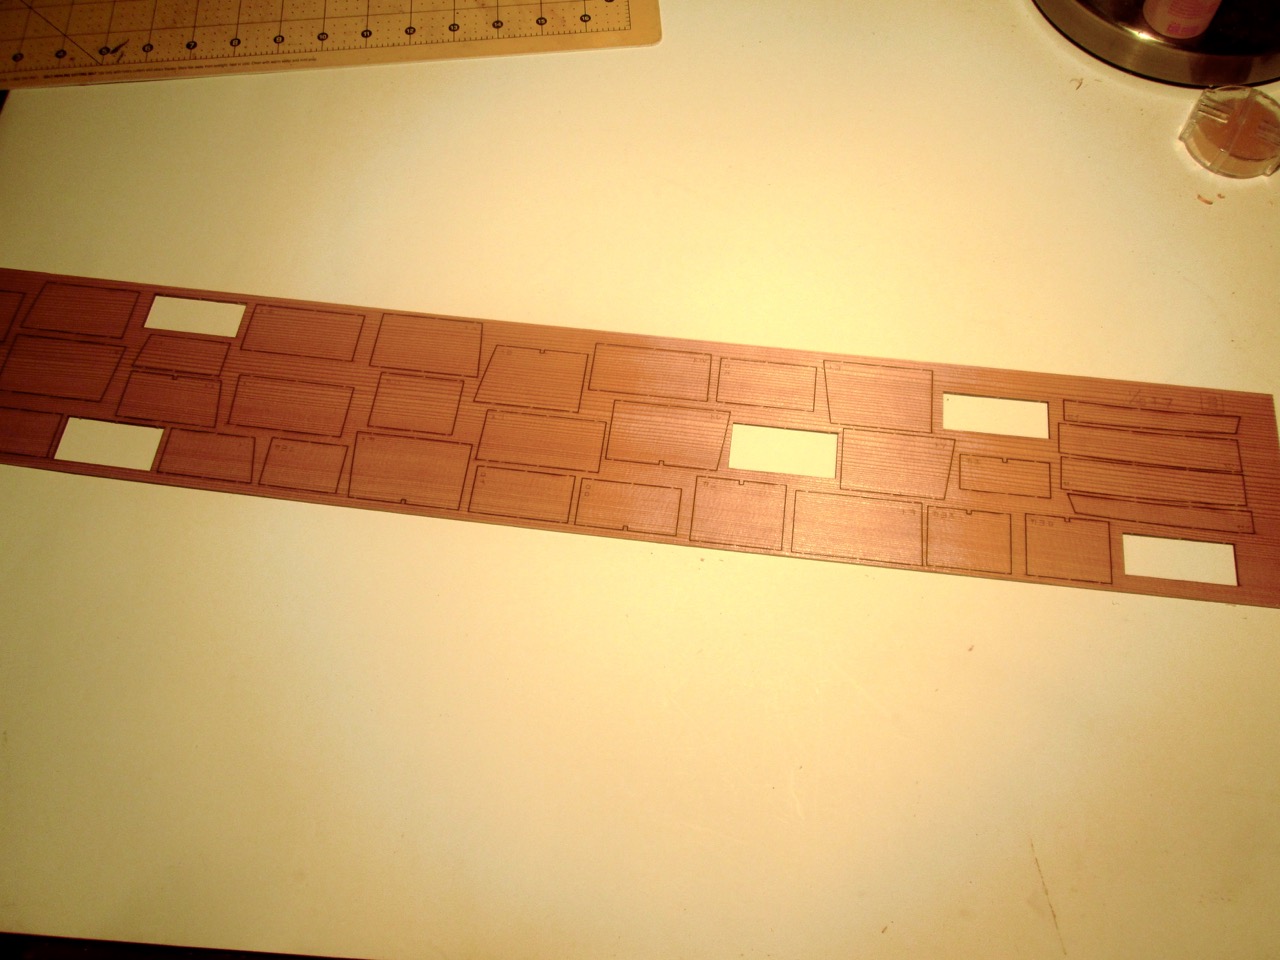
The stern deck is made up of 5 pre-cut boards, but the pieces are of different widths. The instructions don’t show you, but the plans provide the labels, so you can locate the needed pieces. You don’t have to read Japanese, but you do have to match the characters on the plans with those on the parts.
To those familiar with Japanese, the labels are all in the phonetic alphabet known as Katakana. In this case, the parts are:
ウカイ
ウカロ
ウカハ
ウカニ
ウカホ
These characters don’t actually mean anything here – They’re basically no different than labeling parts as A1, C2, etc. Most of the parts in the kit are identified this way.
Something else to note is that the pieces aren’t necessarily placed on the sheets in any order. Efficiency of material was very obviously given precedence here, so related parts may be separated quite a bit. You can see this by how these deck pieces are located on the laser-cut sheet.
The deck parts were glued up and I then placed them on the hull and traced the edge onto them using a pencil. This was then trimmed by knife and sanded to fit the hull. As I mentioned before, trimming Japanese cedar with a knife can be quite tricky as the wood is soft and the grain is hard, so the knife catches the grain and wants to follow it, so extra care is required.
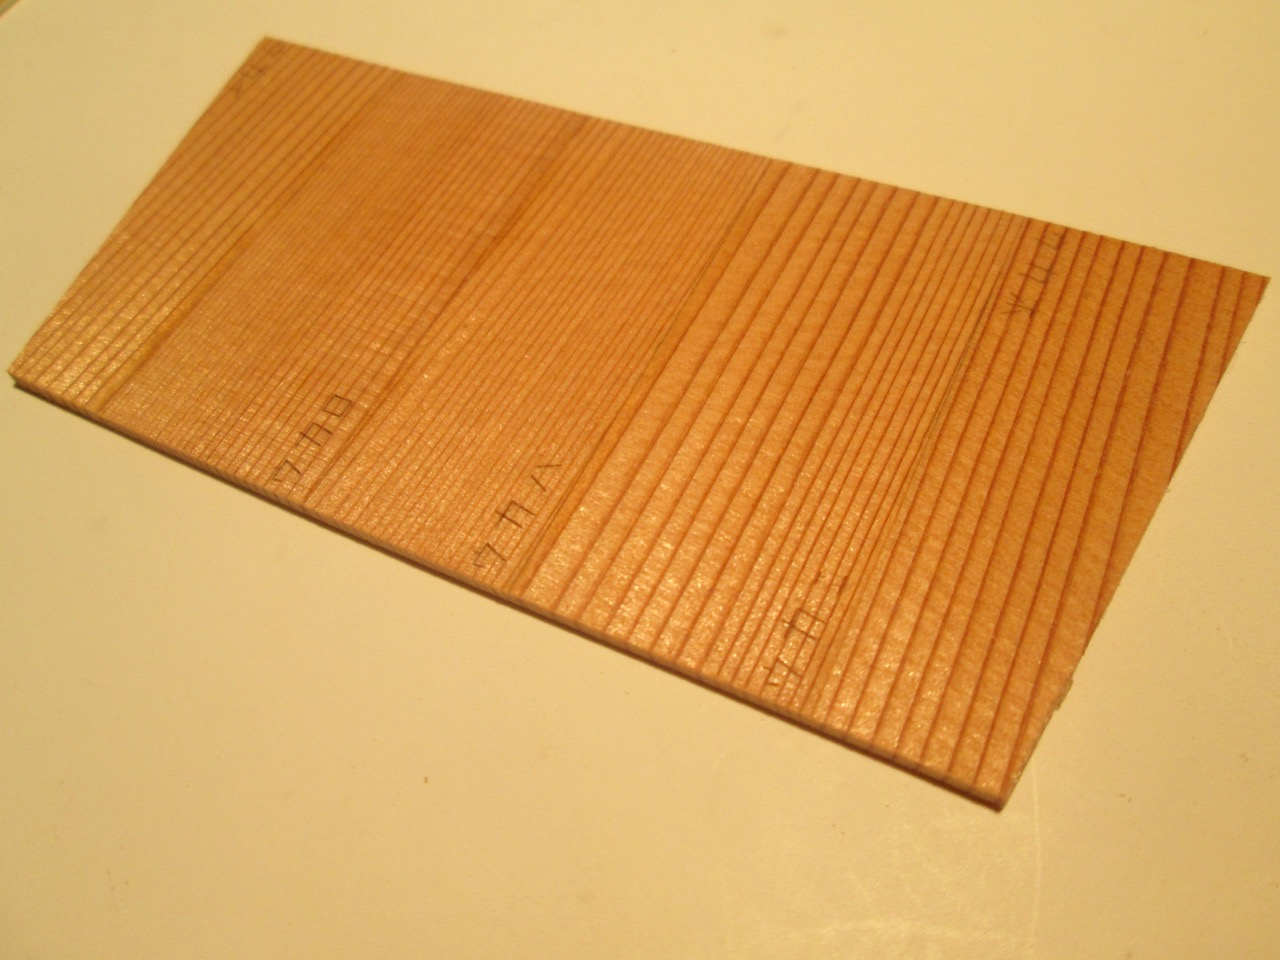
One thing you’ll notice is that the part labels are etched onto each part, so you have to either hide the labels or sand them off. Or, you could always just ignore them. They’re not that easy to see unless you’re looking closely. In this case, I just glued the boards so that the labels will all be on the underside of the deck.
Adding the Rail
We’ve now come to the stage on the Tosa Wasen model where I became a bit confused about the next step of construction. It involves installing a rail, and I suppose that it may simply be a matter of getting accustomed to traditional Japanese building methods which, as far as I can tell, this kit seems to follow quite closely.
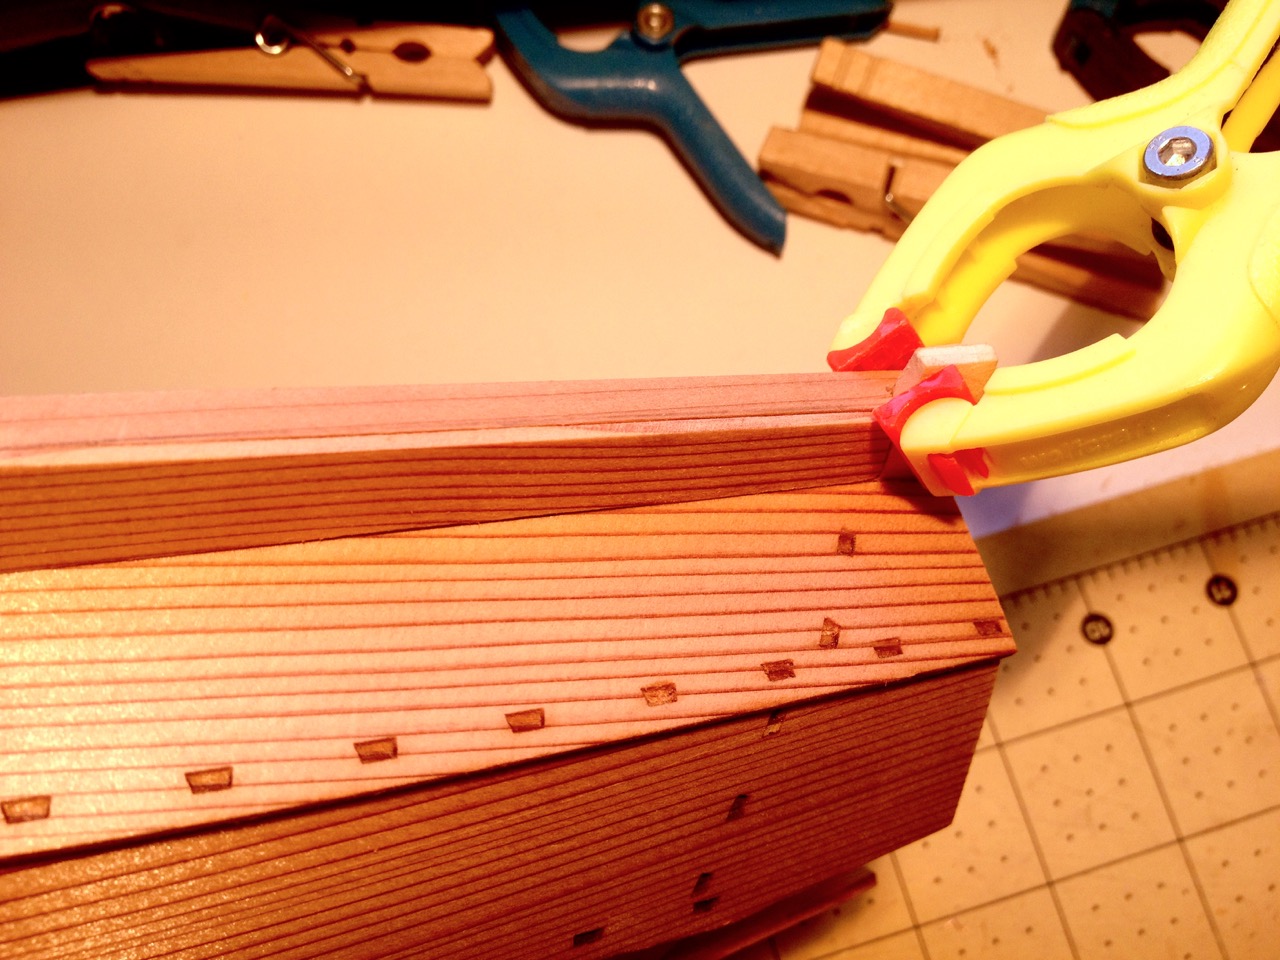
The first problem I ran into was that the ends of the long rail pieces that have to be added first. These are notched to fit to the beams at the bow and stern, but the pieces are too long to fit. So, the notch at one end can be used, but the other end has to be cut to deepen the notch.
More than this, where on a western style ship, we’re accustomed to installing framing and then attaching the rail onto that, with Japanese boats, the process is reversed. The rail is installed to only a few attachment points first, then the supports are added afterwards. This is something that I’ve seen in hull construction of Japanese boats too. The hull planks are edge fastened and bent/clamped into place in the process, and the framing is installed afterwards – Lessons in traditional Japanese boatbuilding!

Of course, this isn’t limited to the Japanese or Asian ship/boat building. Thinking back, I recall local ship modeler and marine archaeologist Ed Von der Porten (he’s written a number of articles that have appeared in Ships in Scale) talk about modeling a Basque whaler and about how frames were added after the planking process had begun.
Anyway, I finally worked it out in my head, and the rail construction progressed.
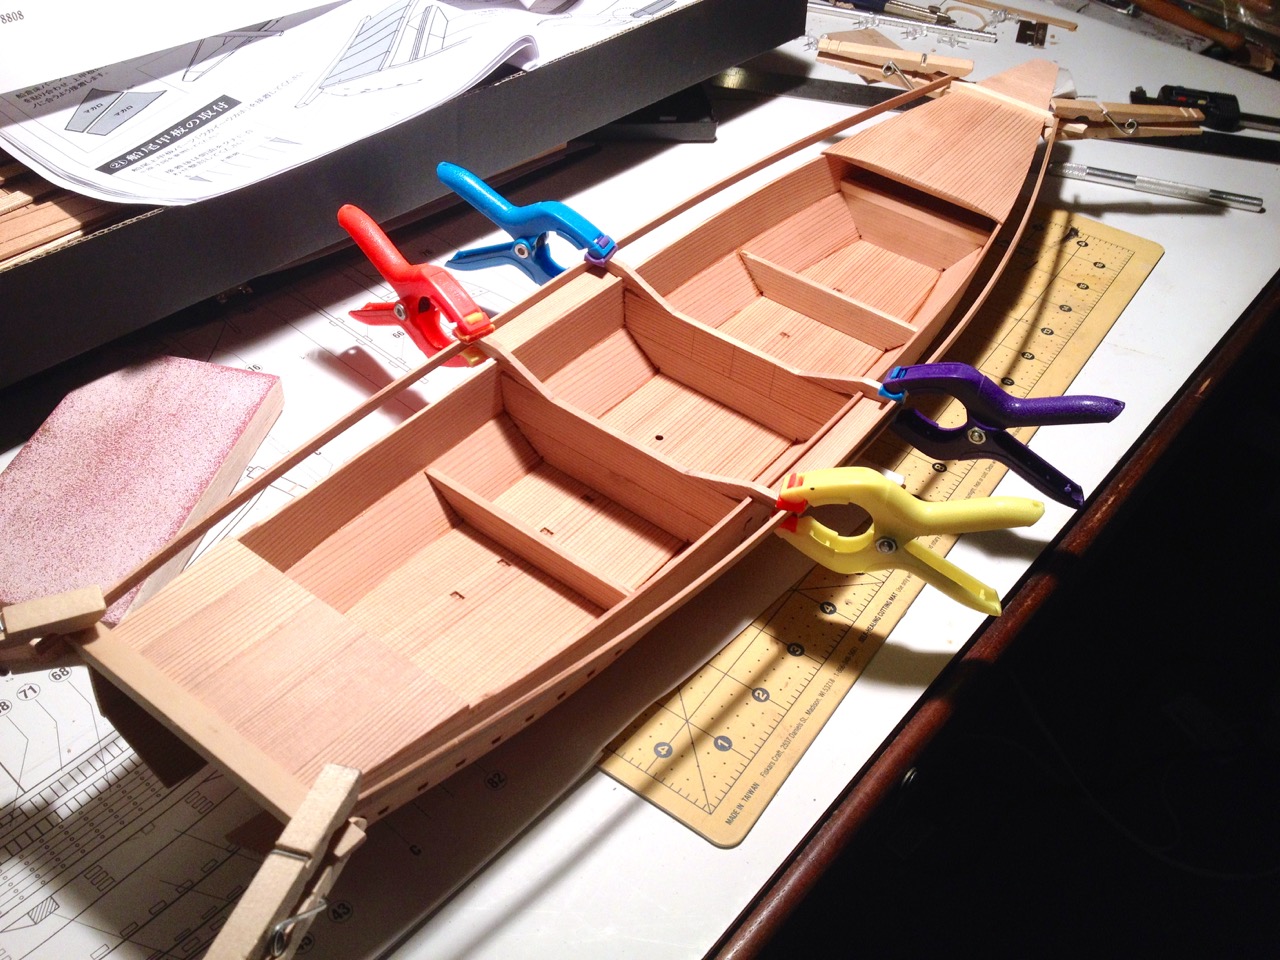
I completed construction of the rail, adding the pieces that make up the underside. With these in place, it’s a much stronger structure.
To fit the pieces into place, I had to soak the cedar pieces a little bit to impart a slight bend or twist here and there. I took the shortcut of wrapping the pieces with a wet paper towel and putting them in the microwave for about 30 seconds. This was just enough to do the trick.
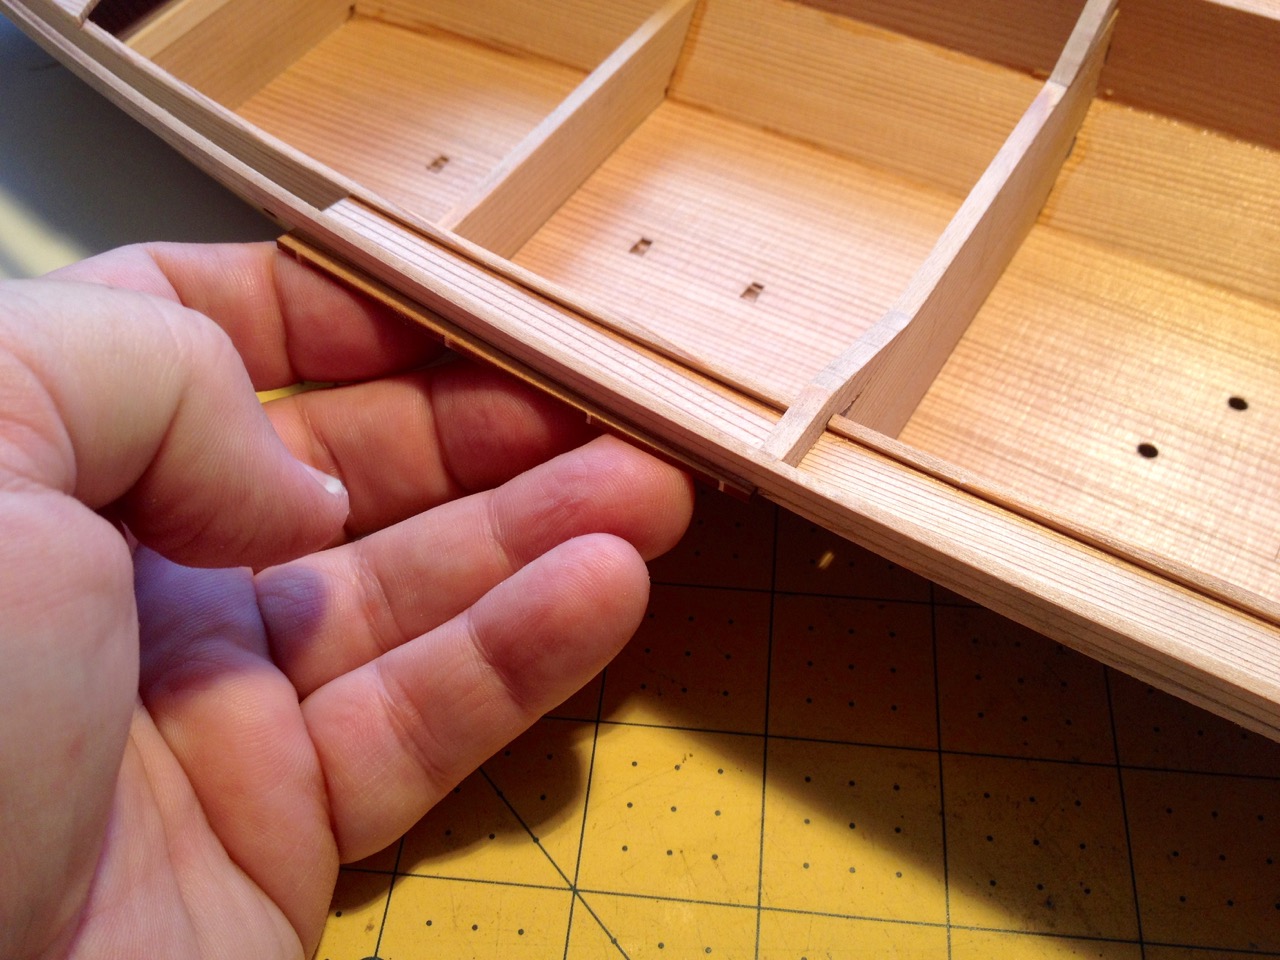
Along the underside of the rail on the upper hull planks there is a laser-scribed line to help position the underside pieces of the rail.
The pieces glued and clamped into place
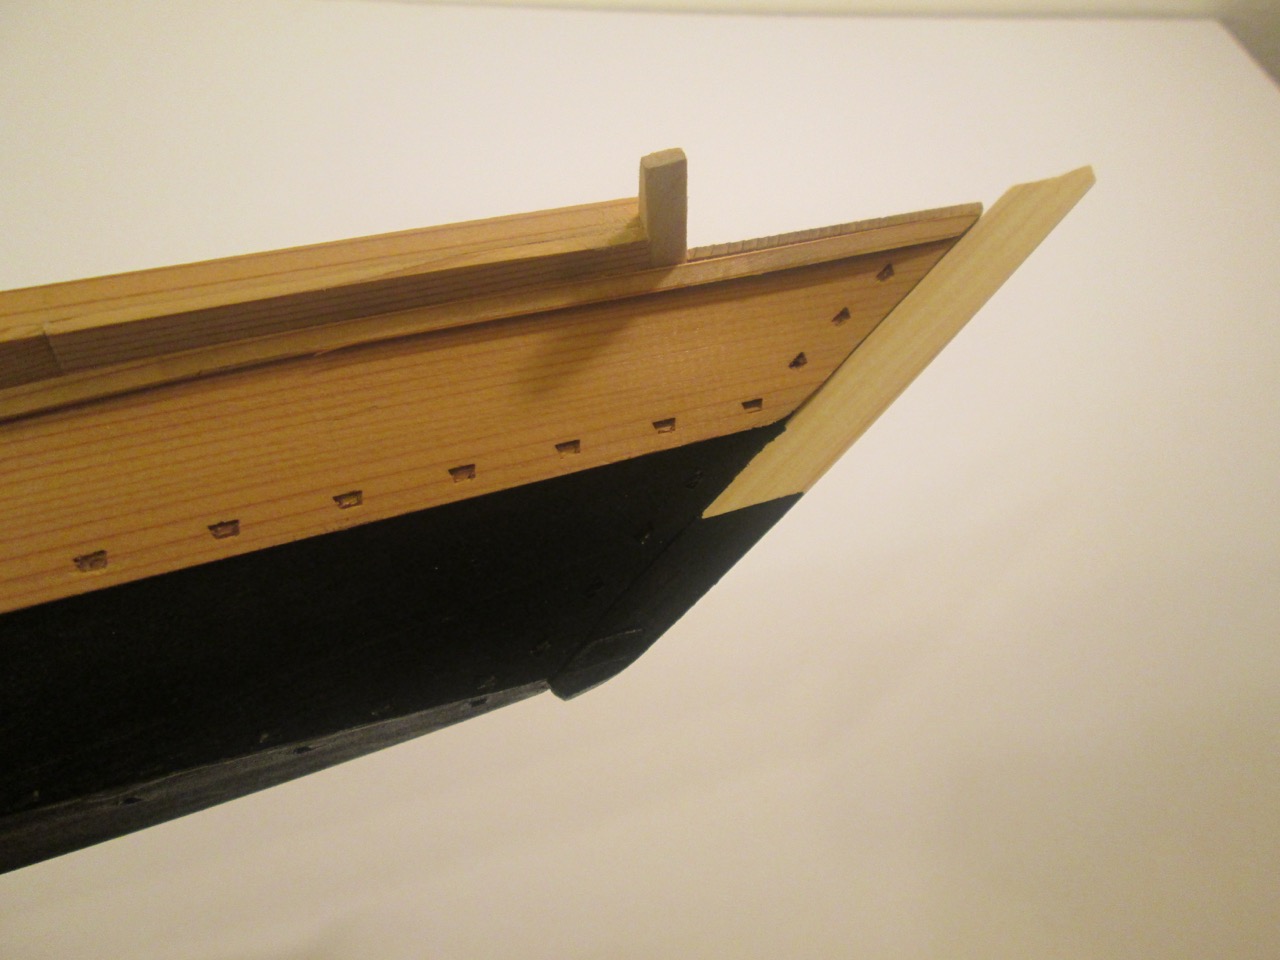
After the rail was completed, I went ahead and added the stem and other hull details, including a thick strake located on the upper hull planking, just underneath the recently completed rail.
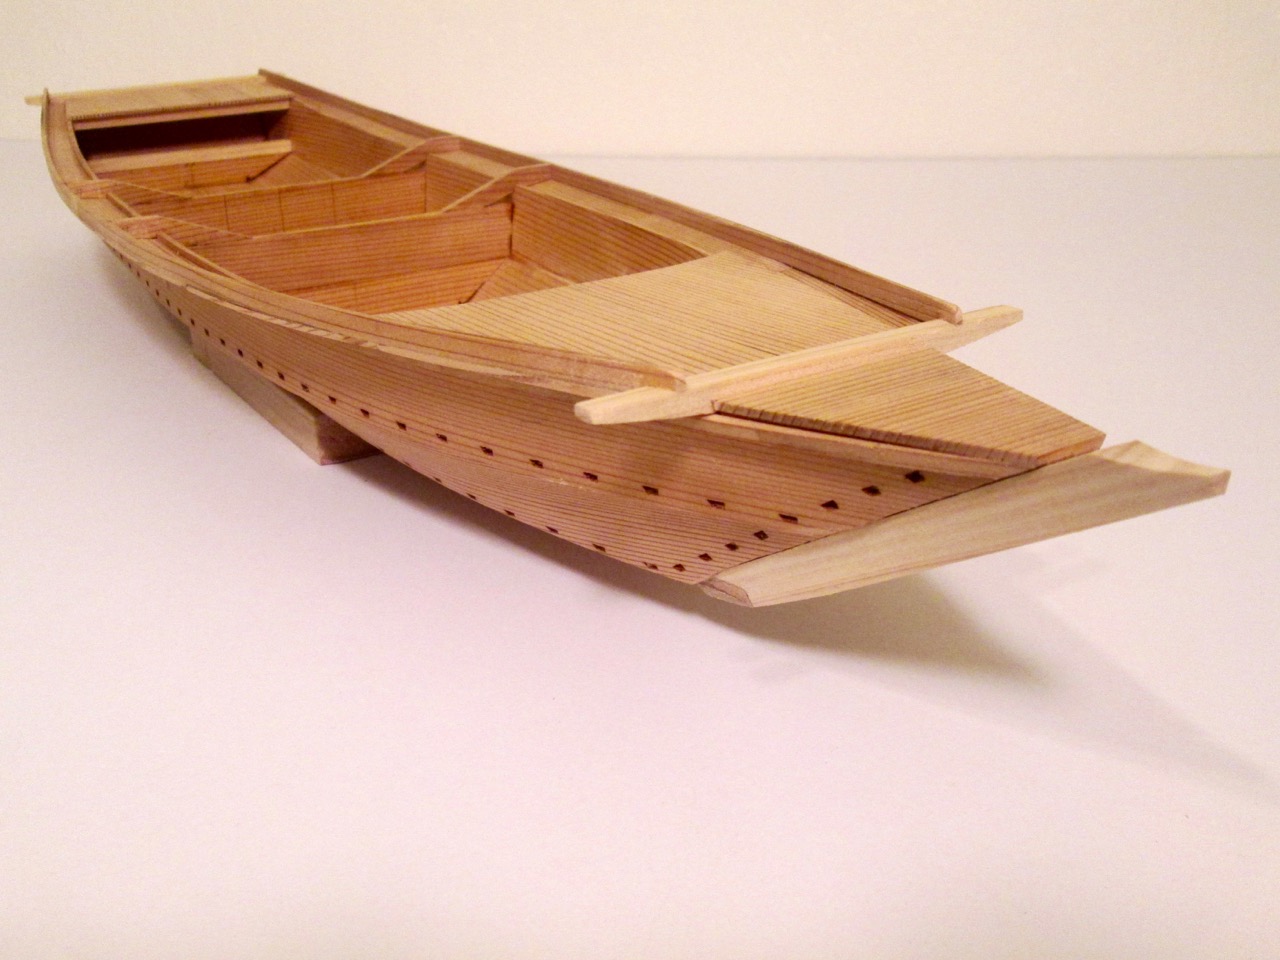
You may notice that the stem is lighter than the rest of the hull. Like the stern beam, the stem is make of Hinoki or Japanese Cypress instead of Sugi, Japanese Cedar.
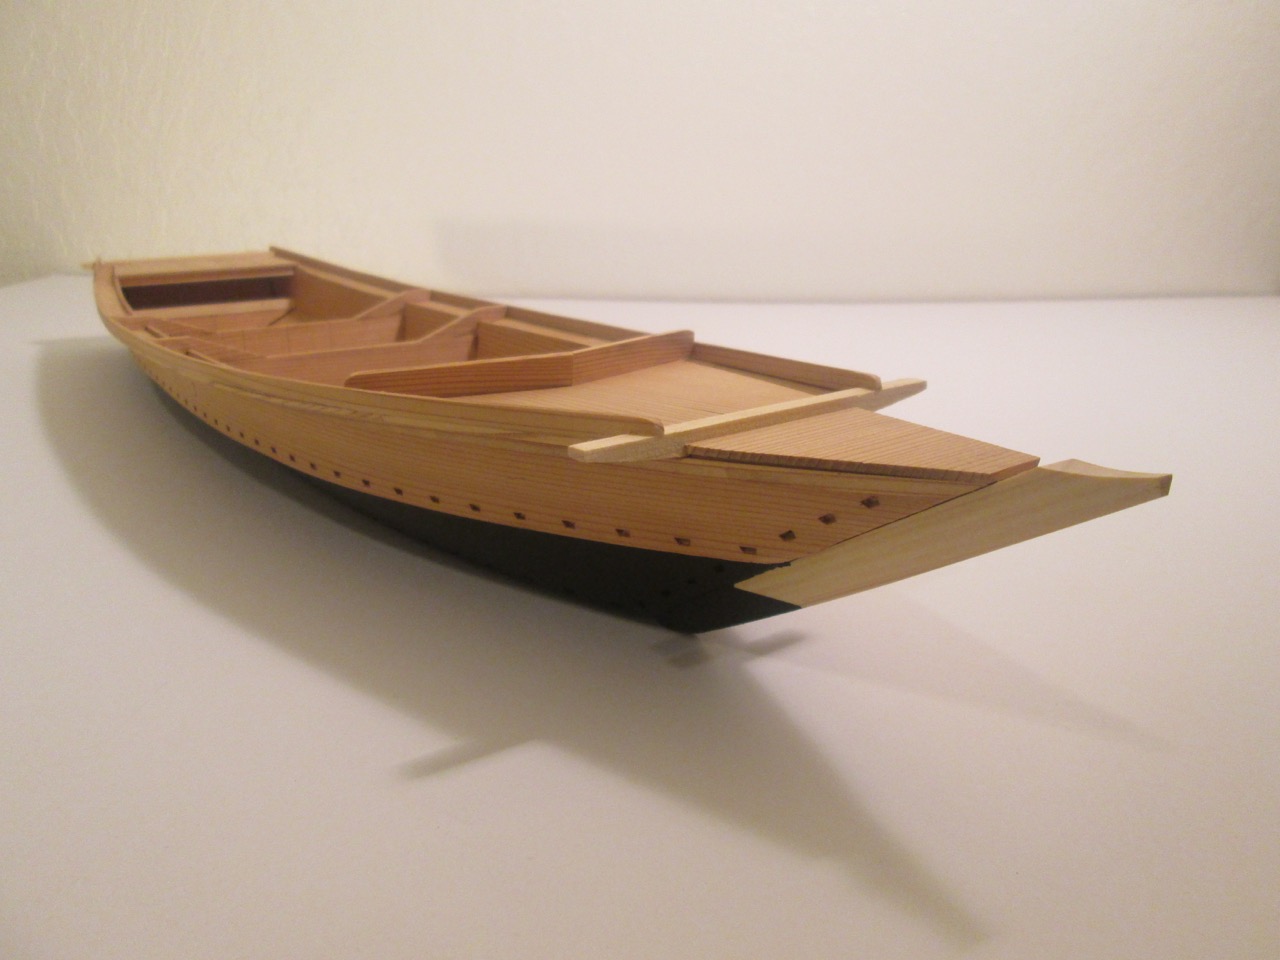
Painting the Hull Bottom
Next, it was time to paint the bottom of the hull. The finish of the hull bottoms changed a bit over time. But, what we see as common for the Edo period would be black paint. The kit actually included a roll of narrow yellow masking tape from 3M which worked very well. For paint, I used a model paint sold by Caldercraft as part of their Admiraly Colors line.
There was no particular reason I used this other than to test the paint out. For all other wasen models I’ve built, I used artist’s acrylics Mars Black from Liquitex. In fact, the result using the Caldercraft paint was just a bit shinier than I would have preferred, but it came out fine. I keep trying other hobby paint brands and often end up just coming back to the artist’s acrylics.
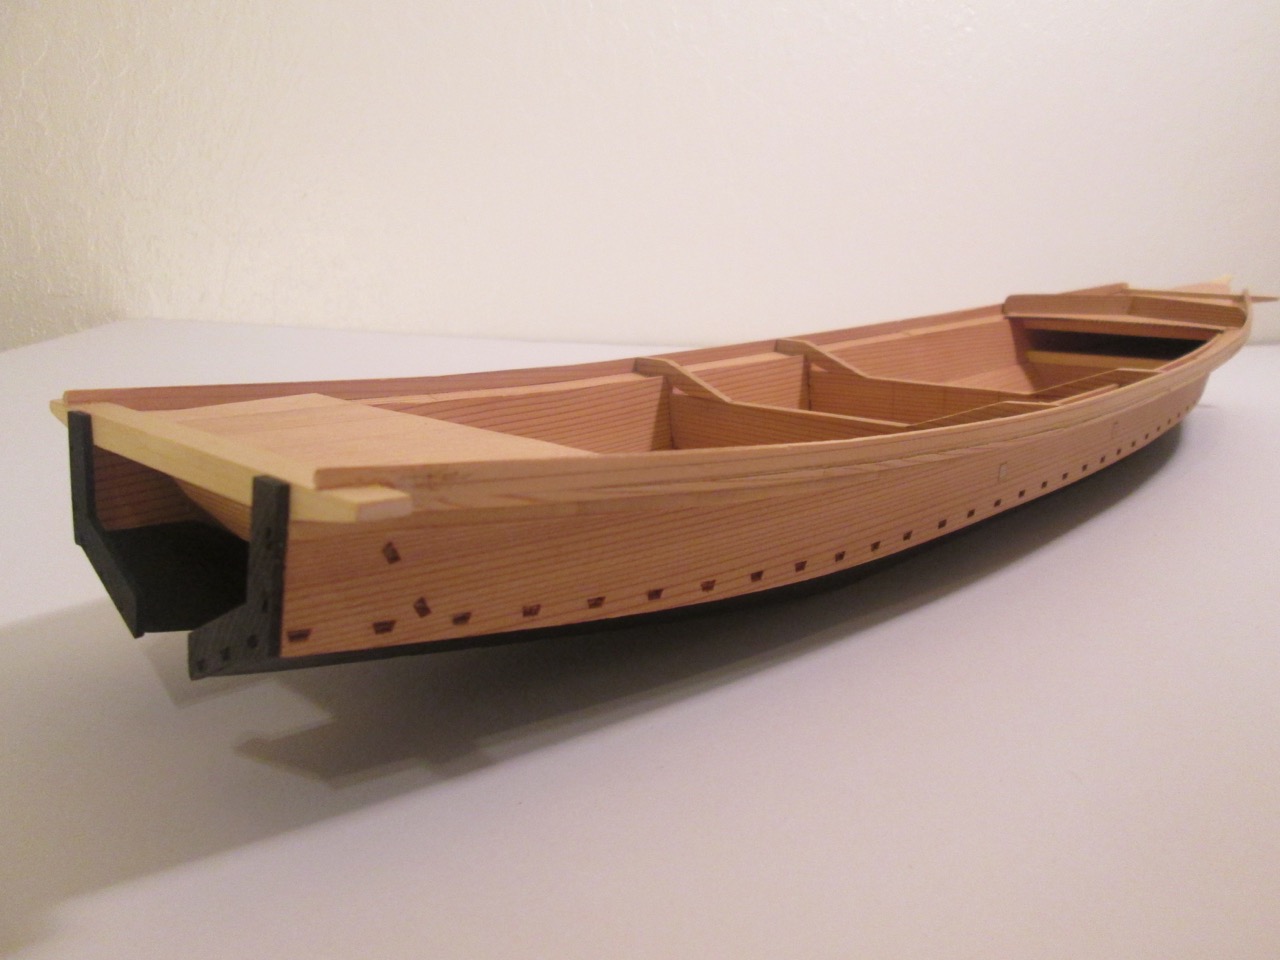
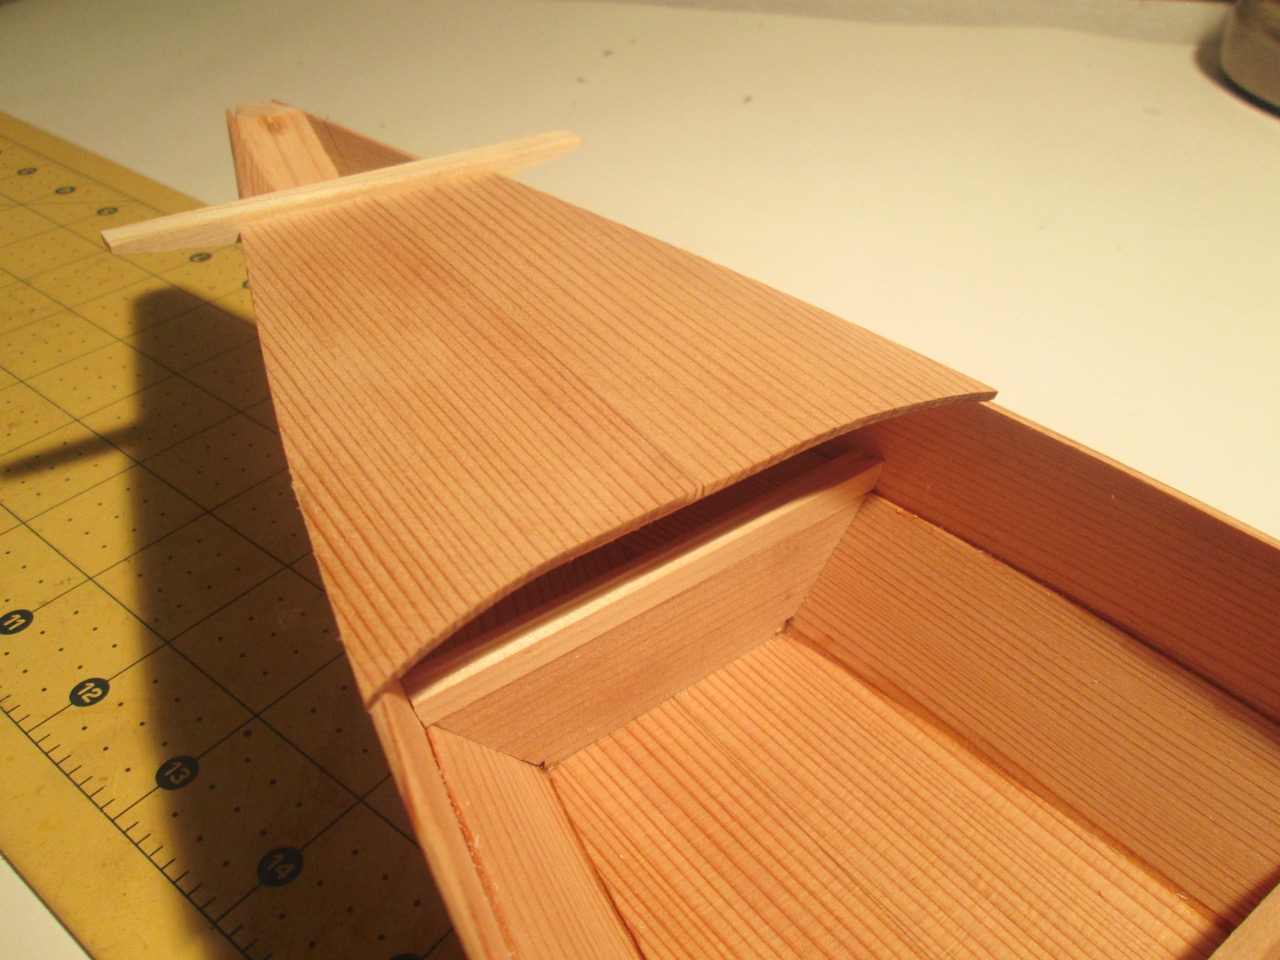
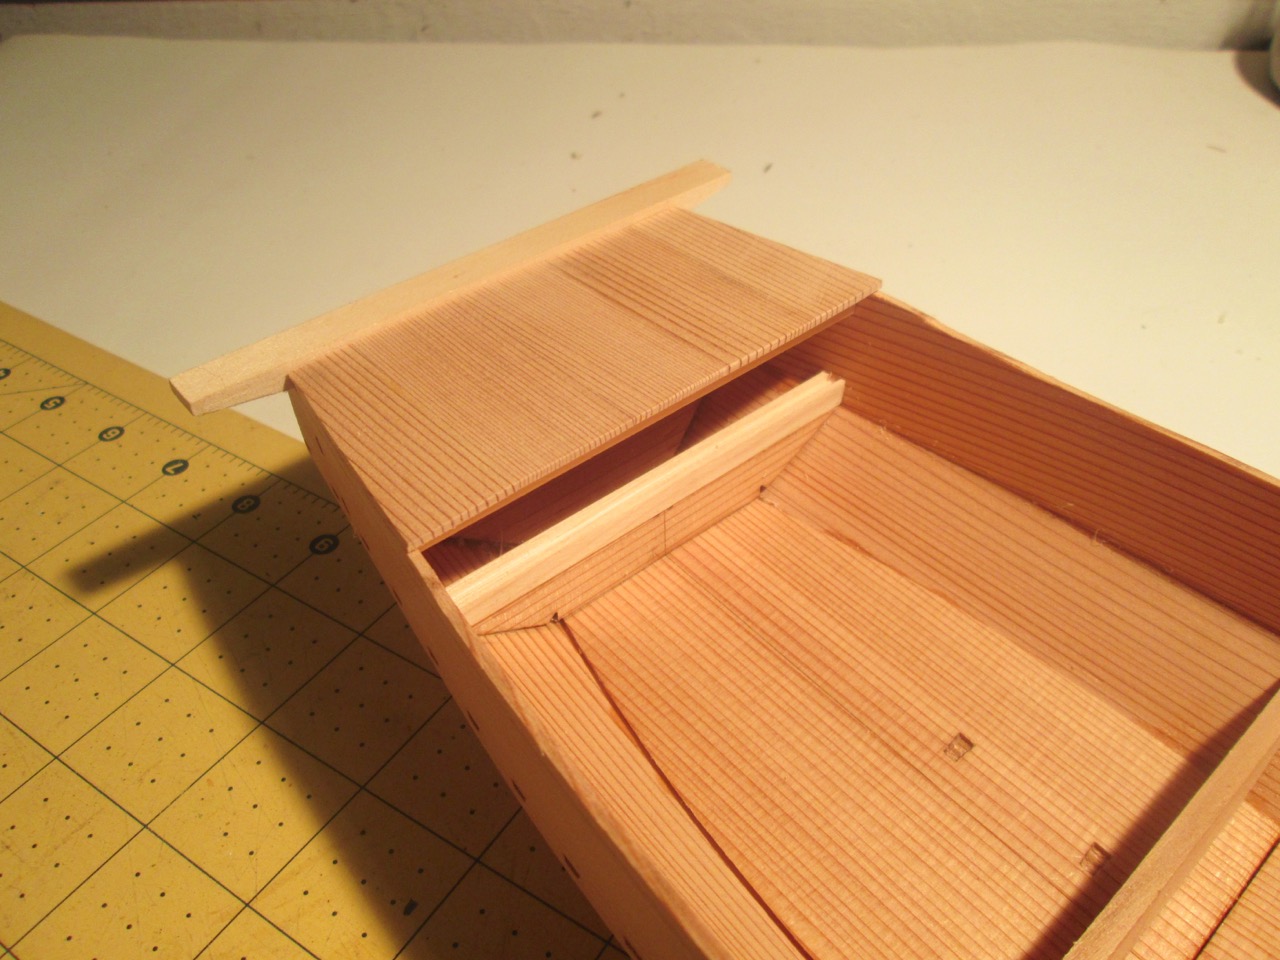
While I was at it, I went ahead and added the splash rail, which sits on the bow deck. The joint where the two piece meet and also the bottoms of the pieces had to be beveled to fit properly.

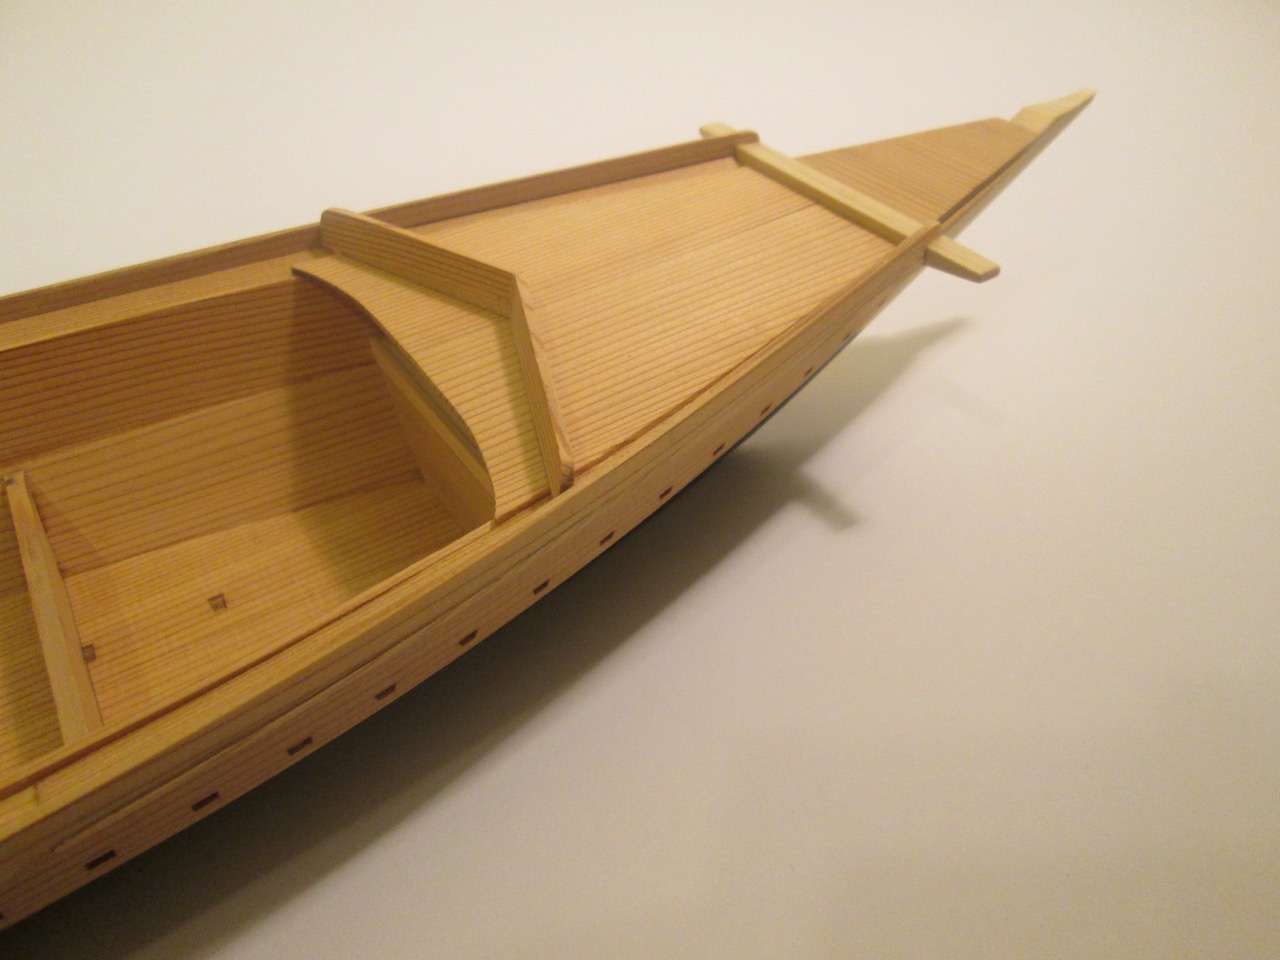
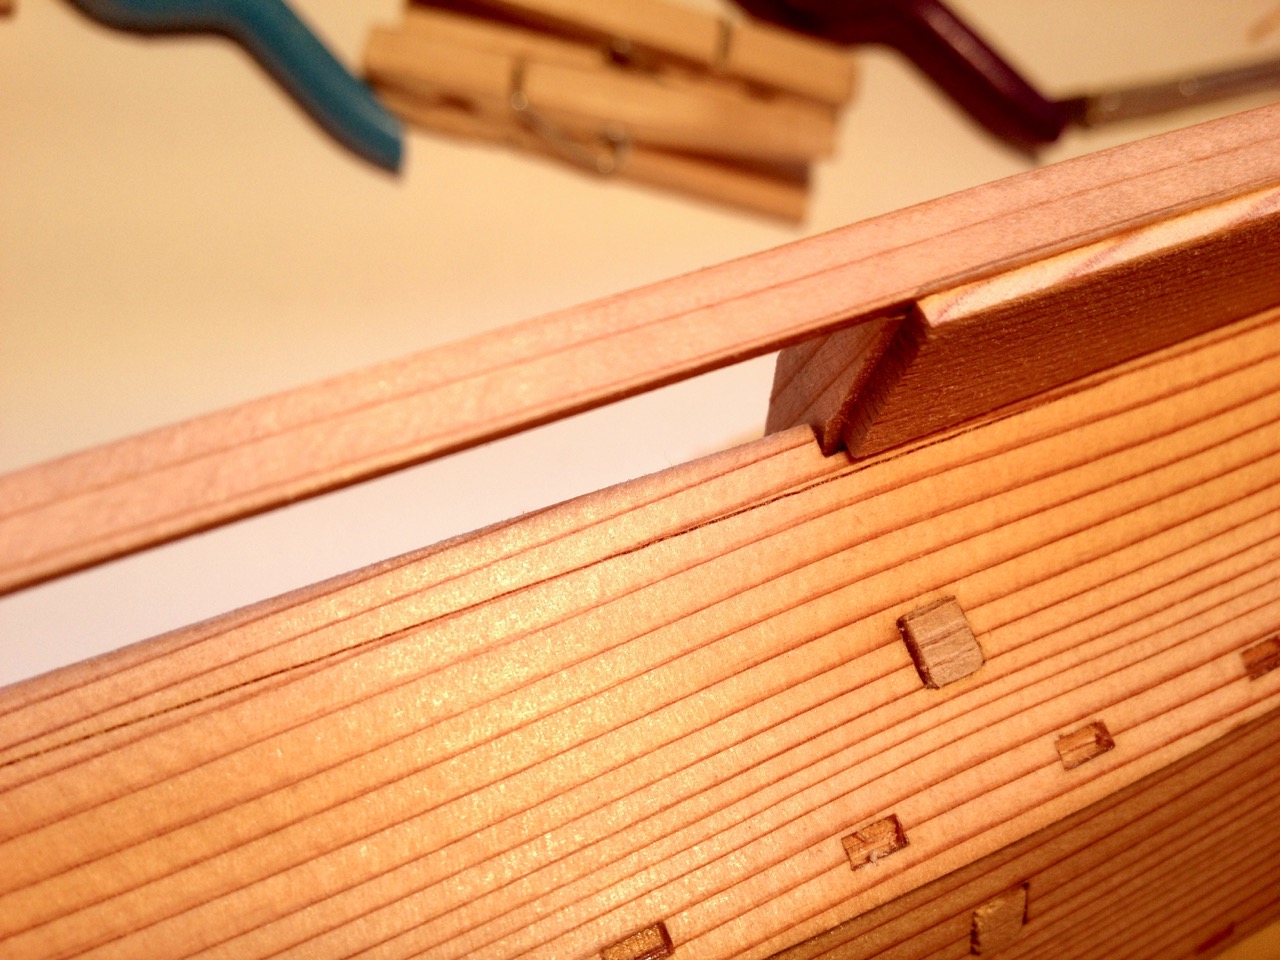
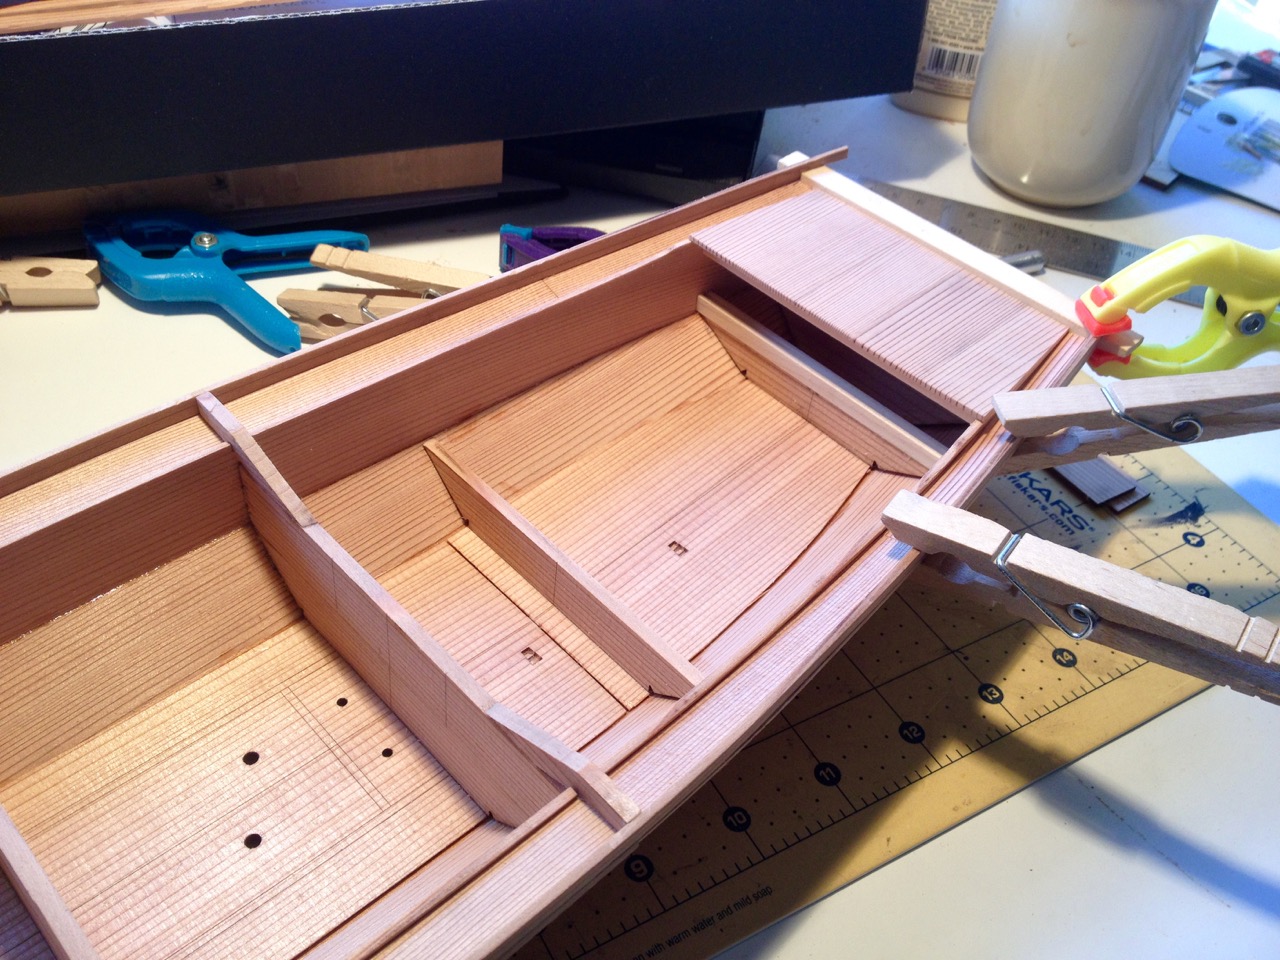
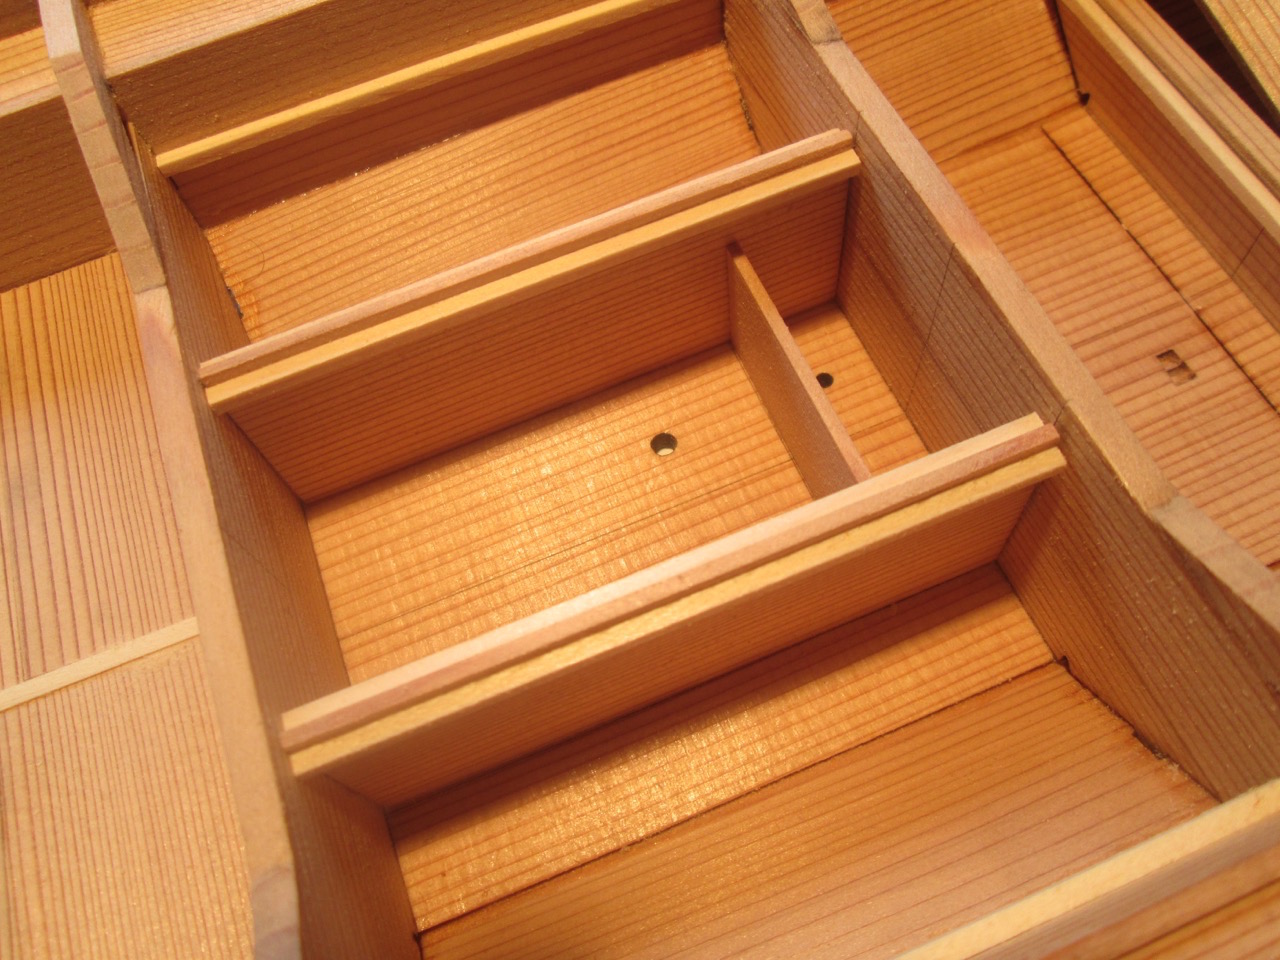
Finally, I built the well area. This was pretty straightforward, though I did start to run into little discrepancies in parts alignment, which is going to happen on kits with pre-cut parts. Also, a reminder that it’s REALLY easy to over sand the kit’s Japanese cedar.
The bottom of the boat will be comprised of covered compartments. So, beams and ledges will be added to seat the deck boards / compartment covers. The well section is the tallest compartment.
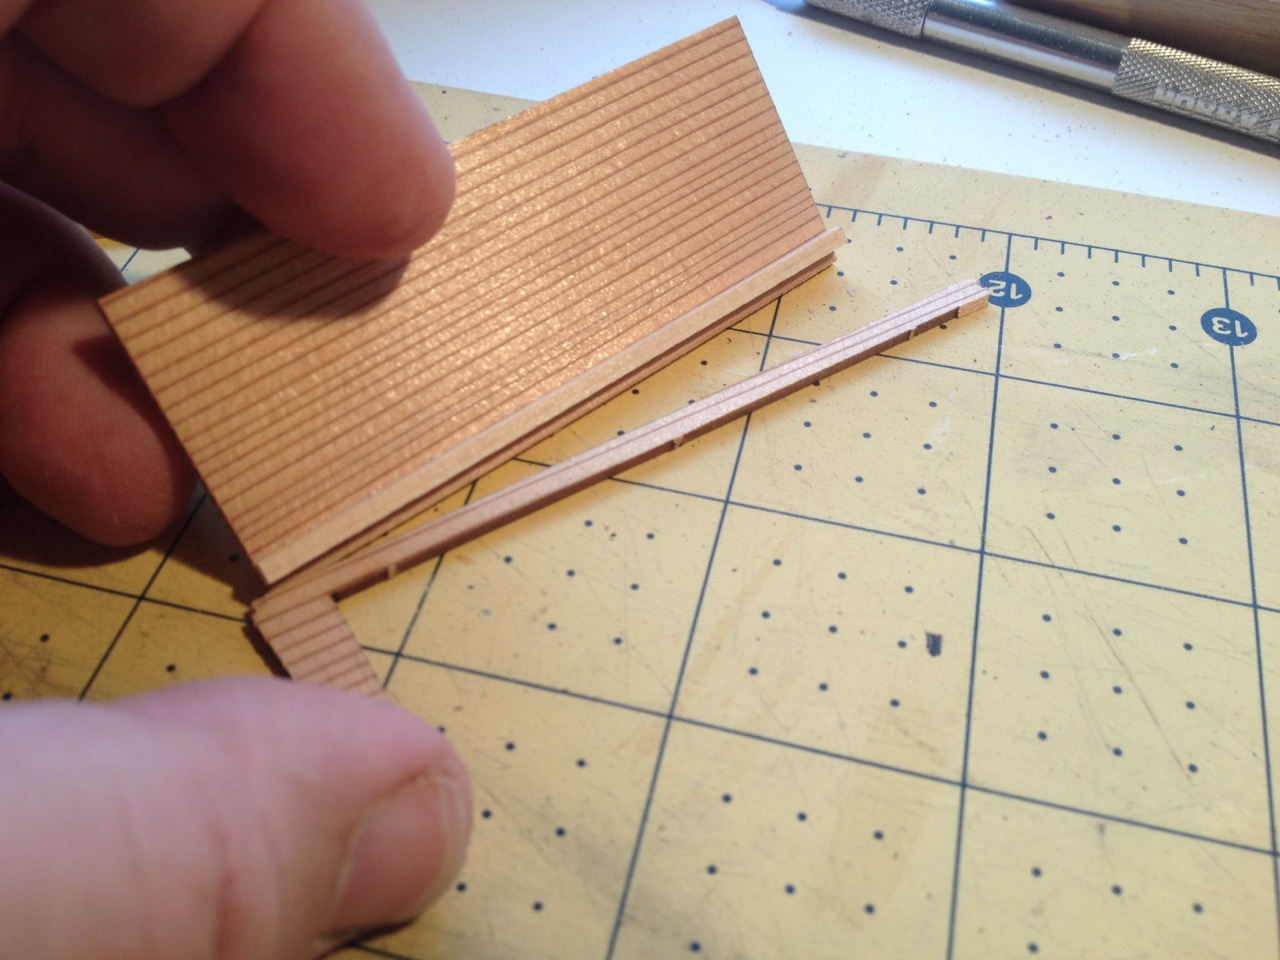
Here, I’m adjusting the position of the ledge that I’m gluing into place on one of the well partitions. I used wood from the sheet of deck covers as a guide for exact positioning of the ledge. This assures that the deck covers will be flush with the tops of the partitions.
Here’s the completed well area. Note the ledges glued to the hull.
Before the deck covers can be added, beams and more ledges have to be added. I’ll cover this next time, along with the covers for the bow and stern holds, making the “Ro”, which is the Japanese name for the long sculling oar, and the final accessories such as the anchor and the bailer, etc. The next installment should see the completion of our Tosa Wasen.
