
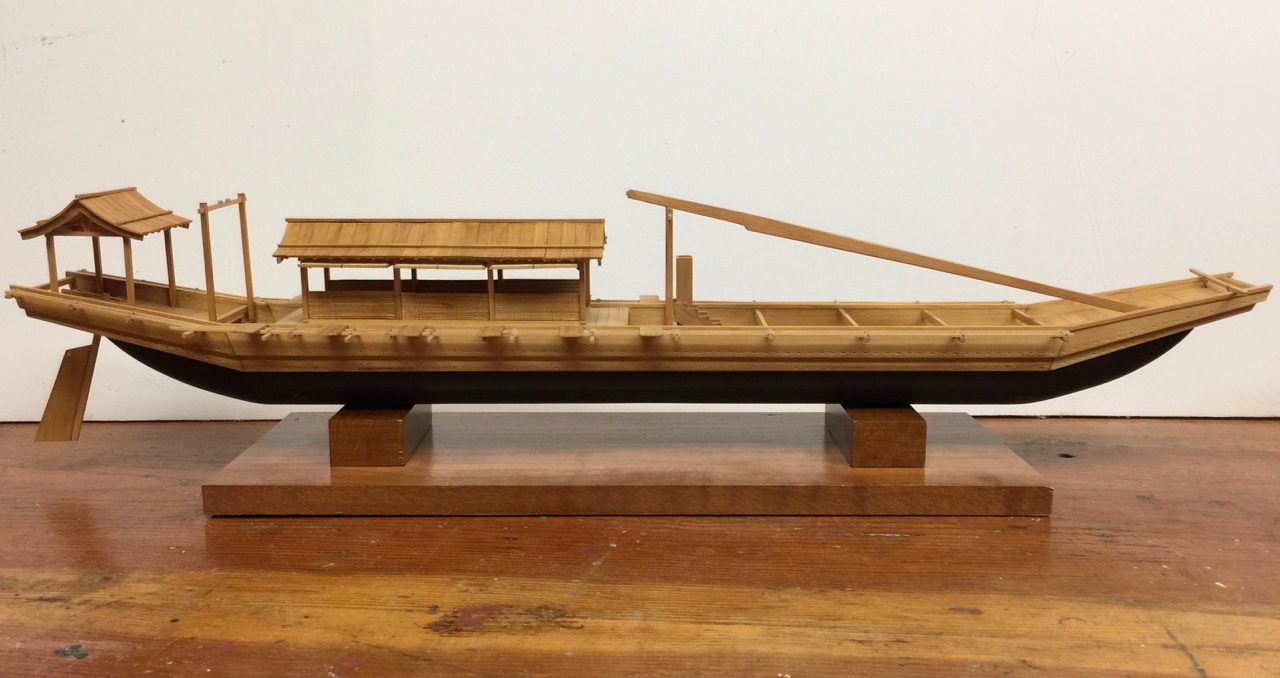
Just a quick update on the model as I continue to make progress in small increments.
You may recall that this boat has one large sail. I don’t know if I will mount a sail on it or not. I find it rather interesting how the lowered mast is stowed. I think I have a method for creating the sail, which was made from rice-straw matting, not cloth. But, I will have other opportunities to make that, and it would probably be simpler and more realistic at a larger scale.
In any case, I also have the full set of oars I made. I’ve decided that even though the museum models I’ve seen show the boat equipped for sculling, that my interpretation of early scroll paintings suggest they were rowed and not sculled. Also, I started to thinking about the side-to-side motion involved in sculling, and I see only rope bindings on these oars in all cases (museum models).
I can’t see how rope bindings would be able to take the amount of side-to-side pressure without loosing very quickly. If rowed, the binding would simply be to hold the oar and keep it from slipping. All the force of propulsion from the oars are taken by the beam extensions of the ship.
So the next issue was how these would tie into place. Nothing too special there, except that you can’t simply tie it the oar to the beam, as you’d have a hard time moving it. You need to tie a rope securely around the oar and then that rope needs to be tied to the beam. Does this difference make sense? There needs to be some freedom of movement for the oar, so the rope itself becomes something of a pivot.
I started by tying a length of line around each rope at the pivot point. I used pencil marks for measurement. I didn’t feel this needed to be exact. There is an extra pencil mark, as I realized I wanted the pivot point just a little higher up on the handle. Thread cutter and pencil included for size reference.
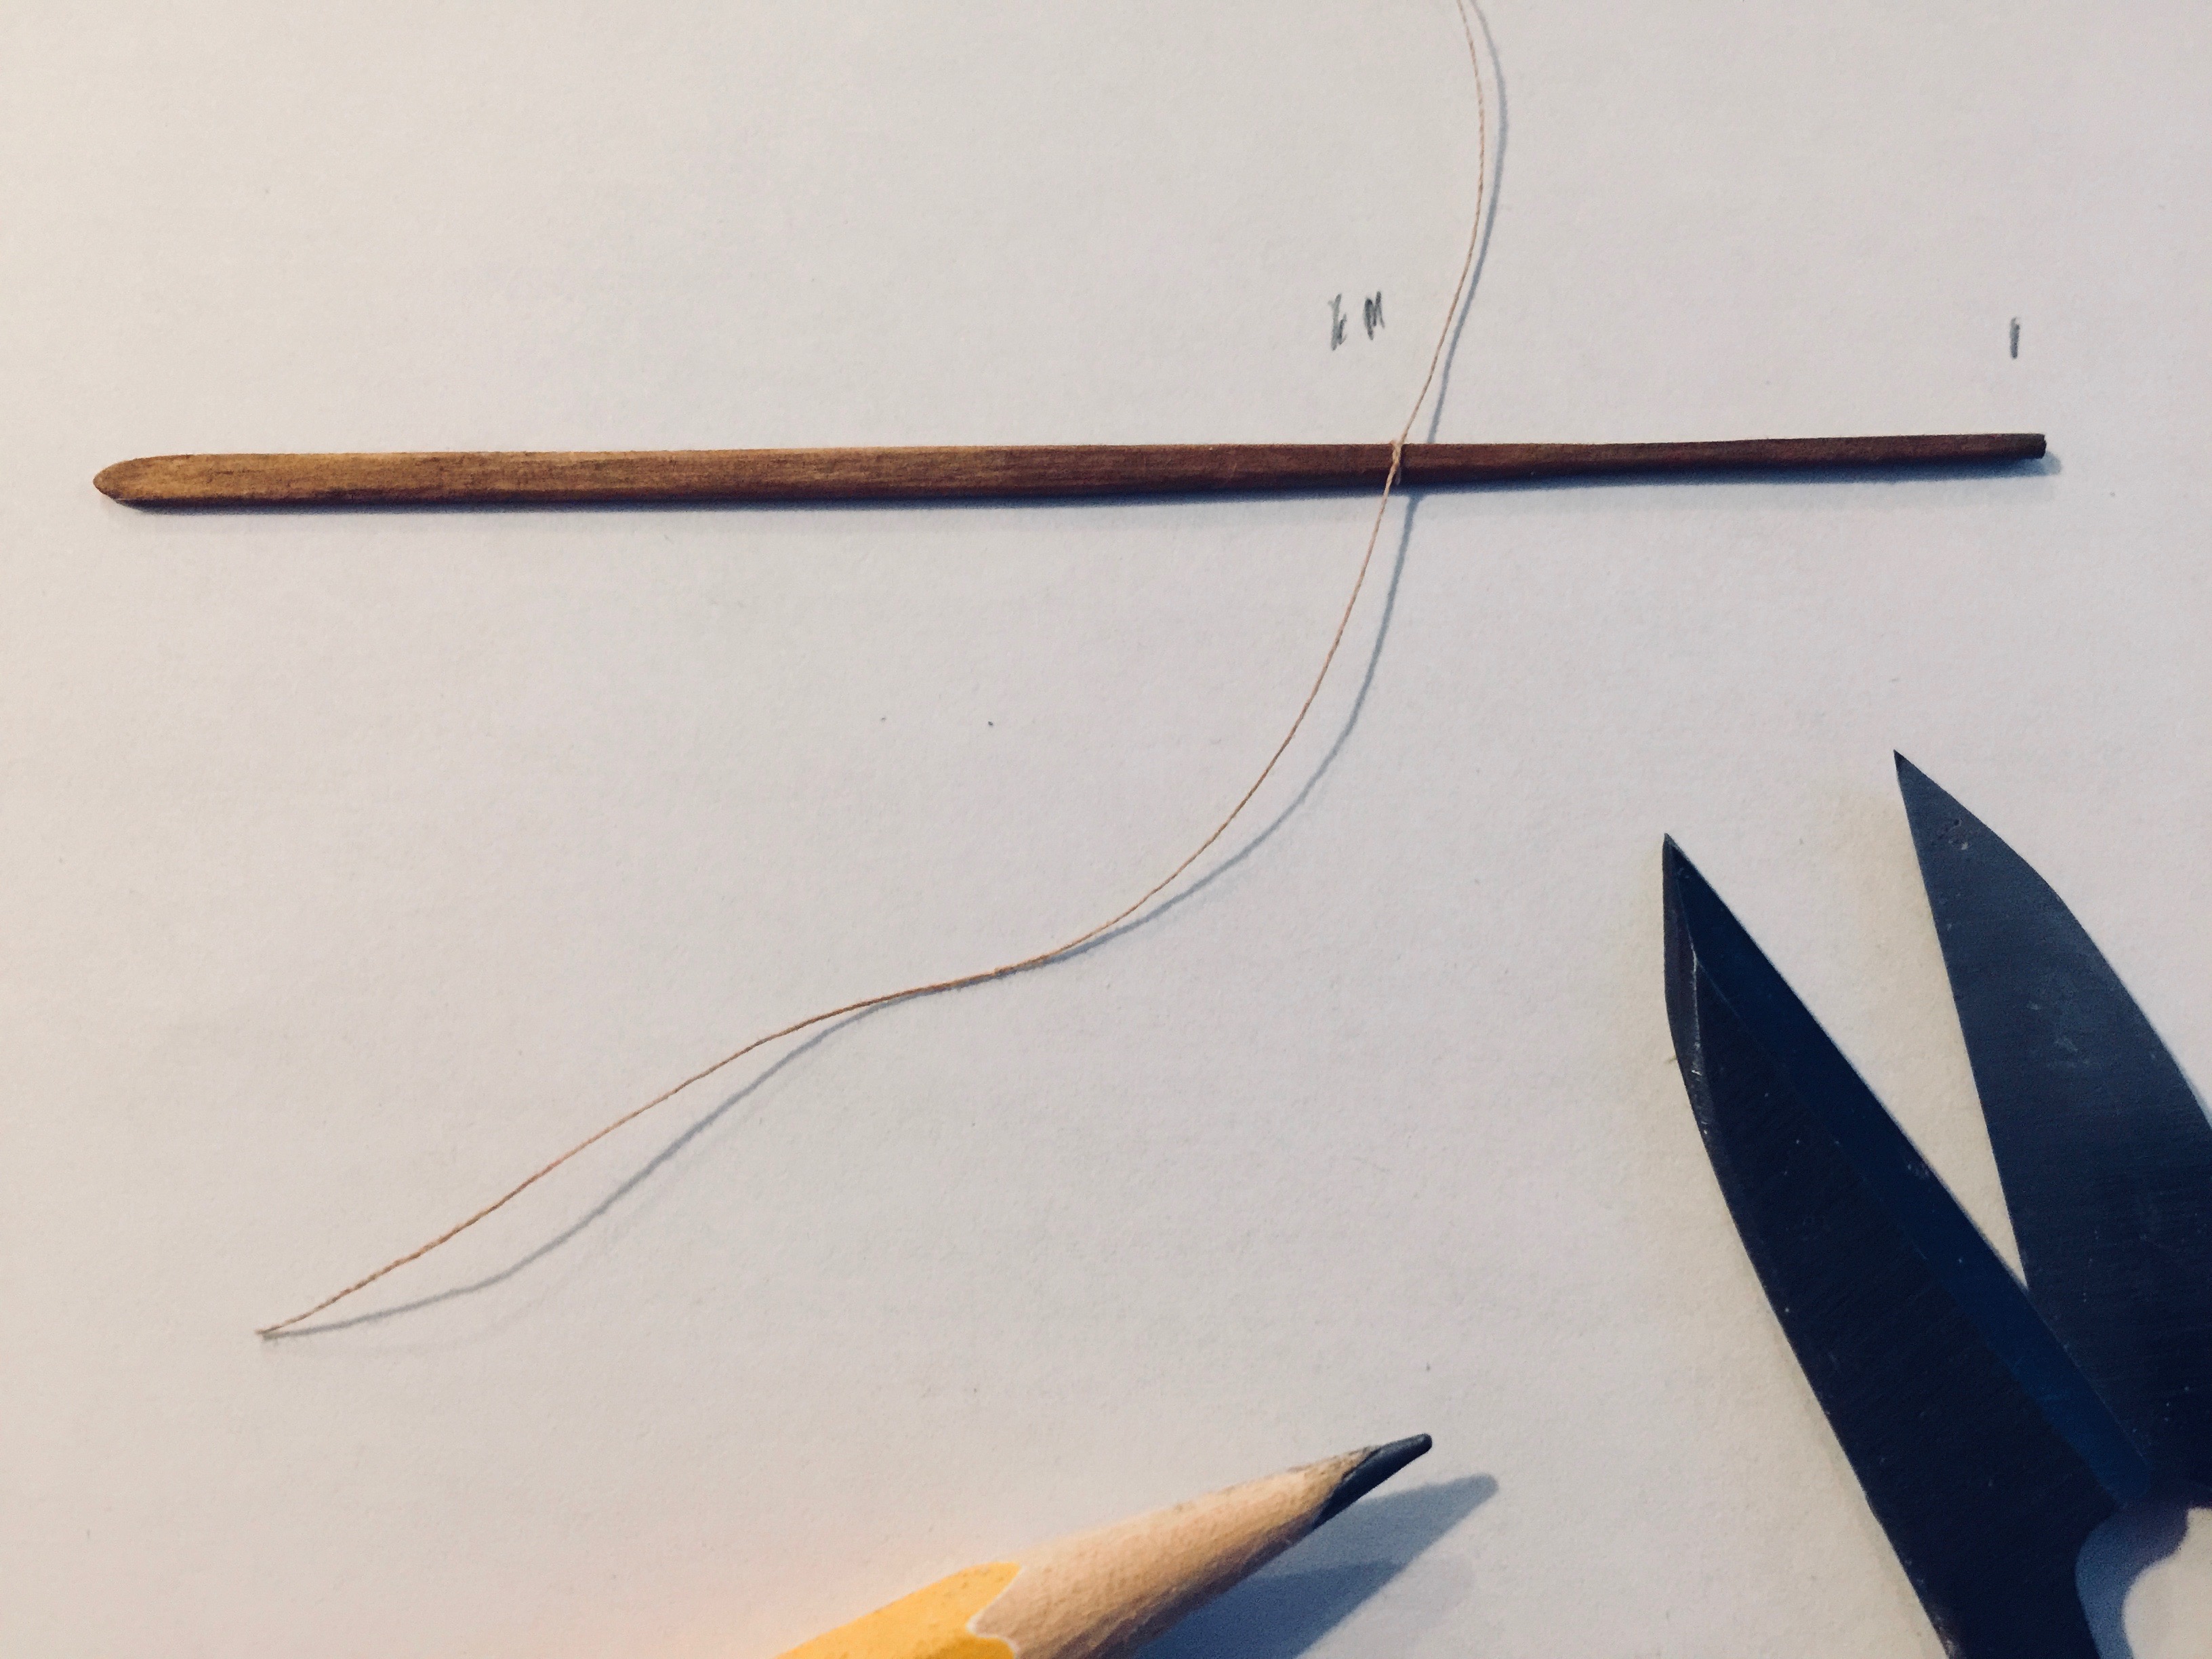
Adding the binding rope to the oars.
After I tied all of the oars like this, I realized I needed more of a lashing, so I wrapped the thread around the oar and tied a second knot.
Tying the rope then onto the model, I kept the knot-side against the beam. I can’t quite explain the final wrapping, as I kind of figured it out as I went. Something like wrapping both ends under the beam, over the top a couple times, making sure to stay on the opposite sides of the oar, then tying a final knot around the rope in between the oar and the beam. This turned out to be as challenging as rigging blocks on a square rigger.
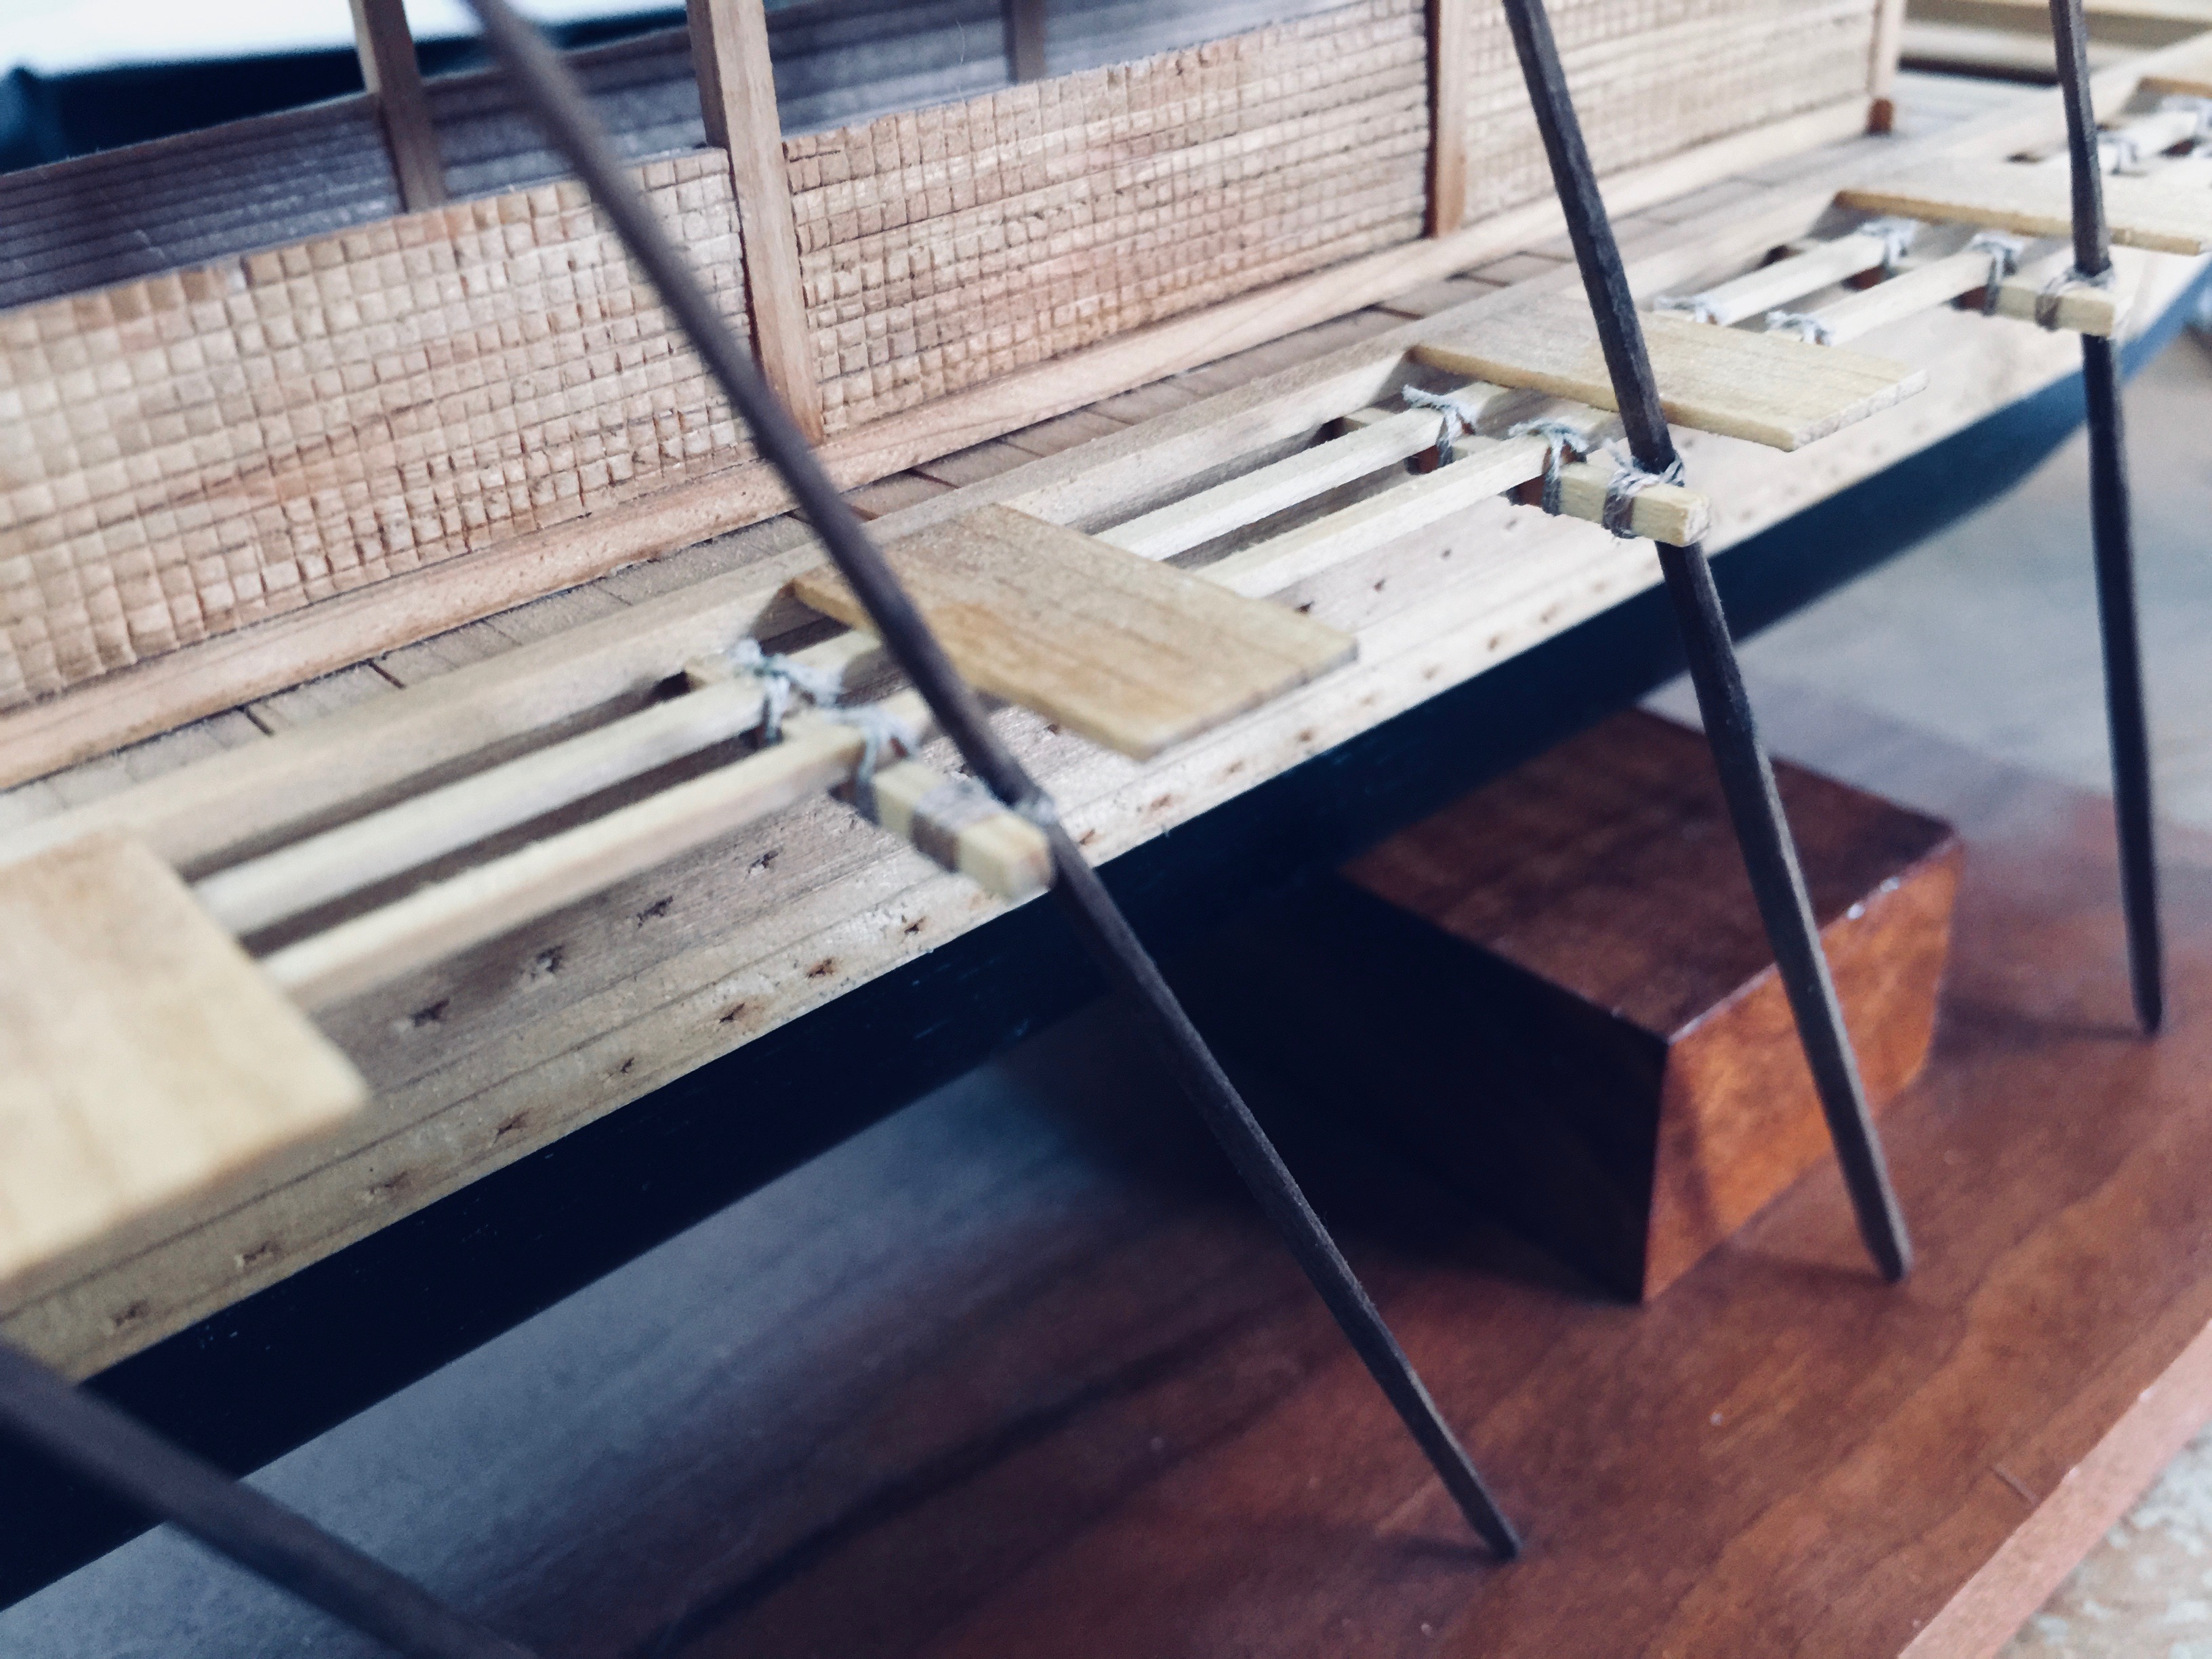
Oars tied into place
Another difference between my model and modern museum models and their sculling oars is that sculling oars have a handle near the end of the oar and a line tied down to the rail or beam wraps over that to help hold the oar in place while sculling. Such lines seemed to have no purpose with this type of oar, so I didn’t include them.
In the side view, below, you can see how the oars look once they’re all on the model, though I still have to add them onto the other side. I made the base just a tad too short, causing the aft-most oar to hang down just a little too much.
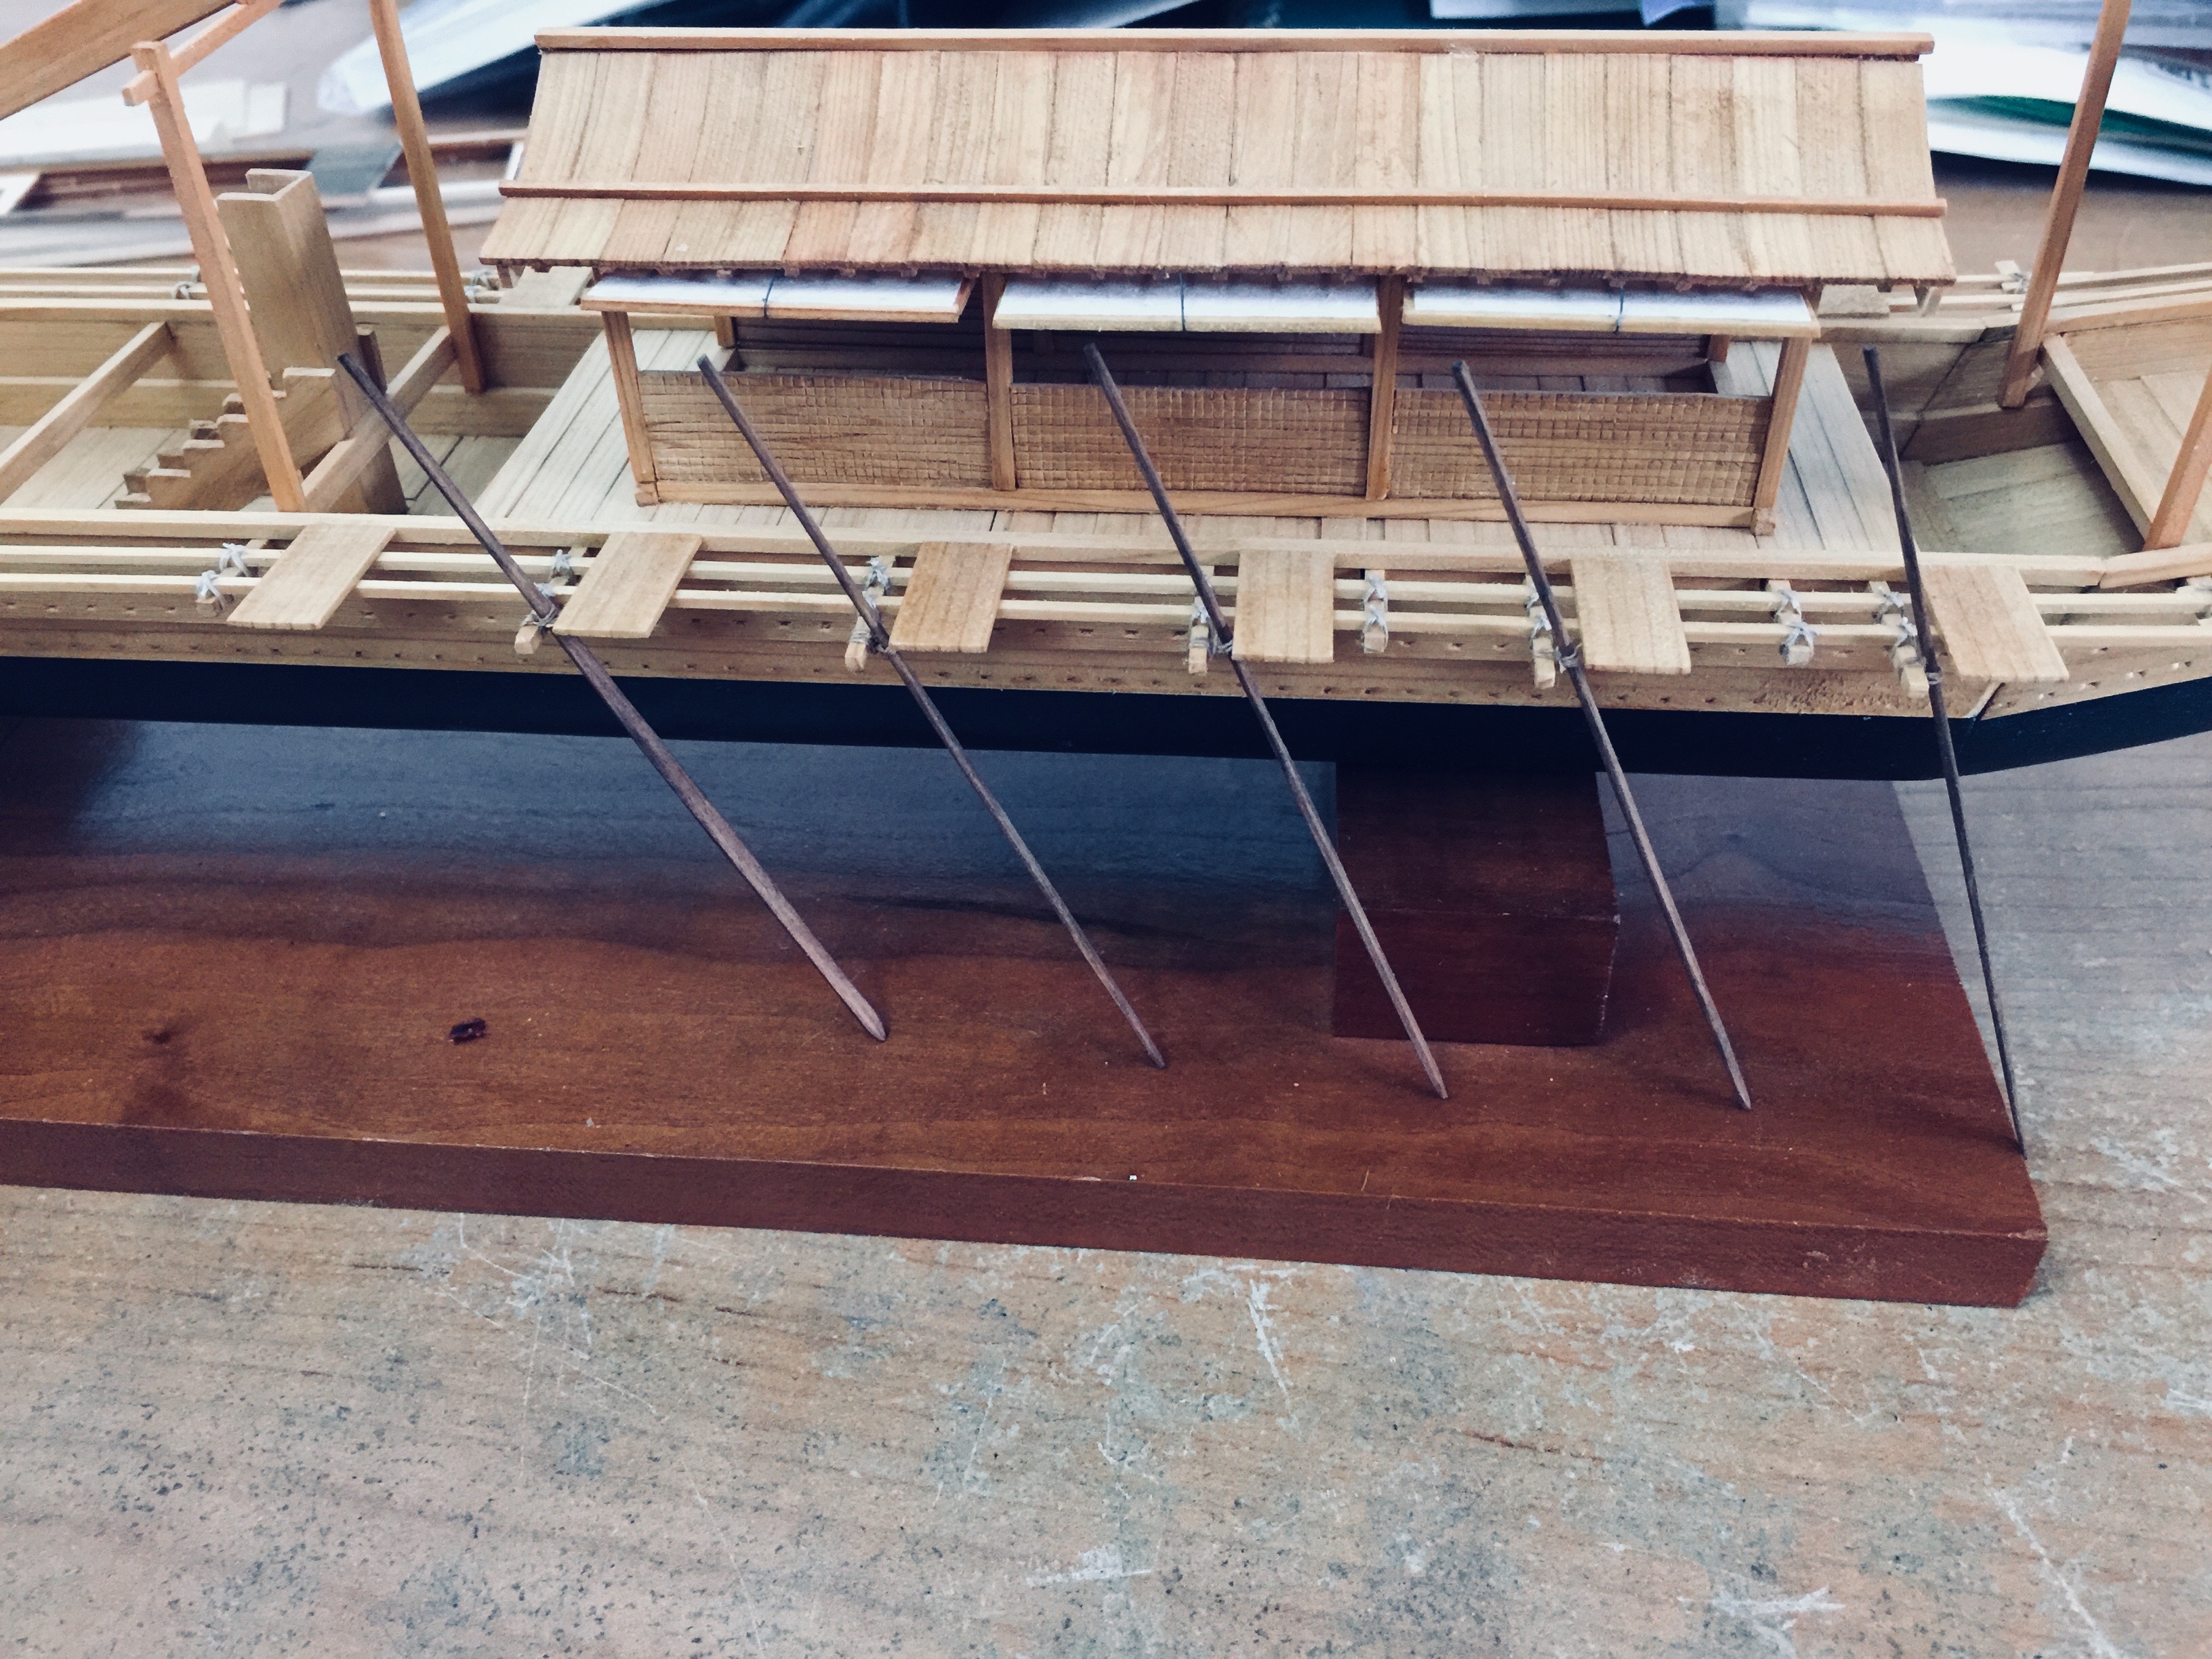
I suppose I could make an entirely new base, but make it a couple inches longer. For now, I’m satisfied with it. We’ll see how long before it starts to bother me.
