Building the Kamakura Period Umi-Bune – Final

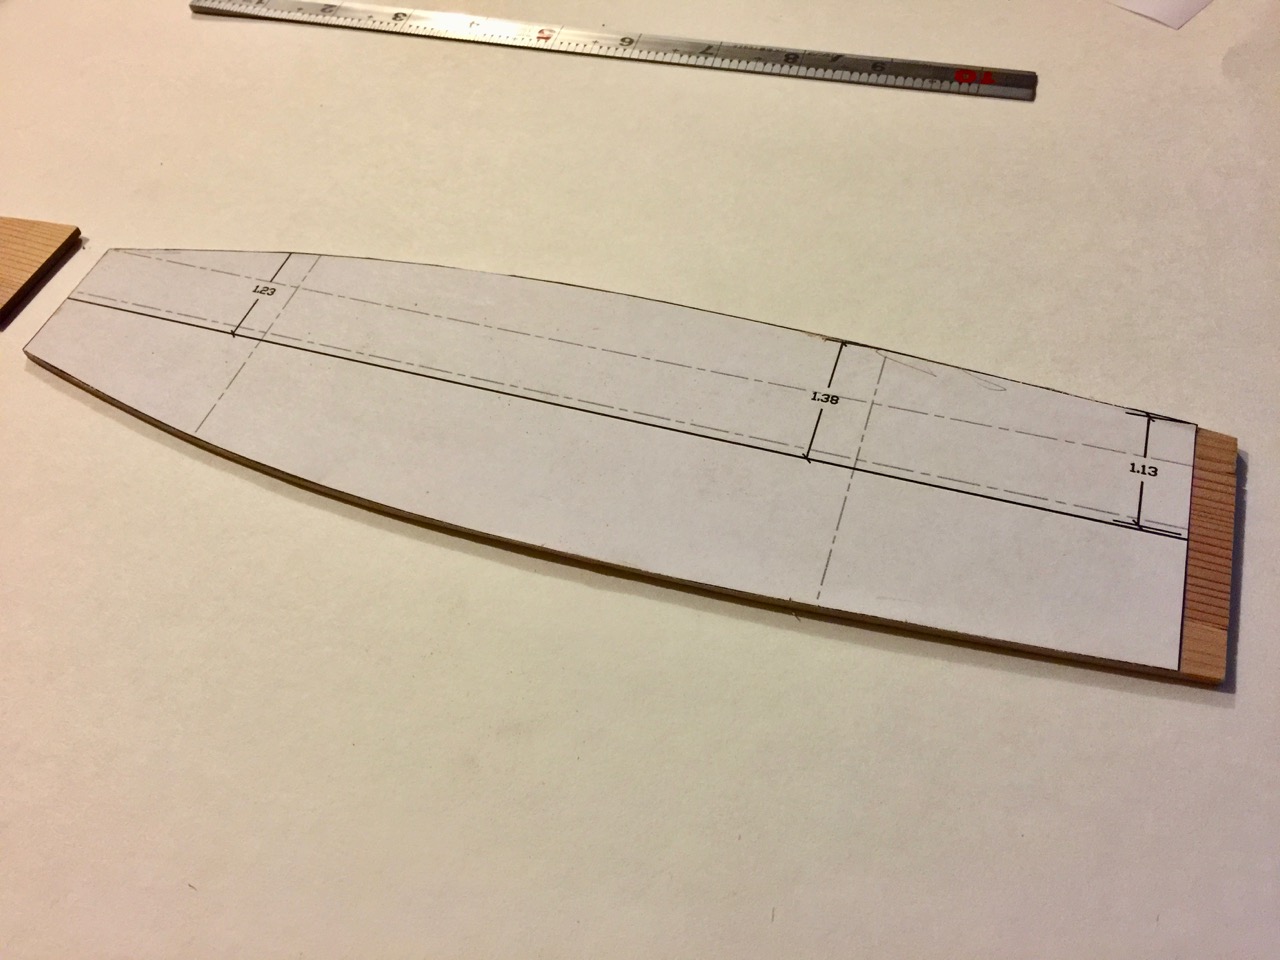
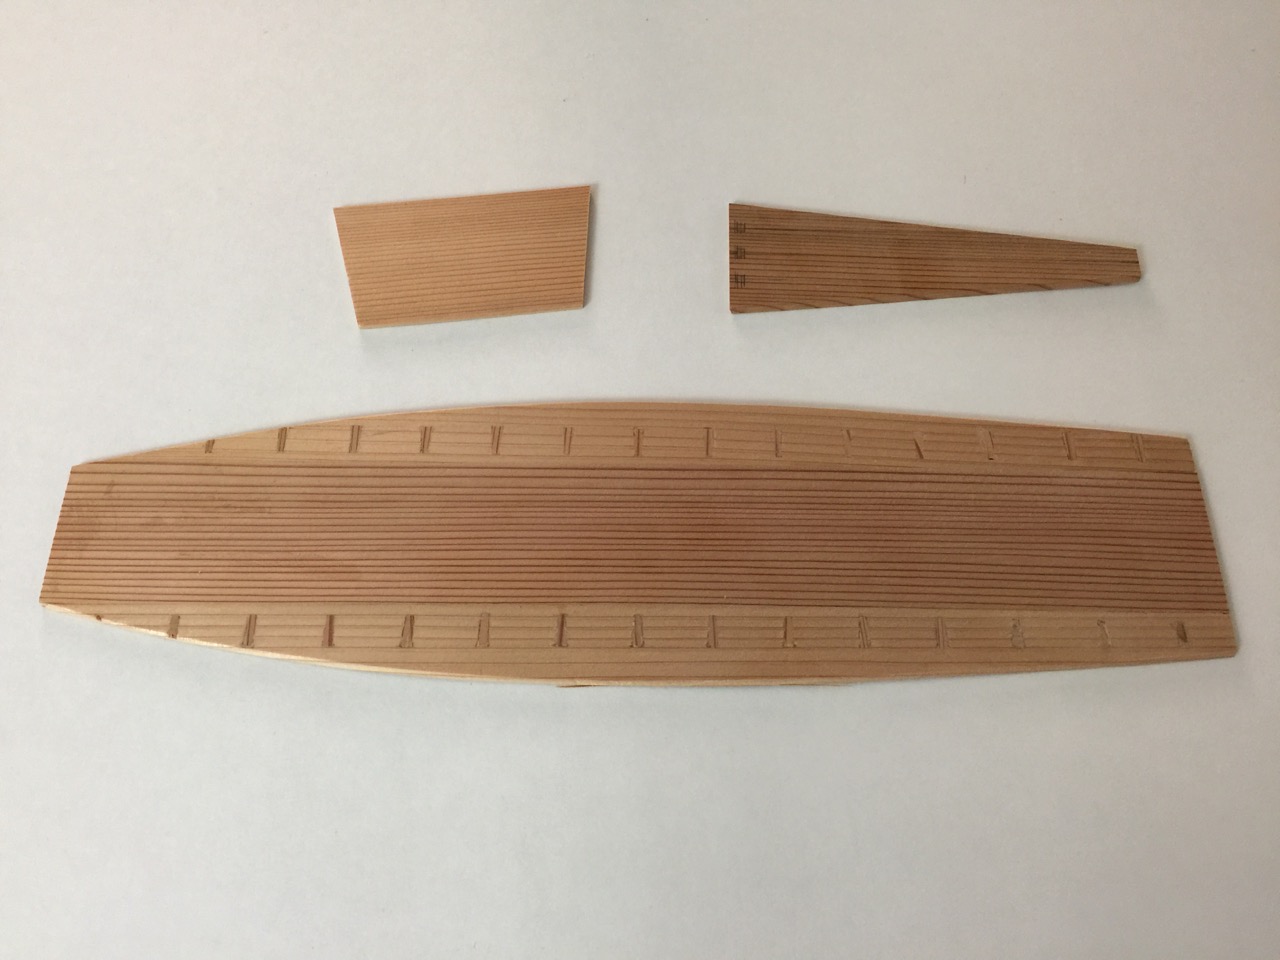
I brought my Kamakura period sea boat to the Nautical Research Guild Conference, which was held this past weekend in Las Vegas, Nevada. I had some last minute work to complete, but finished in time for the model display.

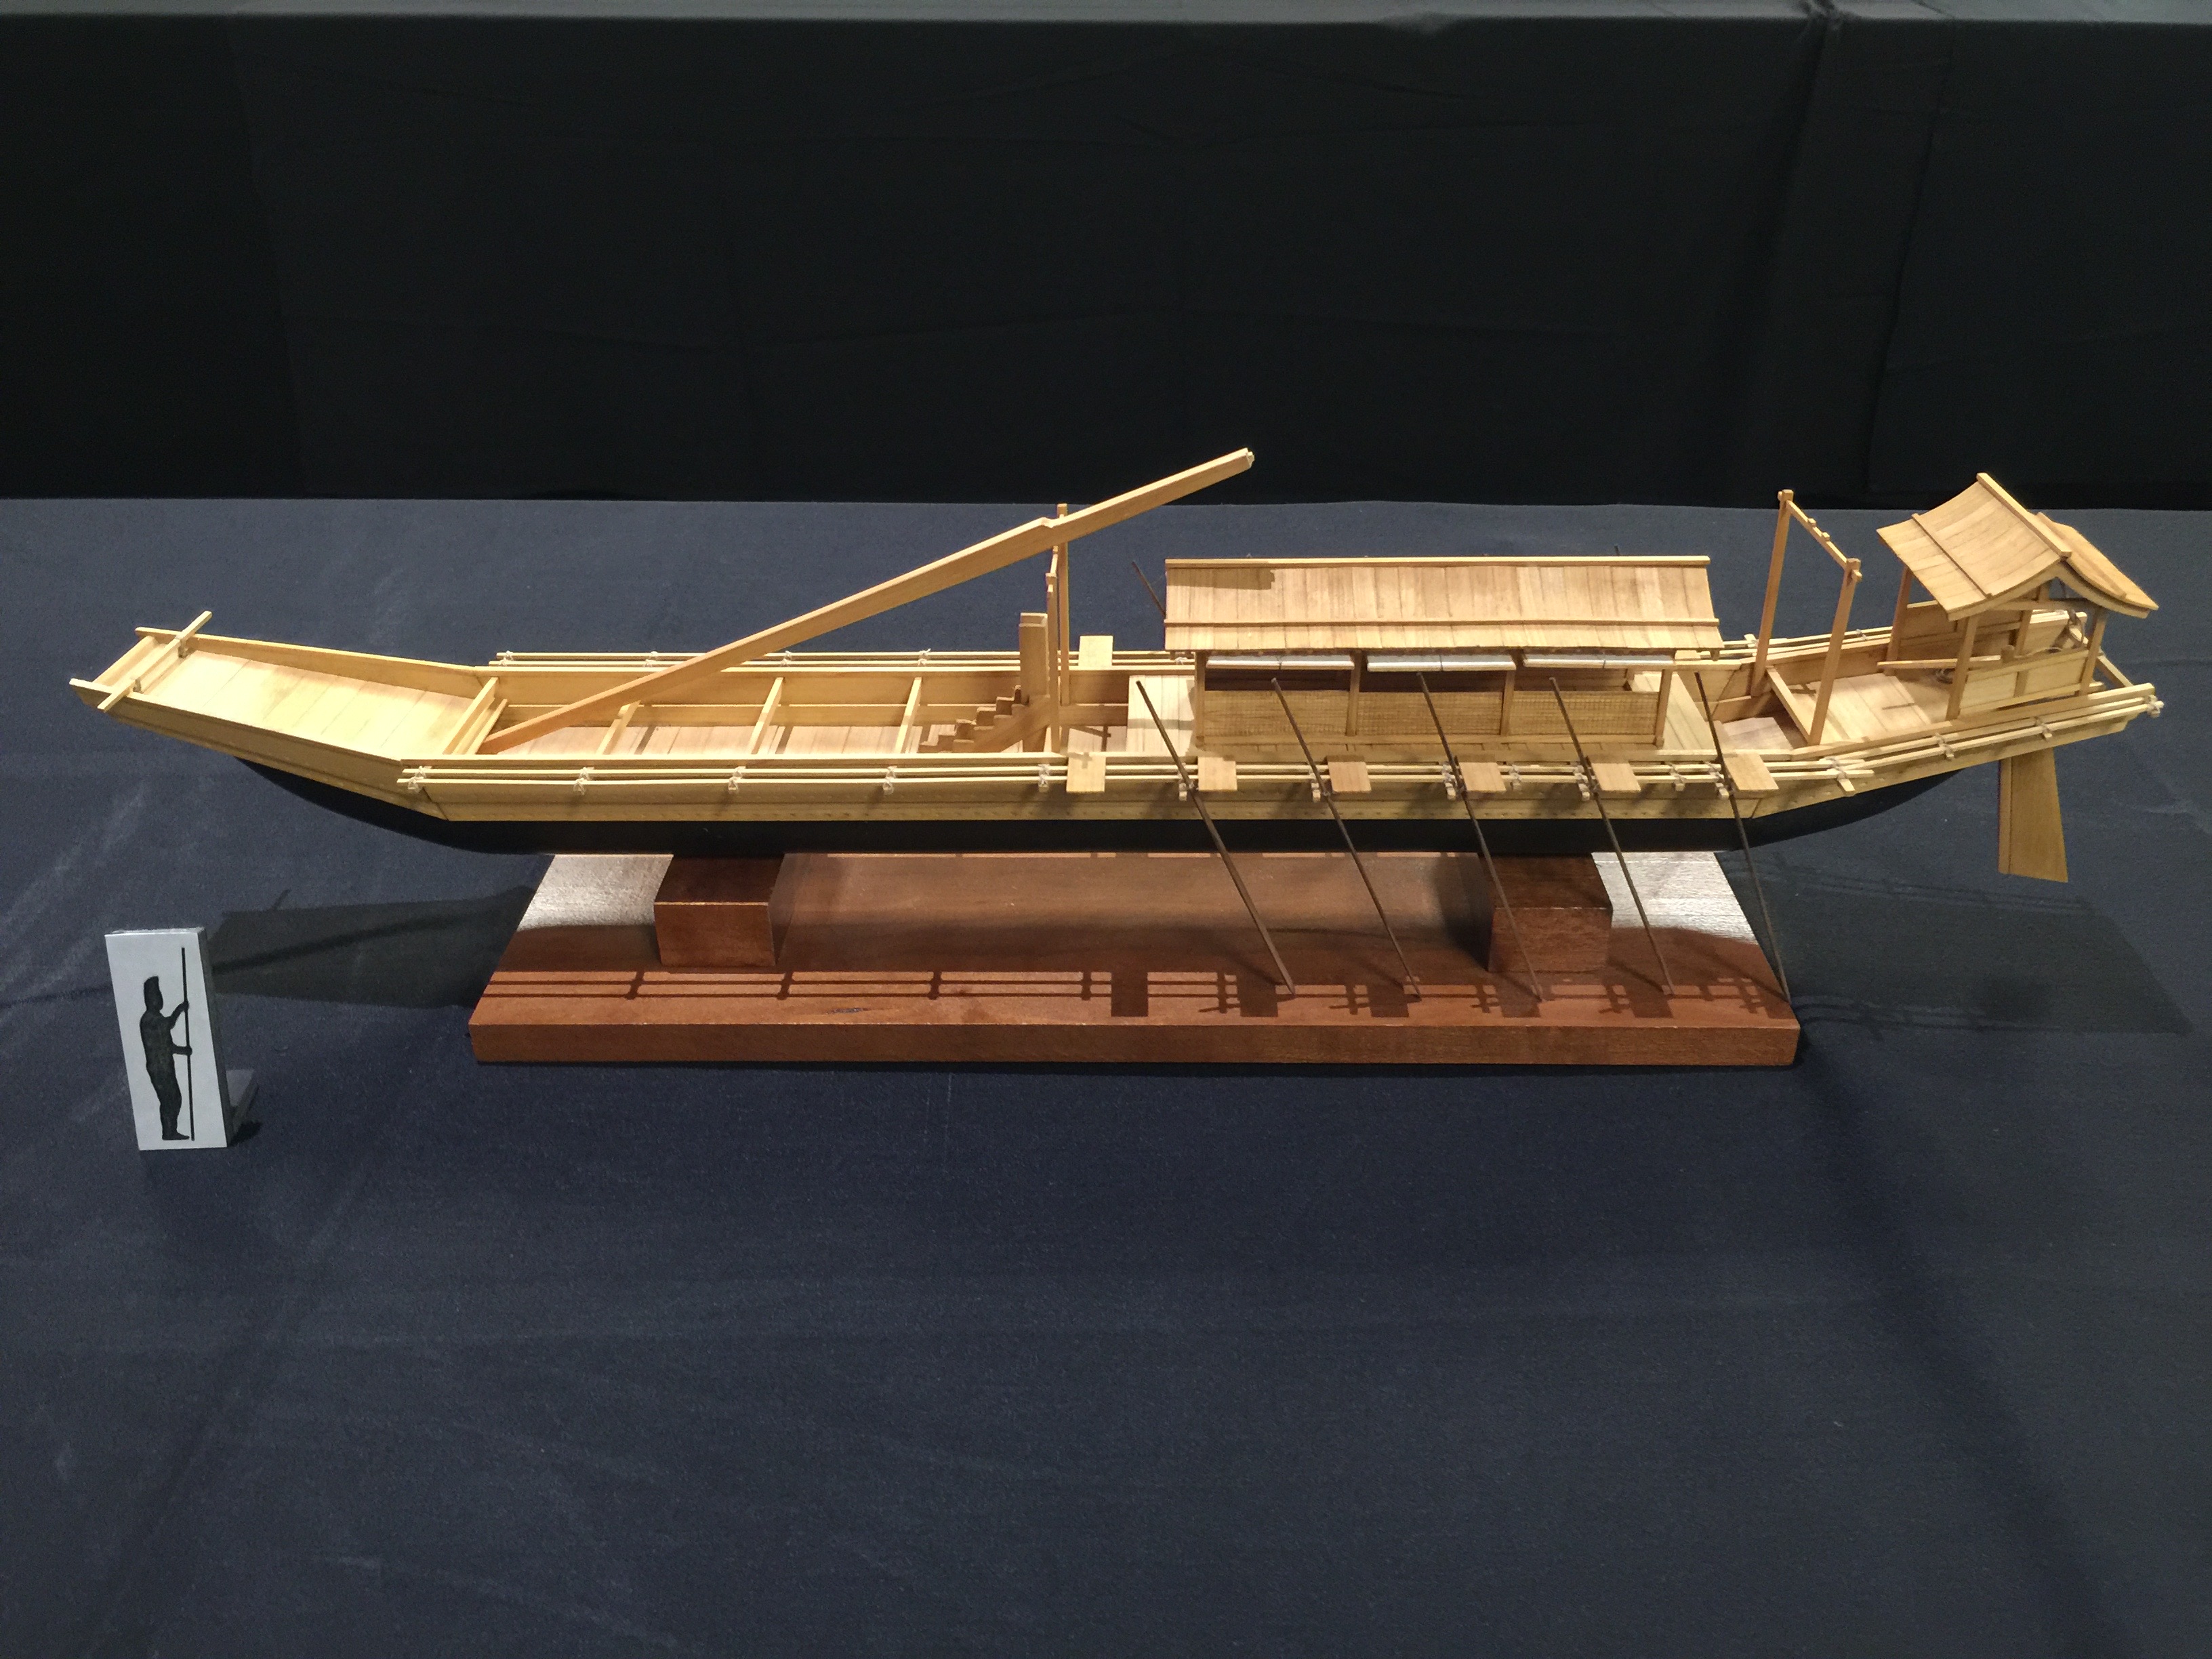
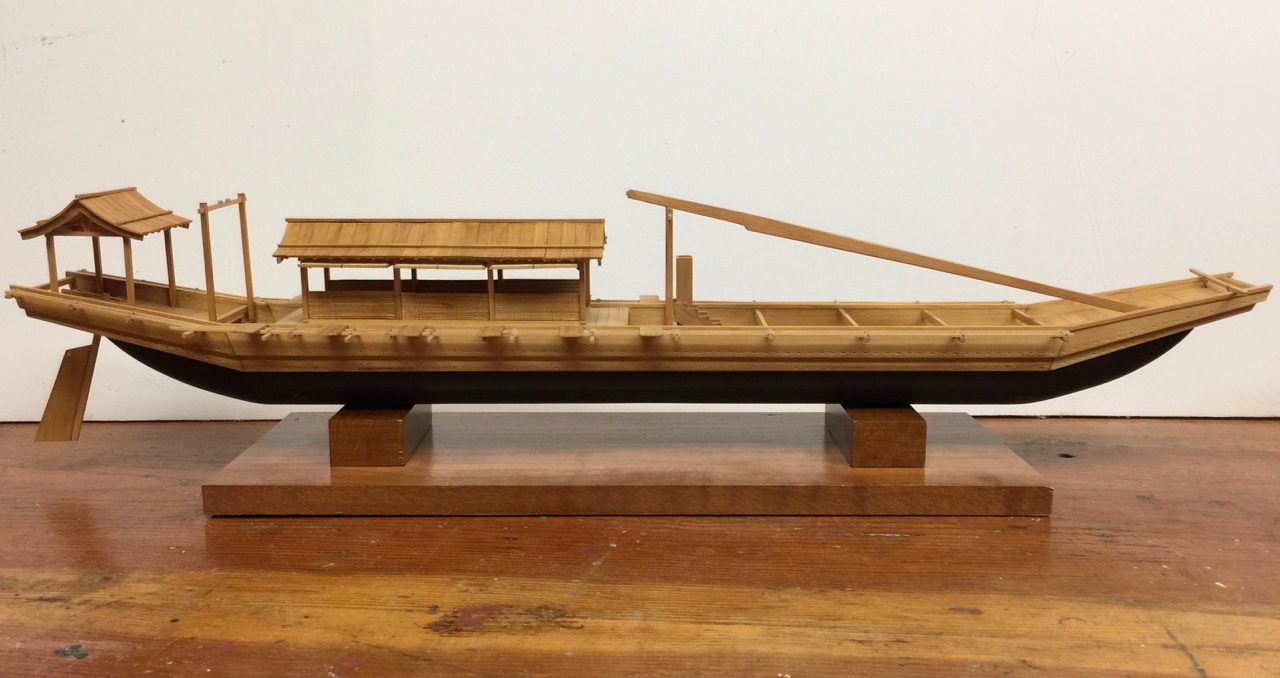
Kamakura Period Sea Boat (鎌倉時代の海船) at the 2018 Nautical Research Guild Conference.

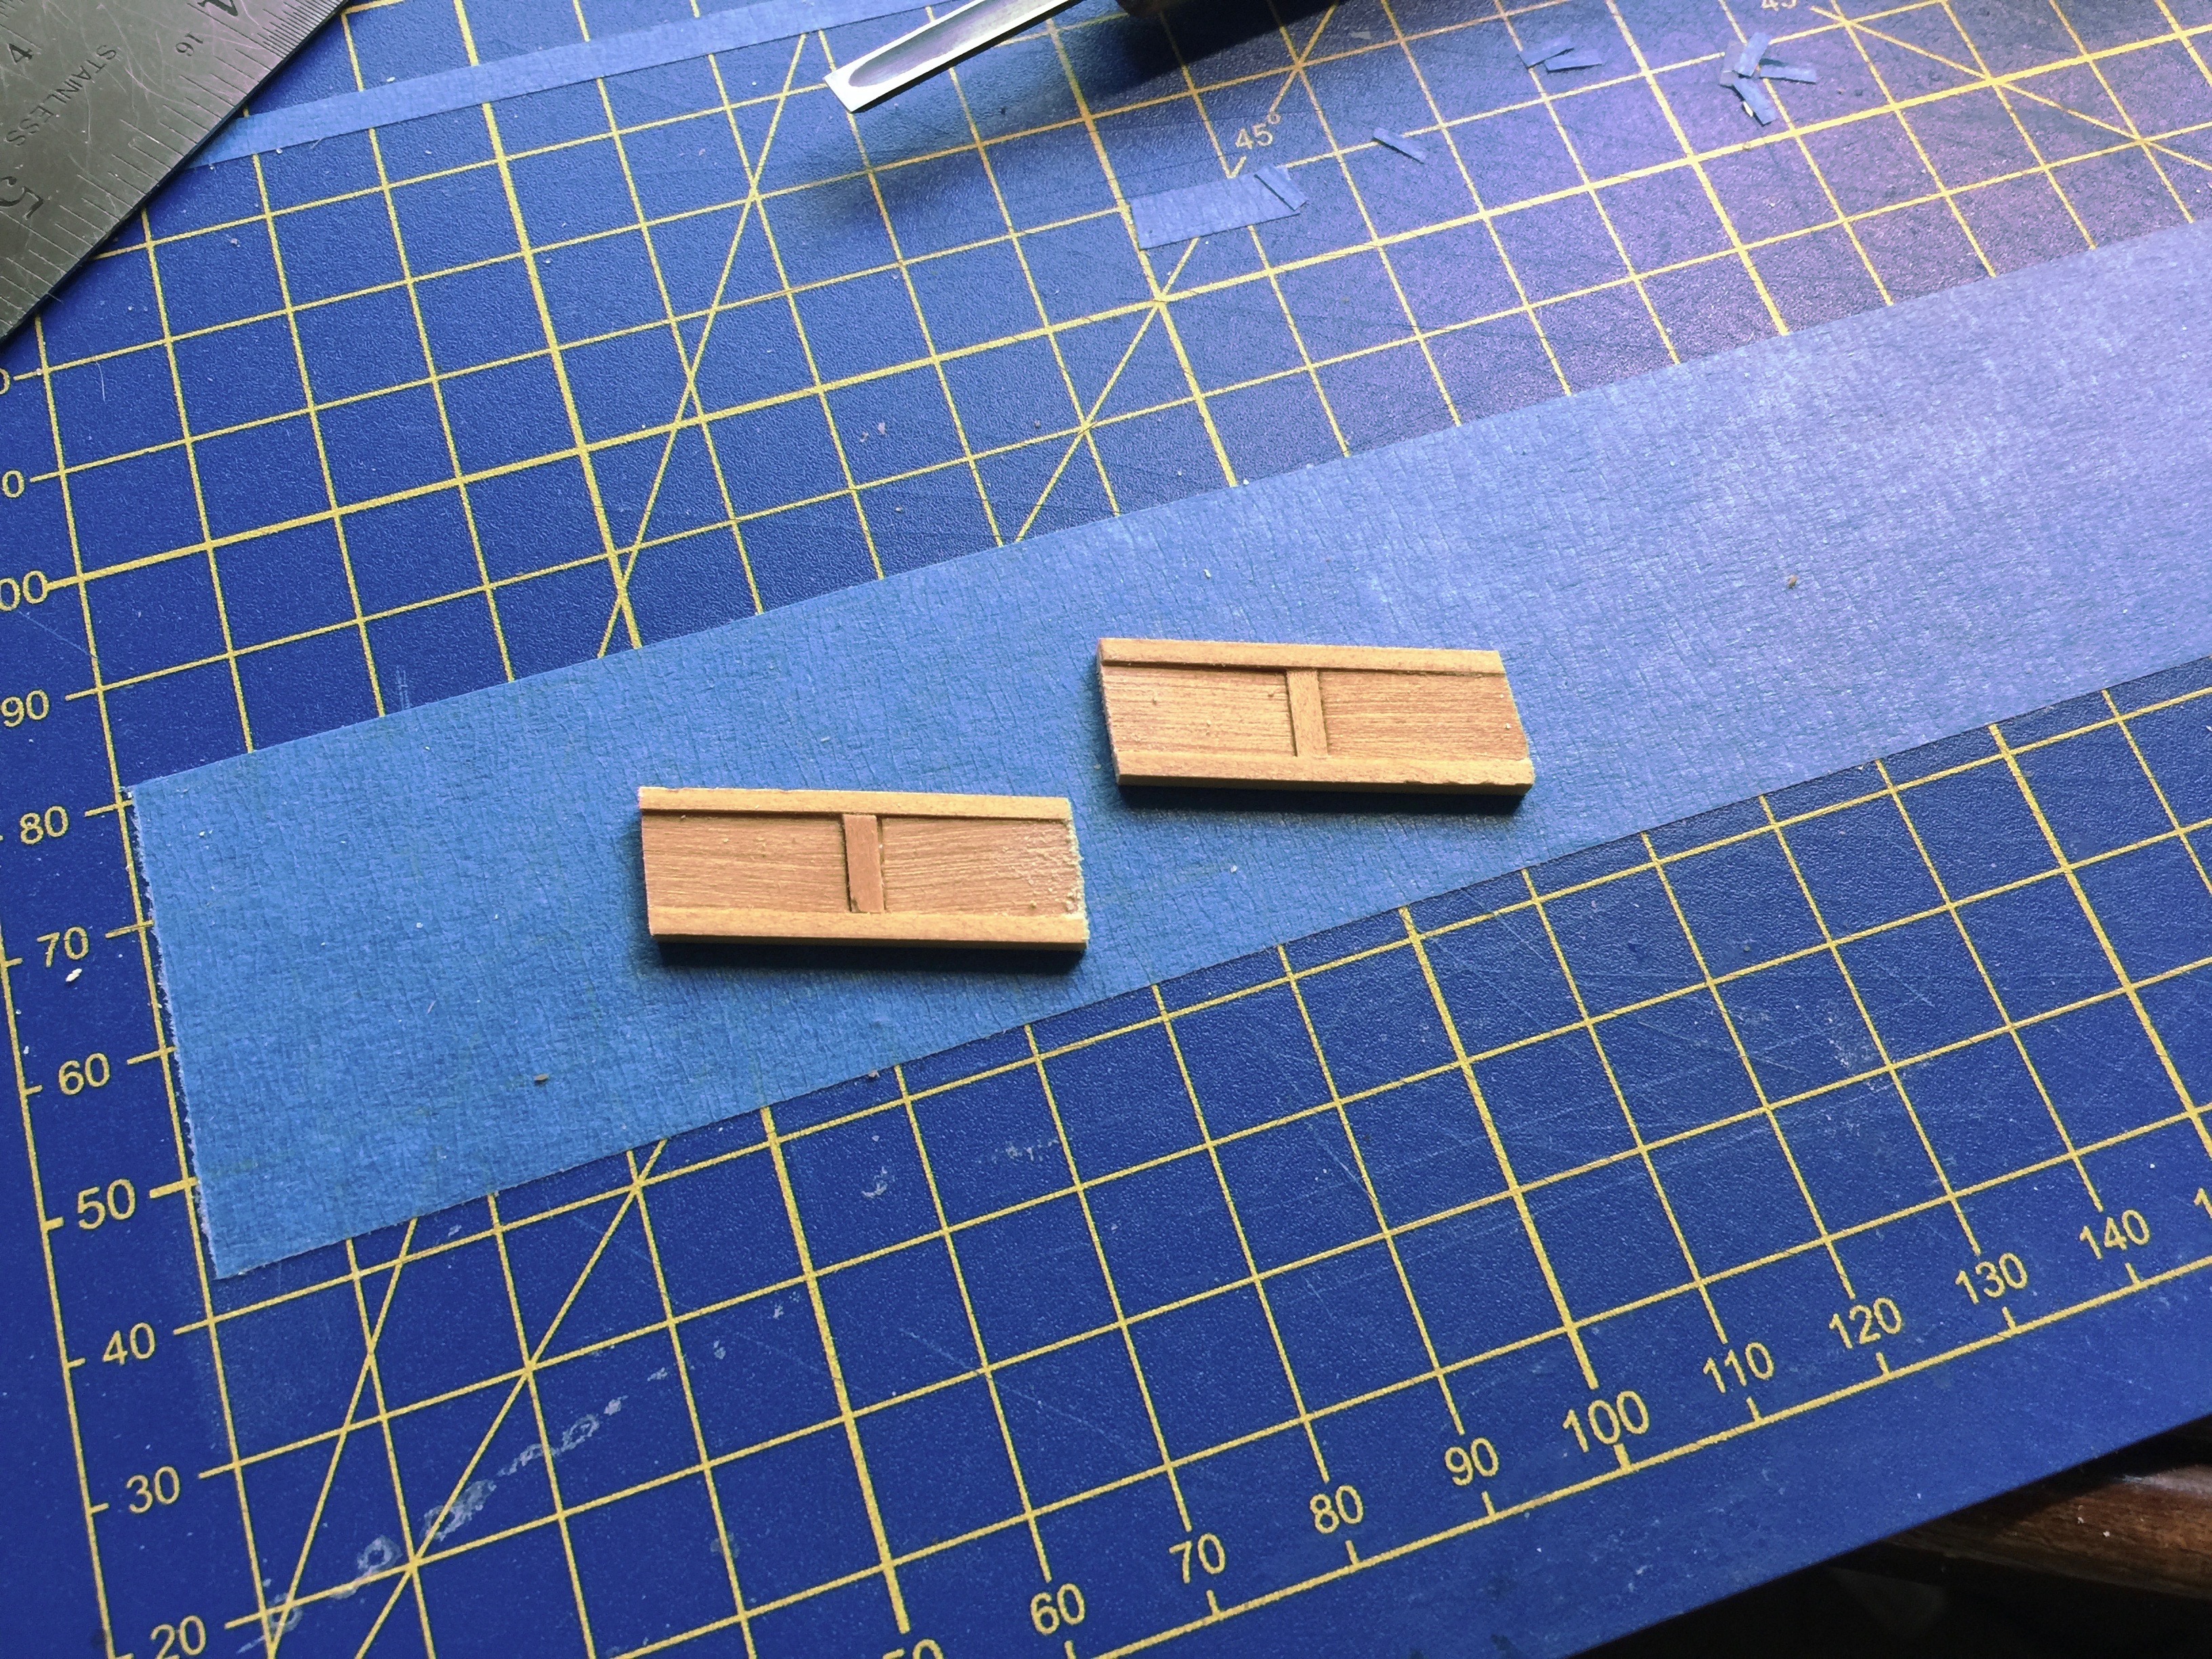
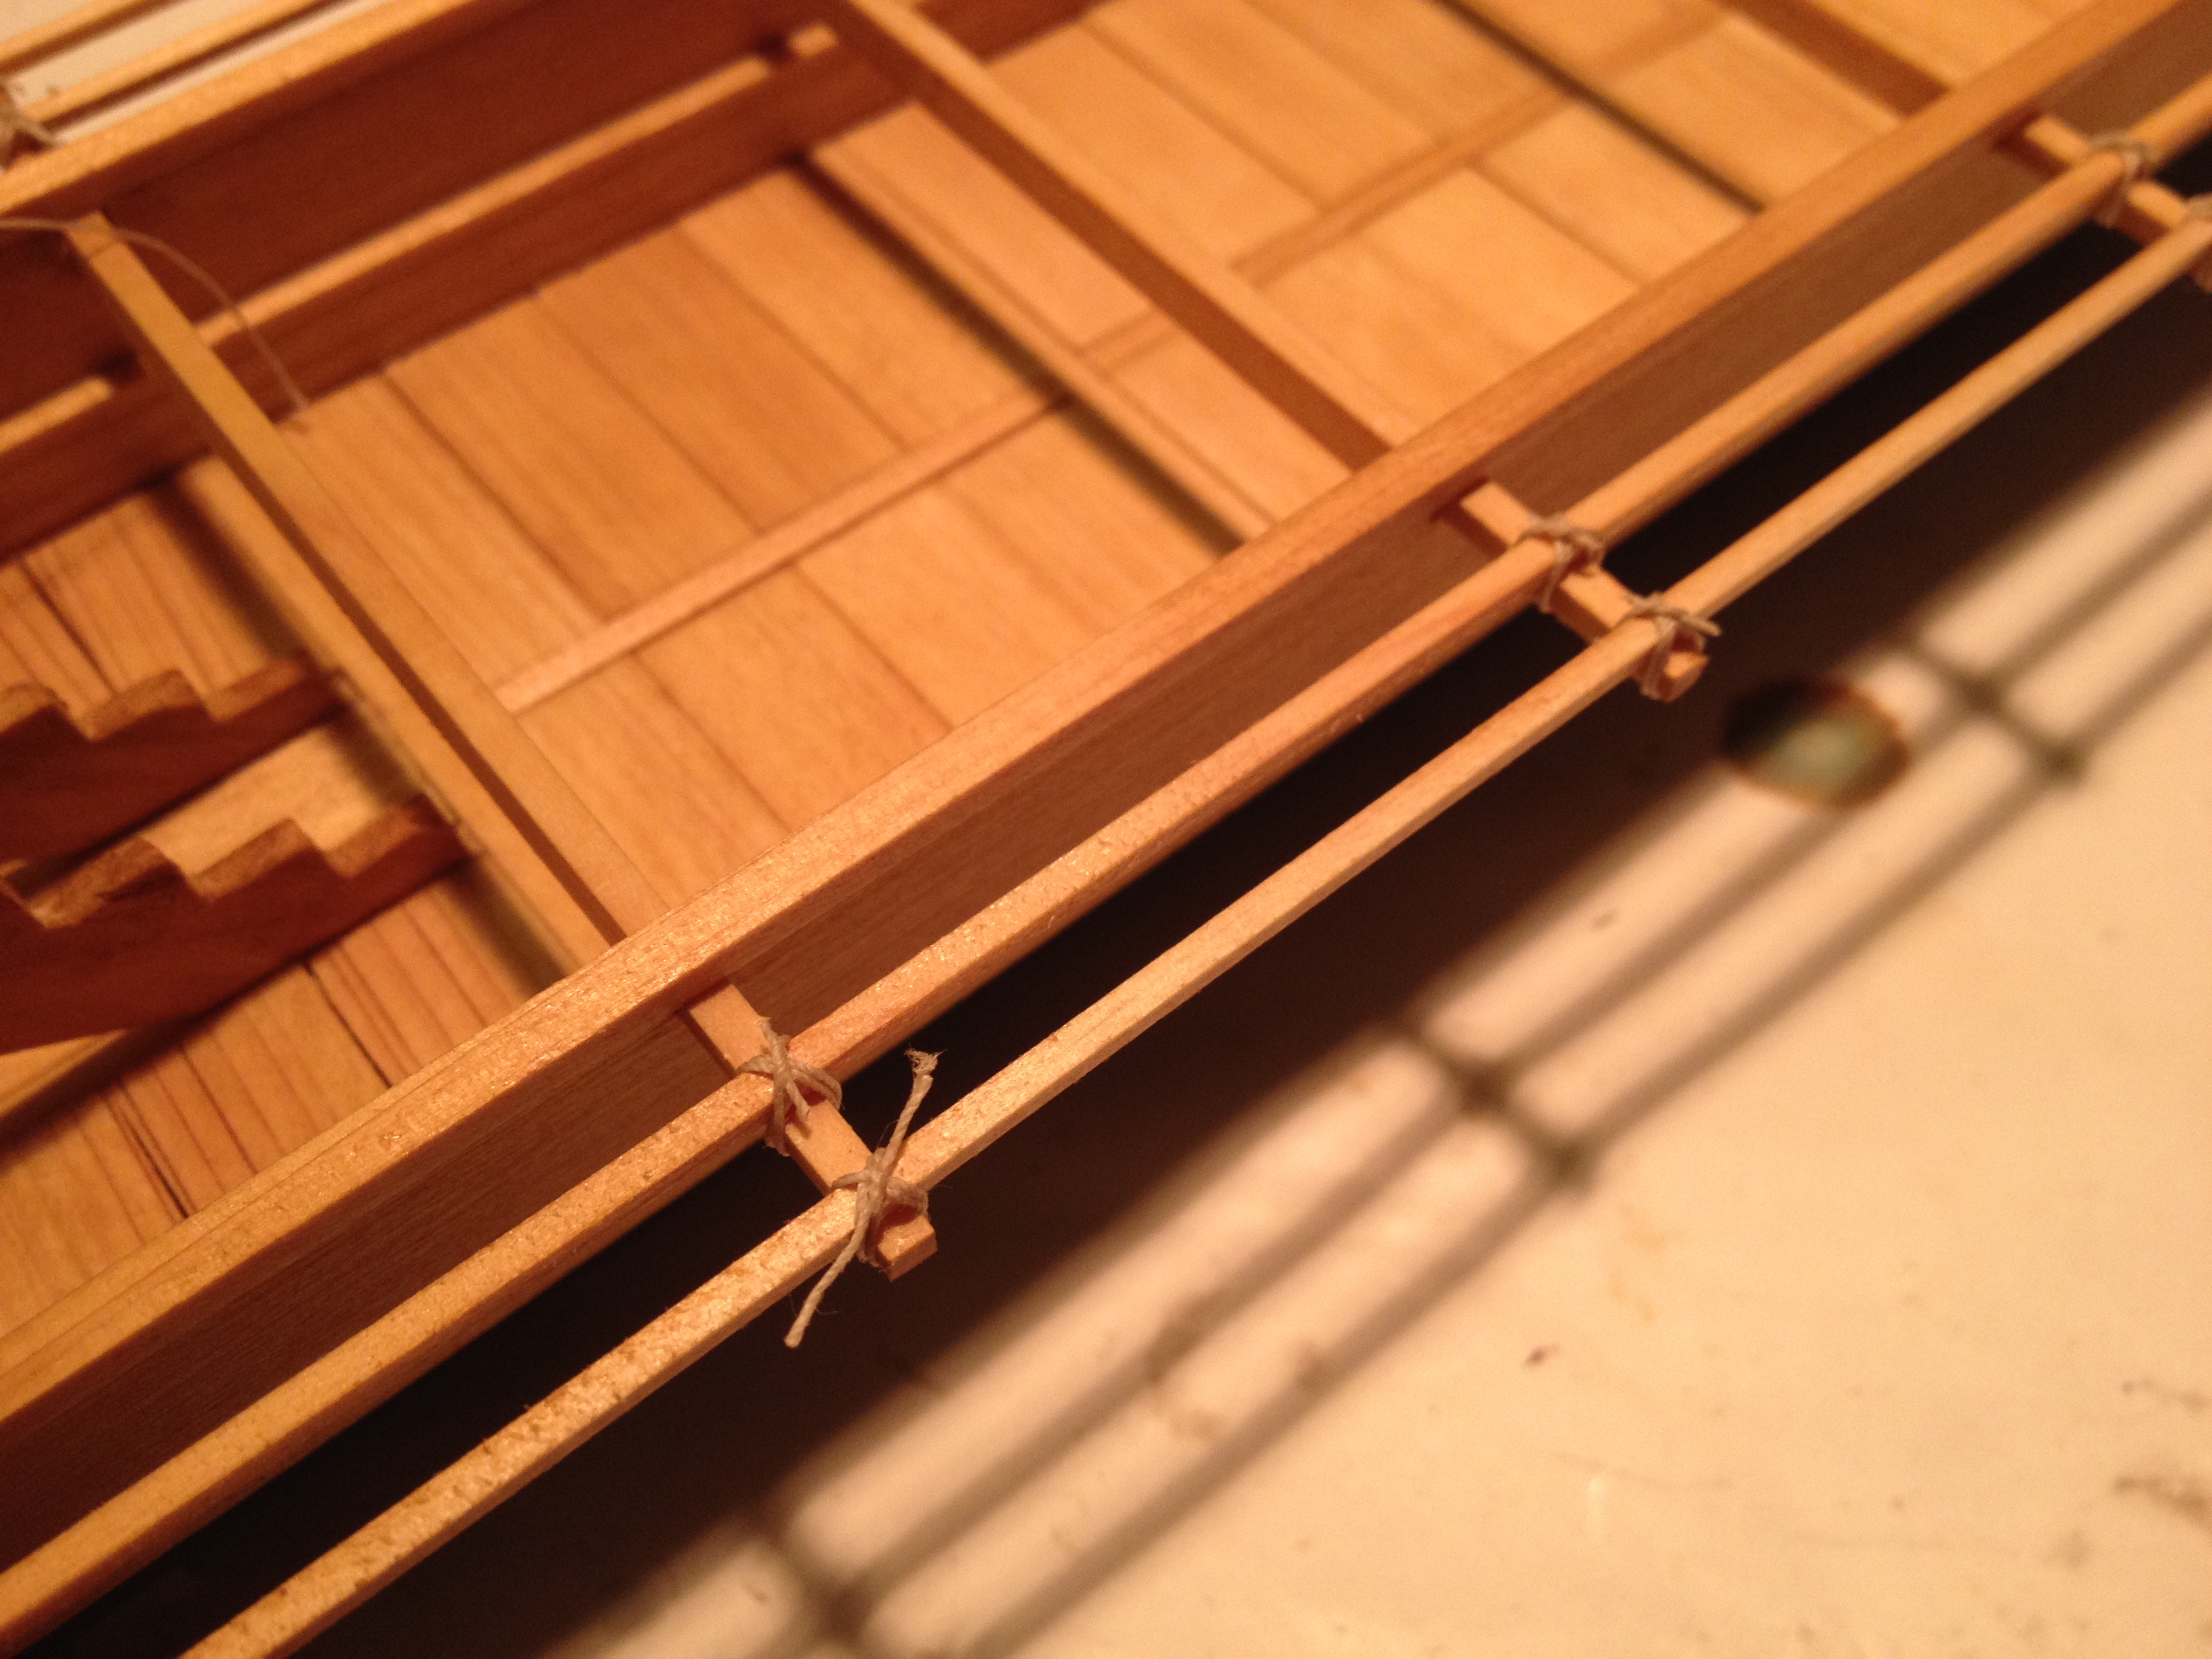
Preparing it for the display took a bit of last minute work. I hadn’t put the remaining oars on until I was actually in the hotel the night before. The reason for the delay was mostly due to my taking the model to the October meeting of the Hyde Street Pier Model Shipwrights. Carrying around of model of this nature, or any nature I suppose, has certain hazzards associated with it. I had taken the model to the meeting of the South Bay Model Shipwrights the night before with no problems whatsoever.

Continue reading

Building the Kamakura Period Umi-Bune – Part 10

Just a quick update on the model as I continue to make progress in small increments.

You may recall that this boat has one large sail. I don’t know if I will mount a sail on it or not. I find it rather interesting how the lowered mast is stowed. I think I have a method for creating the sail, which was made from rice-straw matting, not cloth. But, I will have other opportunities to make that, and it would probably be simpler and more realistic at a larger scale.

In any case, I also have the full set of oars I made. I’ve decided that even though the museum models I’ve seen show the boat equipped for sculling, that my interpretation of early scroll paintings suggest they were rowed and not sculled. Also, I started to thinking about the side-to-side motion involved in sculling, and I see only rope bindings on these oars in all cases (museum models).

I can’t see how rope bindings would be able to take the amount of side-to-side pressure without loosing very quickly. If rowed, the binding would simply be to hold the oar and keep it from slipping. All the force of propulsion from the oars are taken by the beam extensions of the ship.

Continue reading

Sandanbo (三反帆) Kumanogawa Sailing Riverboat – Model by Kouichi Ohata

1/10-scale Sandanbo, Kumanogawa Sailing Riverboat model by Kouichi Ohata

Kouichi Ohata is a Japanese model builder who’s work I’ve featured here before. The last model of his that I posted here was his Kumanogawa Hayabune. Living in souther Mie prefecture, Ohata-san has the opportunity to see a number of unique tradional Japanese watercraft, and he has put his modeling skills to good use in reproducing them in miniature.

Continue reading

Building the Kamakura Period Umi-Bune – Part 9

As if my work wasn’t coming along slowly enough, a car accident and heavier work load managed to bring my ship modeling of all types to a standstill. After nearly two months of making no progress on anything, I finally found myself in a position to move forward again on the Umibune. I didn’t managed to figure out too much regarding the making of scale figures for the model, but I did finish tying the bindings on the rails. I also decided on how I wanted to finish the aft deckhouse, or yakata.

I basically returned to the idea of installing only lower panels on the sides of the structure. There seem to be a multitude of ways that artists and model makers have interpreted this design, so I just went with something I recall seeing in a painting. Is it accurate? There really doesn’t appear to be any way to know for sure. But, it seems reasonable. In the photos below, you can see the panels before installation, as well as how they look in place on the model. I originally built these slightly oversized, allowing me to adjust them to fit.

Continue reading

Building the Kamakura Period Umi-Bune – Part 8

I must confess that I haven’t done much on the umibune model itself. I’ve mostly been working out details on how to make or modify figures for it. I’ve been using wire frames, modifying plastic figures, etc., trying to develop some skills that will work for me. More on this later.

I’ve also been testing out a way to make the large square sail for it. It’s a little different from other sails because sails weren’t made from cloth at that time in Japan. Instead, they were made from straw mat. They were heavy and bulky and you certainly didn’t want to get them wet. I’ve been looking at how these have been modeled on museum models and one large scale 1/10-scale model that someone sent me photos of.

Model that was on display during Douglas Brooks’ work at a museum in Kobe in 2016.

Continue reading

Kumanogawa Hayabune (熊野川の早舟)- Model by Kouichi Ohata

1/10-scale Kumanogawa Hayabune model by Kouichi Ohata

Kouichi Ohata is a Japanese model builder who lives in the southern end of Mie prefecture, near the Pacific Coast. He runs the family orange orchards, and in his spare time, creates some magnificent works including a large 1/35-scale RC model of the Flower-class corvette H.M.S. Compass Rose, from the film and the book The Cruel Sea.

Continue reading

Building the Kamakura Period Umi-Bune, Part 7

One of the detail features of this vessel is that the railings are fastened to the beams by rope ties. There may have been more to it than that on the real boat. I have seen where a wooden key is used to keep two parts in alignment, while a rope binding holds them together. That may be the case here. But, all that really matters is what can be seen, so it’s important that the bindings make sense and they are all the same.

Continue reading

Building a Hozugawa Ayubune Model in 1/10 Scale – Final

This is the completion of my 1/10-scale model of the 15-shaku ayubune. This began with the cutting of the beams. I made the smallest beam at the bow, called the tsunatsuke, 1.5-sun square. The other two main beams I made 3-sun wide and 2.5-sun thick. I didn’t have any sugi of the necessary thickness, so I had to use two pieces glued together. I put the seam on the side of the beam in hopes that would make it less visible.

I used the beams as a guide to help me size the cutouts in the hull, which I cut with my Japanese Hishika, Super Fine Cut Saw, that I got from Zootoyz. It worked really well for this.

I found a supplier with the exact same saw in the U.S., but the cost for the saw was more than what Zootoyz charges, even when you add the international shipping. The one thing with this saw is that it cuts so easily, you have to be careful not to cut too much. For the final trimming of the notches, I used a scalpel.

First, I notched out the hull for the bow platform, called the omoteamaose, and the stern platform, called the tomoamaose. These were the easiest to deal with, since they are at the ends of the boat. So, I dealt with these first.

It was simple enough to add the omoteamase using a 3mm wood. I pre-cut the piece to roughly the correct size by inserting the piece into place and tracing out the extents in pencil. I could then glue the piece into place and sand away any excess using a large sanding block. Continue reading

Building a Hozugawa Ayubune Model in 1/10 Scale – Part 5

Progress continues with my 1/10-scale model of the 15-shaku boat used on the Hozu river, northwest of Kyoto. I’m 6 months into the build, but I have certainly not spent a great deal of time in actual construction. Mostly, I’ve been contemplating how I was going to accomplish each task of the build. Things are progressing quickly now.

Ayubune model with former clamped to the baseboard fixture

With the new fixture holding things in place, I taped a piece of cardstock into place to trace the shape of the hull planking. I rough marked the outlines of the bottom, bow plank, and transom on it. The planking will be cut oversized, so getting the exact shape isn’t really necessary, except to make sure that the wood I cut is large enough, but not too wasteful of my limited wood supply.

Next, I cut four straight strips of 3mm sugi on my table saw about 1 shaku wide and 16.5 shaku long. There are two hull planks on each side of the boat, but unlike many other wasen designs, the planks fit flush together, so the sides of the boat are perfectly flat. So I glued up the planks into two side-by-side pairs.

Continue reading

Building a Hozugawa Ayubune Model in 1/10 Scale – Part 4

Something I didn’t mention last time was that I had cut a paper pattern for the shiki and rubber-cemented it to the assembled . I then cut the wood to the pattern. Since the plans I have show the lines to the inside of the planking, I left the pice a little long at the aft end, as the bottom extends slightly beyond the transom.

Shiki with pattern, and cut to shape, with extension at the aft end

The final pieces are ready for assembly. As on the real boat, the hull planks will be shaped in place. Note that I also cut mortises for the bow plank, which I’m told is called the omote no tate ita. I’m going to have to find the kanji to make sure I know what this really means. The same goes for the transom, or tomo no tate ita, but in other regions is called the todate.

Continue reading