
This is just a short update on the Kitamaebune build.
I added a couple pieces to the transom to simulate the plank that seems to show up on every benzaisen model or image I’ve seen. 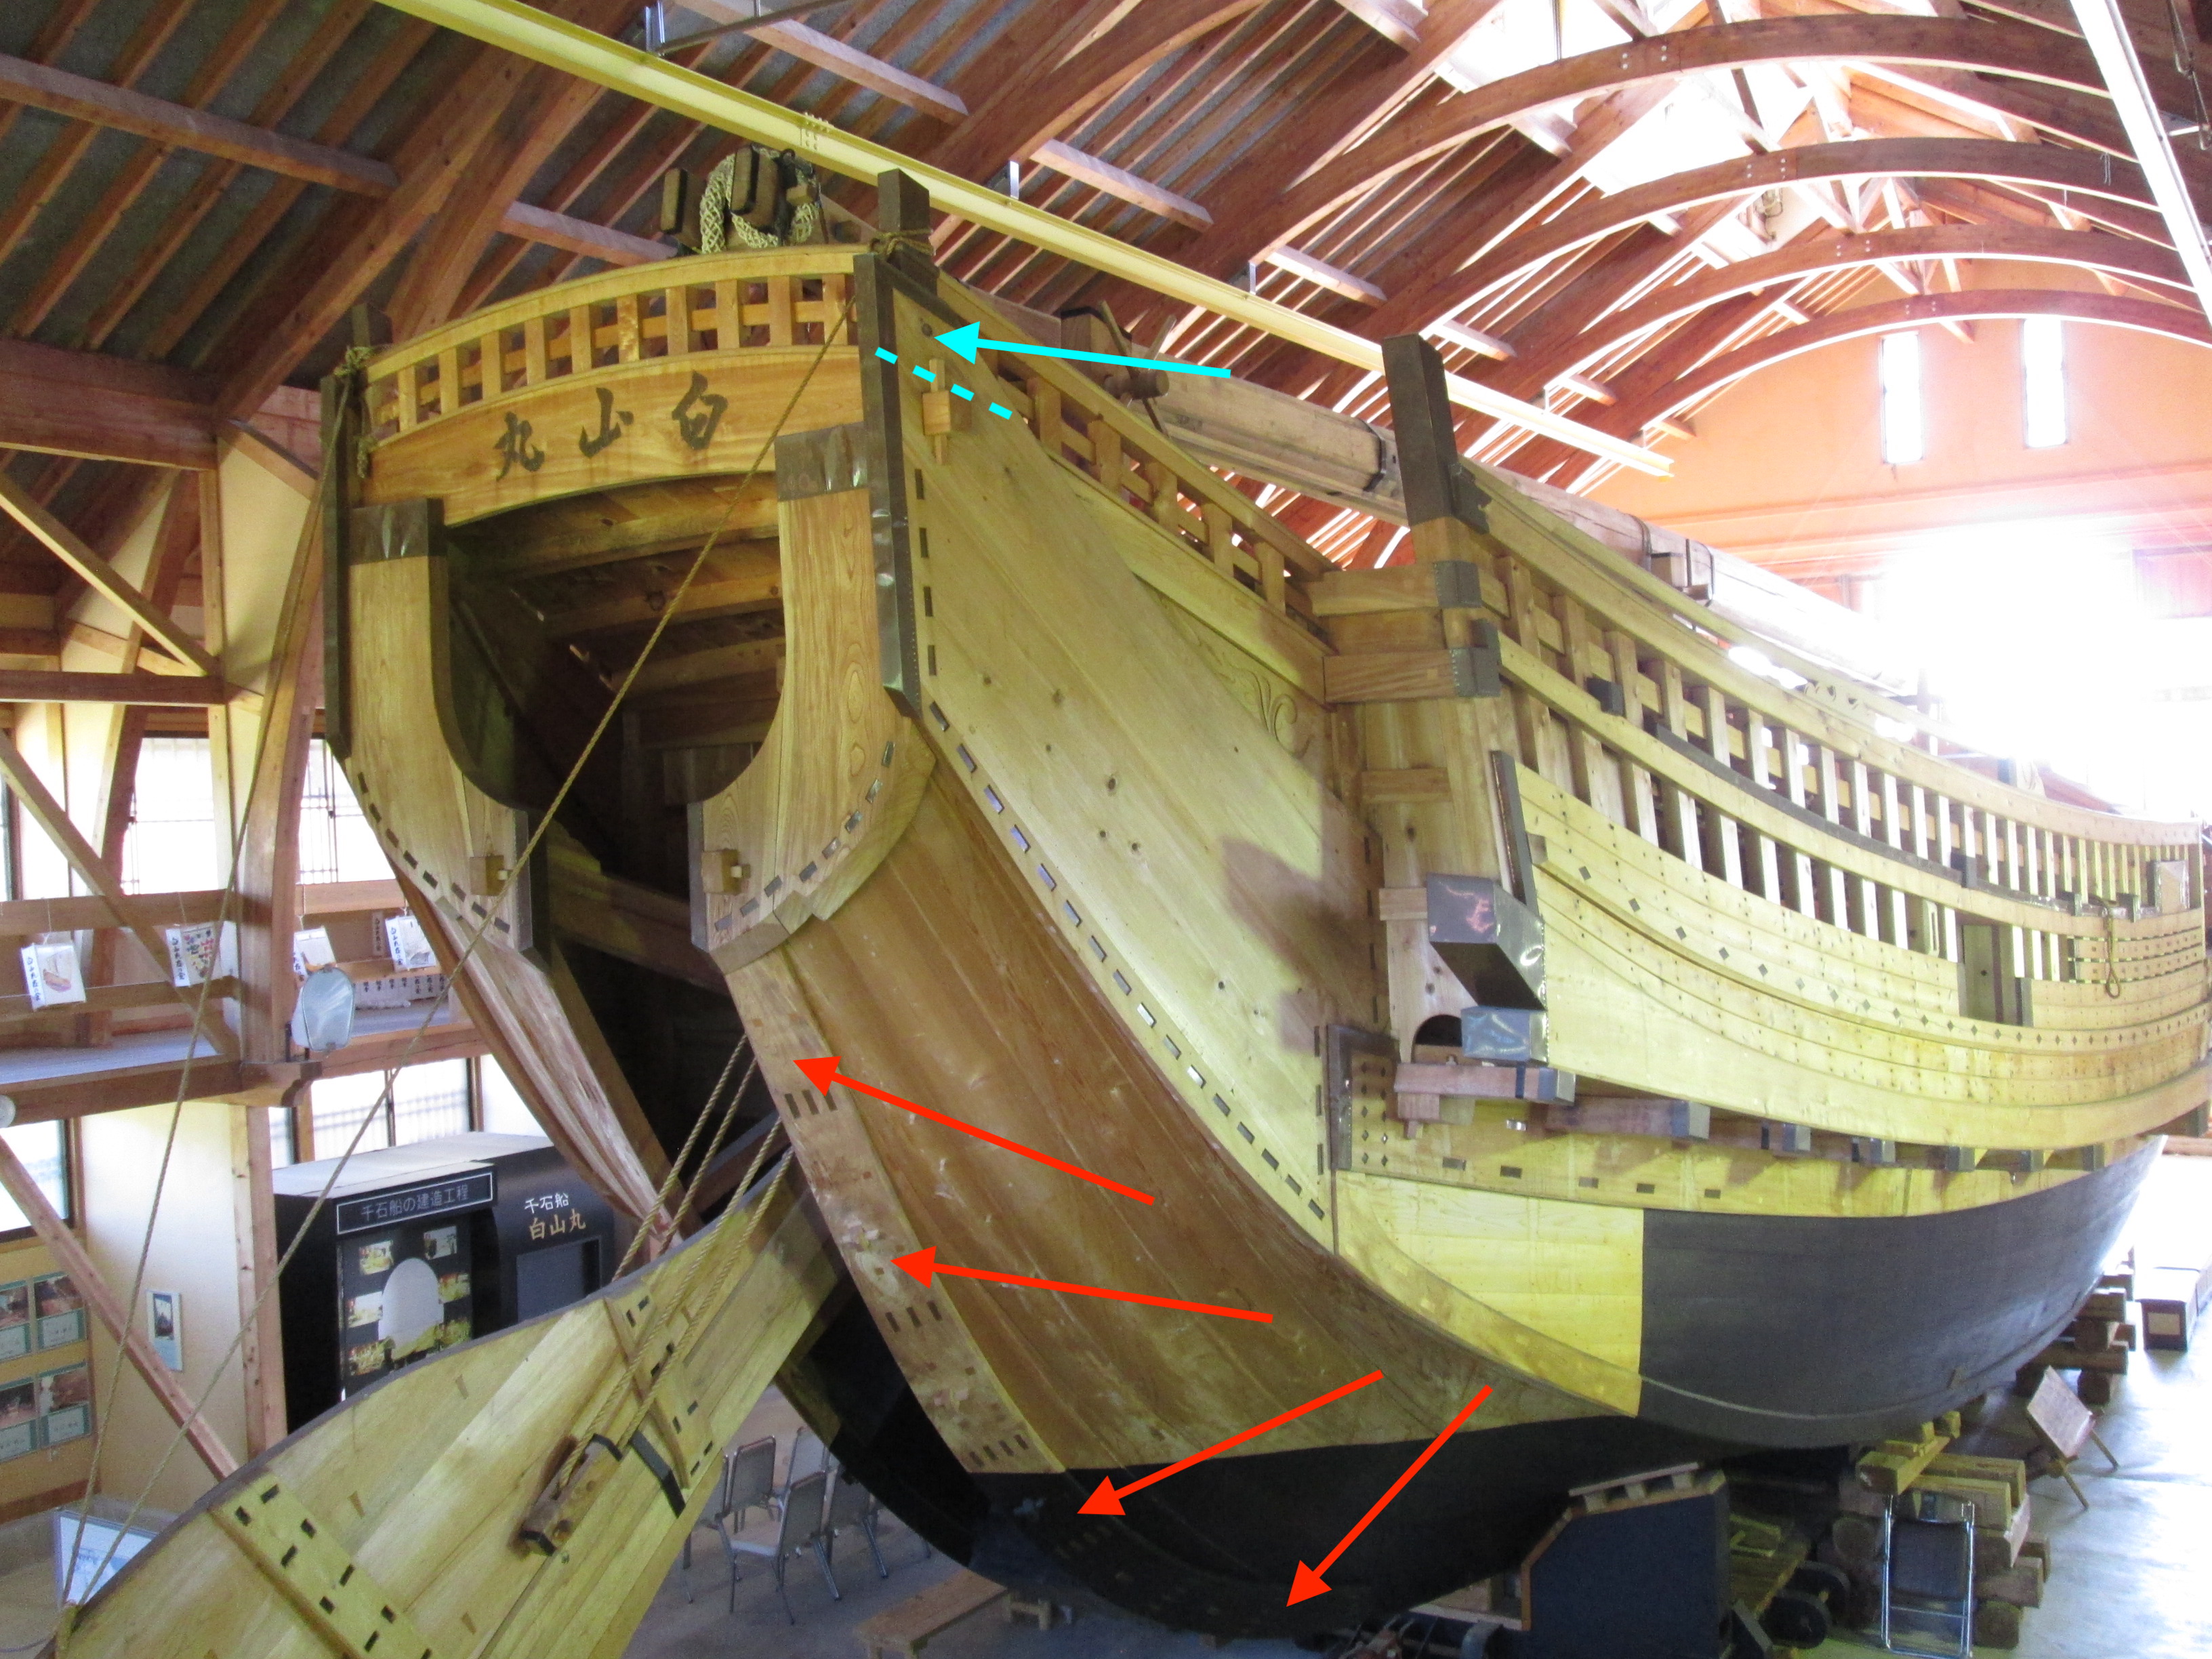
In the above image, the red arrows point to the plank that I’m referring to. The blue arrow points to the very tip of the side planking at the stern. The piece in the Woody Joe kit is truncated close to where the dashed blue line is, and actually a bit lower than that, really.
Now, this side plank that’s been truncated is all just one laser-cut piece. Were I to do this kit again, I think I would make whole new pieces that include the tip. For this model, I basically added the tips, but there’s a clear seam where the pieces come together, and it was hard to fit them after the fact.
With the lower stern plank in place, I was then able begin the painting of the hull bottom. There are some small variations to the paint job on the hulls of the sengokubune, even between the replica ships, so I found some examples online and just went with it, adjusting for this particular hull.
I masked off the areas, and painted the hull Ivory Black using Liquitex brand Soft Body Acrylic paint.
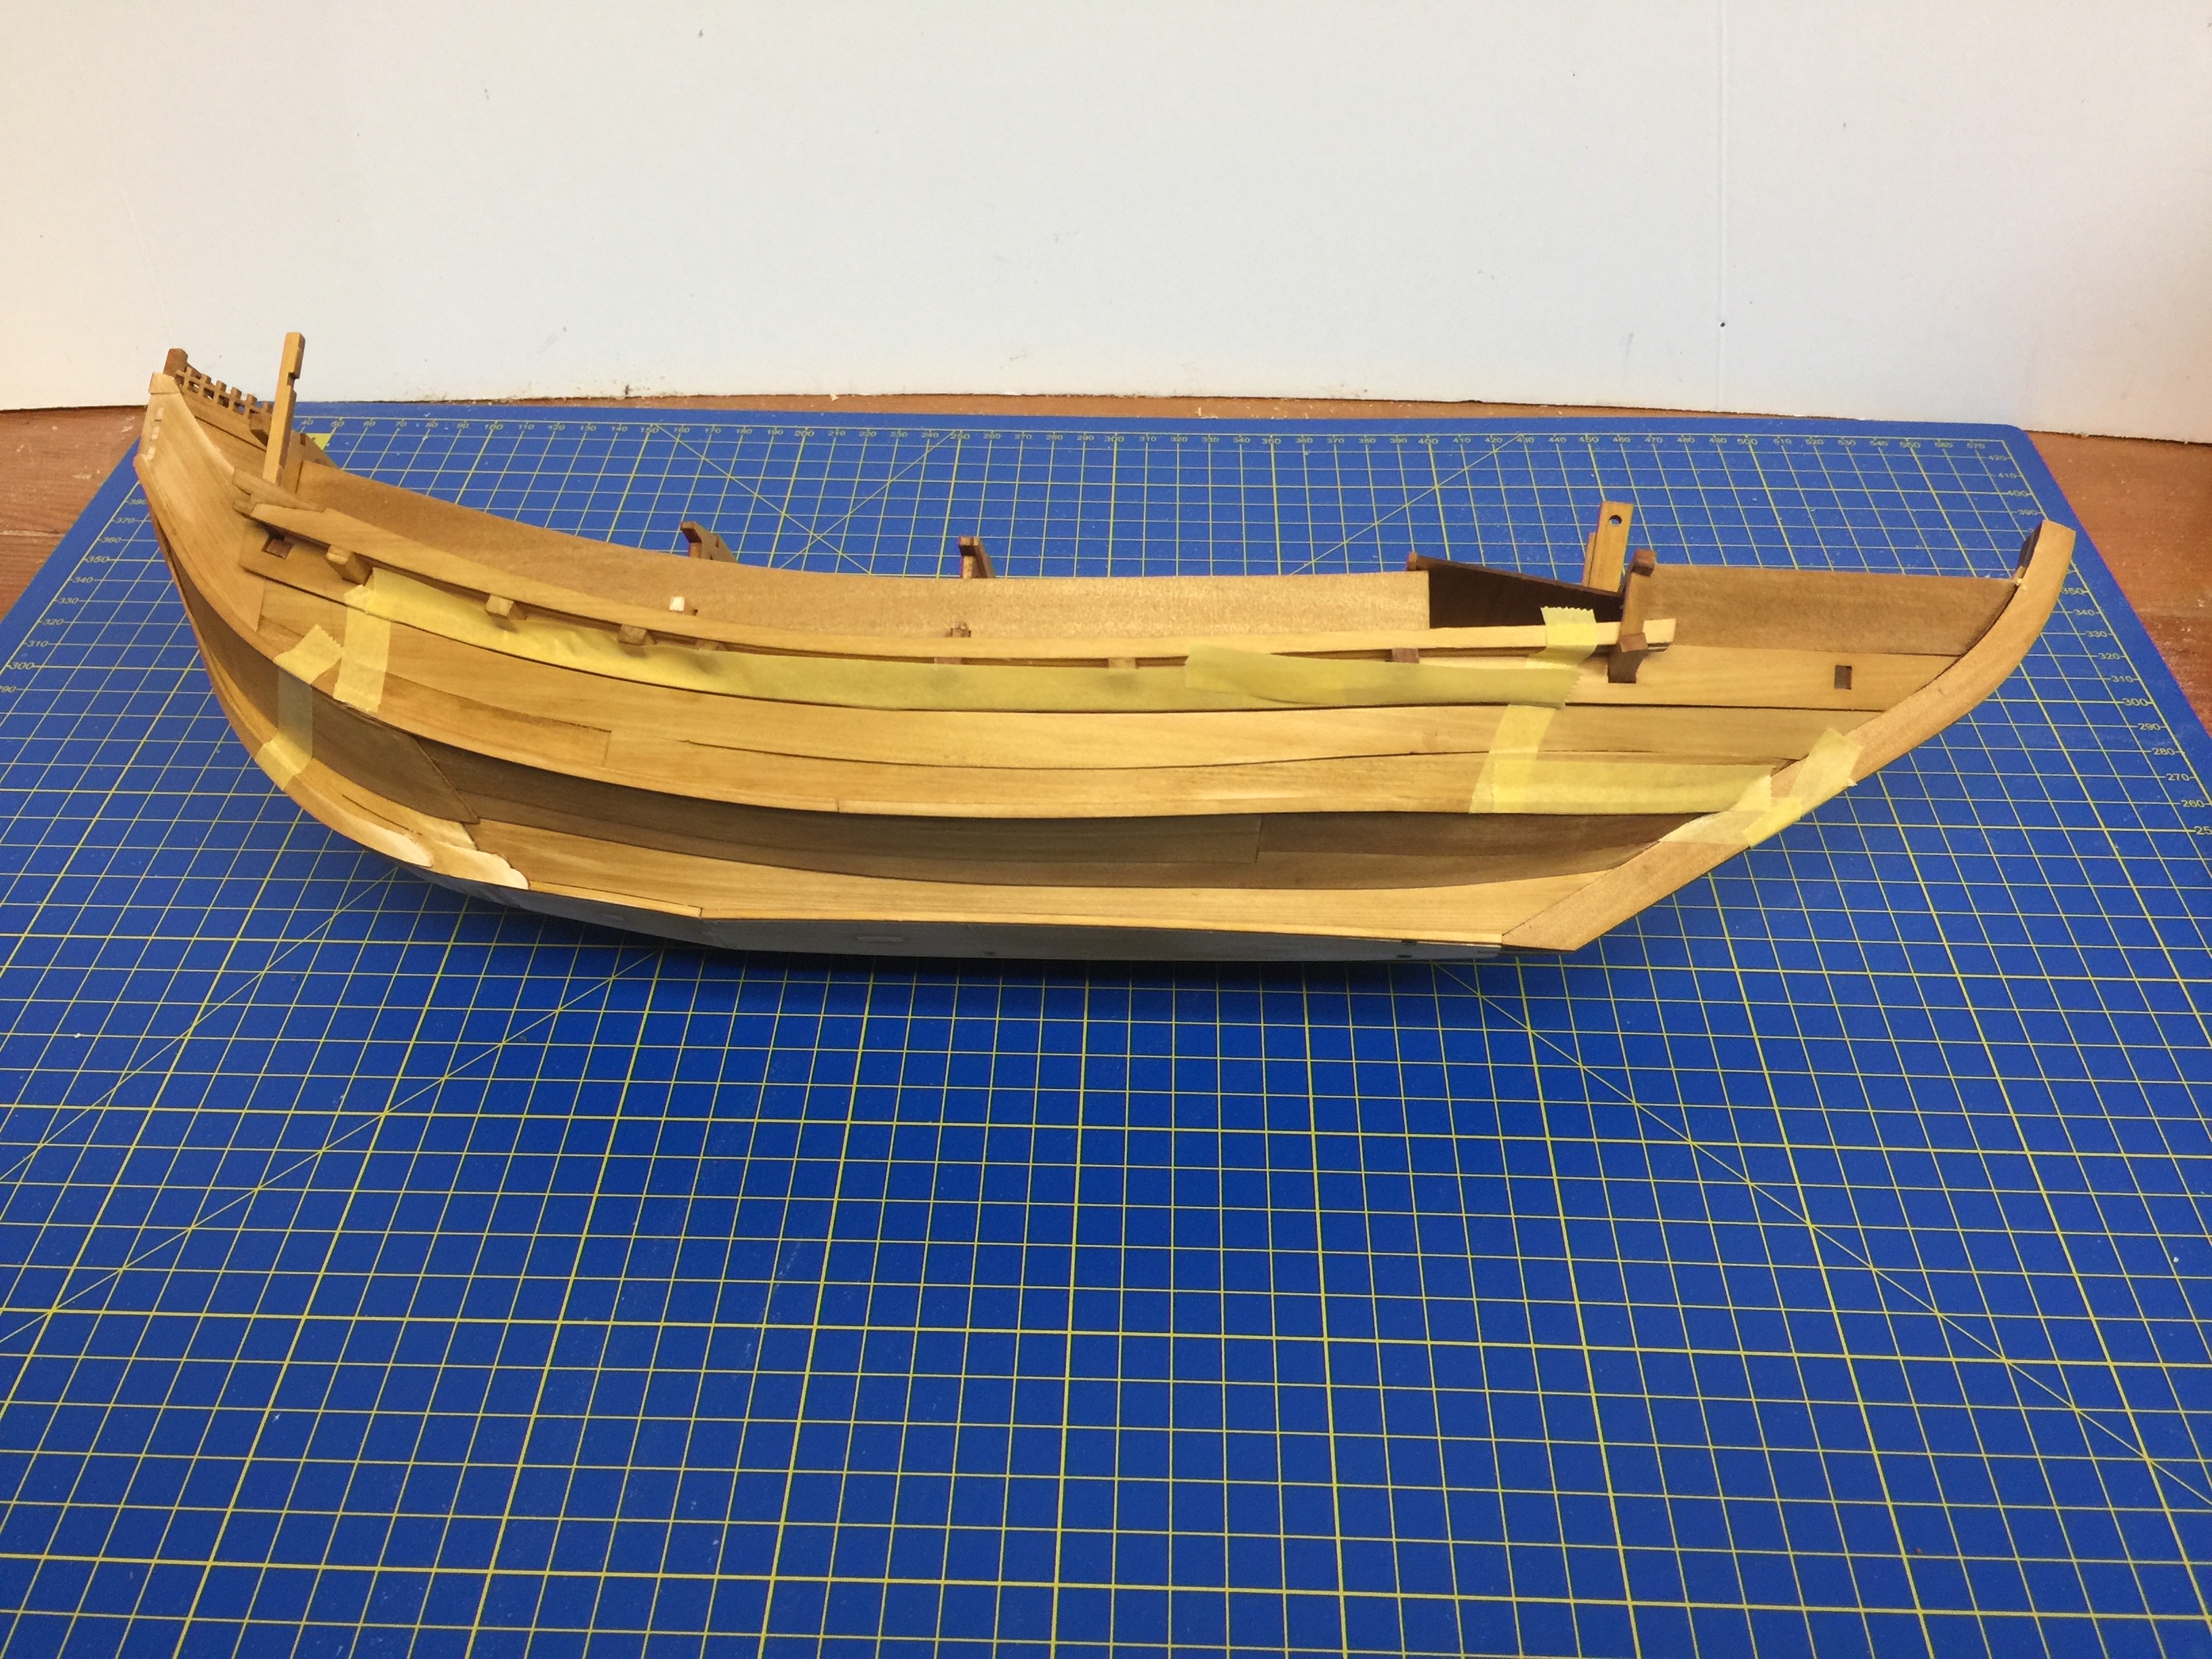

With the paint job on the hull, I’m much happier with this model. There is ways to go, especially in the adding of extra detailing, but I’m satisfied that this model will turn out nicely in the end.
Next, I’ll be doing some touchup of the paint and cleanup where is seeped under the tape. Also, I still see some areas where the wood needs to be trimmed up and re-dyed. After that, I’ll move forward with the steps outlined in the kit instructions.
