
Another brief progress update. I’ve been busy with planking the upper deck and adding add the smaller beams to the lower hull. This has been really nice, because this kind of construction is just a process you follow. Doesn’t really require much thinking, altering or planning. It’s a bit more Zen…

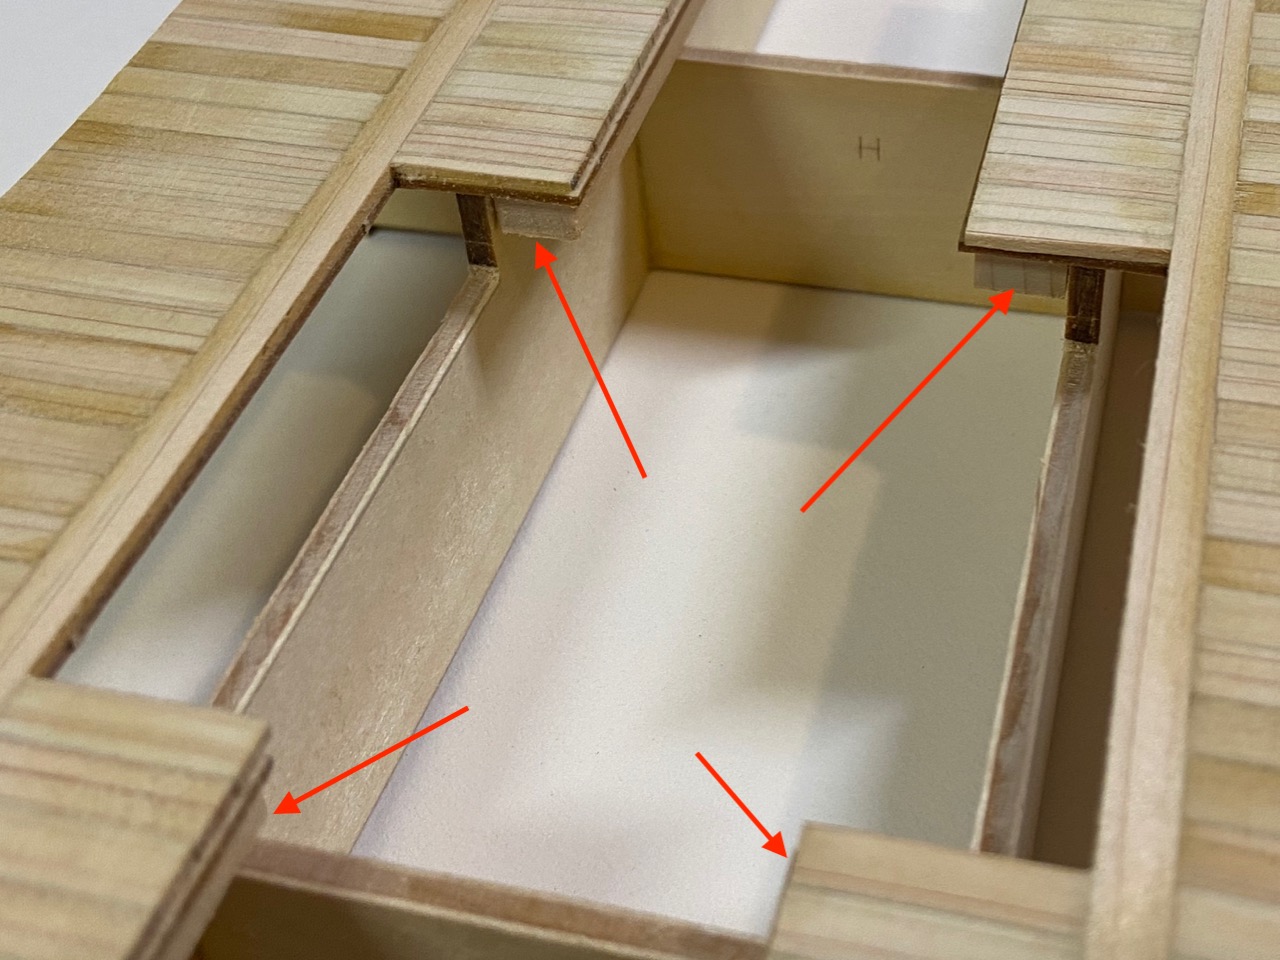
The beams, what would be called funabari, are mostly aligned the a series of laser-cut notches in the top piece of the hull planking. However, this only keeps them evenly separated at that plank. It’s also necessary to keep them parallel to each other. You also want them to be in a fair line with the tops of the larger beams. Without some kind of support, they probably won’t do this. So, too a thin strip of scrap wood and used plastic clips to clamp it to the large beams as a guide. Once the small beams were in place, I then clamped them to the guide strip.
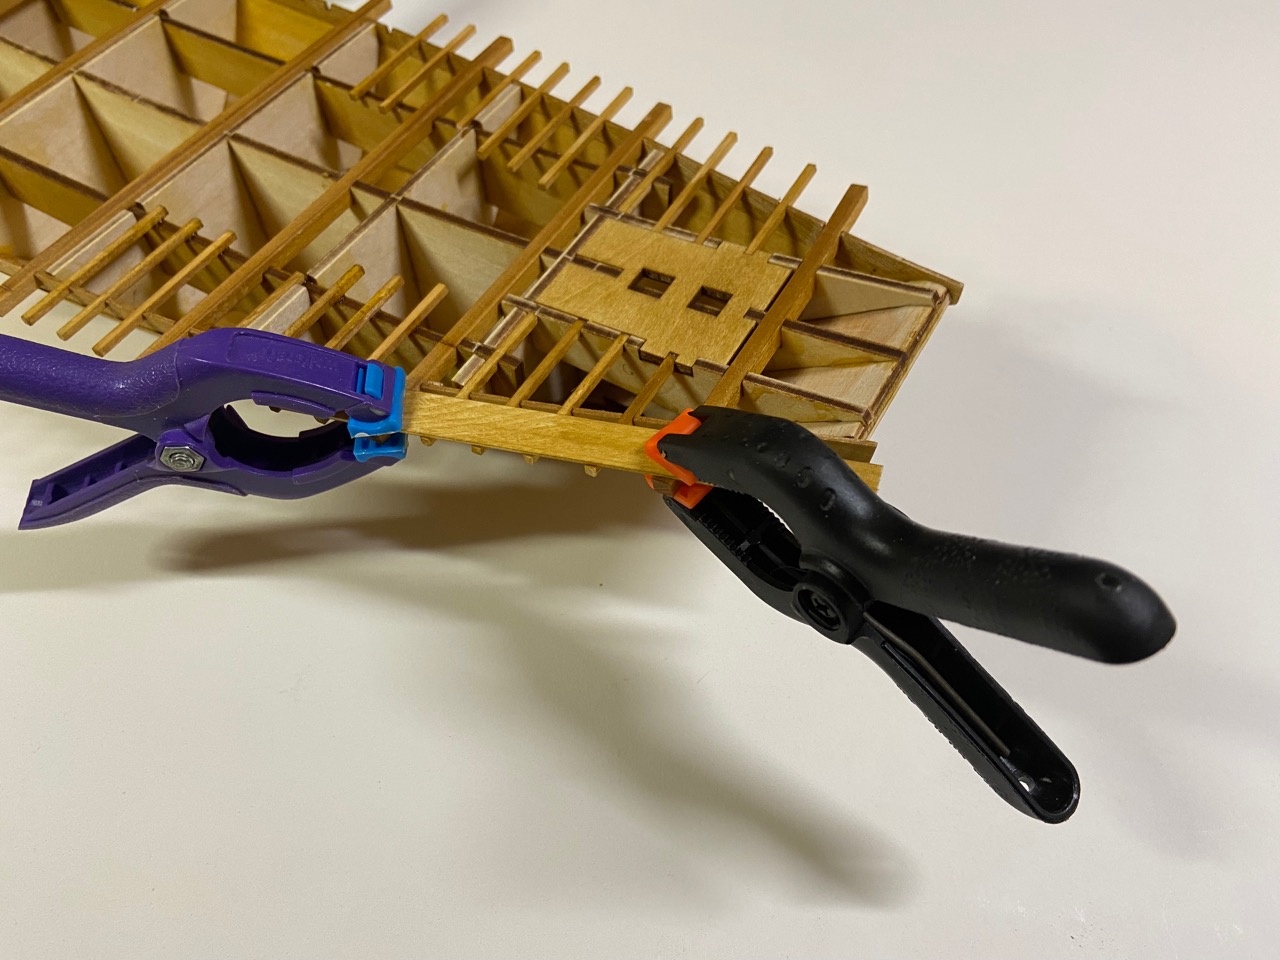
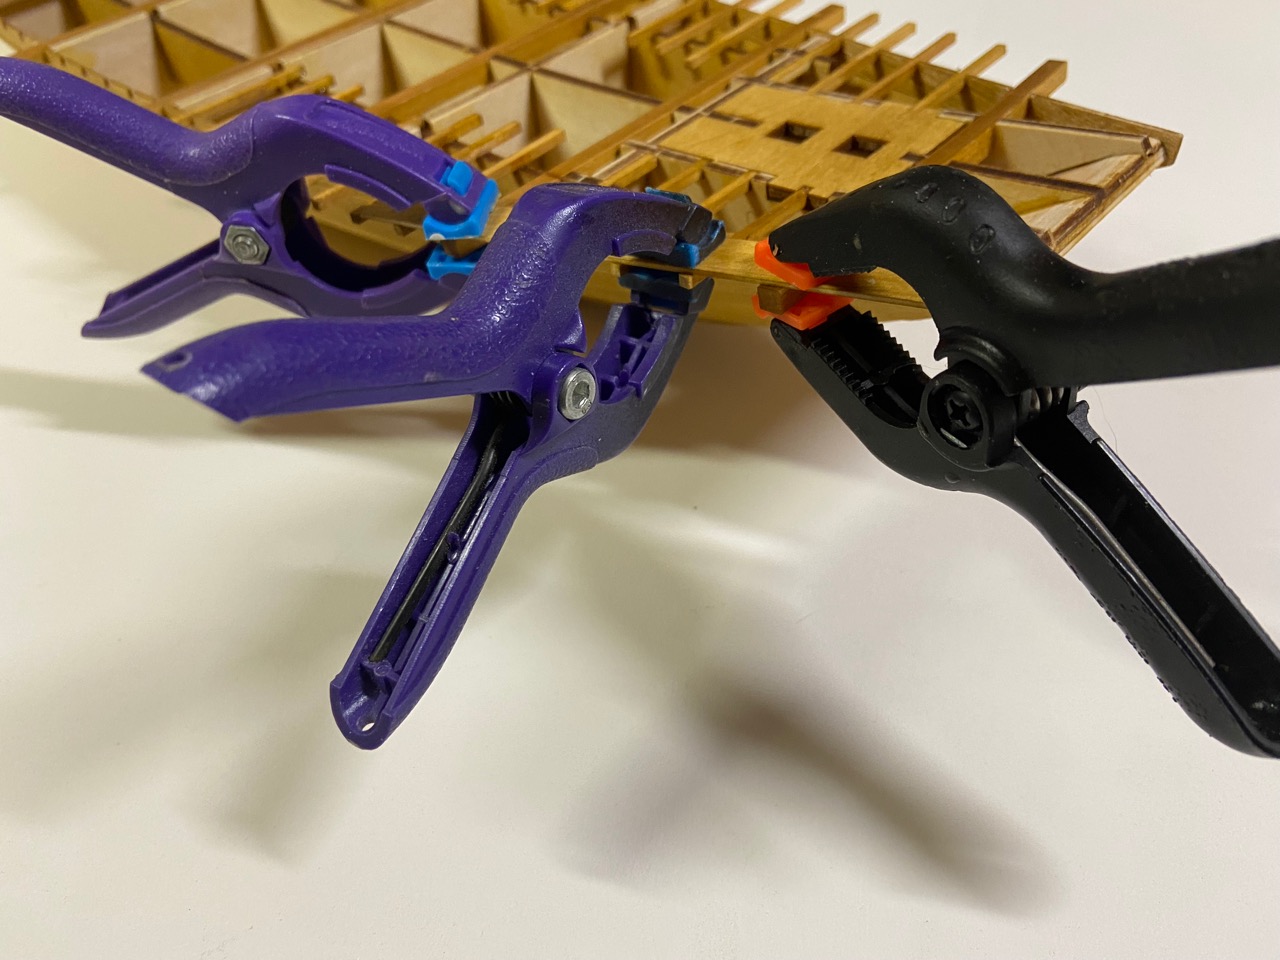
This strip of wood also serves help cut the front most beams to the proper length, as you don’t want them sticking out beyond the line of the large beams. The remaining small beams don’t need to be cut to size at this stage, as there’s nothing restricting the position of their inboard ends. The ends just need to line up.
For these beams, the inboard ends just rest on the internal framework, but when properly placed, some of the beams didn’t actually rest right on the framework, and rather floated above them a bit. So, I used gap filling CA glue to hold them in place. 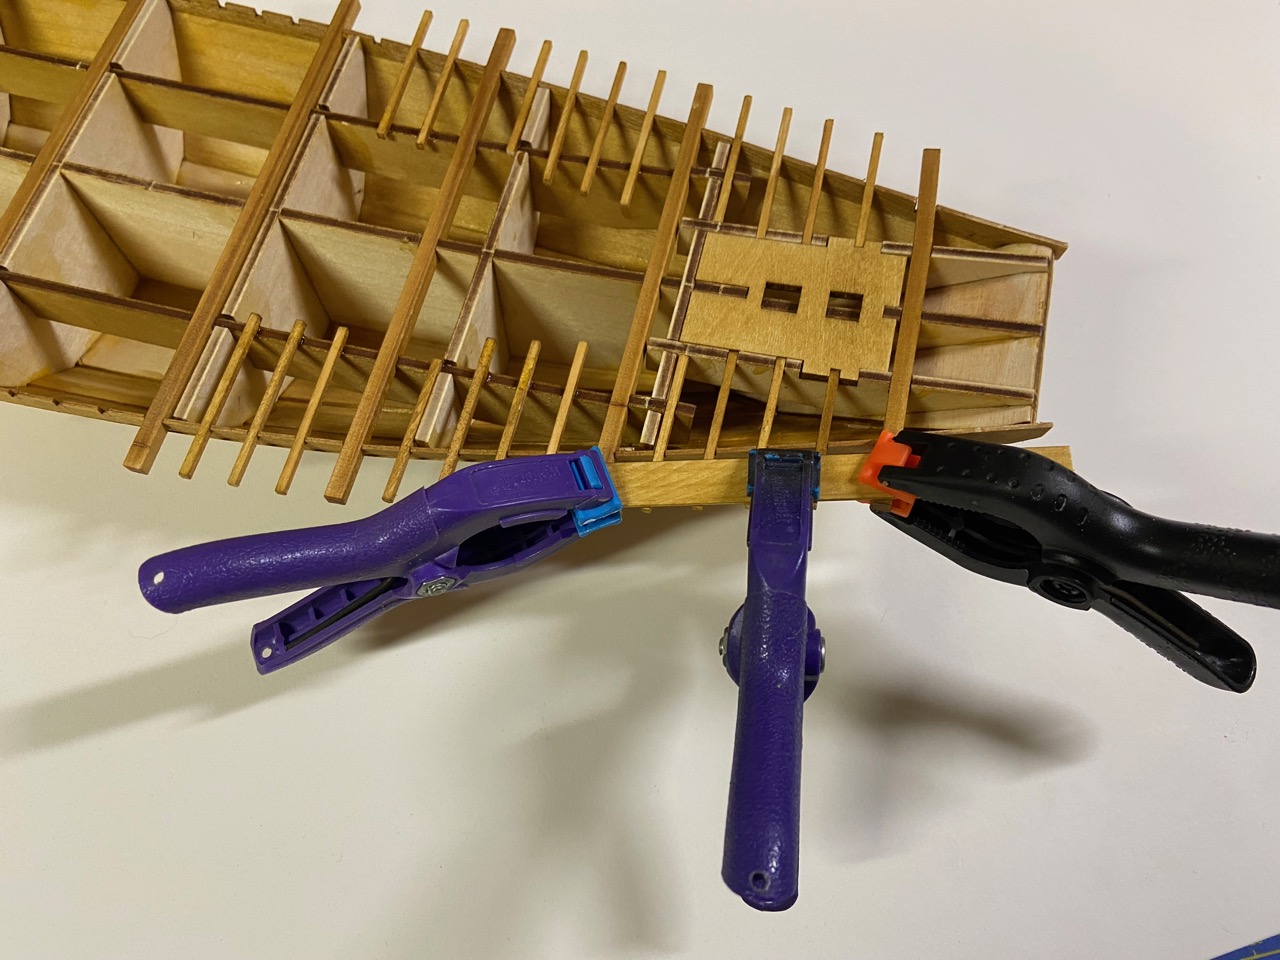
For now, I haven’t glued the beams to the hull planking yet. The reason is that it looks like there is potential for the box structure to not end up resting directly on all of the beams, and I’d prefer to adjust the beams just a bit if it becomes necessary. I don’t know this for sure, but the prototype models seems to do this. I think it’s might be more a matter of trimming some of the framing a little to make sure of a perfect fit. But, I’ll know more when I get the box structure done and start testing the fit to the lower hull.
Speaking of the box structure, I did finishing planking the upper deck. I wanted to smooth out the surface of the planks, so I used a sanding block and sanding, which stripped off the wood dye finish, so I’ll have to fix that later.
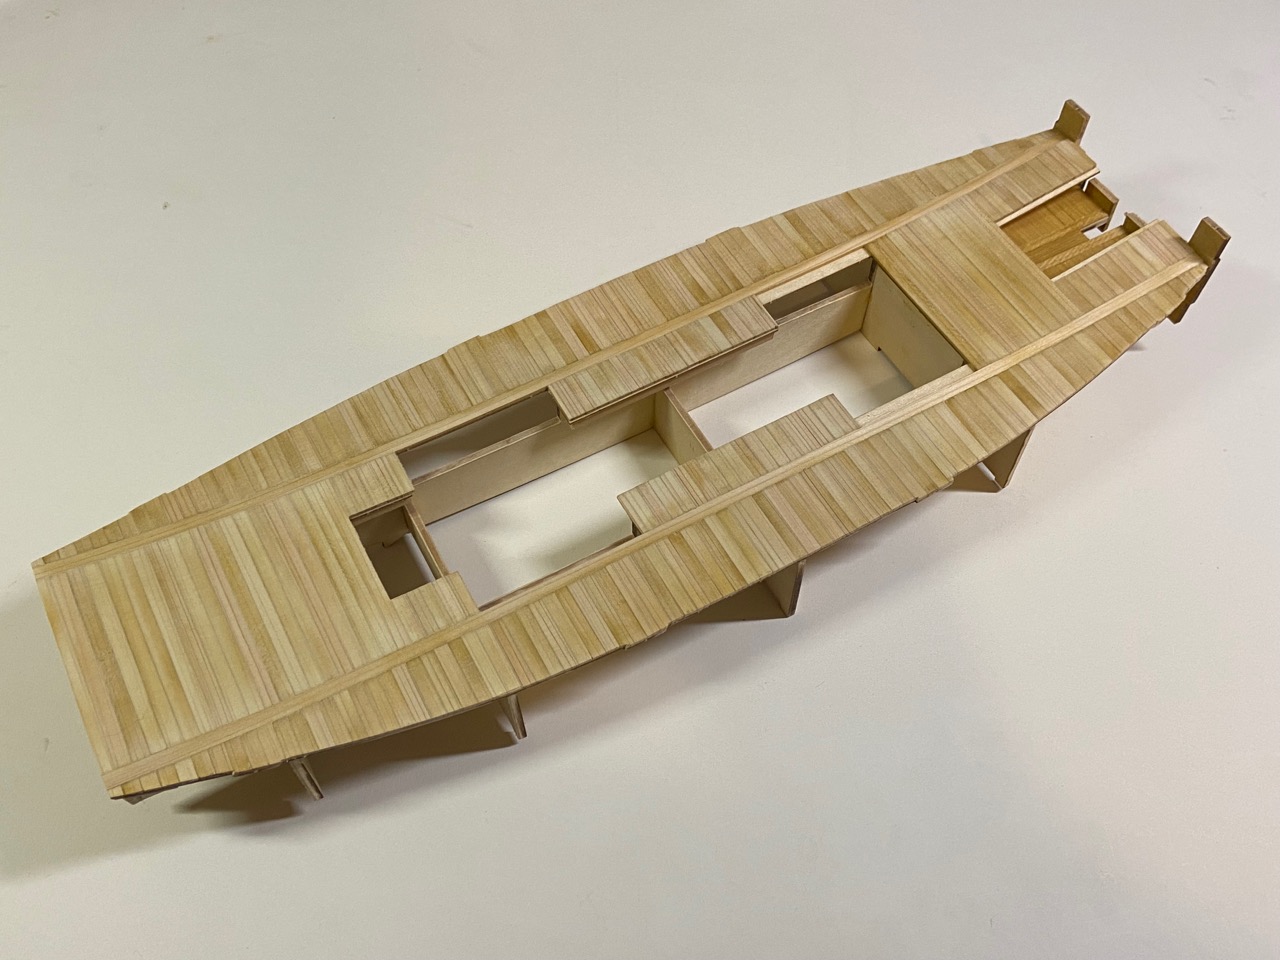
The planking itself went pretty smoothly, but in sanding, I noticed that some of the deck was kind of flexing instead of getting sanded evenly with the rest of the deck. So, I ended up cutting some square stock strips and gluing them in the unsupported areas. This wasn’t really critical to anything, but it made my sanding job easier.
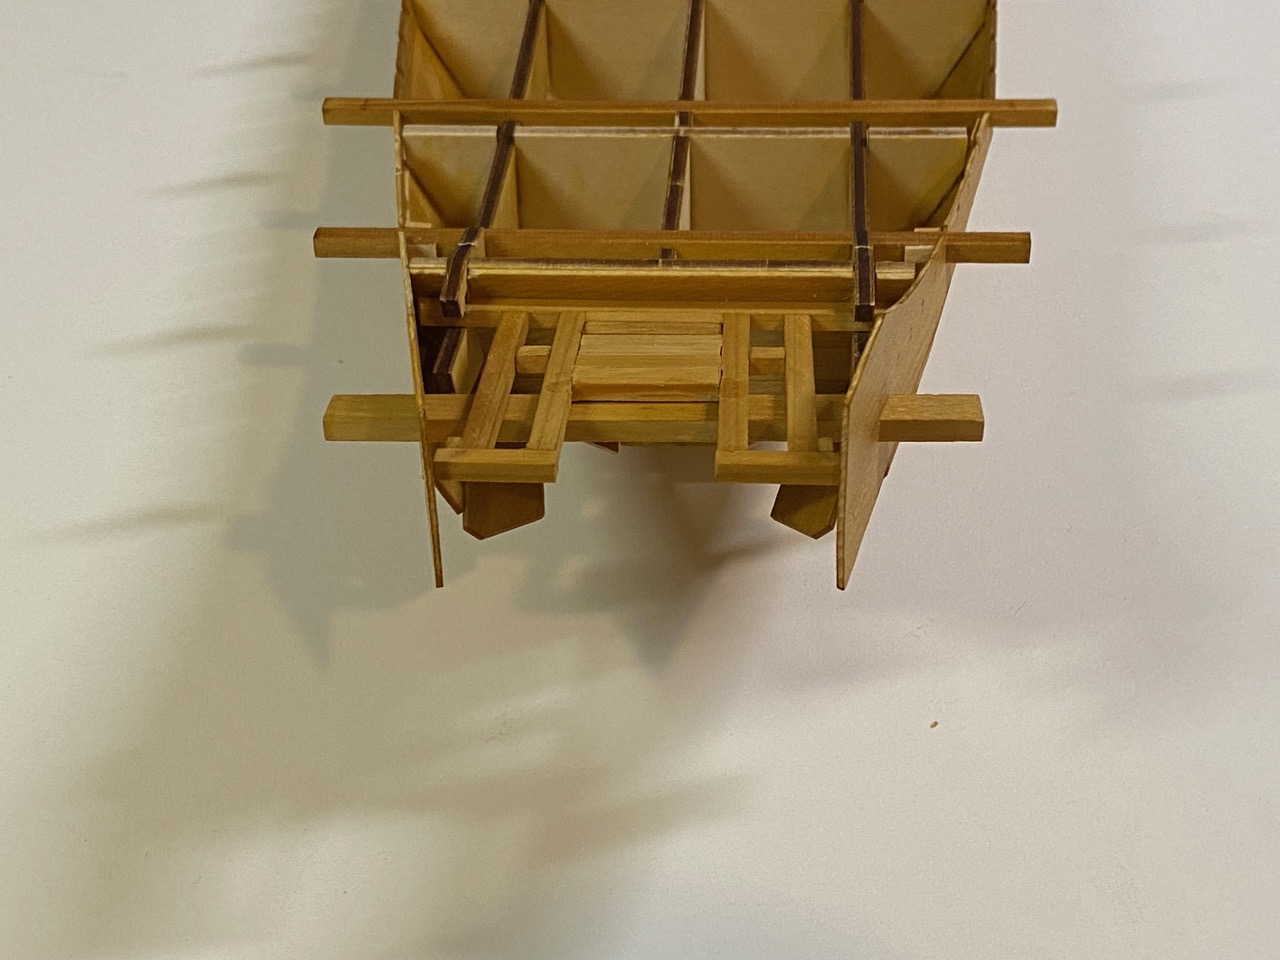
Meanwhile, I cut new pieces of the aft section of the lower hull, cutting out the old piecees to use as patterns. You can now finally see what I’m after.
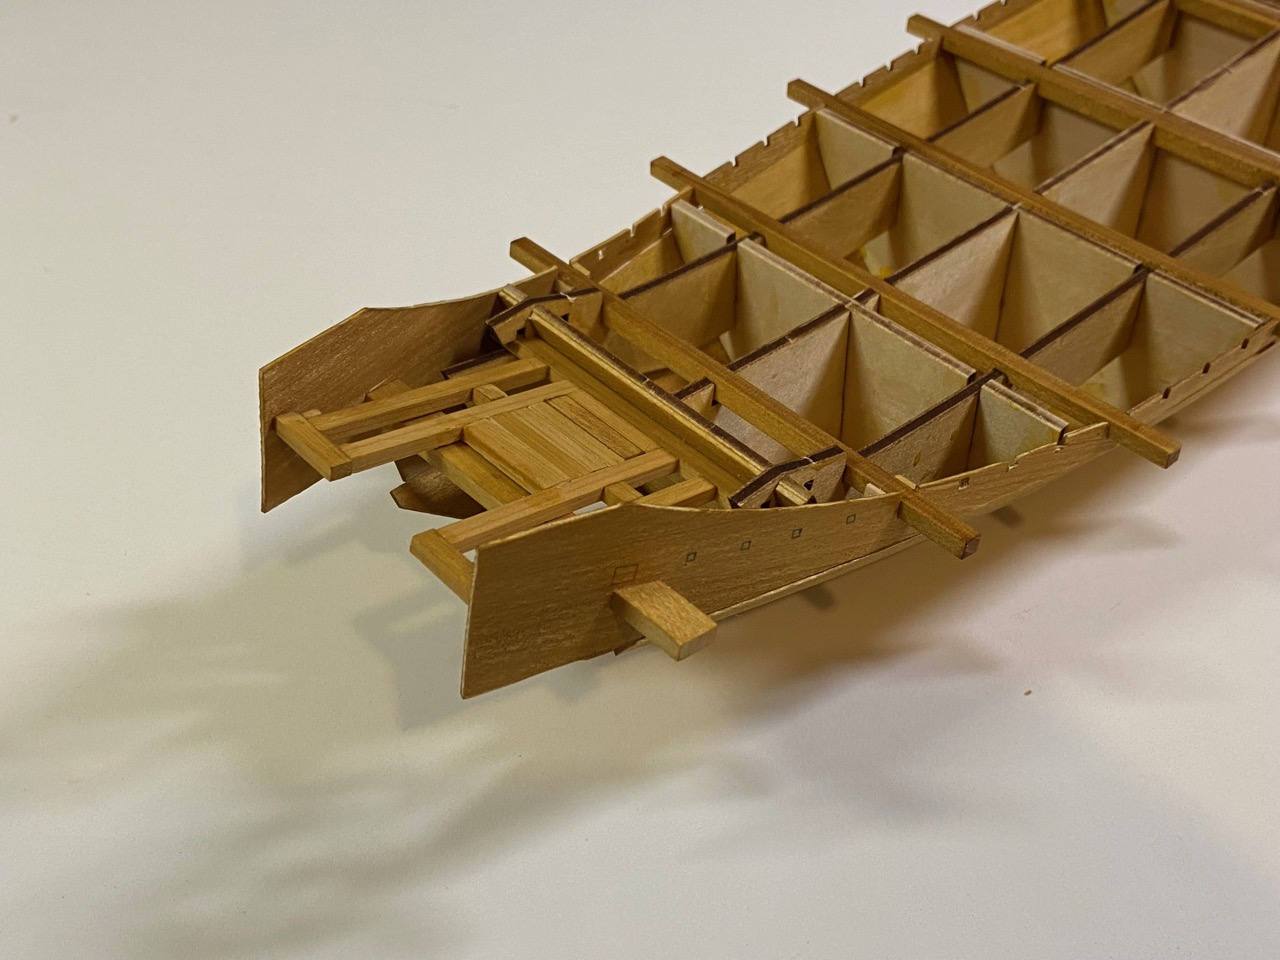
I traced the openings of the original piece onto this one, so I could “map out” where the new beams need to go. The new “Ōtoko” or great beam is about twice the size of the one provided in the kit. This gives me more room to cut the rudder hole into it.
You can see also that this rear platform area is now above the beam and not below it. All of these changes will likely create some unforeseen problems that I will have to deal with later, so I haven’t glued any of this into place yet.
So, after I’ve added all the smaller beams that I can, leaving the few in this area for later, I will be done with the lower hull for now, and will be focussing on the box structure. I’ll be adding the outer wooden wall panel next, being careful to make sure to adjust for all the little changes I made.
As a reminder, Mr. Kazunori Morikawa has been working on this same kit and he is way ahead of me on his model progress. He’s made some very interesting modifications to the kit and is now nearly done with his model. Check it out on Facebook here.
