
Updates on the progress of the Atakebune model are long overdue. The project has been continuing, and I’ve done quite a bit. But, I’ve been quite slow on writing posts. So, I’ll try to get partially caught up here, but I’ll probably need to write another post soon to finish catching up.

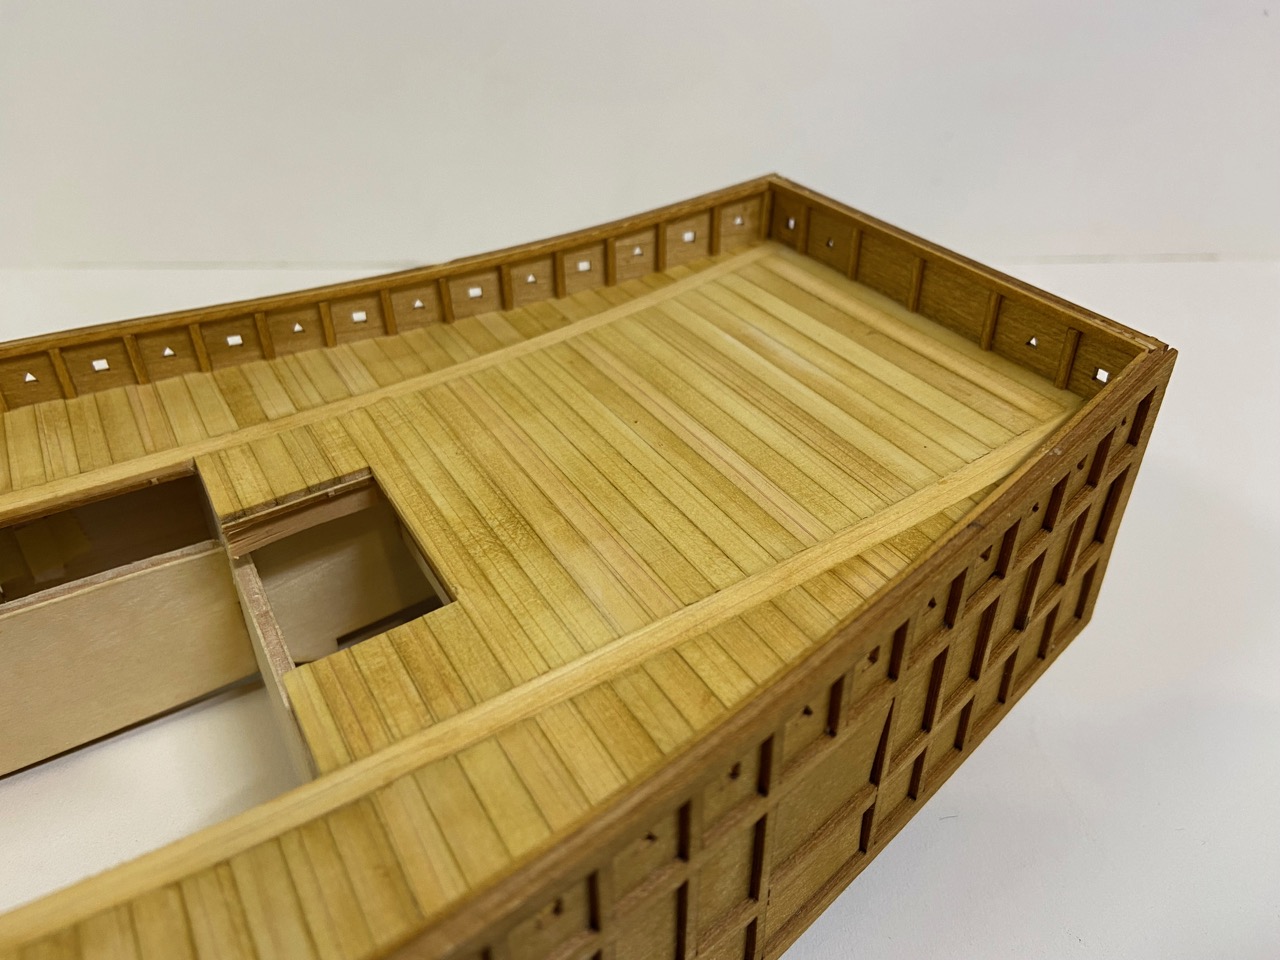
Stern structure added to the model. Note that all the doors have been added to the model. I simply taped them into place from the inside at this stage.
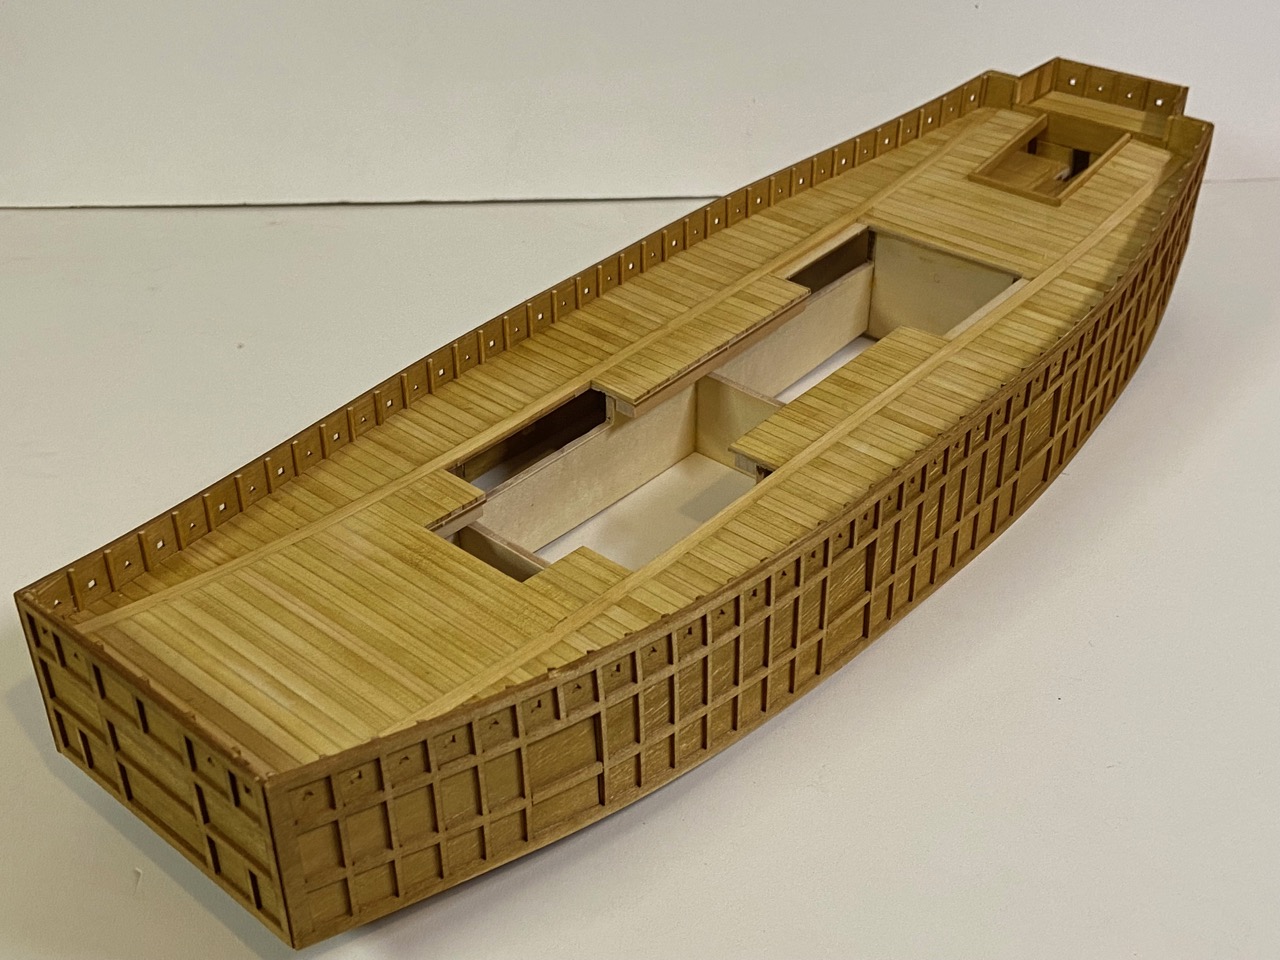
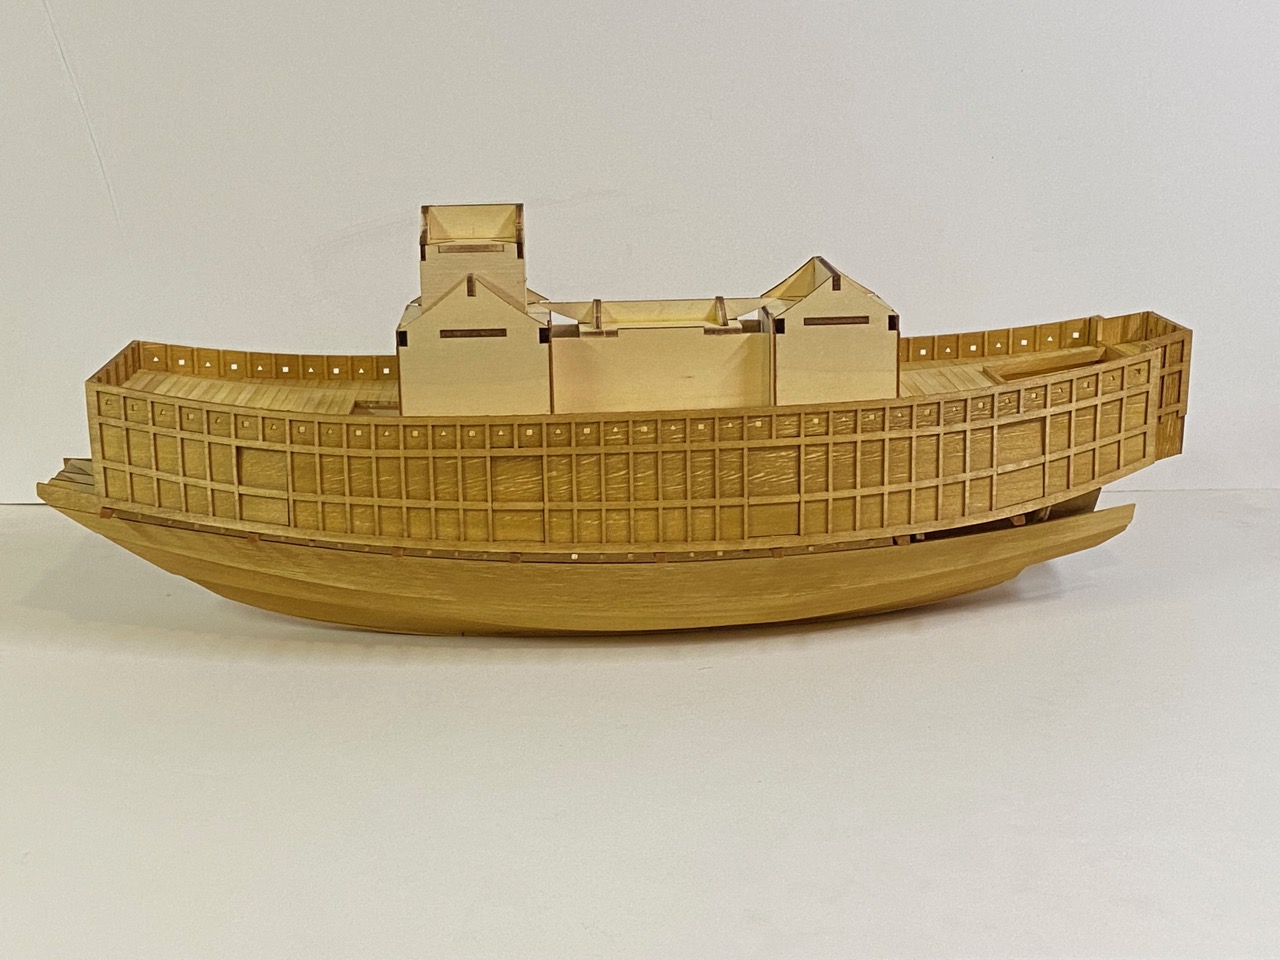
I completed the addition of the stern structure, as you can see here. Remember that the raised coaming around the steering deck are my own addition. Also, note how there is something like low wall that separates that newly added section from the rest of the box structure.
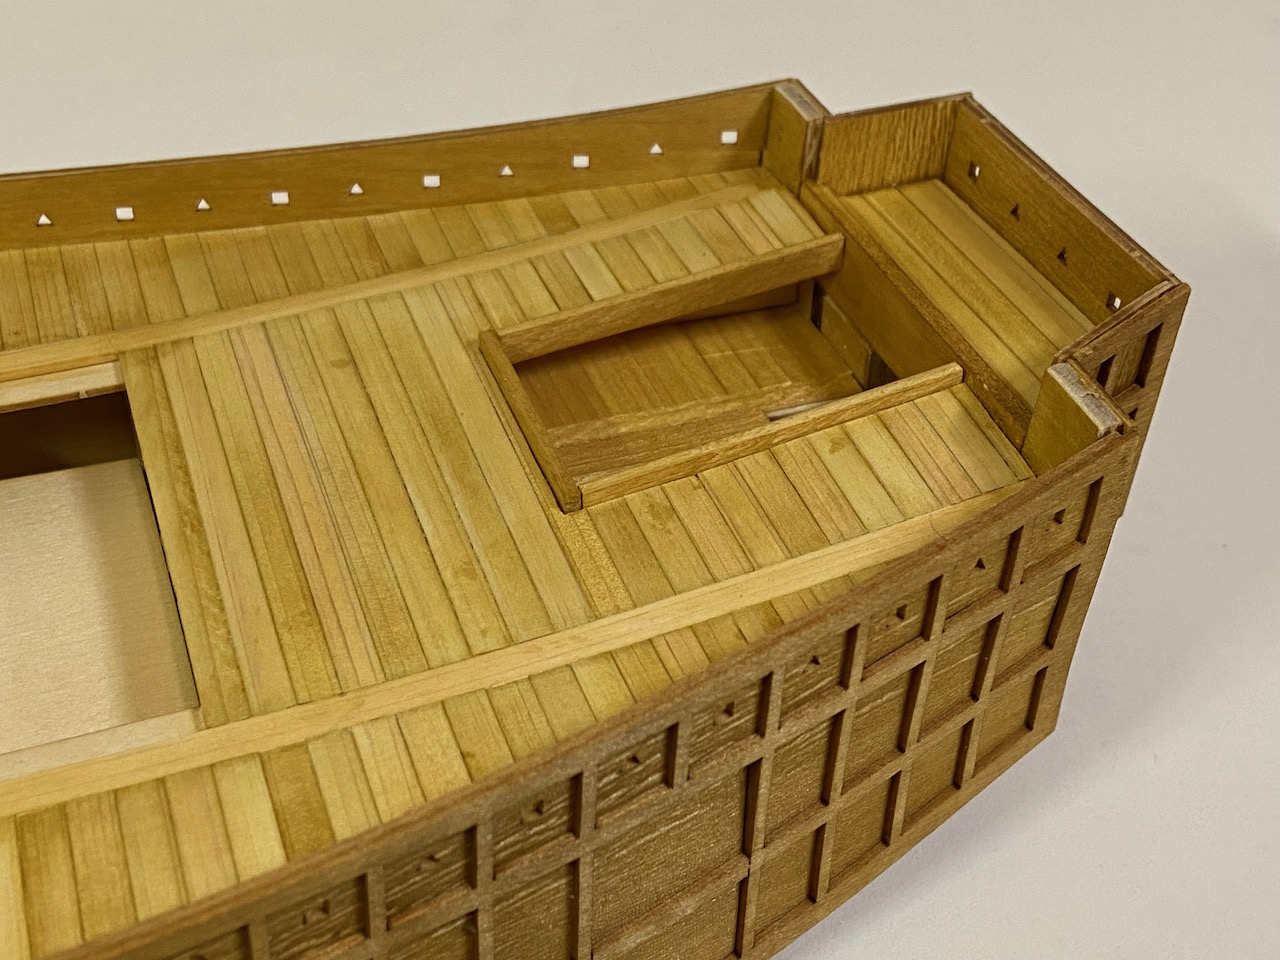
I’m sure I must have mentioned before that Mr. Kazunori Morikawa, who runs Zootoyz.jp, where I got my kit from, has also been building the same model. He’s far ahead of me in the progress of his ship. He pointed out that the stern section I just added, is really about 15mm too short. At least I believe that’s the measure he mentioned. So, he removed this whole structure and rebuilt it longer, and it looks very good. It’s something I’ll have to decide on very soon, whether or not to make this same modification.
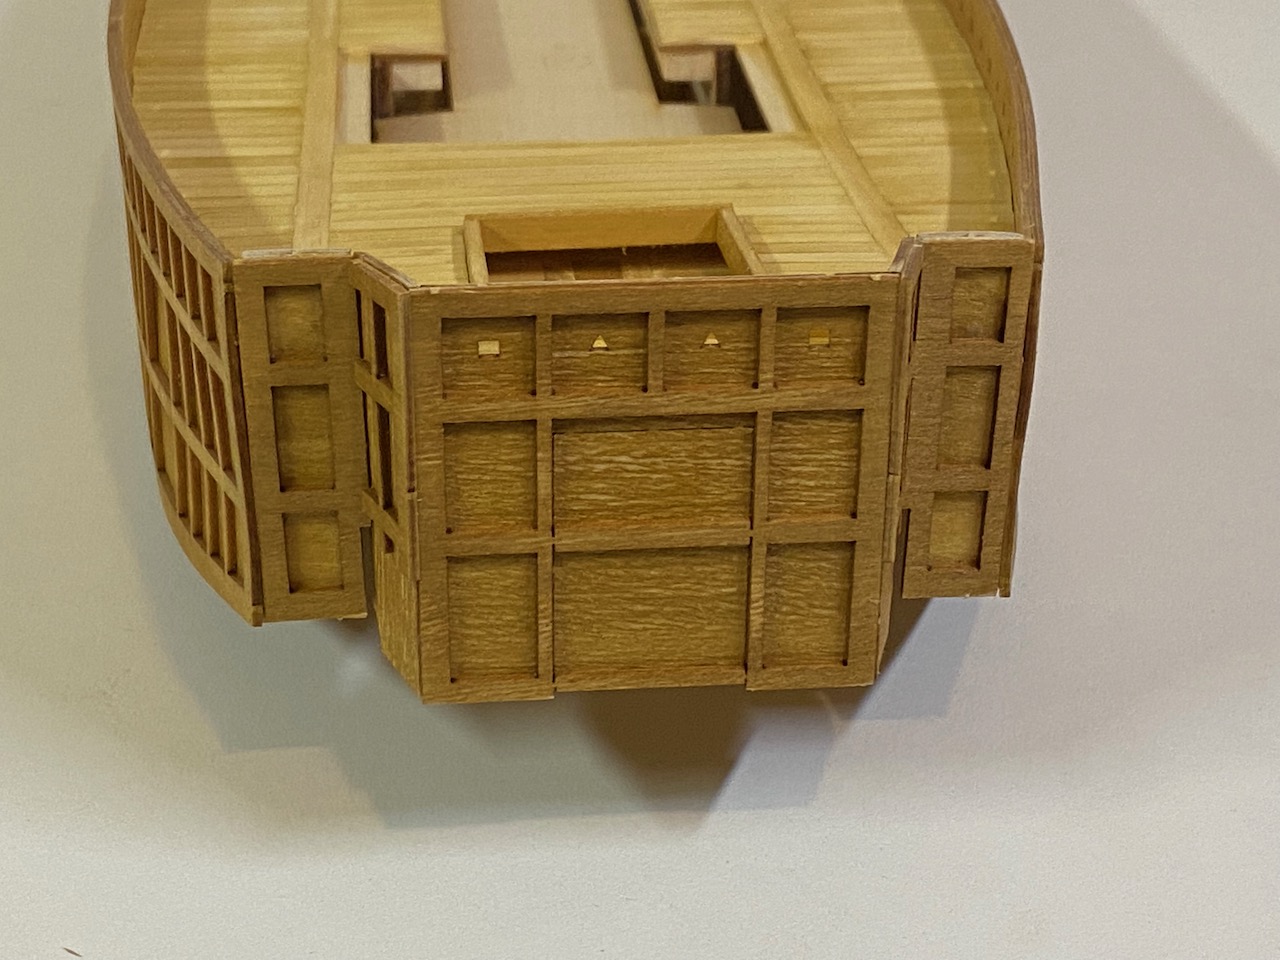
The next step is my own addition to the model. If you look at the museum model, you’ll notice that the wall has a framework on the inside that matches what you see on the outside, whereas the kit has a smooth wall. This was an easy modification. I simply cut and dyed some strip wood and glued it into place.
There are probably other details that could be added, but this was the most visible and simplest modification to make. I’m really happy I did this. It gives the model much more detail.
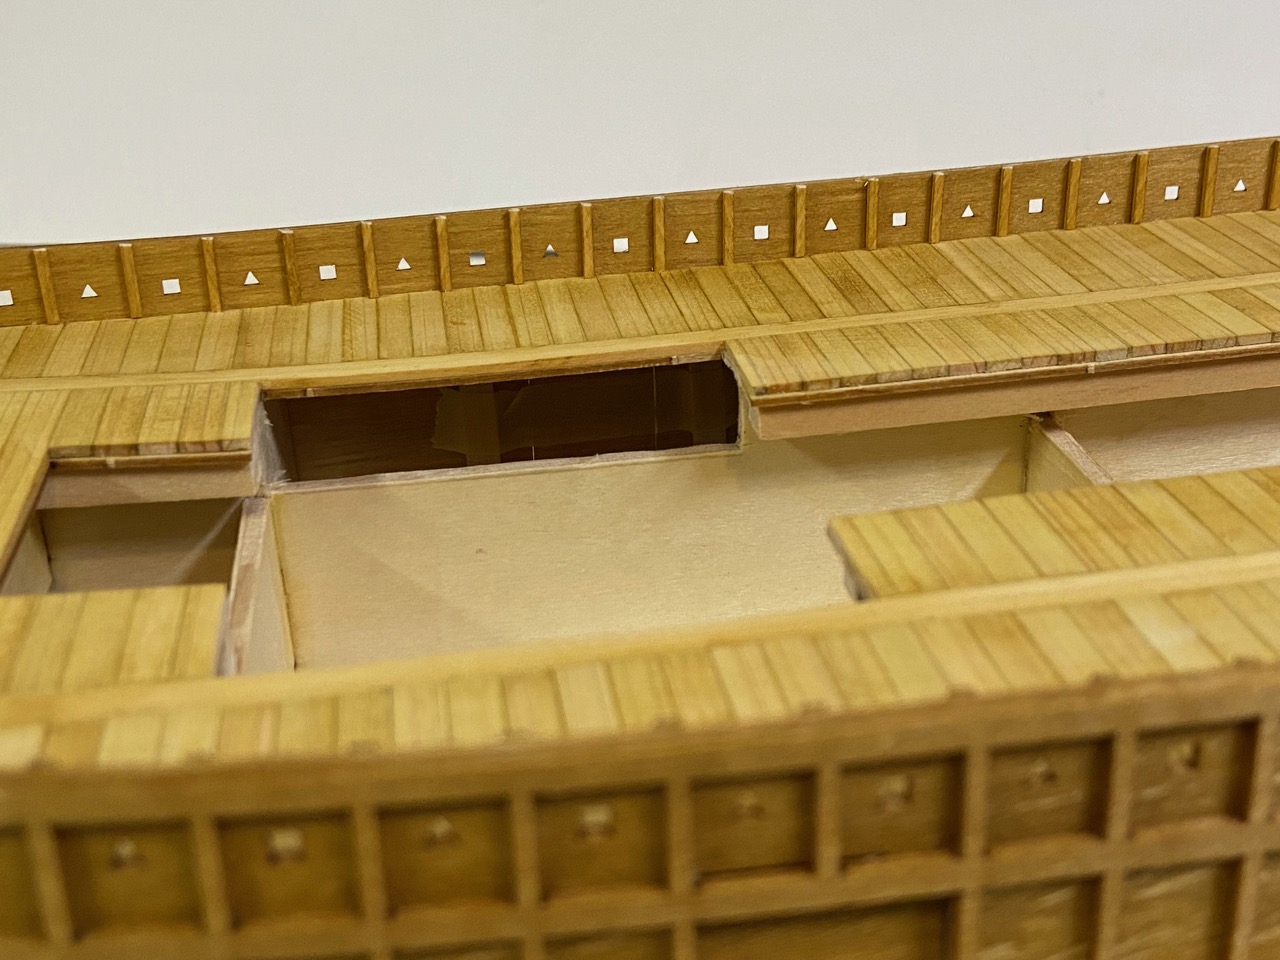
In adding these vertical frames, one thing I didn’t take into account was that there should be a strip across the top of them all. I could have simply glued a strip on top of the wall, but then I think it would have made the strip on the outside of the wall look too fat.
So, I ended up taking a step backwards, and cut 2mm off the top of each of these strips I’d just added. I used a very sharp chisel, so the work went quickly. I then finished up by glued a strip along the top edge, and I’m very happy with the final results.
Now, something I didn’t mention was that I’d also started on the castle structure separately. It’s very easy to work on this part at any time in the build, though it best to do after the opening in the deck has been formed that the castle structure fits inside. Below you can see the basic assembled structure and start to get an idea of how the whole thing will look.
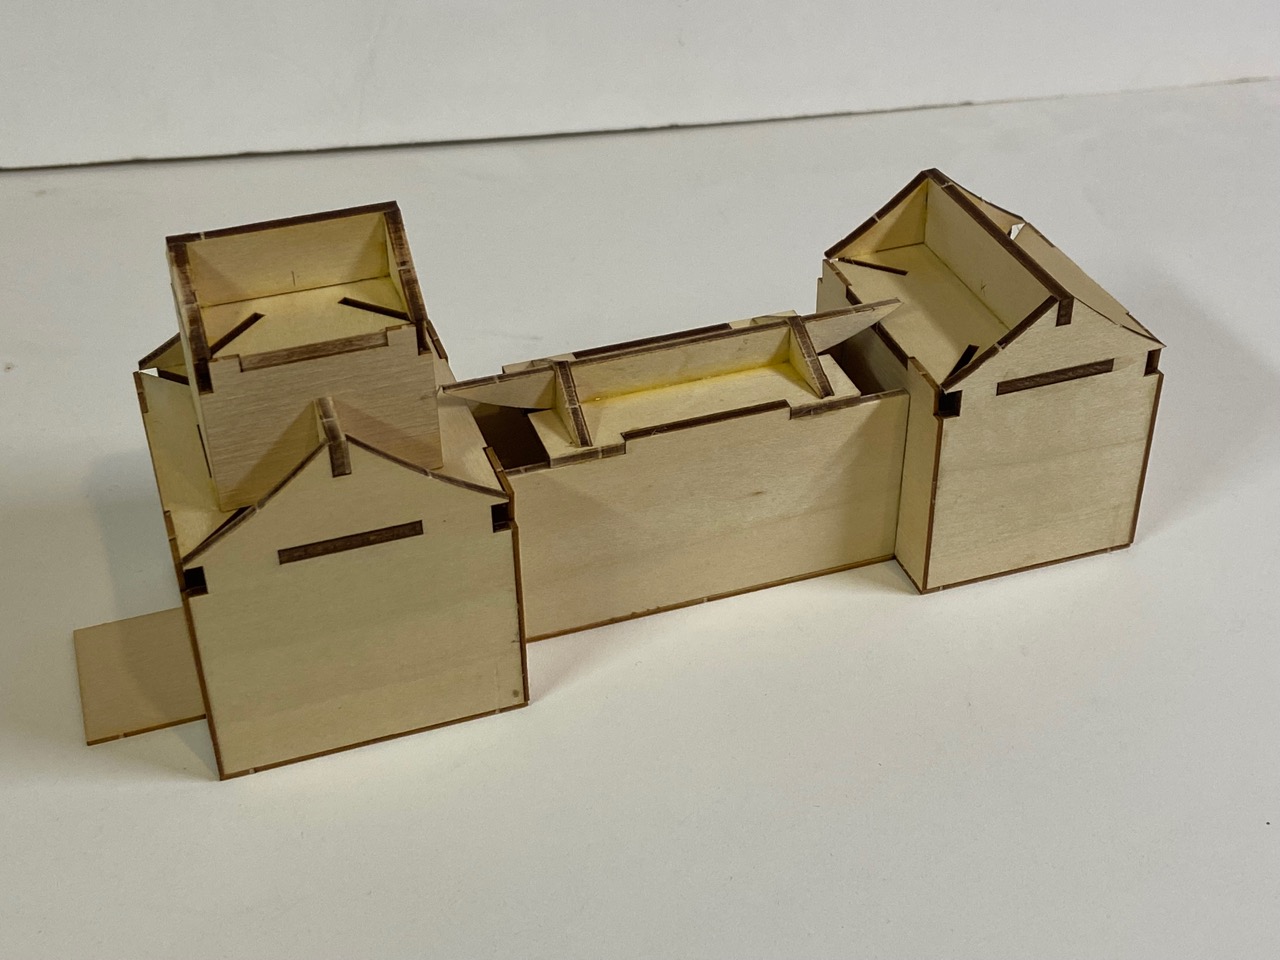
Next post, I’ll be starting to detail the castle structure, while I contemplate what other changes I’m going to make to the lower hull and to the box structure.

Thanks for sharing. It is wonderful.
LikeLike