
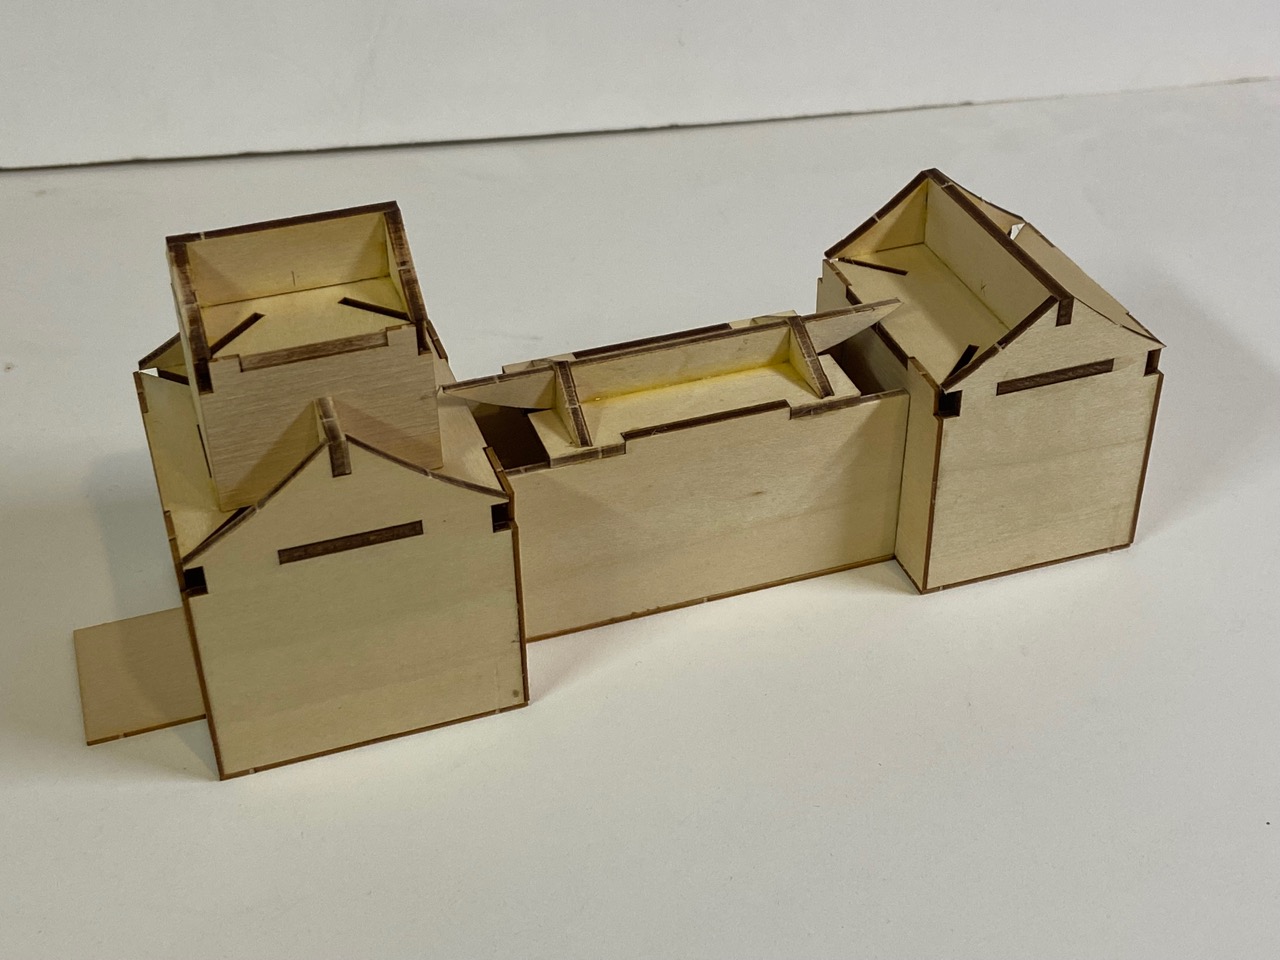
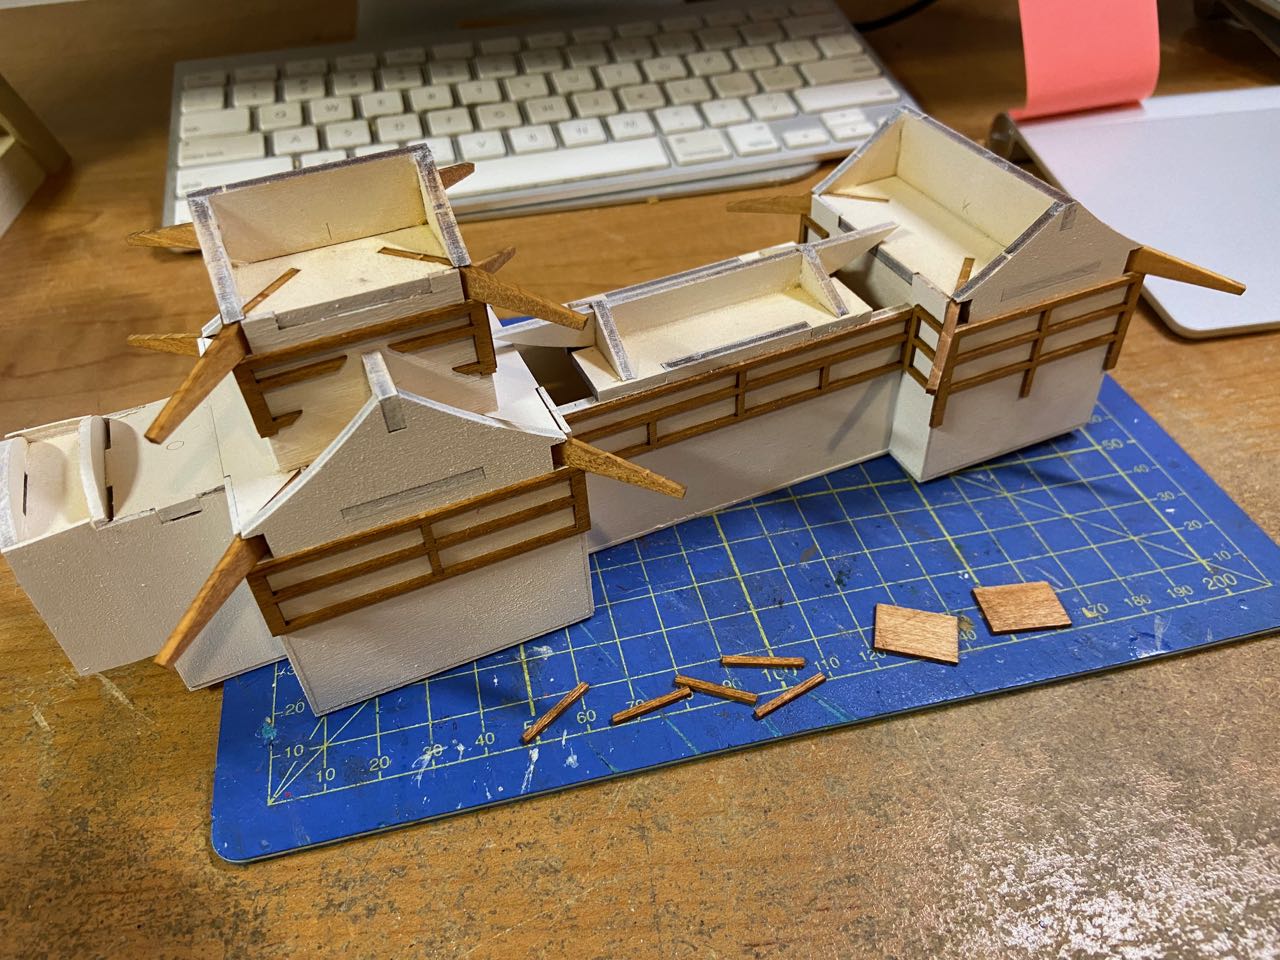
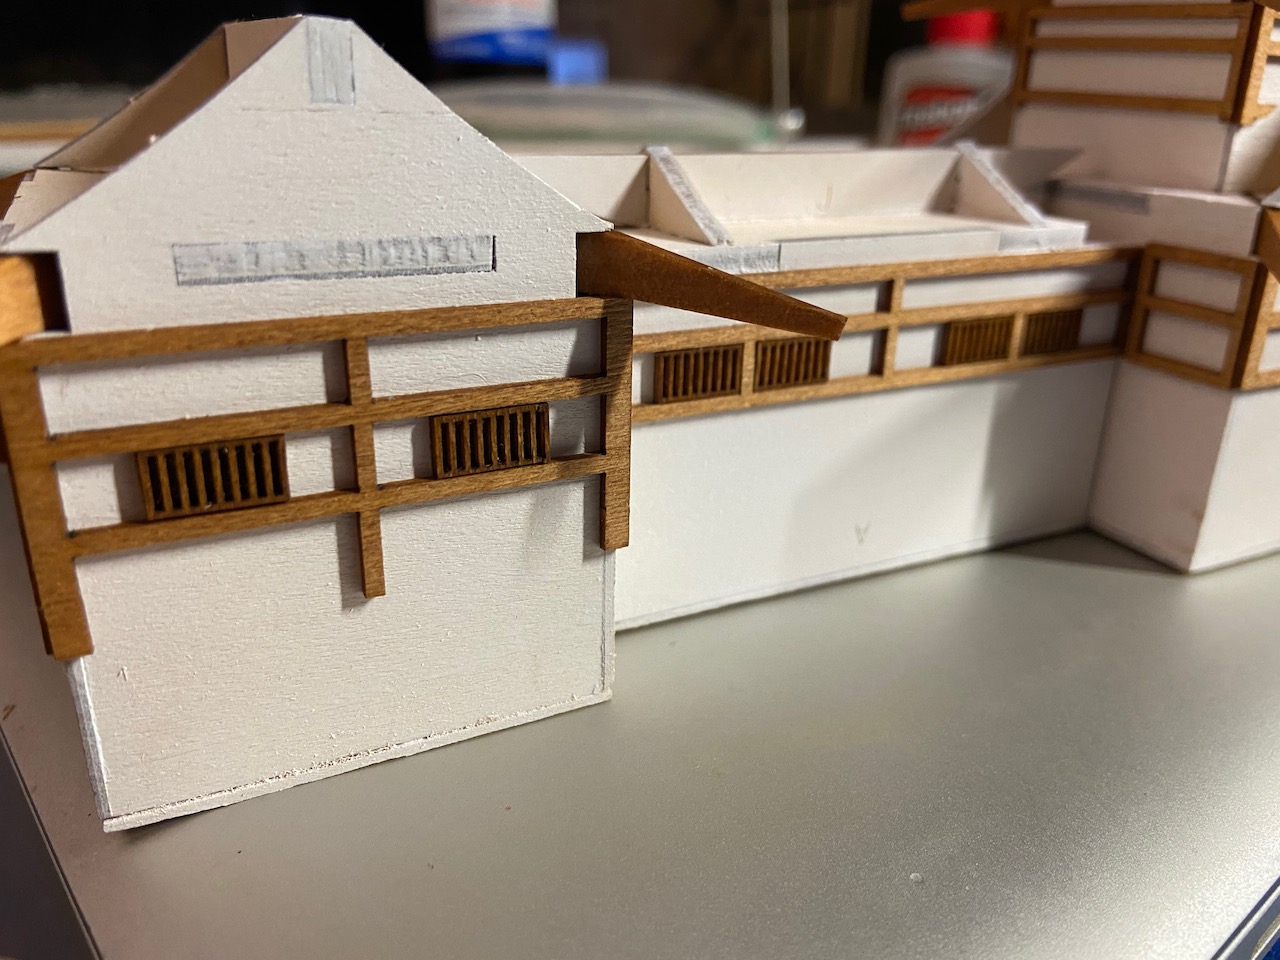
One of the features of this particular Atakebune that make it so interesting is the castle structure. Most Atakebune were simpler and just had nothing more than a single roofed house for the commander to oversee the battle. But, on this ship, the castle is very prominent. On the model, it makes for a nice project in itself.

Promotional image from Woody Joe.
Construction starts with the basic foundation structure, which is made to fit inside the opening in the deck. It was somewhat of a tight fit, so the opening had to be adjusted. You’ll notice a little piece of the base sticking out at what is the front of the structure. This is because there is a small structure at the front, which I’ve been considering modifying to more closely match the model at the Saga Prefectural Nagoya Castle Museum of which this model is based. The design of this section is nice in that you can mostly work on this structure separate from the rest of the model.
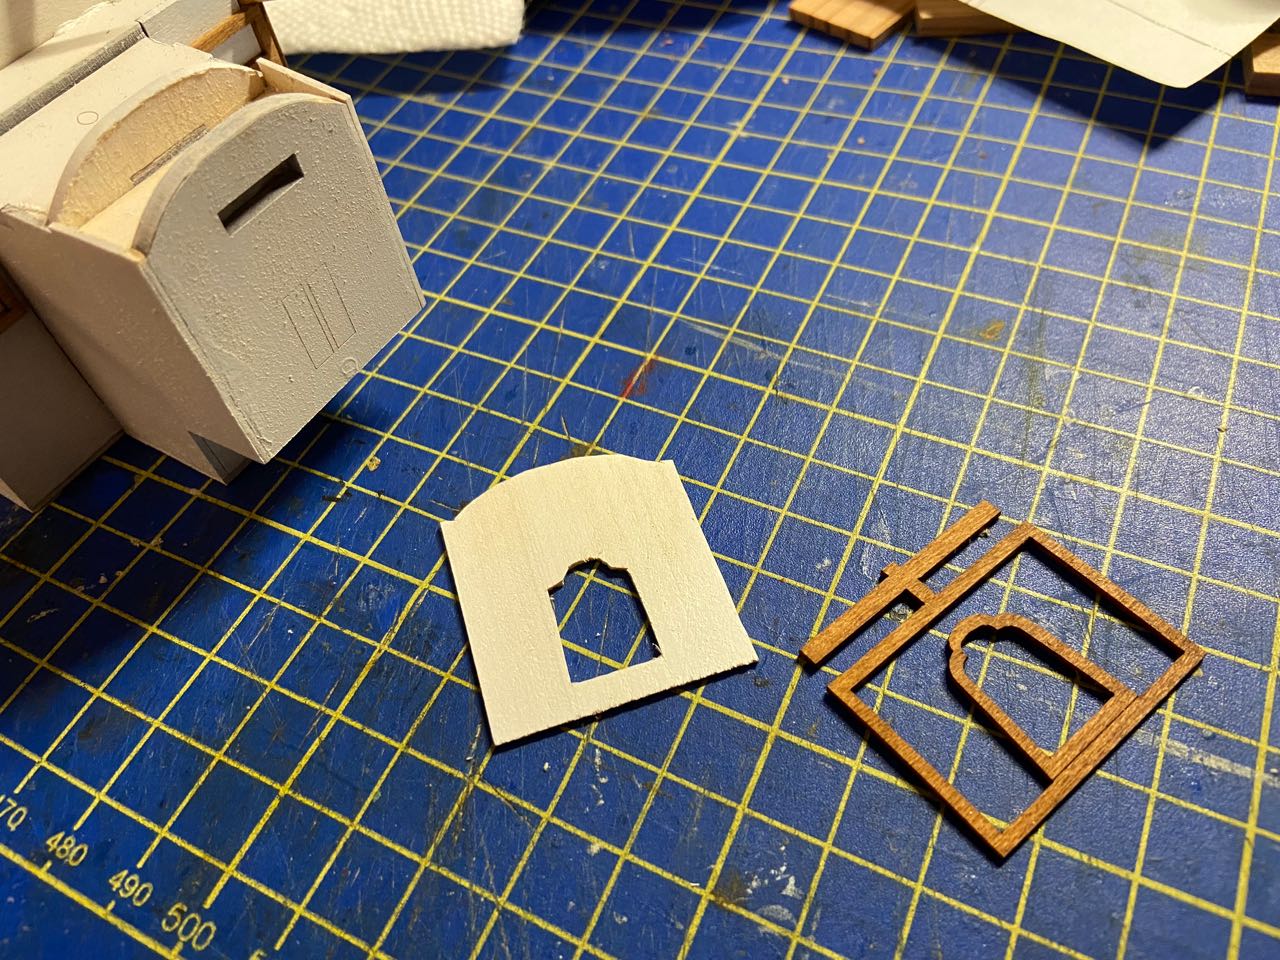
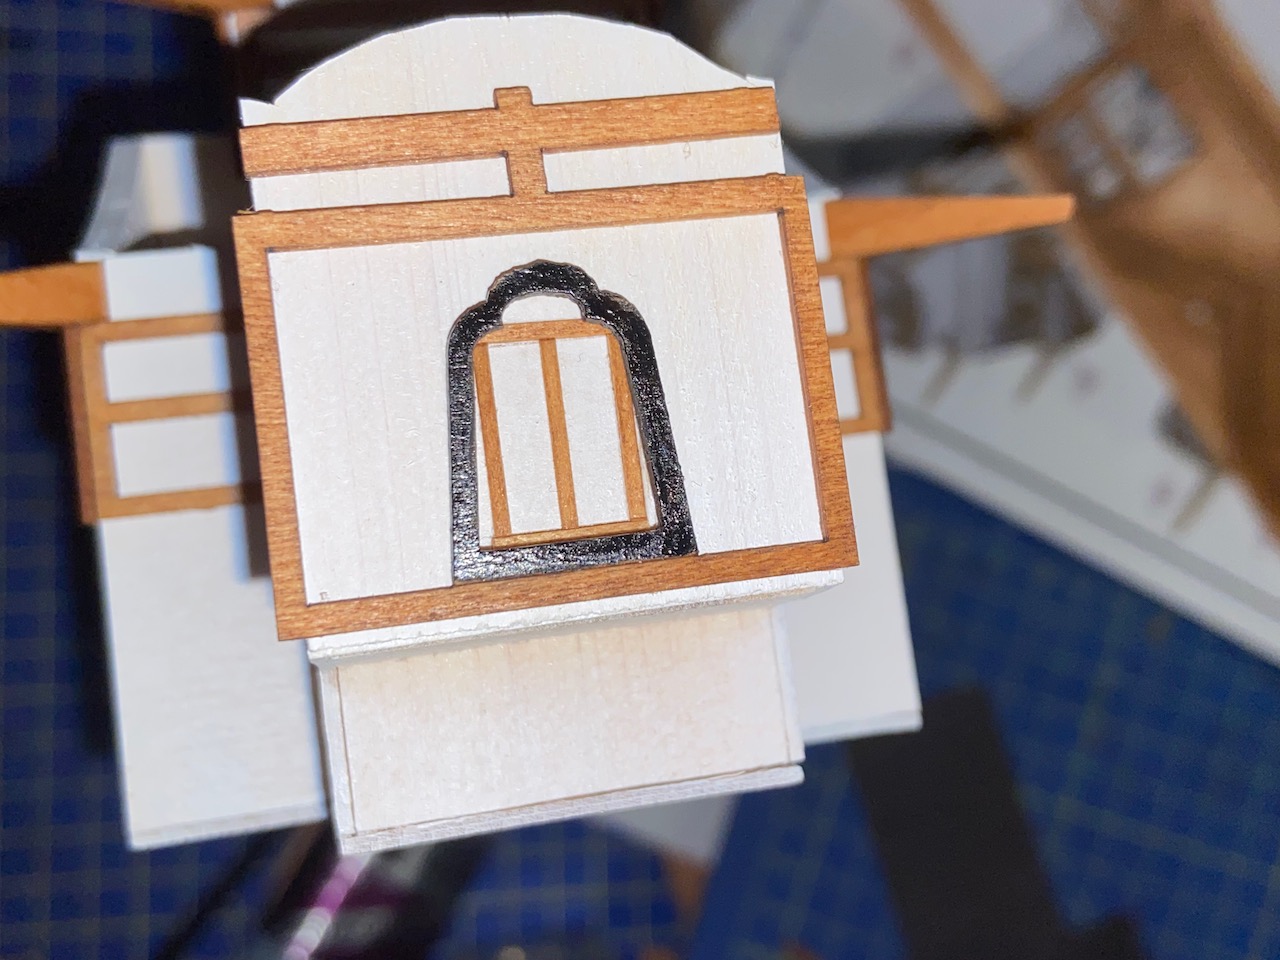
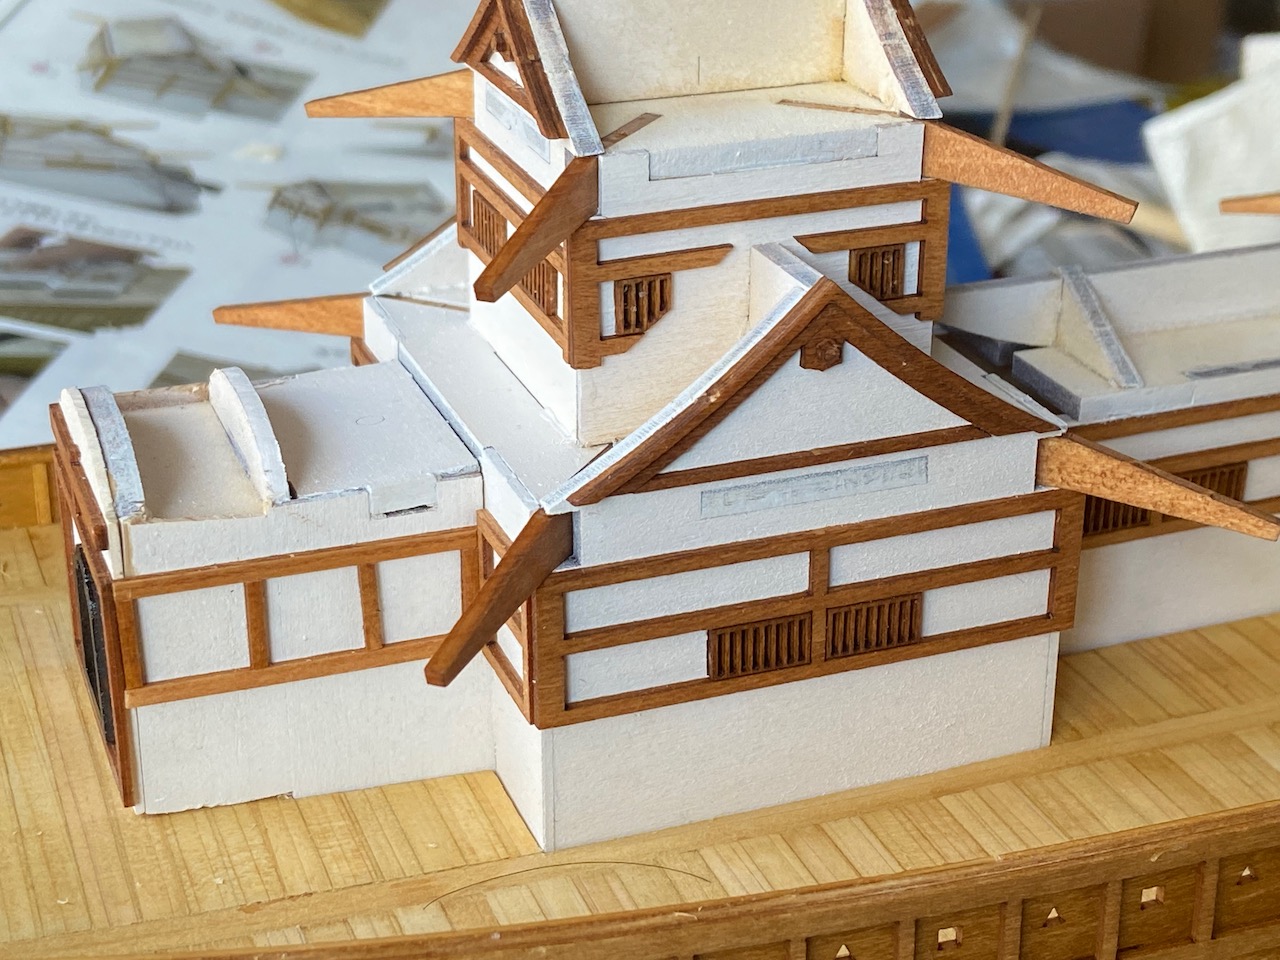
One of the first things I did on the castle structure was to lengthen the forward part. The degree to with I lengthened it was somewhat arbitrary. I began by building duplicating the front face and then building the structure as provided in the kit, except that I use my duplicate piece for the front. This became a kind of middle roof support and it preserved the door panel outlines of the kit piece, so I could use it on the final face of the structure. Below, you can see how I added scrap wood pieces for the wall extentions.
 With that structure in place, I could then proceed to paint the whole structure a base coat of flat white. Then I began adding the roof support pieces. For these and all the wood trip of the castle structure, I decided to use Zar brand Teak Natural wood stain. The color is nice and even and it has a wood tone that I really like.
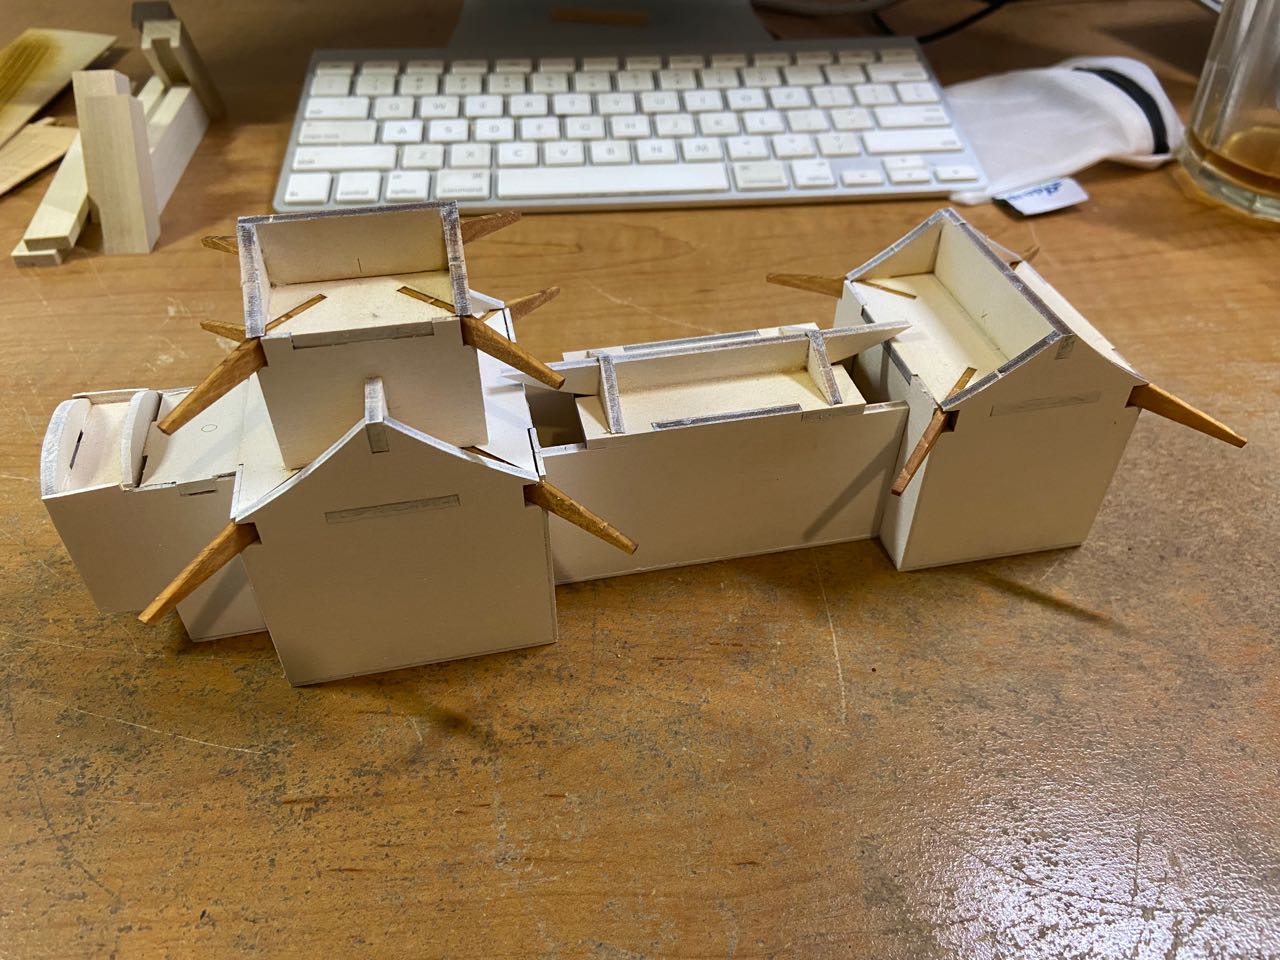
I actually applied the wood stain to the part while they were still on their laser-cut sheets, then reapplied some touch-up after cutting the parts free from the sheet. Below are the first trim pieces that I am installing on the castle structure.
I made sure to do some careful test fitting before gluing any of the pieces into place, as it wasn’t quite apparently to me how some of the pieces line up. For the most part, these pieces line up at their bottom edges and not the top edges. But the facing pieces on the two larger towers do butt up against the overhanging supports. The other pieces pretty much align to them.
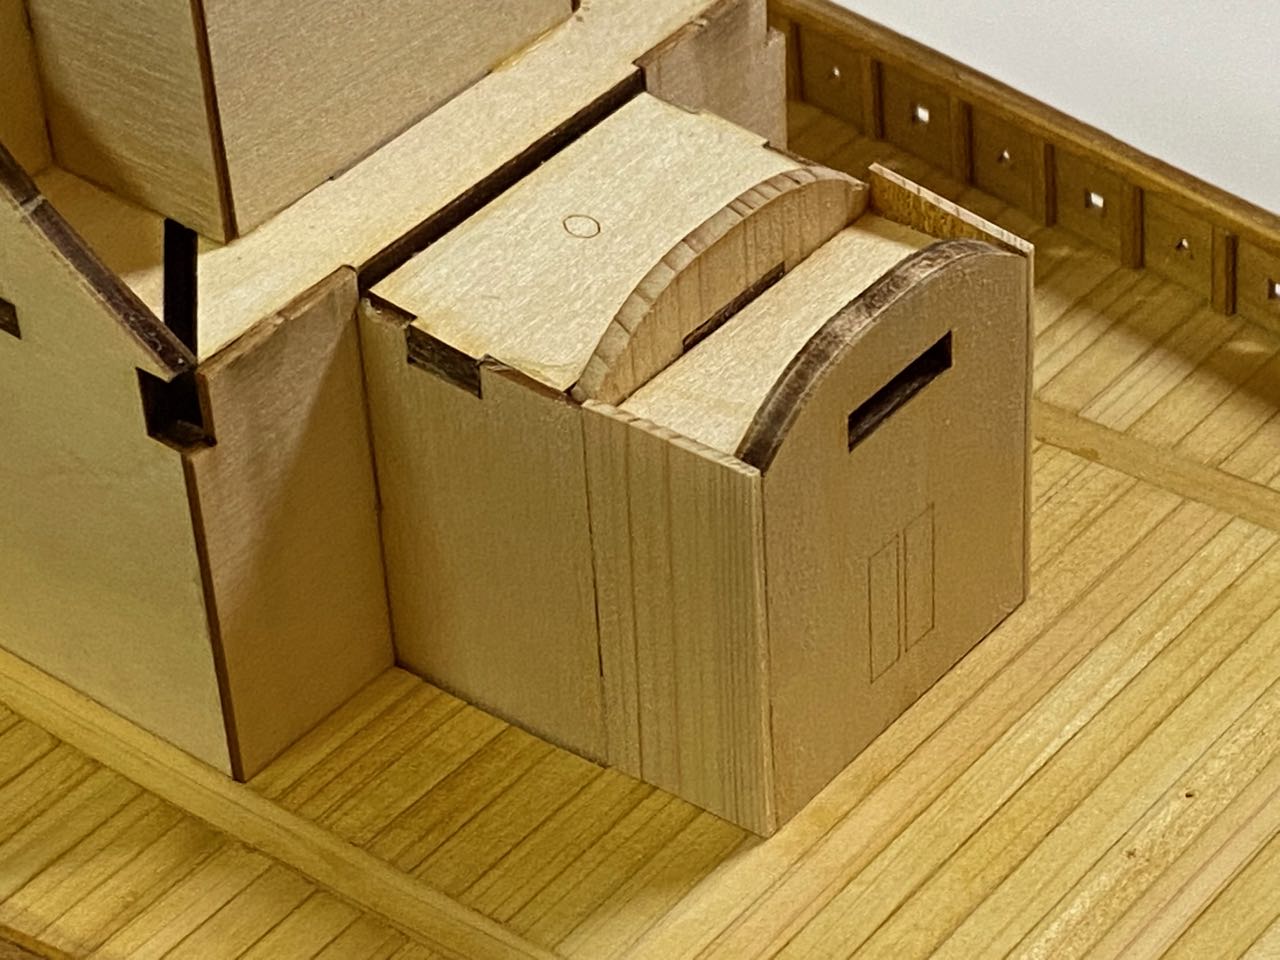
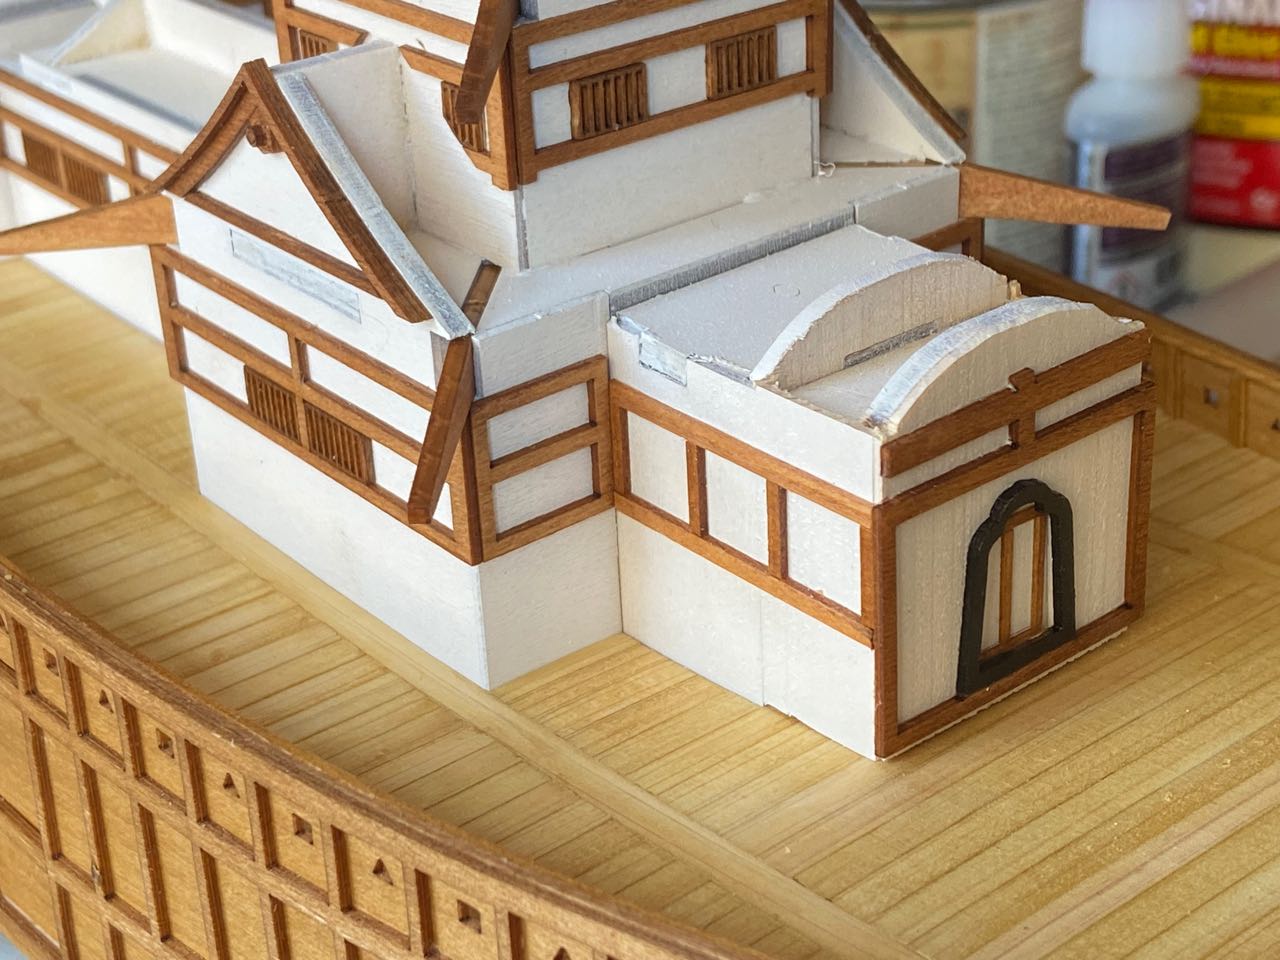
For the extended structure at the front, I decided to add another facing piece that has an opening cut out for the archway. This gives the door detail, if it is a door, more depth.
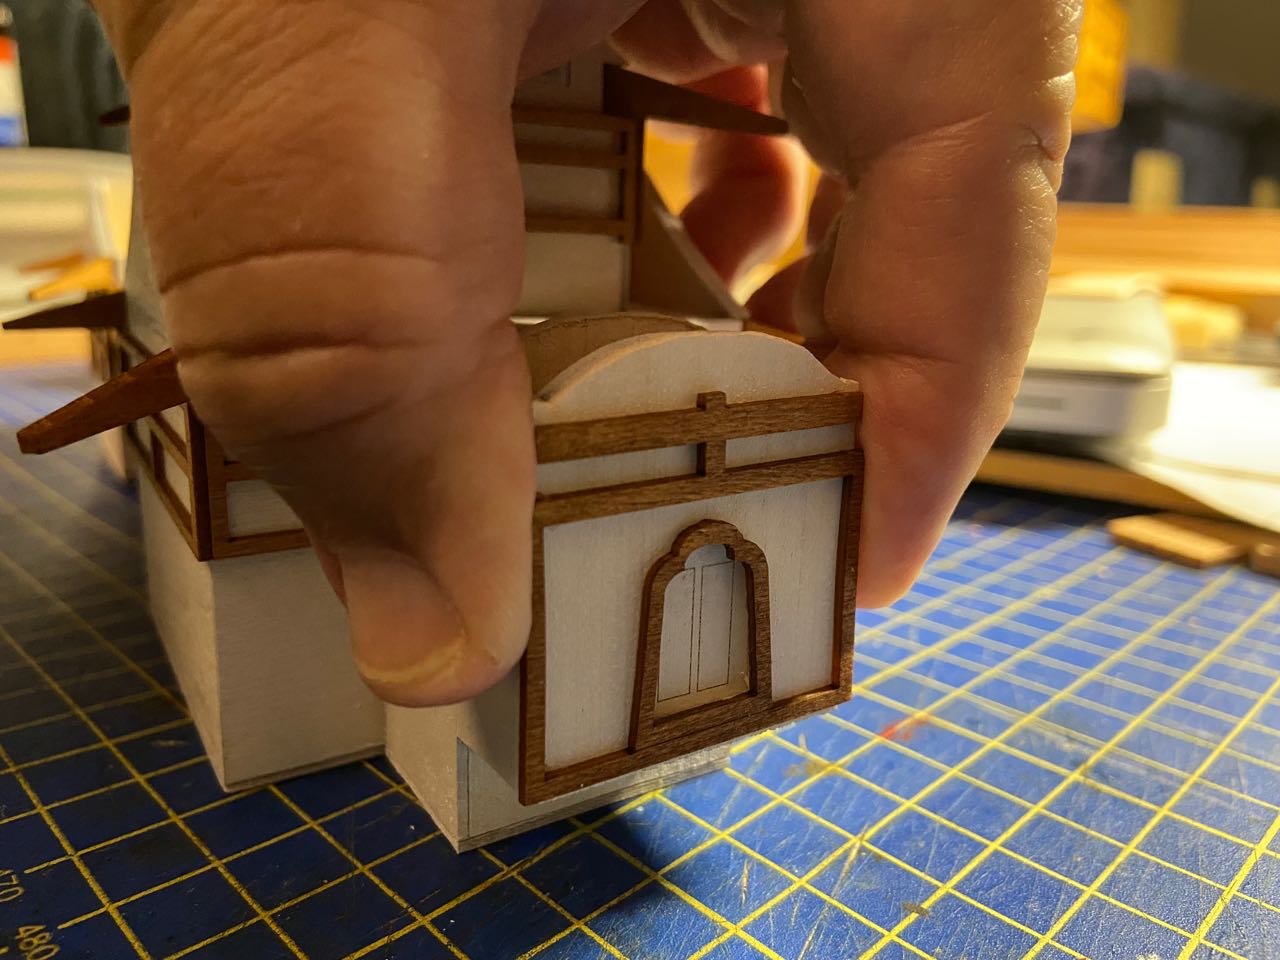
A test fitting of the trim at the front of the castle structure.
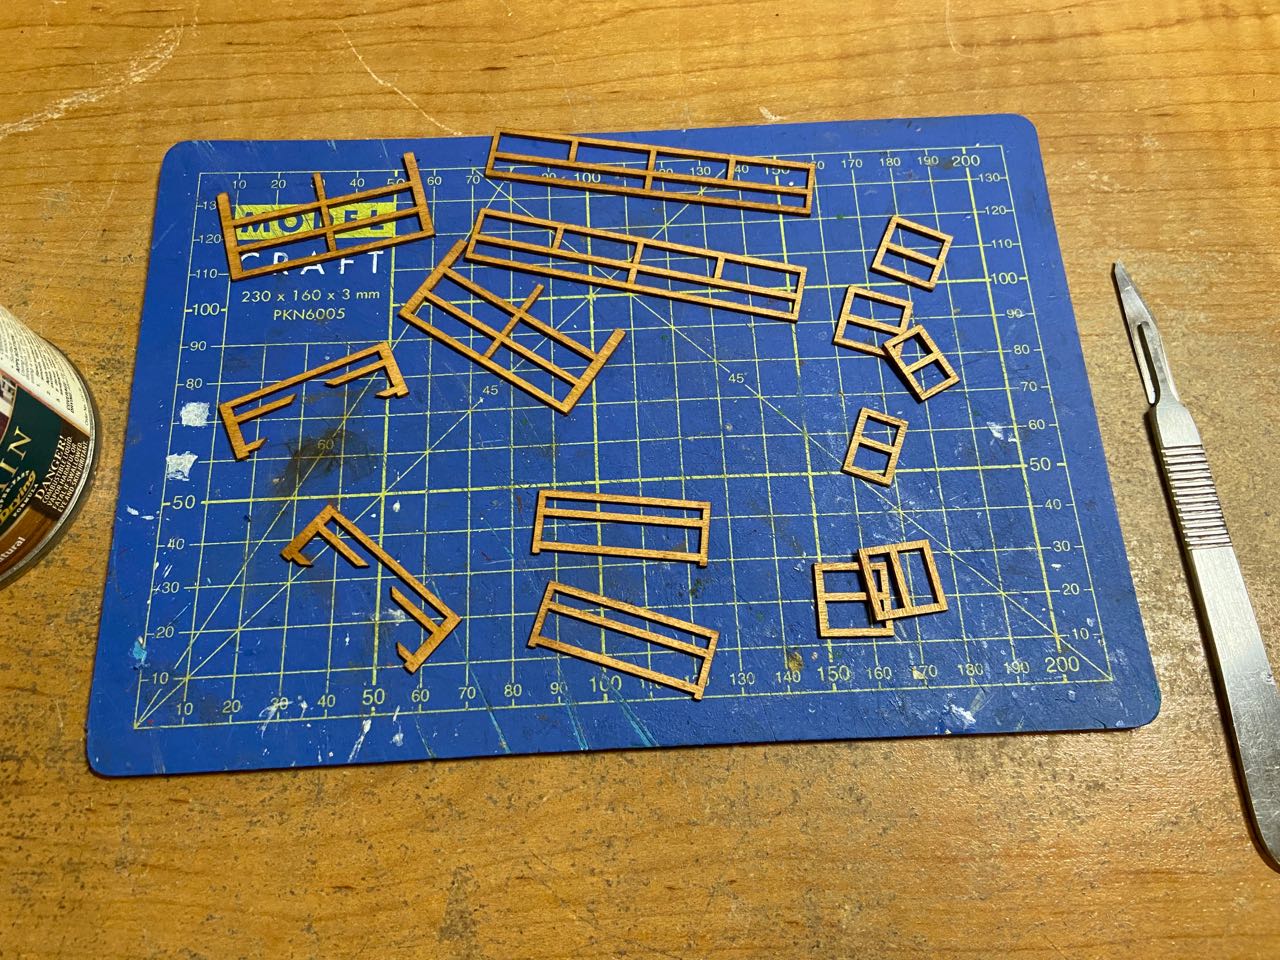
One of the features of Japanese castle are barred windows. These are provided as nice laser-cut pieces. Through these, though, you’d just see the white wall, since there are no openings cut into the walls. Rather that cutting openings to fix this, I just decided to use the thinnest black paper I had on hand to back the windows with. This was black tissue paper. It was quite thin and a bit difficult to work with, but it did the job.
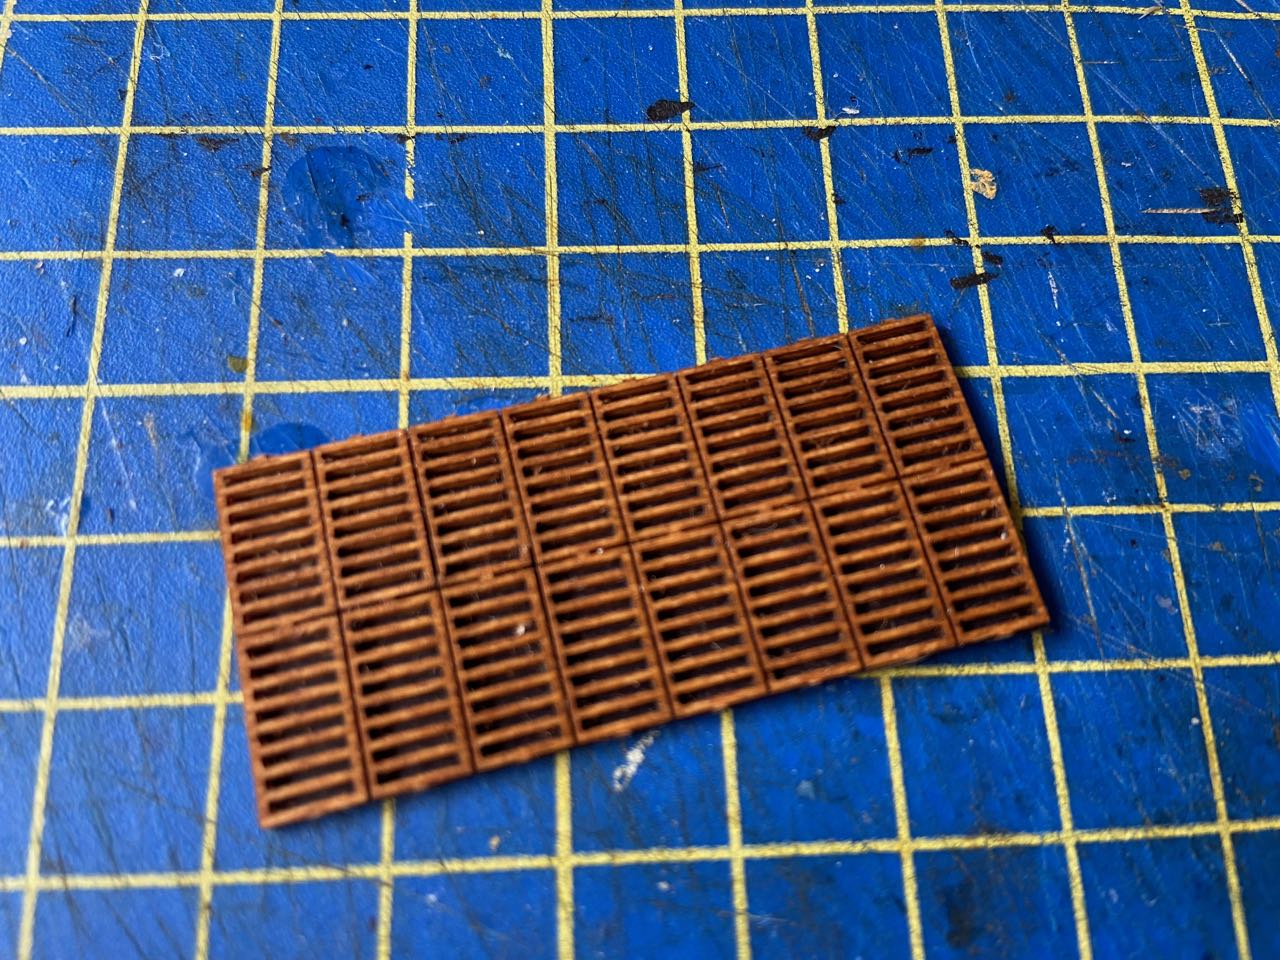
I first applied some wood glue to the back side of the window bars, then I applied the paper. When that dried, I cut the wooden pieces apart and glued them into place on the castle structure wall.
In the photo below, I just test fit a couple pieces. You can see the paper backed window on the right and one without backing on the left. I was pretty happy with the way this turned out. Of course, you could also achieve this same effect with paint. But, this seemed easiest.
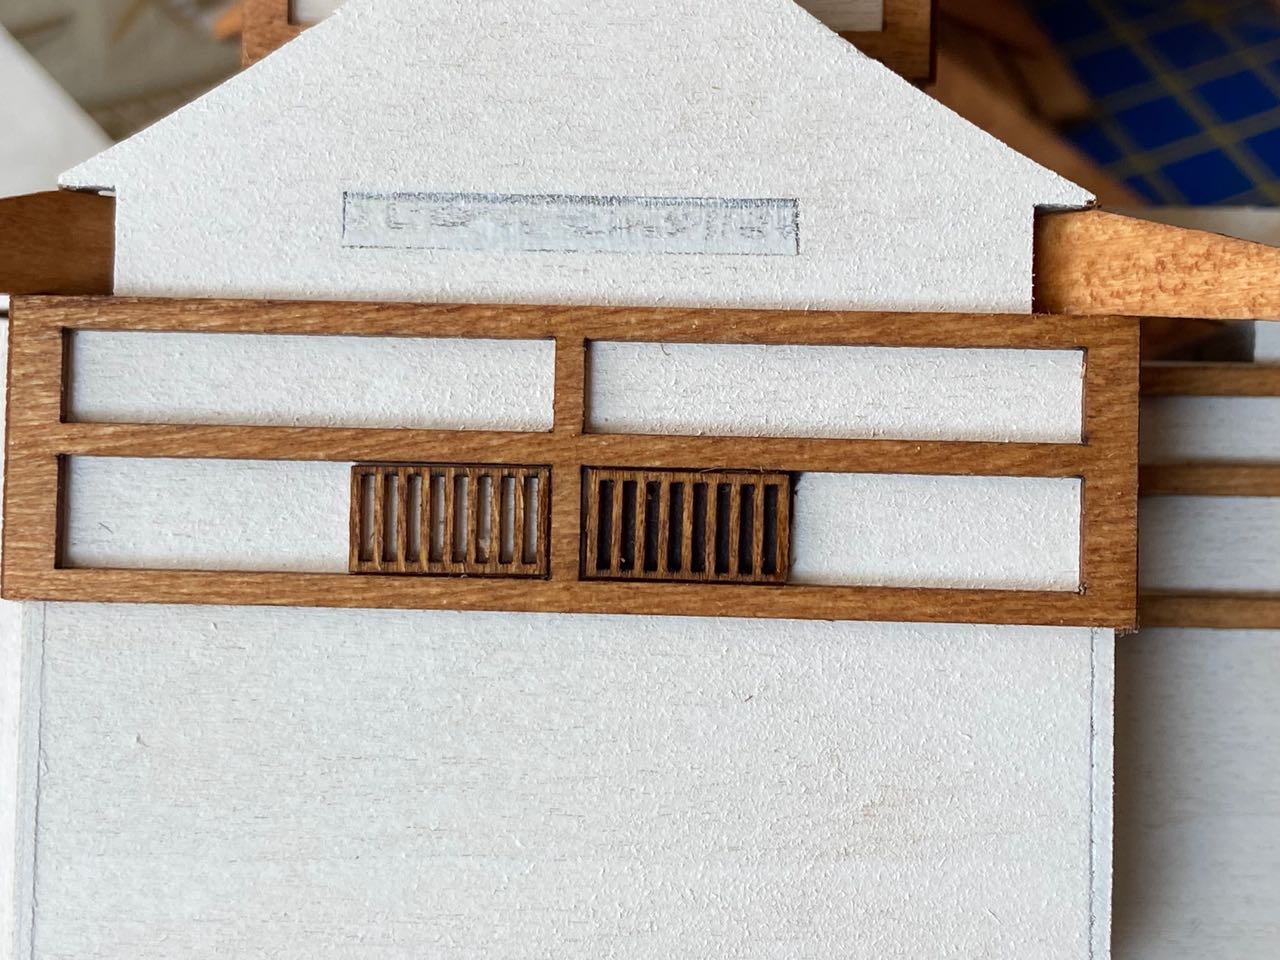
Below are several photos of the castle structure during construction and as it appears on the model at this stage. Note that I added some framework pieces to the engraved door panels on the front structure and painted the archway a gloss black.


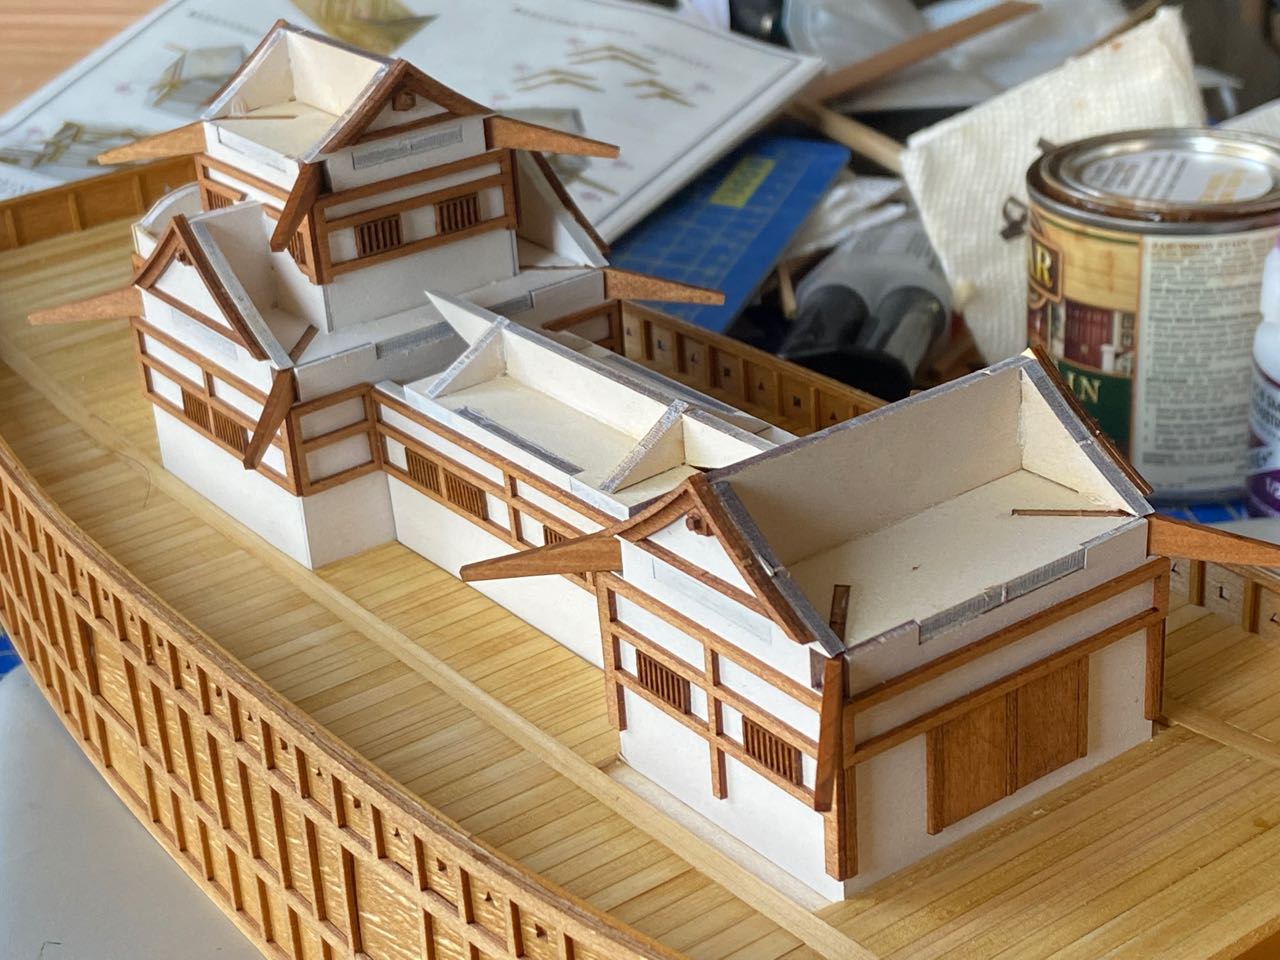
There’s a lot more to go on the castle structure. But, I’ll get to that in another post.

Looks great.
LikeLike
Thank you! I’m taking care of a few different projects this week, and I’m hoping to finish up much of the castle structure this weekend.
LikeLike
Reblogged this on Ship Modeler and commented:
Progress on the castle structure of Woody Joe’s newest kit, the Atakebune – a 1/100 scale model of the largest class of warships from 16h century Japan.
LikeLike
Can you tell us the link to the Nagoya castle atakebune? I don’t see it on the website https://www.nagoyajo.city.nagoya.jp/
LikeLike
I’ve included links in previous posts, but here it is again. It’s not the Nagoya castle in Nagoya, Japan, which is what makes it a bit confusing. It’s a castle in Saga prefecture, which was built by Toyotomi Hideyoshi way over in Kyūshū. Here’s a link: https://saga-museum.jp/nagoya/language/english/
LikeLike