
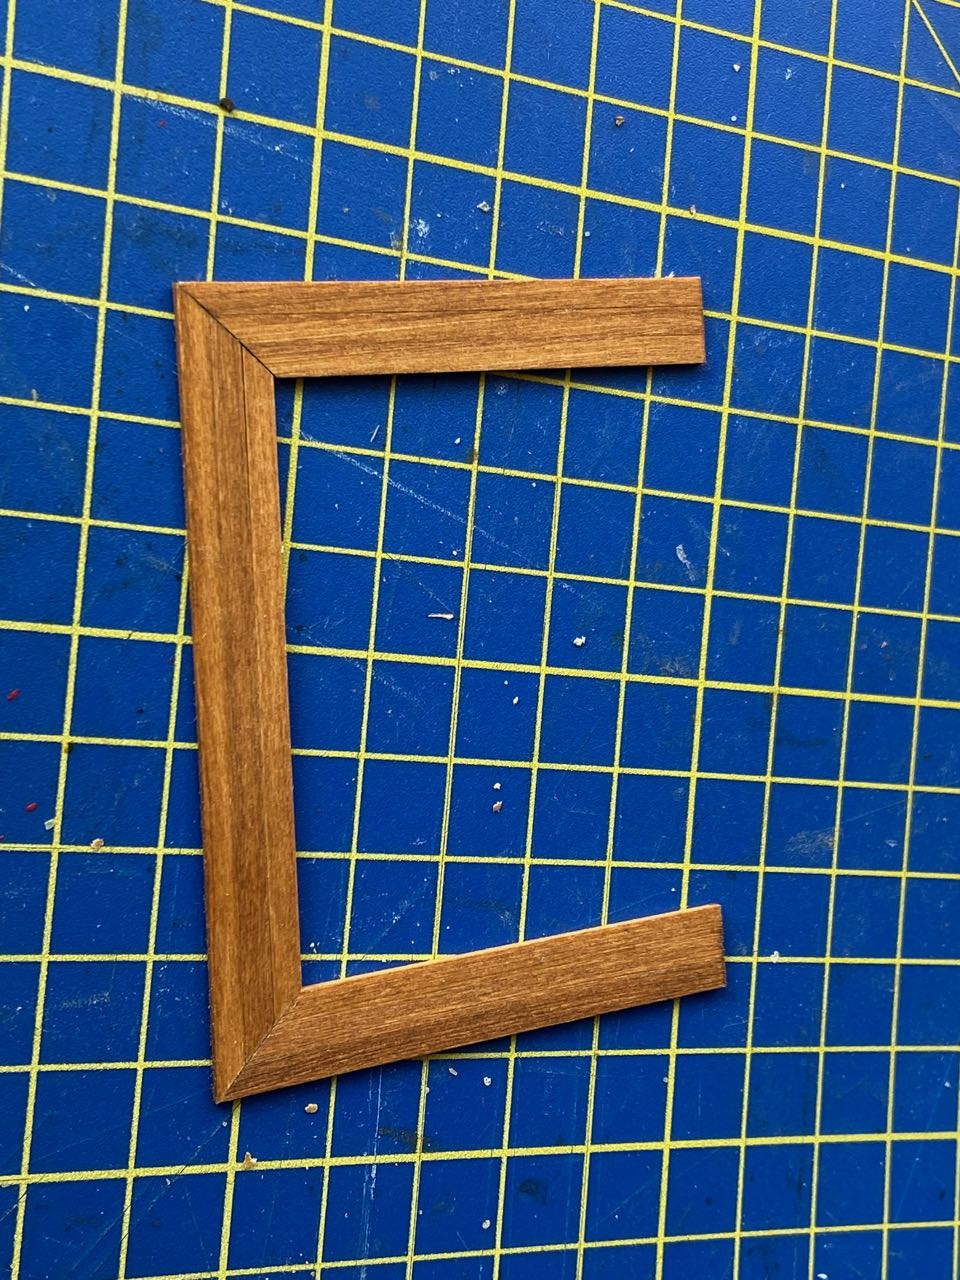
Continuing with the Atakebune’s castle structure, I began looking at the little walkway and decorative railing at the back end of the structure. Considering that I’ve lowered the main deck of the ship, I needed to know how high above the deck this railing would be. So, I assembled the pieces to allow me to test fit the parts in place. While I was at it, I made one small modification here, which was to make the walkway from separate strips of wood, using the kit provided pieces as patterns for the walkways.
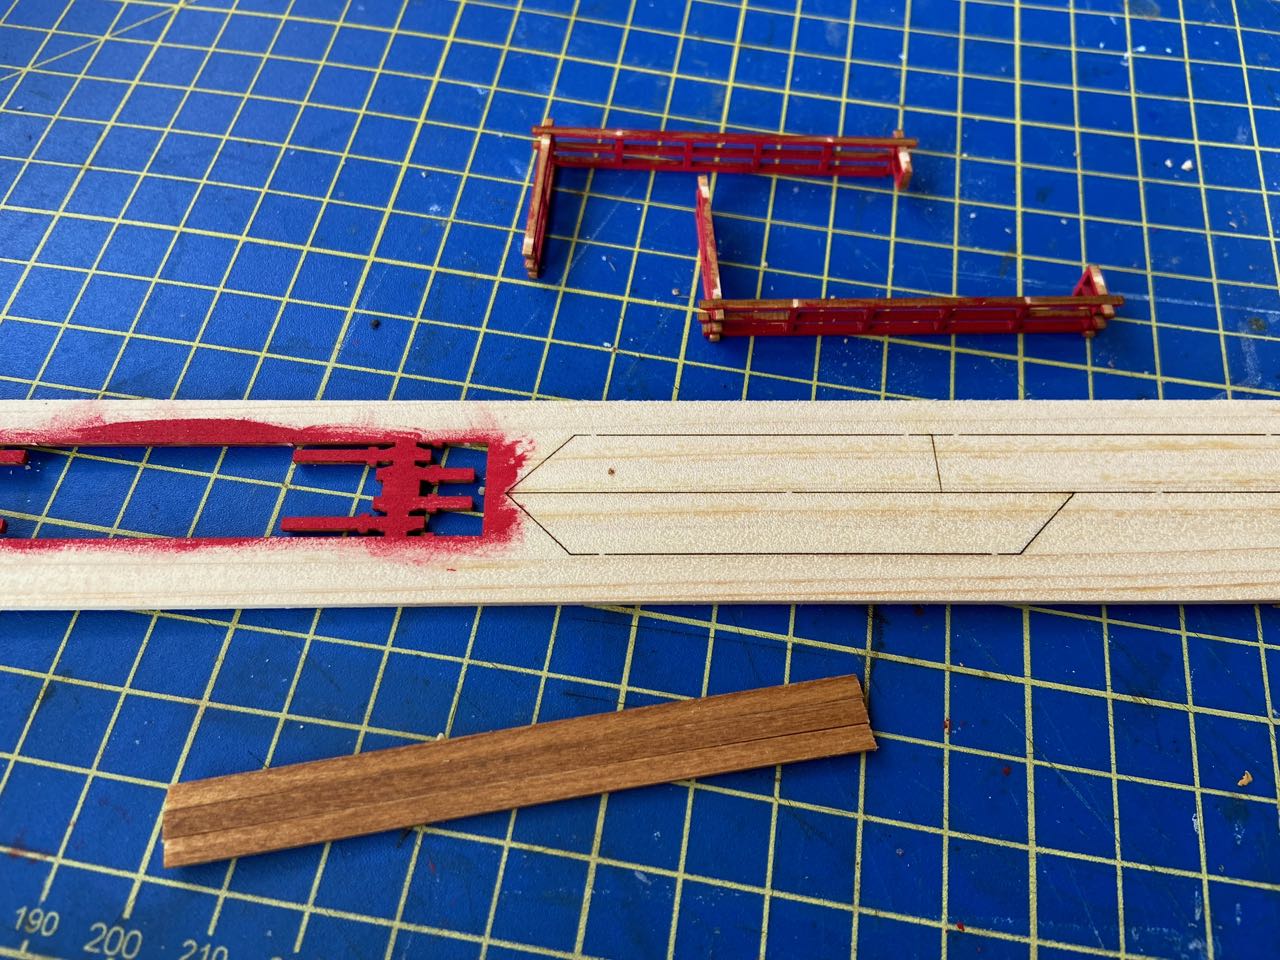
The completed walkway was actually all that I needed. It also needed to fit perfectly in place, which took a few minor adjustments.
While I went ahead and glued the walkway into place, I didn’t want to permanently add the railing, as it’s pretty delicate, and I was worried that it would get damaged during the remaining construction on the castle structure.

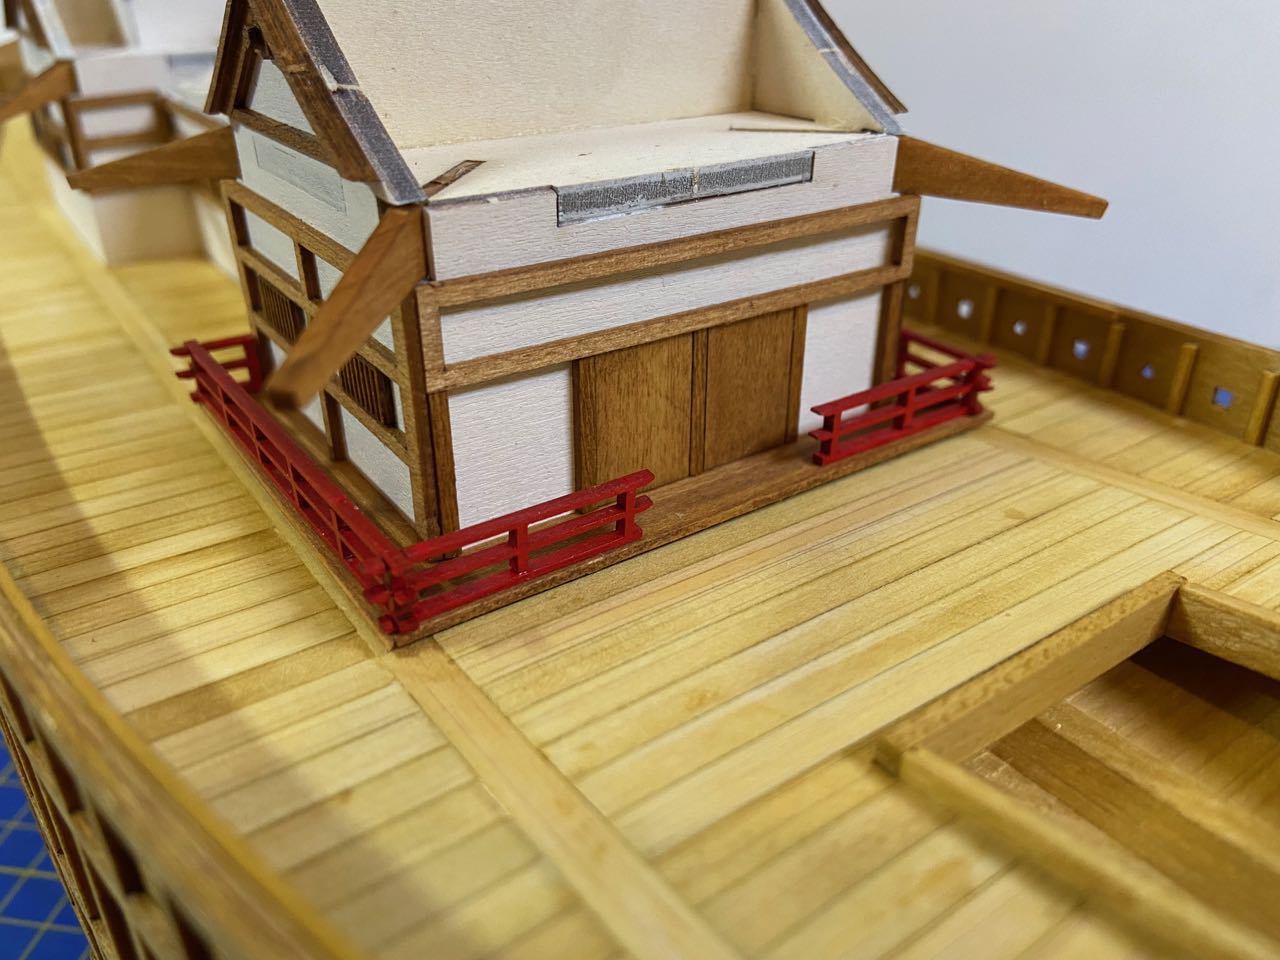
It was nice to see how this railing will add a splash of color to the final model, pretty much the only parts that aren’t going to be natural wood color, or painted gray or white.
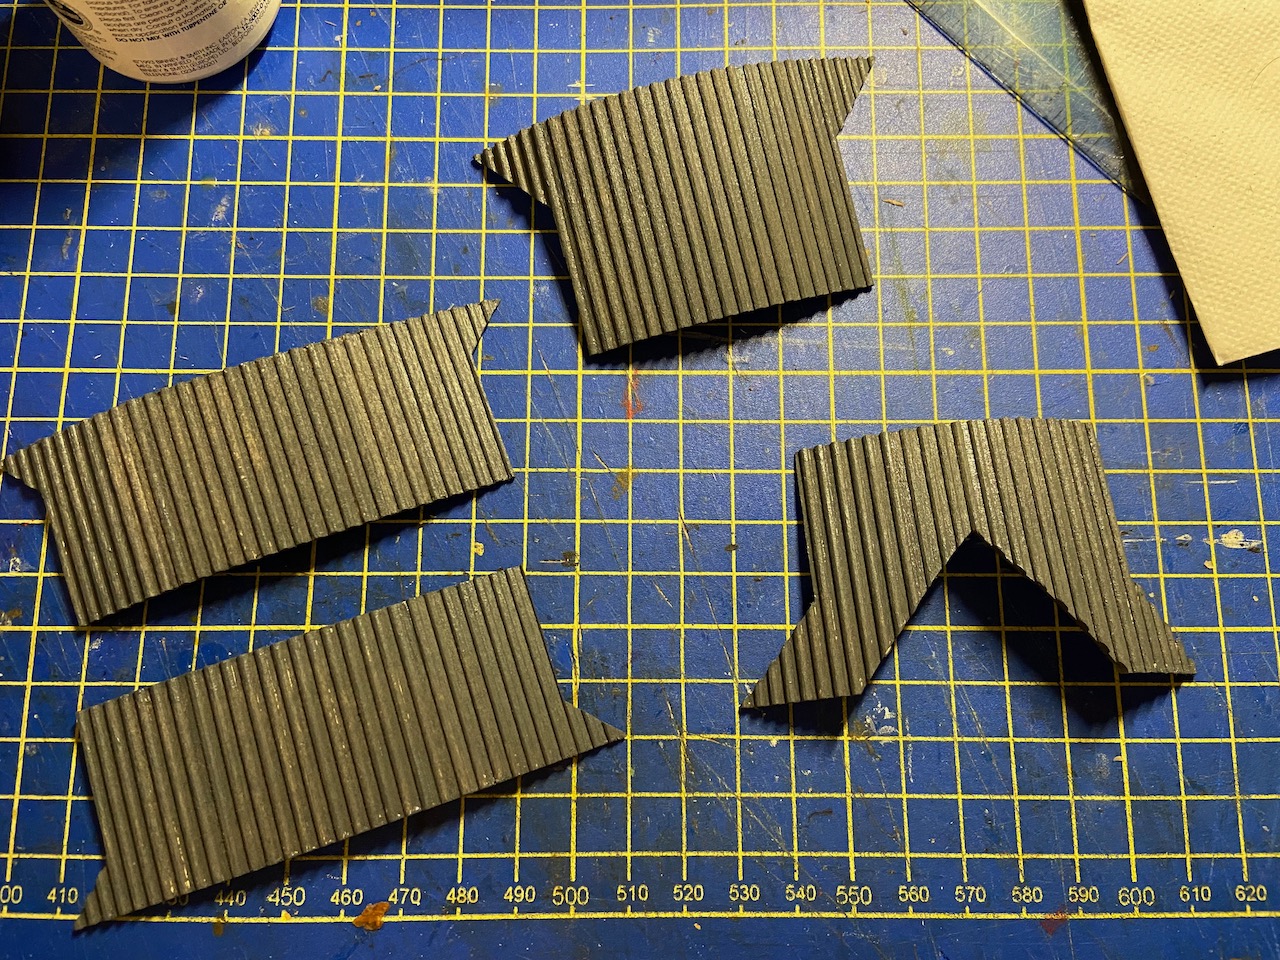
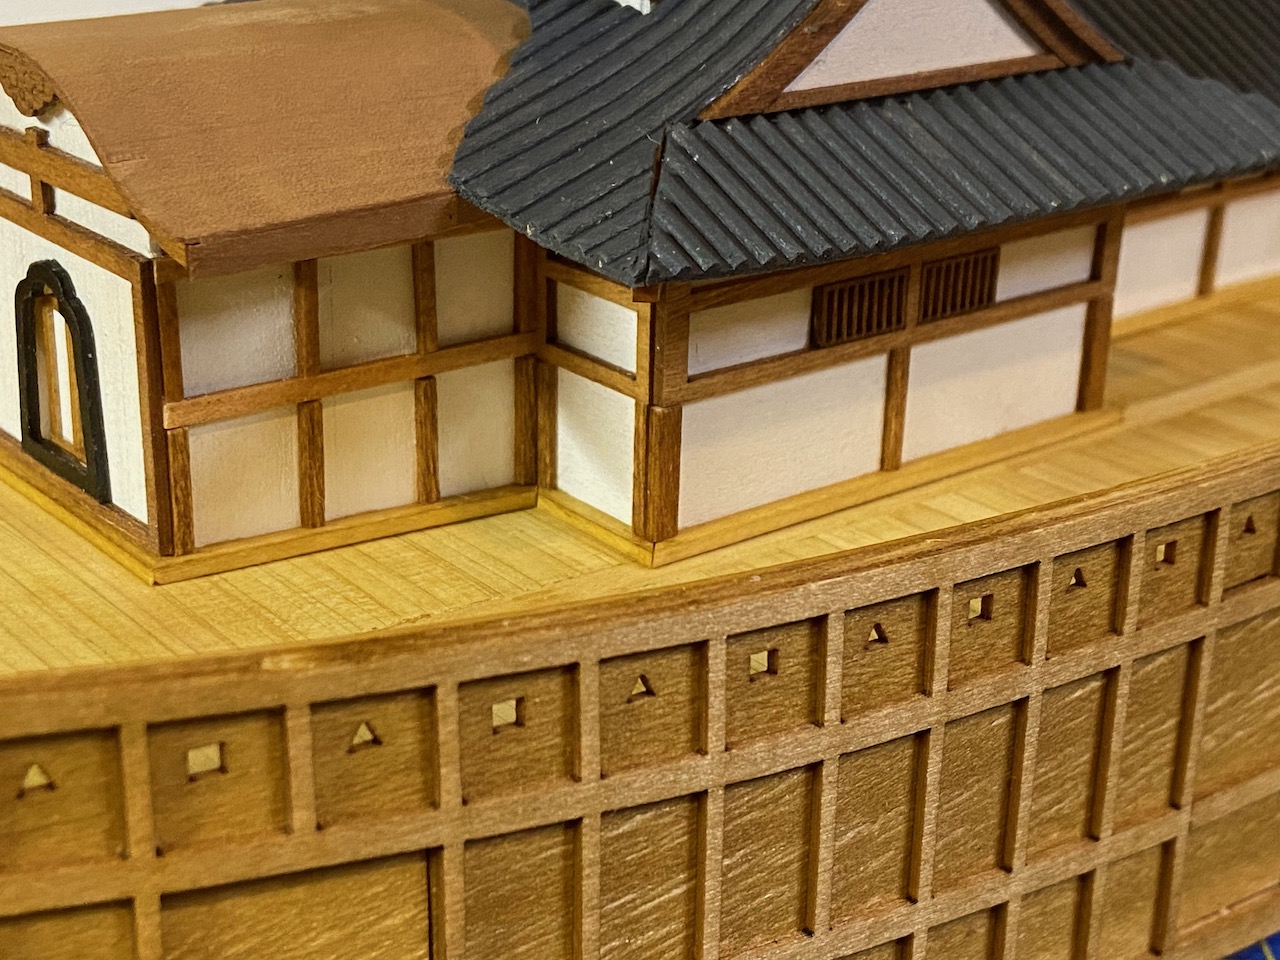
Next up was to begin working on the castle structure roof. most of which is made from milled material that resembles a tiled roof. However, the roof of the forward part of the castle structure, specifically the one I extended, was designed to be made up of individual arch-shaped pieces. Since that section has been lengthened, the provided roof pieces would no longer work. What I did then, was to use the provided pieces as beams, and for the roof itself, I cut a piece of thin pear wood veneer.


I don’t have photos of all the work I did on this roof section, but it took a little work to attach the “beams” together, so that I could mount the thin roof material. I used a couple wood strips under the beams to create a rigid framework, but this required me to cut away some of the wood that would be under the roof to make room for these added wood strips.

Once the beam assembly was ready, I could simply cut the wood veneer and glue it to the beams. Plastic clamps held the roof in place, causing the veneer to take on the curvature of the beams while the glue set.

With this particular roof section done, I could complete the rest of the castle structure roofing. This type of construction is quite fun, and it’s very different from any ship modeling work I’ve done before. I’m already familiar with building these castle roofs as I built Woody Joe’s Iwakuni-Jo castle several years ago, one of their smaller castle kits. I won’t go into a lot of detail here and just offer some progress photos.


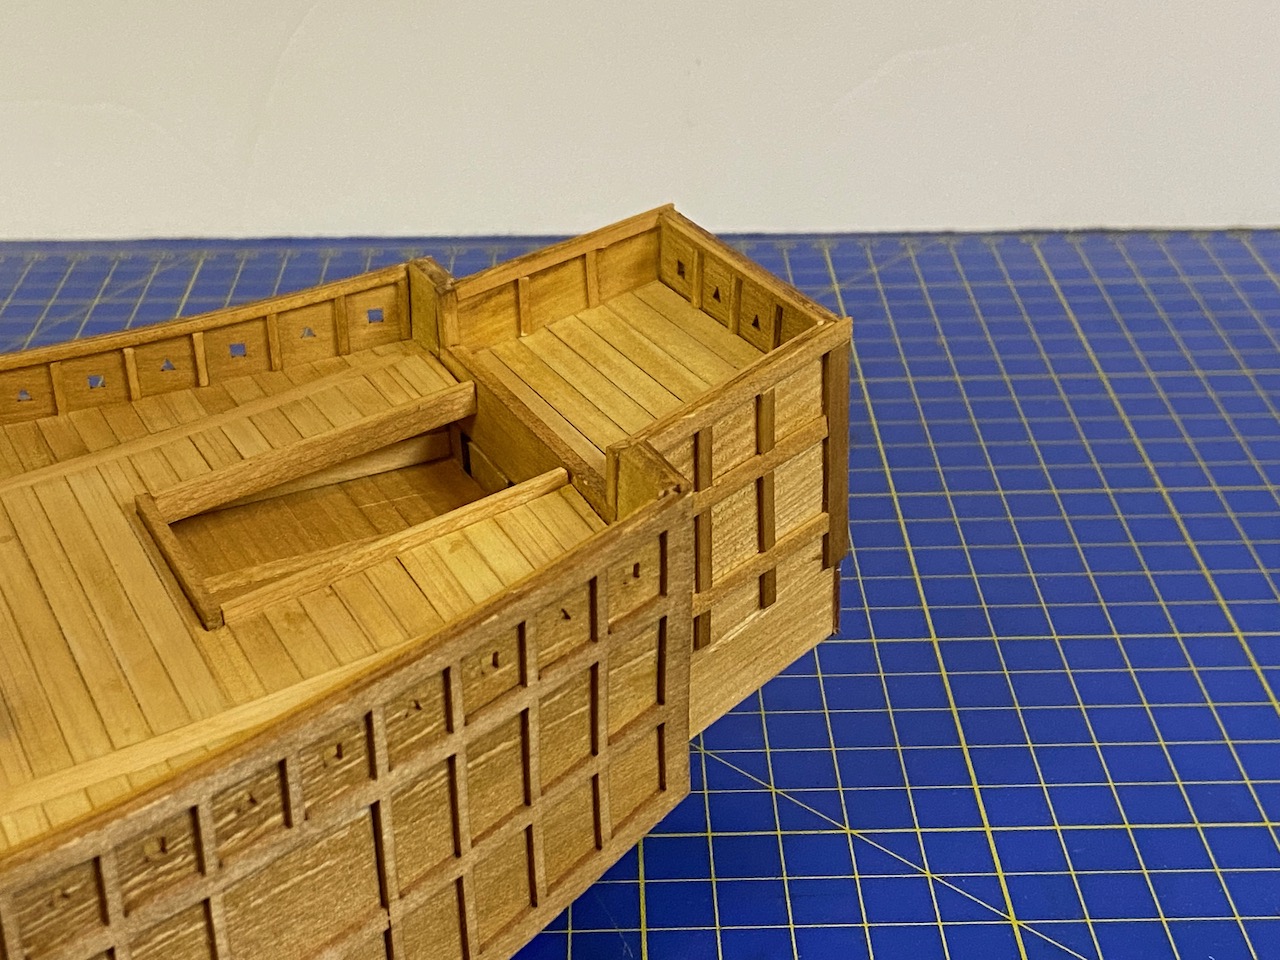
While working on the castle structure and waiting for glue to dry, I decided it was time to tackle the modification of the stern structure. I was a bit hesitant to do this, but I saw how nicely Kazunori Morikawa’s model looked with the modified section, and I thought it really made the overall shape of the ship nicer. So, I began dismantling the stern section.

Turns out that because I used original formula Titebond wood glue, I could simply use water to soften the glue joints. As a fellow ship modeler pointed out, rubbing alcohol works well, and won’t raise the wood grain or cause the wood to swell or warp.
I was basically able to extend the internal structure of the stern by 15mm. This didn’t change the shape of the rear wall, just the side walls of the extension. So, I was able to use some of the parts I removed. However, I did have to make a new deck section, as the shape had changed due to the new dimensions.

Once the extensions were added to the internal structure, it was all pretty easy to build it all back up again.


Finally, I was able to finish the initial roof placement and add the remaining coaming and lower trim of the castle structure, as well as to add the stanchions and complete the external trim of the stern section today.


Next time, I’ll be adding the simulated beams under the eaves of the tile roofing, and adding the details that remain for the rooftops. After that, I’ll be giving some thought to finishing the lower hull modifications I had been planning.

Reblogged this on Ship Modeler and commented:
It’s been two weeks since I last posted progress on Woody Joe’s Atakebune kit, a 16th century Japanese warship. I took on a new modification, as you’ll see, one that I’ve been contemplating.
I’ve also worked out the modifications for the front part of the castle structure and have been working on the roofing of the whole thing.
LikeLike