
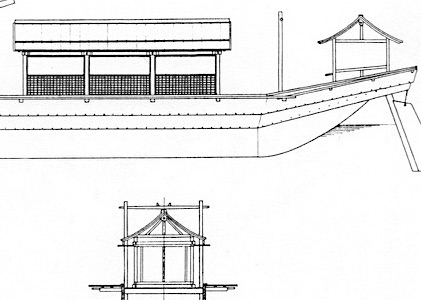
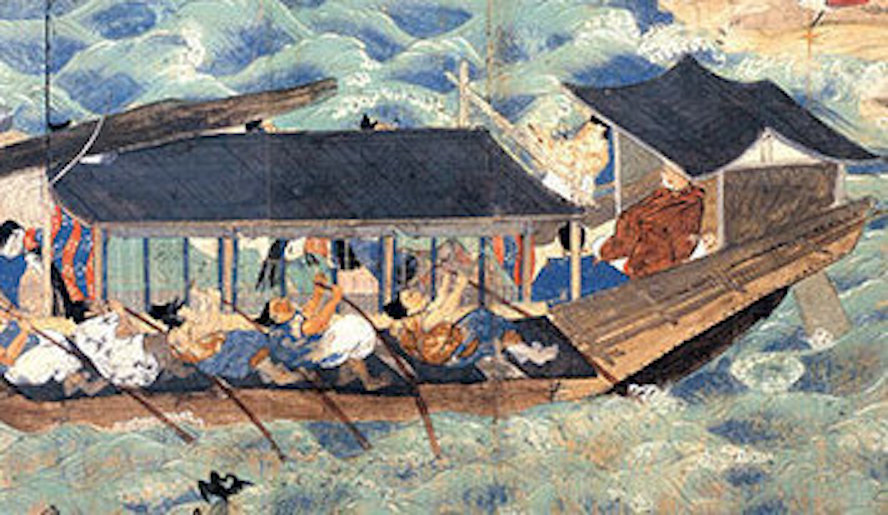
As I mentioned in my last post on this model, I’d been wrestling with the configuration of the roofs. The 1/20-scale museum model that I often see reference on the web, differs from Professor Ishii’s 3-view illustration that I’ve mostly been basing construction on. Those drawings are more of a match to the early scroll paintings. Oddly enough, none of the models I’ve seen match them exactly. Is it possible that the builders had access to more updated information? Or did they just decide that the Ishii-san was wrong? But, then what about the scroll paintings? Are they simply written off as being wrong?
As you can see in the photo below, which was taken at a ship model club meeting, I initially made flat roofs panels. If I could justify them, they would certainly be the simplest to construct.
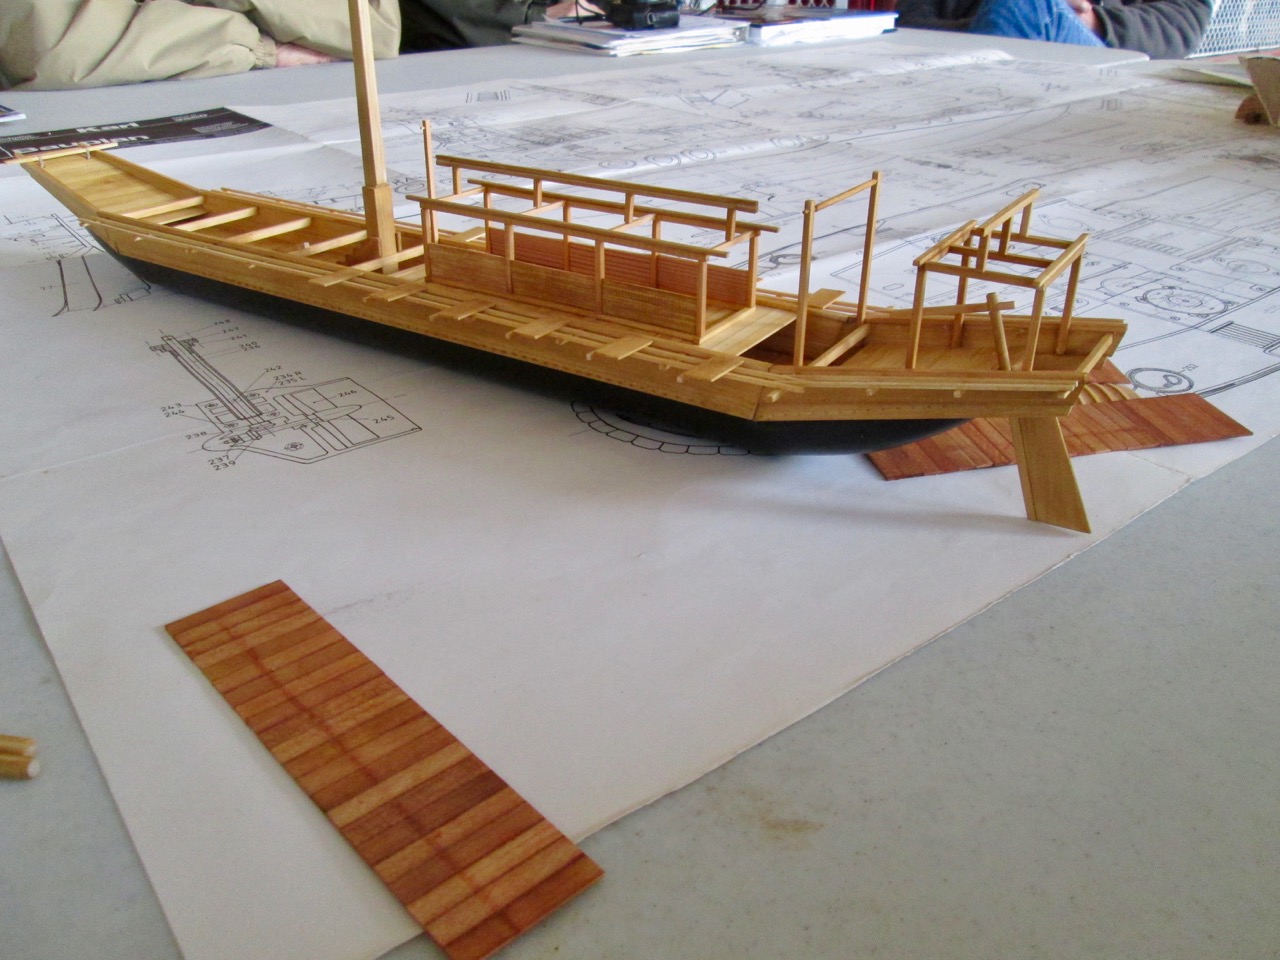
Flat roof panel initially constructed is seen in foreground.
But, looking at Professor Ishii’s drawing and at the details in the scroll painting, I just couldn’t justify flat roof panels. So, I had to go with curved roofs, which, by itself was difficult enough. Ignoring a couple models I’ve seen, I made the planks run the perpendicular to the centerline of the roof. With curved roofs, this was also the most difficult run of planks, since each plank had to be bent a uniform amount.
I don’t have any photos of the process, but I basically created a temporary fixture to clamp the existing roof panels in such a way that a piece of wood would push the planks uniformly into a proper bend. The wood had to be dampened for this to work, but the wood I used, which was Port Orford cedar (almost identical to hinoki, or Japanese cypress), bends very nicely when wet.
The biggest issue I had was that the water dissolved the glue joints, since I only used standard Titebond wood glue, so I had to do a fair amount of rebuilding later. But, all in all, the process worked well.
After the rood parts were dried and re-assembled, the next issue regarded what type of framing supported these boards. I figure that this would normally require some knowledge of Japanese carpentry techniques, but we’re talking techniques from the 12th century. I tried to information on Japanese carpentry, but most of it is from the post or pre-modern era. So, maybe late Edo period or 1800s. How this differed from 600 years prior, I don’t know.
So, there’s a lot of speculation, hunting around on the Internet, and digging through related books. In the end, being somewhat stymied on the subject, I ended up taking a closer look at one of the museum models and noticed that the planks seem to have a narrow runners (is that even the right term) supporting the seam between adjoining roof planks.
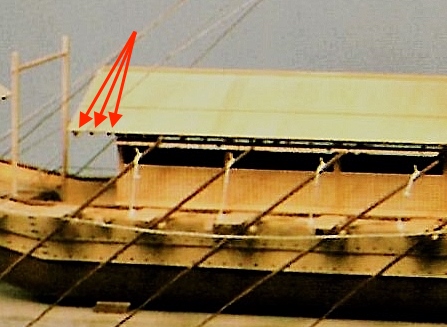
The problem is, if the roof is curved, what happens to these pieces. They either have to curve too, or there is some arrangement of internal framework where the pieces only support the bottom end of the roof planks, and their top ends must set into some other internal beam or something.
Keeping things simple, I just ended up assuming that these are thin runners that are bent with the shape of the roof. I’m not thrilled with this arrangement, but it will have to do, until I can learn of something different in the future. And with this decided, I could add the roofs to the model so the model could be displayed “under construction” at the most recent Japanese boat models display in Japantown, which took place during the full month of March.
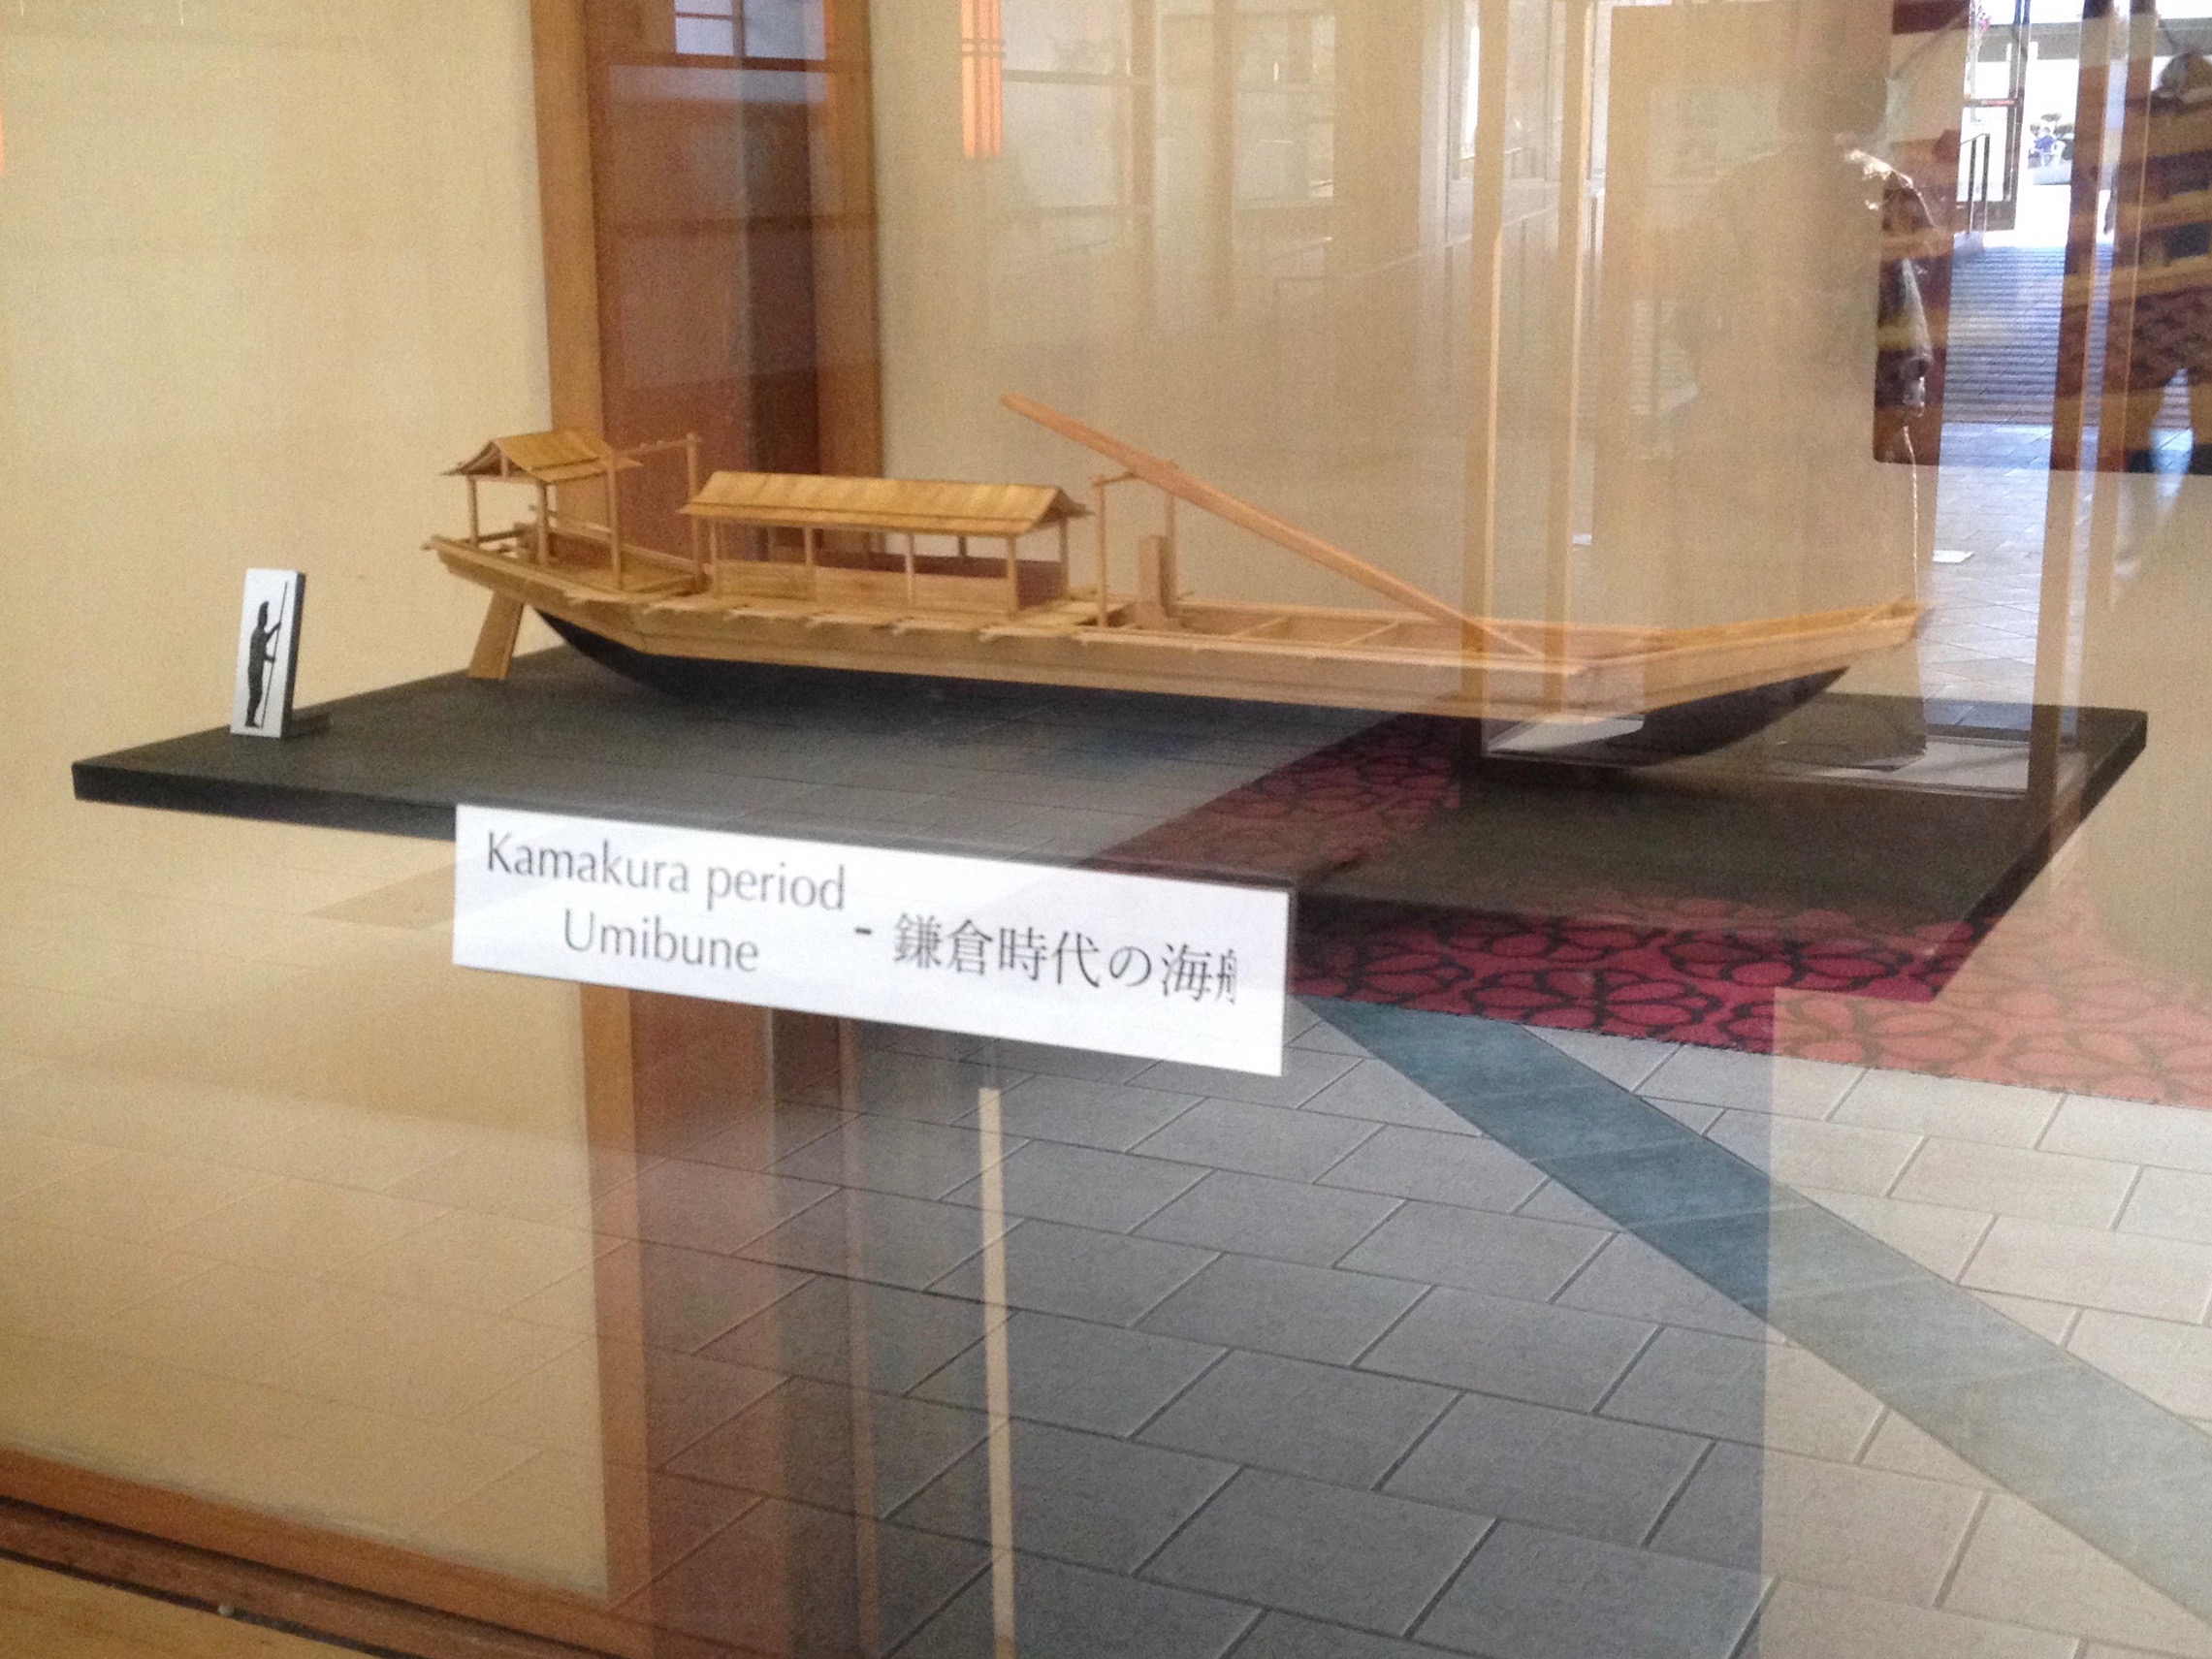
Umibune on display in San Francisco’s Japan Center Mall.
Afterwards, I got everything back home mostly safe and sound. Anytime there’s movement of detailed models, things break, mar, or come off. The Umibune was no exception, and the supports forward of the long deck house had gotten damaged. So, I took the opportunity to make new supports at both ends of the deck house.
The original supports had round cross-members, which I decided to replace with rectangular cross-members. This better matches the large model that I showed in my previous post on the umibune.
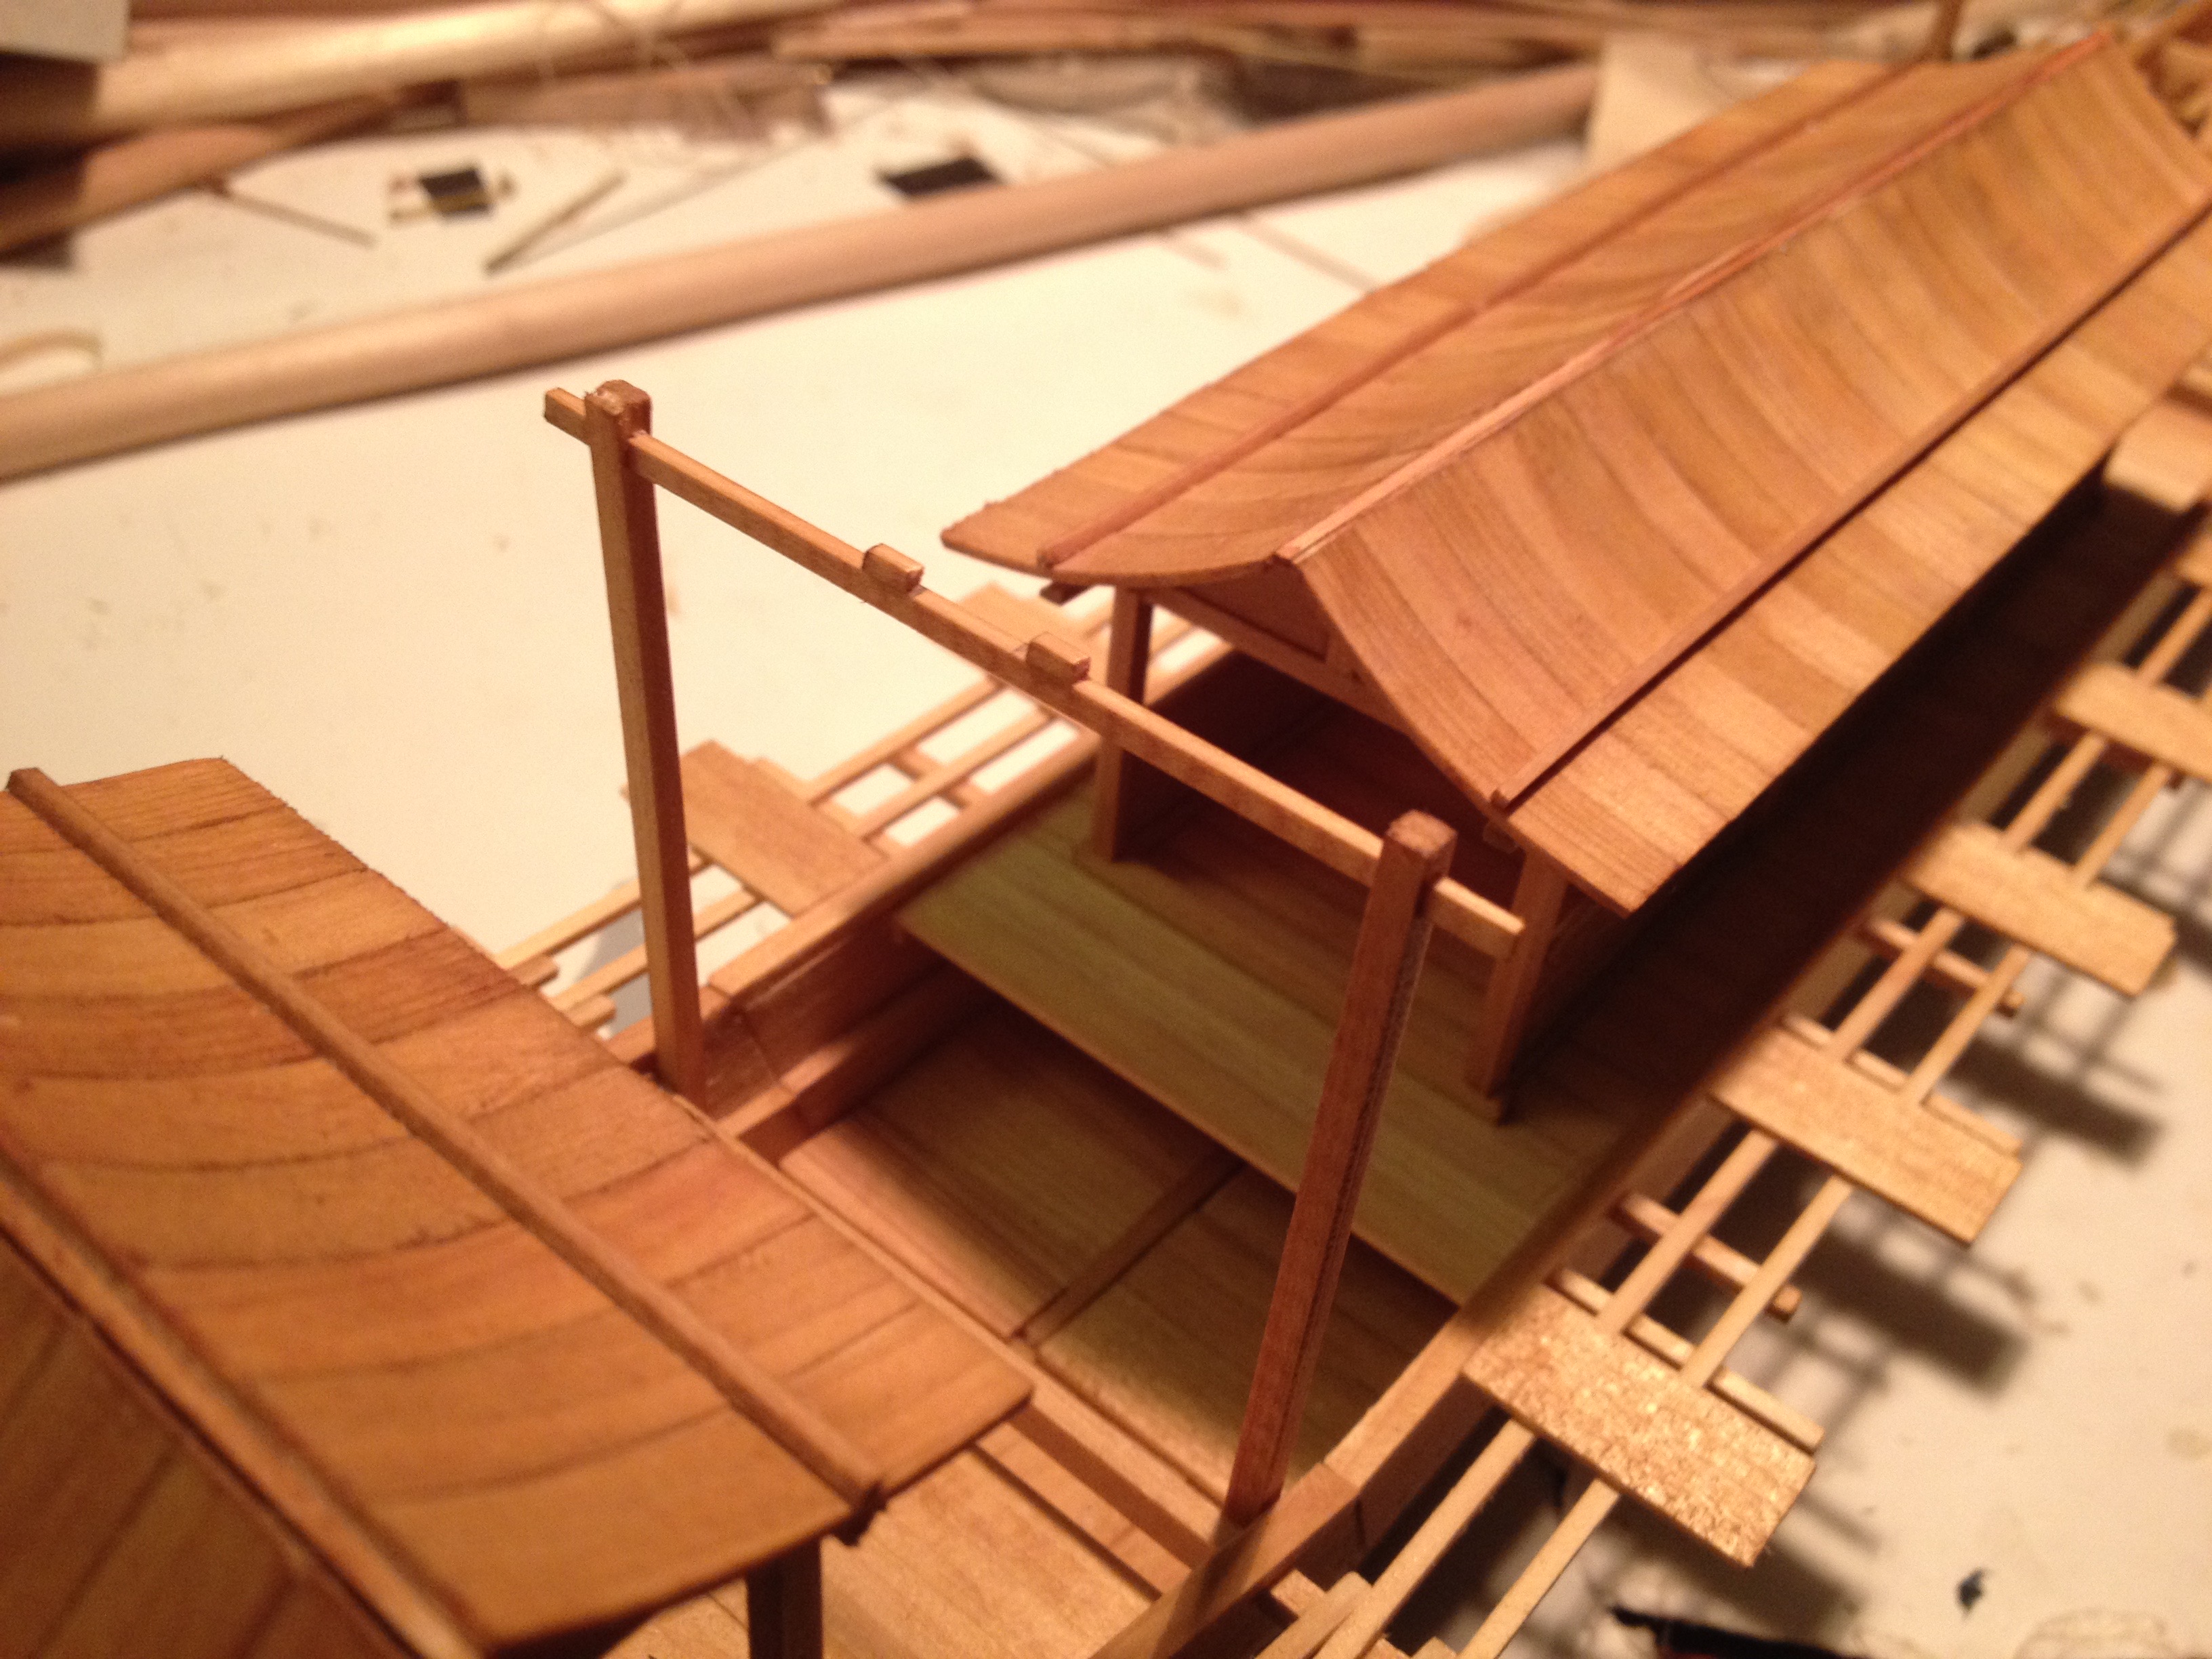
My model’s new rectangular cross-section cross-pieces.
There is plenty left to do with this model, mostly in the details. There’s a bit more work to finish up the yakata, or deck houses. Primarily, I want to cap the roof peaks, finish the panels for the side walls, and similar work to do on the aft yakata.
Later, I need to add some fine details, anchors and oars. I have to secure the rudder, and also decide what I want to do about the sail, which would have been from straw mat at the time. I’m not sure how to simulate them or whether I want the sail up or rolled (you can’t furl straw mat sails efficiently). And, if the sail is up, then I’ll need to figure out the rigging.
