
Progress continues with my 1/10-scale model of the 15-shaku boat used on the Hozu river, northwest of Kyoto. I’m 6 months into the build, but I have certainly not spent a great deal of time in actual construction. Mostly, I’ve been contemplating how I was going to accomplish each task of the build. Things are progressing quickly now.

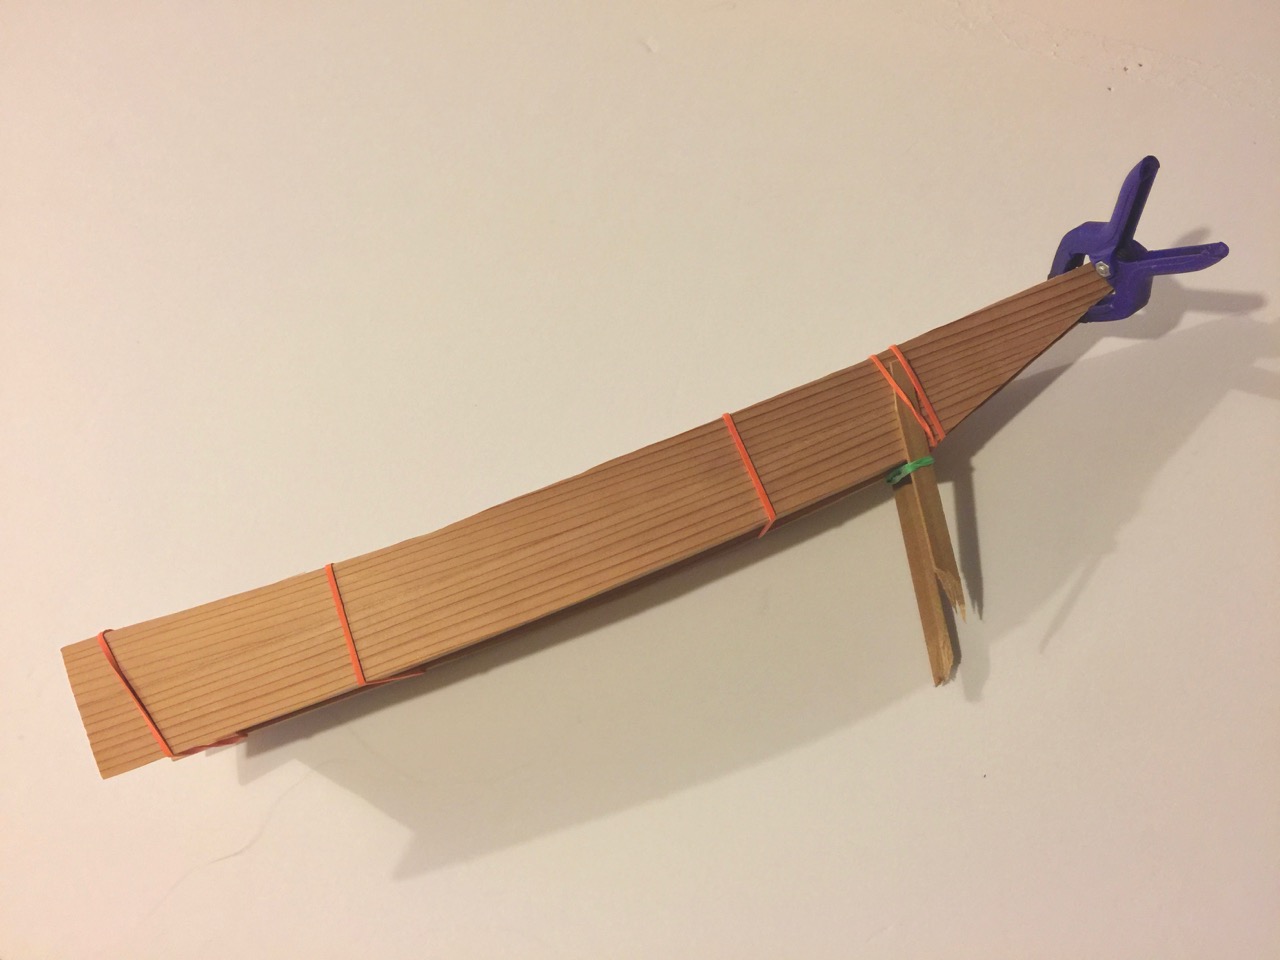
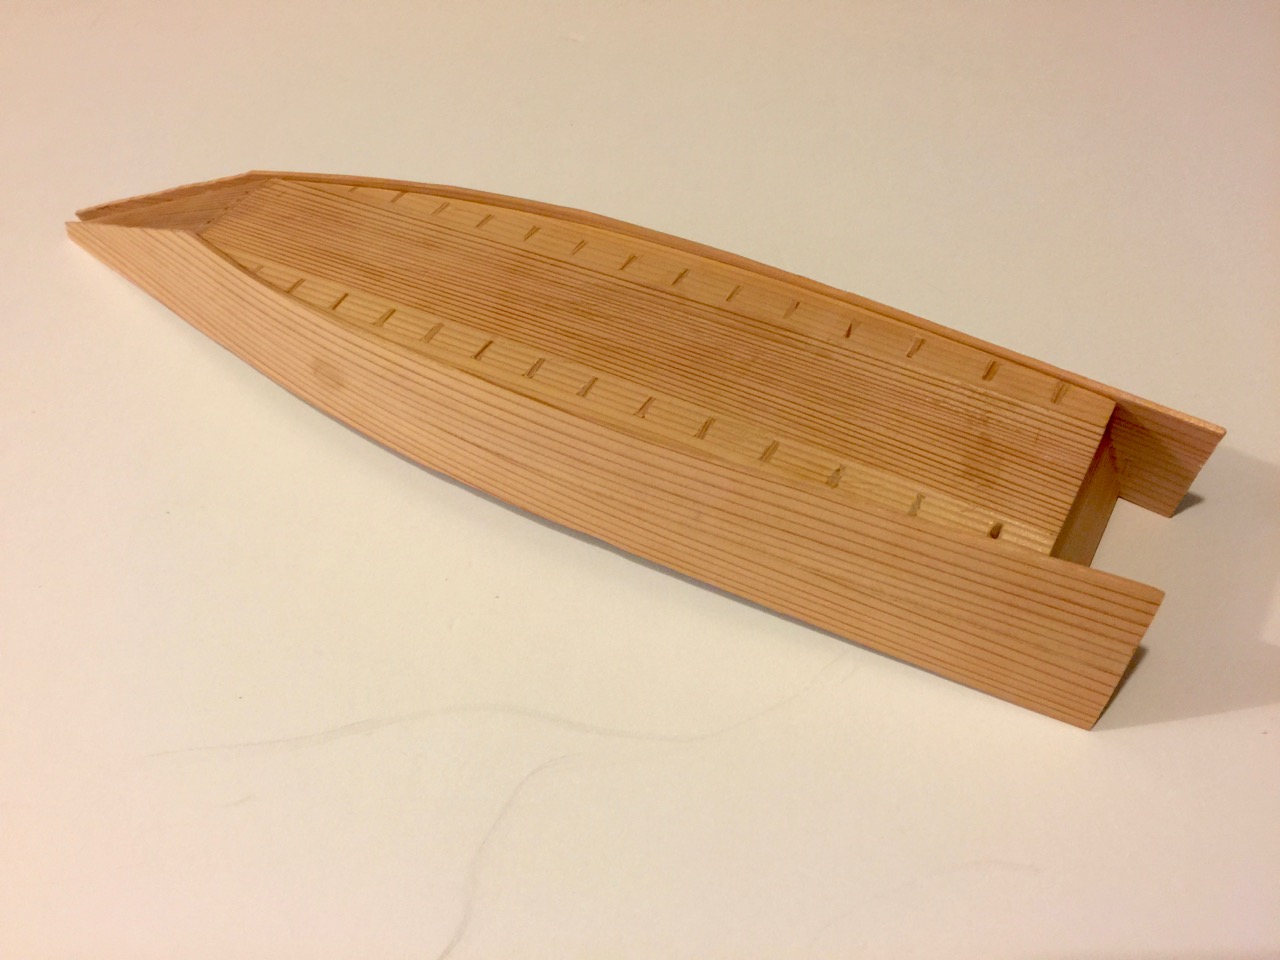
Ayubune model with former clamped to the baseboard fixture
With the new fixture holding things in place, I taped a piece of cardstock into place to trace the shape of the hull planking. I rough marked the outlines of the bottom, bow plank, and transom on it. The planking will be cut oversized, so getting the exact shape isn’t really necessary, except to make sure that the wood I cut is large enough, but not too wasteful of my limited wood supply.
Next, I cut four straight strips of 3mm sugi on my table saw about 1 shaku wide and 16.5 shaku long. There are two hull planks on each side of the boat, but unlike many other wasen designs, the planks fit flush together, so the sides of the boat are perfectly flat. So I glued up the planks into two side-by-side pairs.
When the glue was dry, I traced the pattern outlines onto the planking in pencil and then cut them out a little oversized to allow for errors in measurement. The main issue here was that I wanted the row of mortises, which I will later cut into the hull planks, to be fairly level with the hull bottom and also low enough so that the plugs stay well below the top edge of the shaped plank.
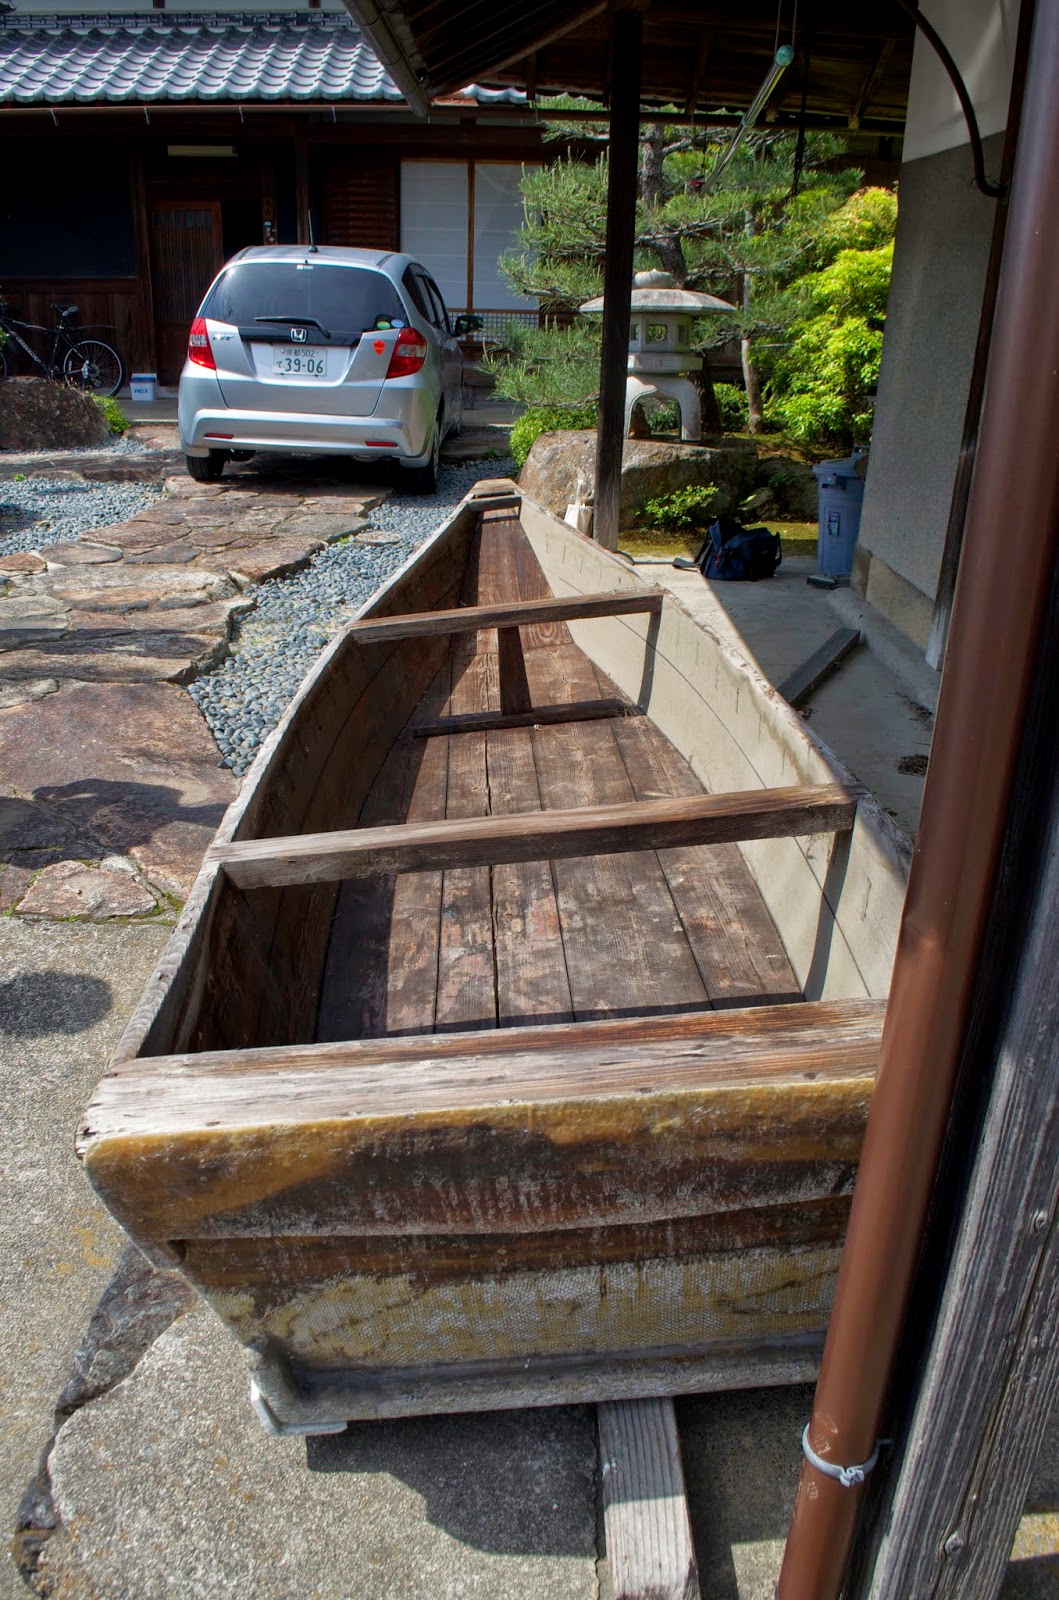
In this photo of an Ayubune, you can see the row of mortises in the upper plank on the right side of the boat. Photo courtesy of Douglas Brooks.
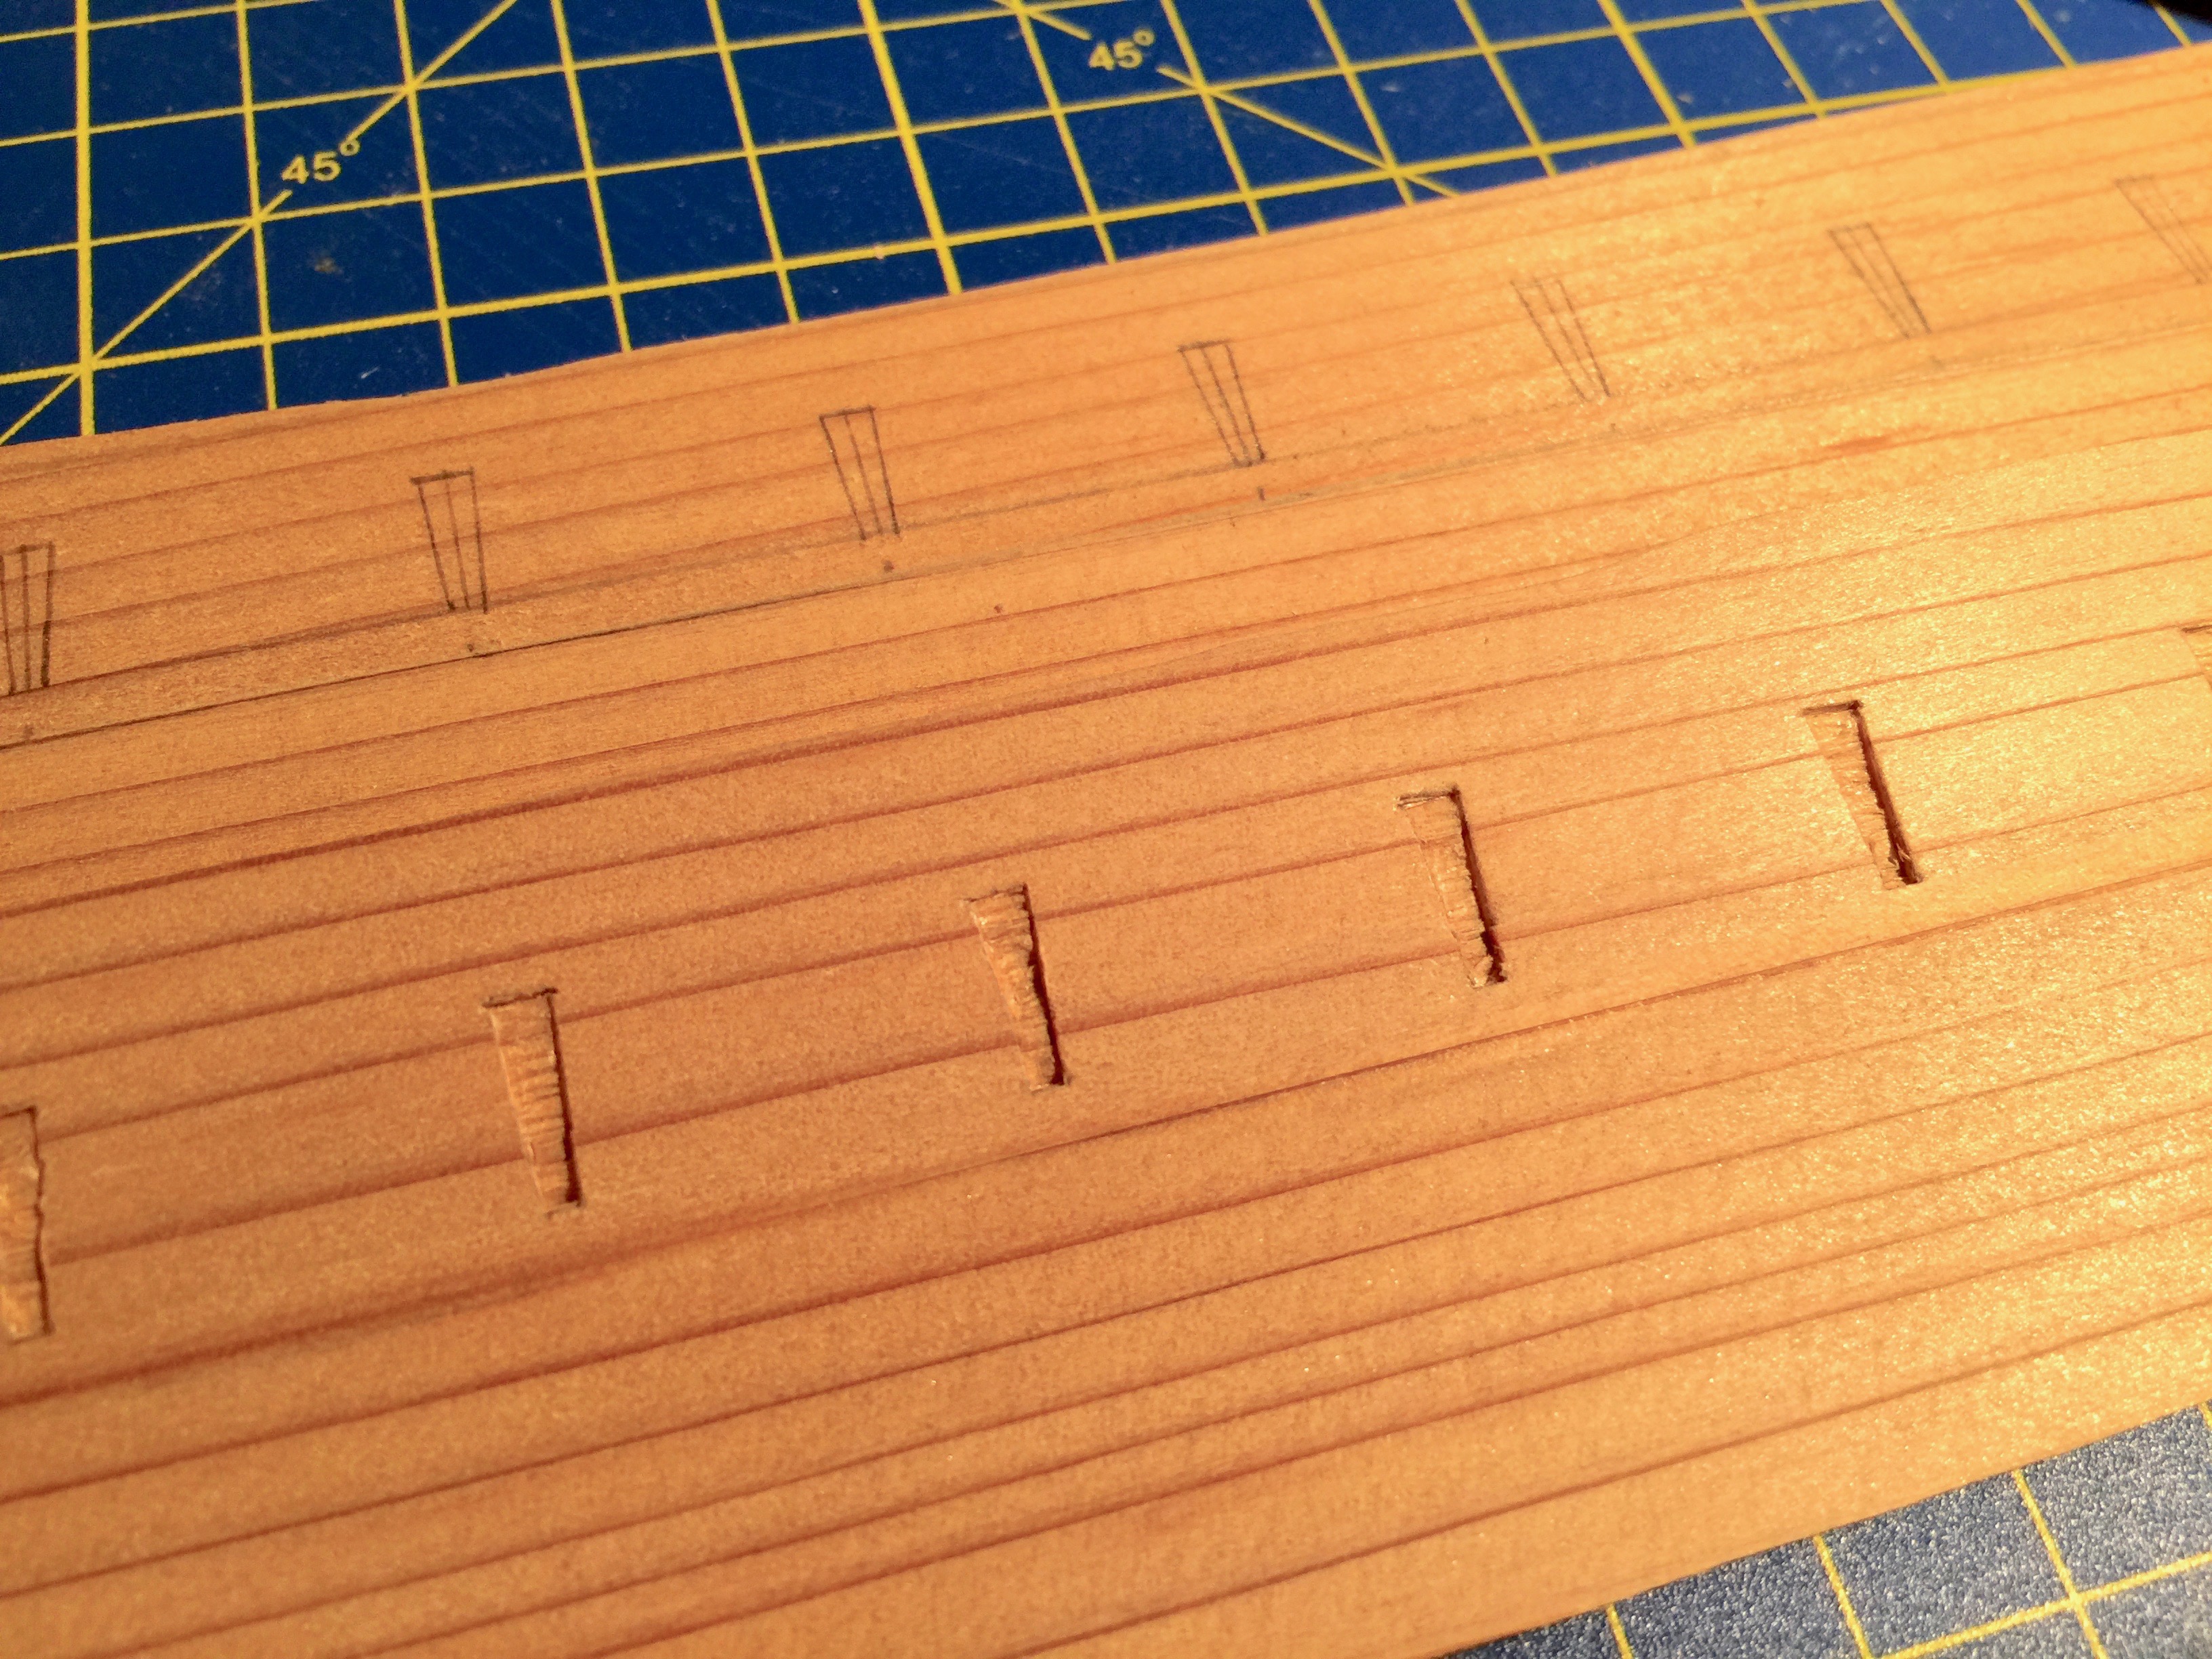
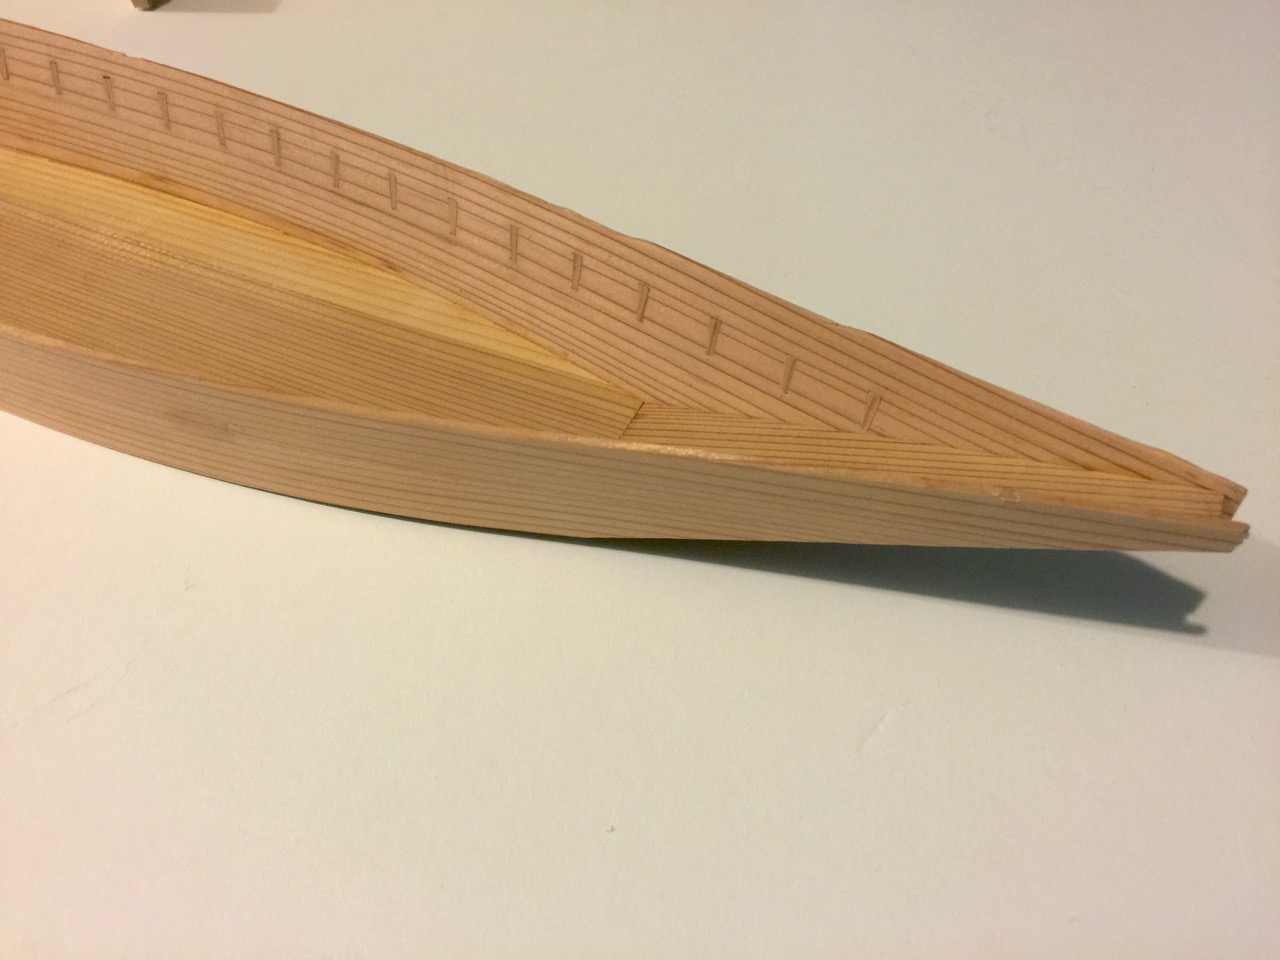
With the hull planks rough-cut, I marked out locations for the nail mortises. I set these 7 sun apart, 1 sun from the plank seam. The mortises are trapezoidal, like the ones I cut for the shiki, or bottom, and 3 sun long.

Locations and extents of the mortises were marked first.

The full outlines of each mortise was then drawn.
Both sides are shown here. The one in front has had the mortises cut. I will cut these a little deeper so that the plugs will seat better.

Plugs shaped and inserted using the method explained in a previous post.
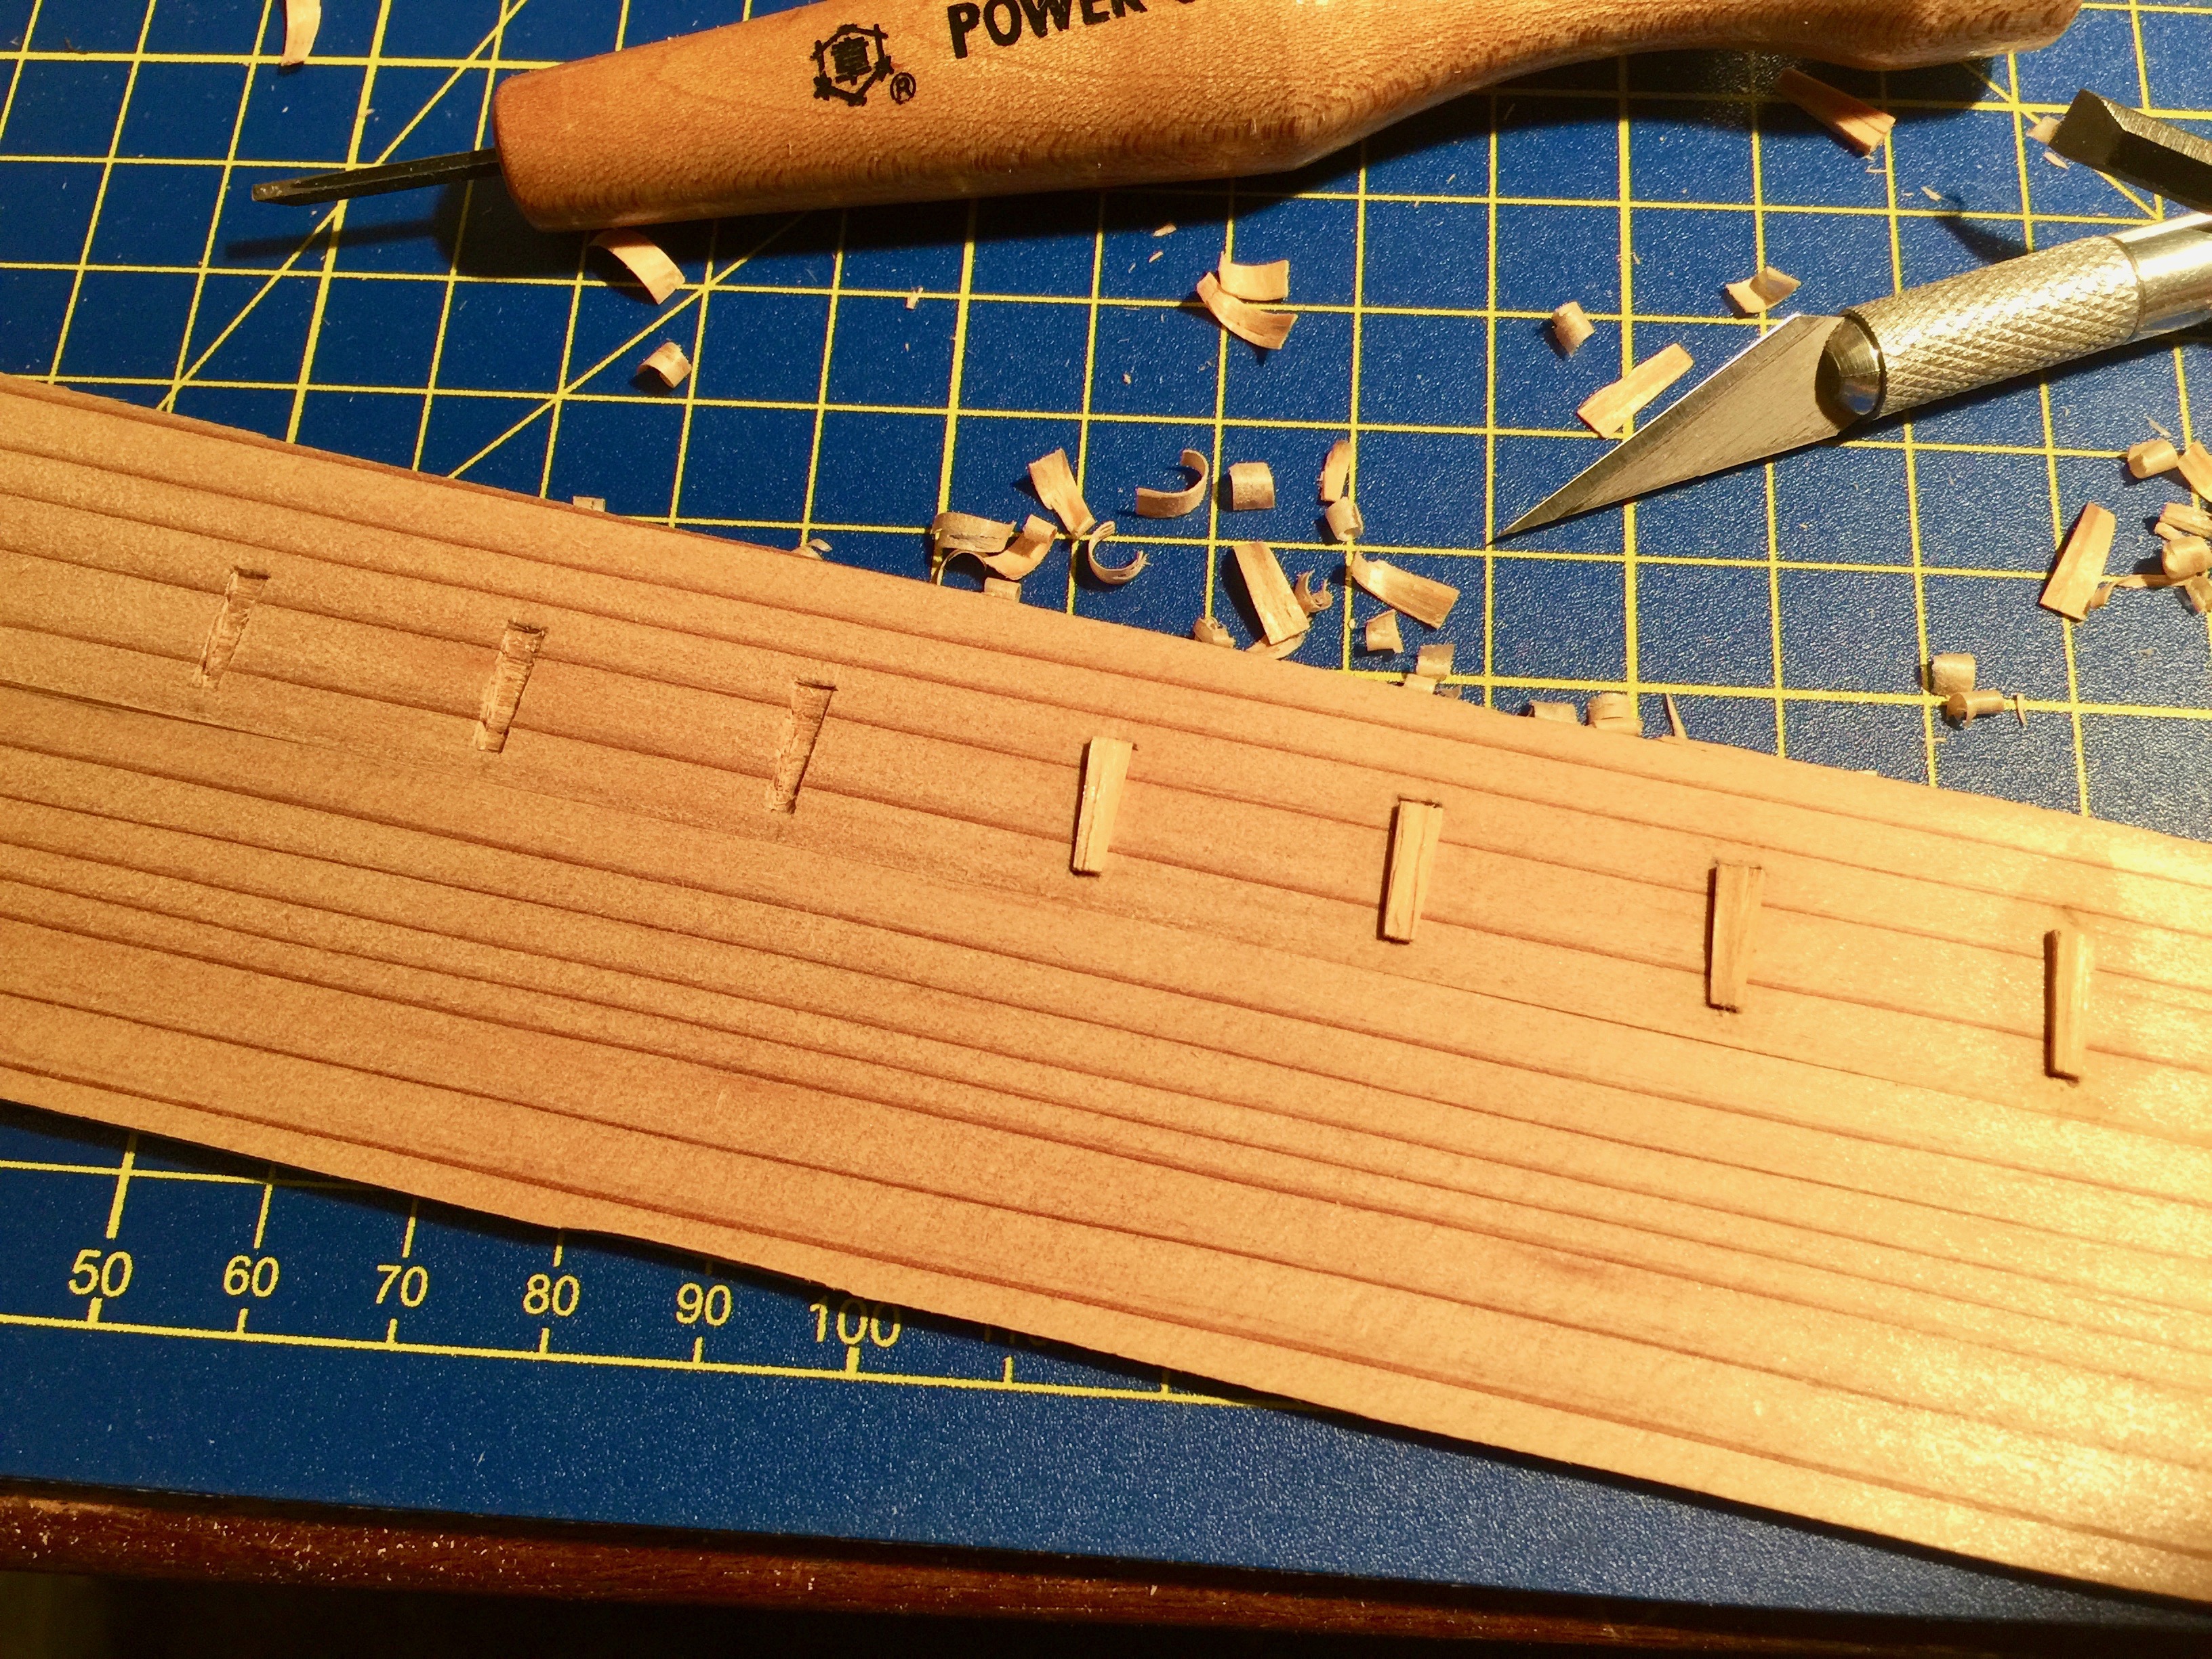
Showing some of the plugs glued into place. The tools used in cutting the mortises are above.
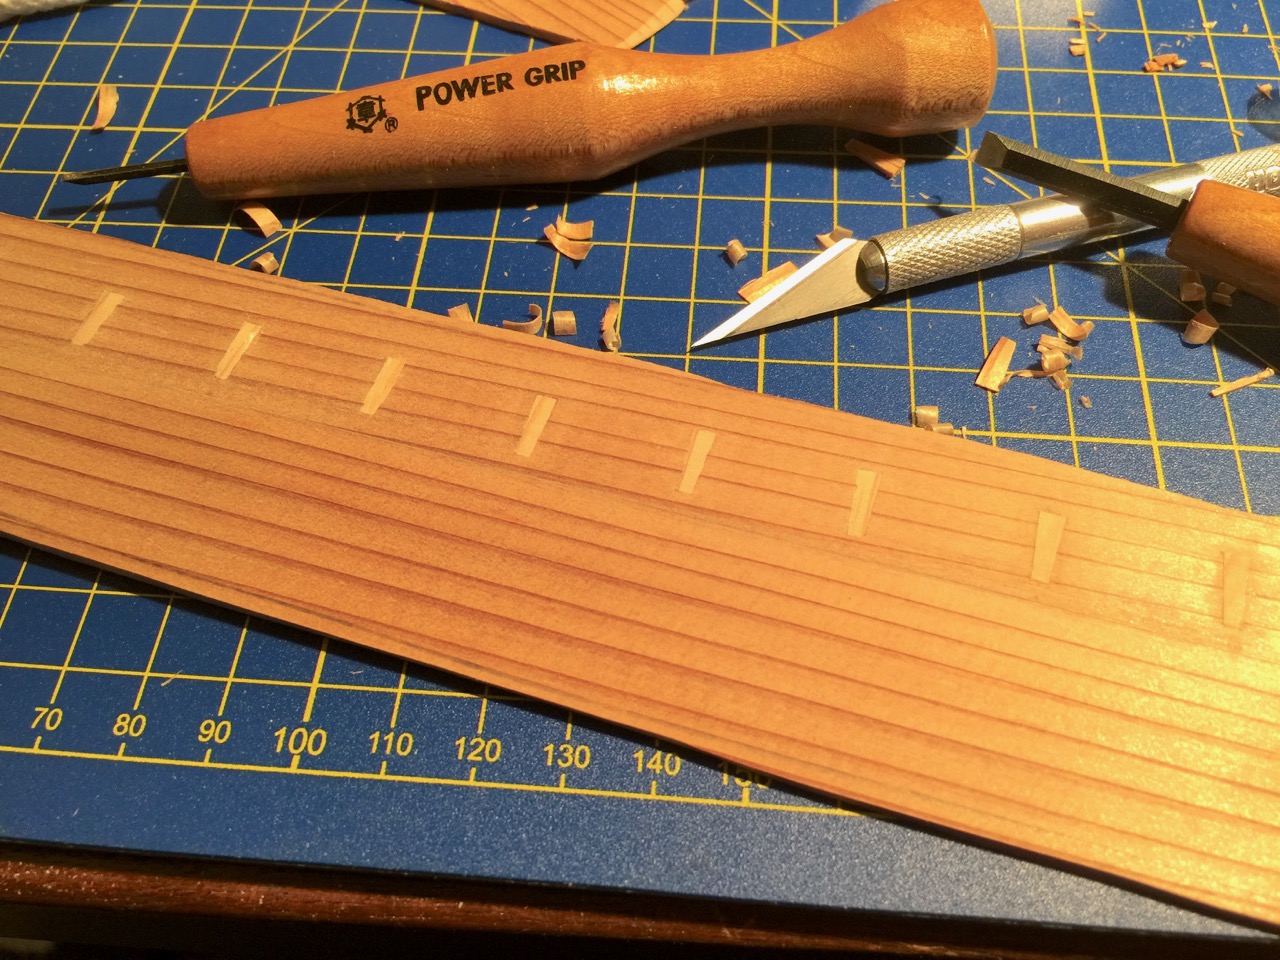
The plugs, trimmed and cleaned up.
When all the mortises were cut, plugged, and everything was dry and cleaned up, it was time to glue the hull planks into place. The first thing to do was to test fit them into place to make sure I didn’t screw anything up and that everything will fit correctly. This required that I remove the former from the base, though there were probably ways I could have come up with to hold the planks against the former while it was on the base. As it was, I ended up using spring clamps and rubber bands.
I had to pre-bend the planks to minimize the number of bands and clamps needed. This was a little iffy, since I used Titebond to glue the mortise plugs and to glue the planks together. Original Titebond is not waterproof and it’s not particularly water resistant, but I like to use it as it’s easy to clean up.
Also, before gluing the planks into place, I realized that the bow of my model was too wide and needed to be narrowed, so I sanded it down before proceeding. During the process, it popped loose from the model, but this only made it easier to shape. Afterwards, I glued it back into place.
It took a little while before I was confident that the alignment of the planks would be okay, but then I went ahead and glued up the planks.
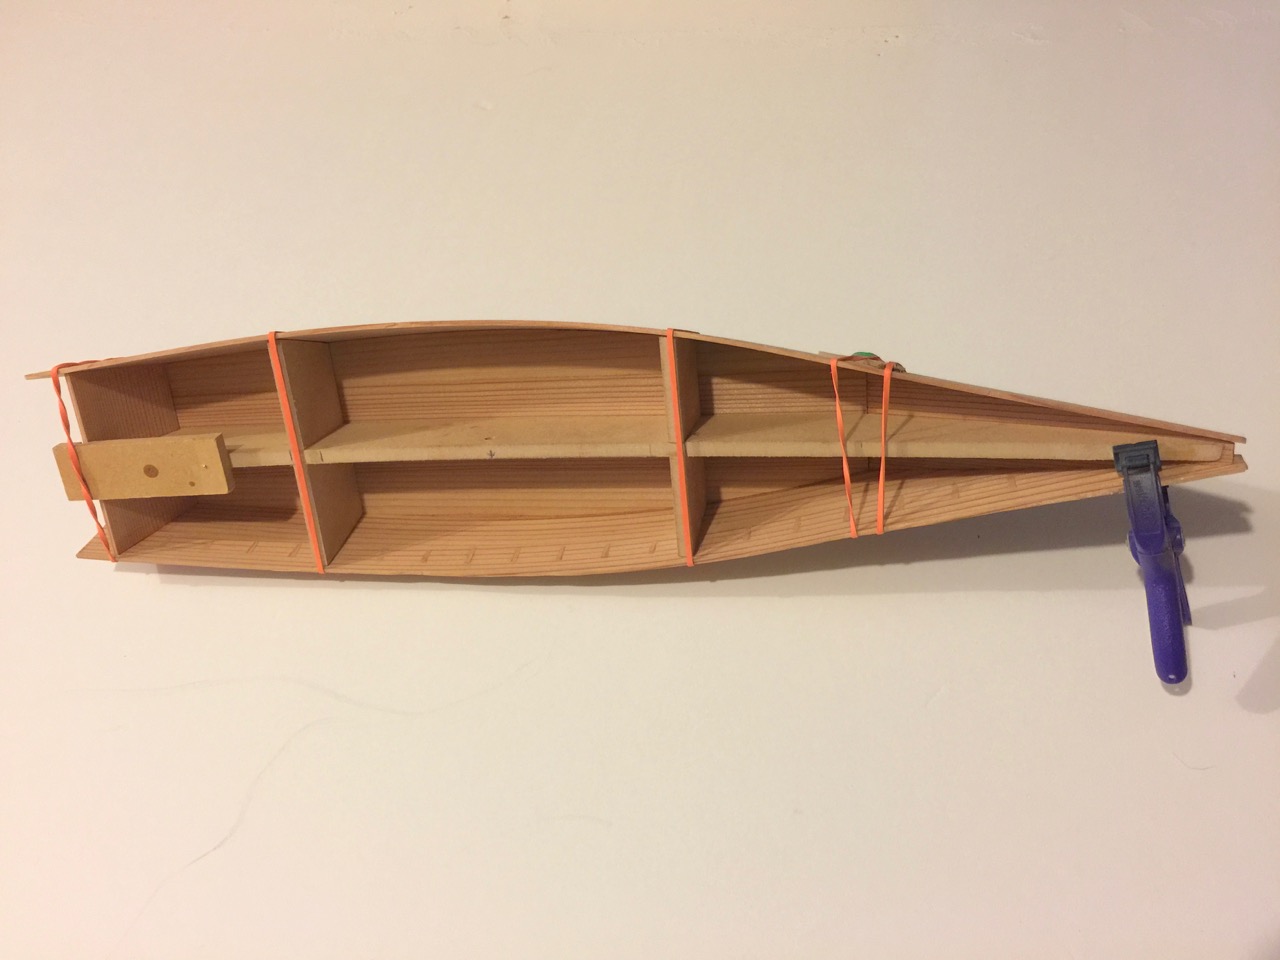
Once the glue was dry, I could remove the former. I had a few issues where I didn’t have a good glue joint, so I had to re-glue some seams. At this stage, it’s a little delicate, so a little care has to taken with the model.
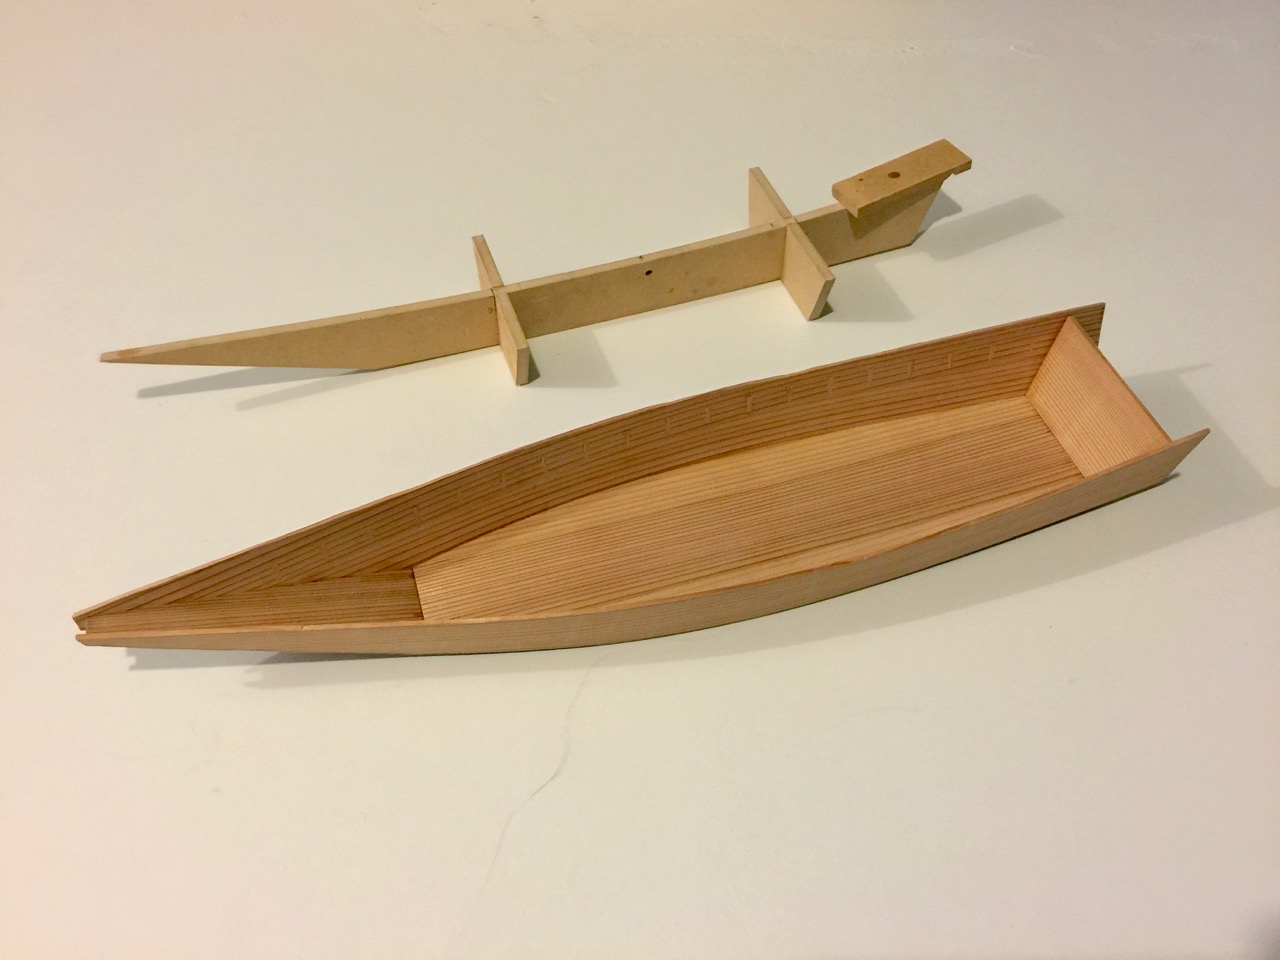
Next, I’ll be trimming away excess and adding details.
