
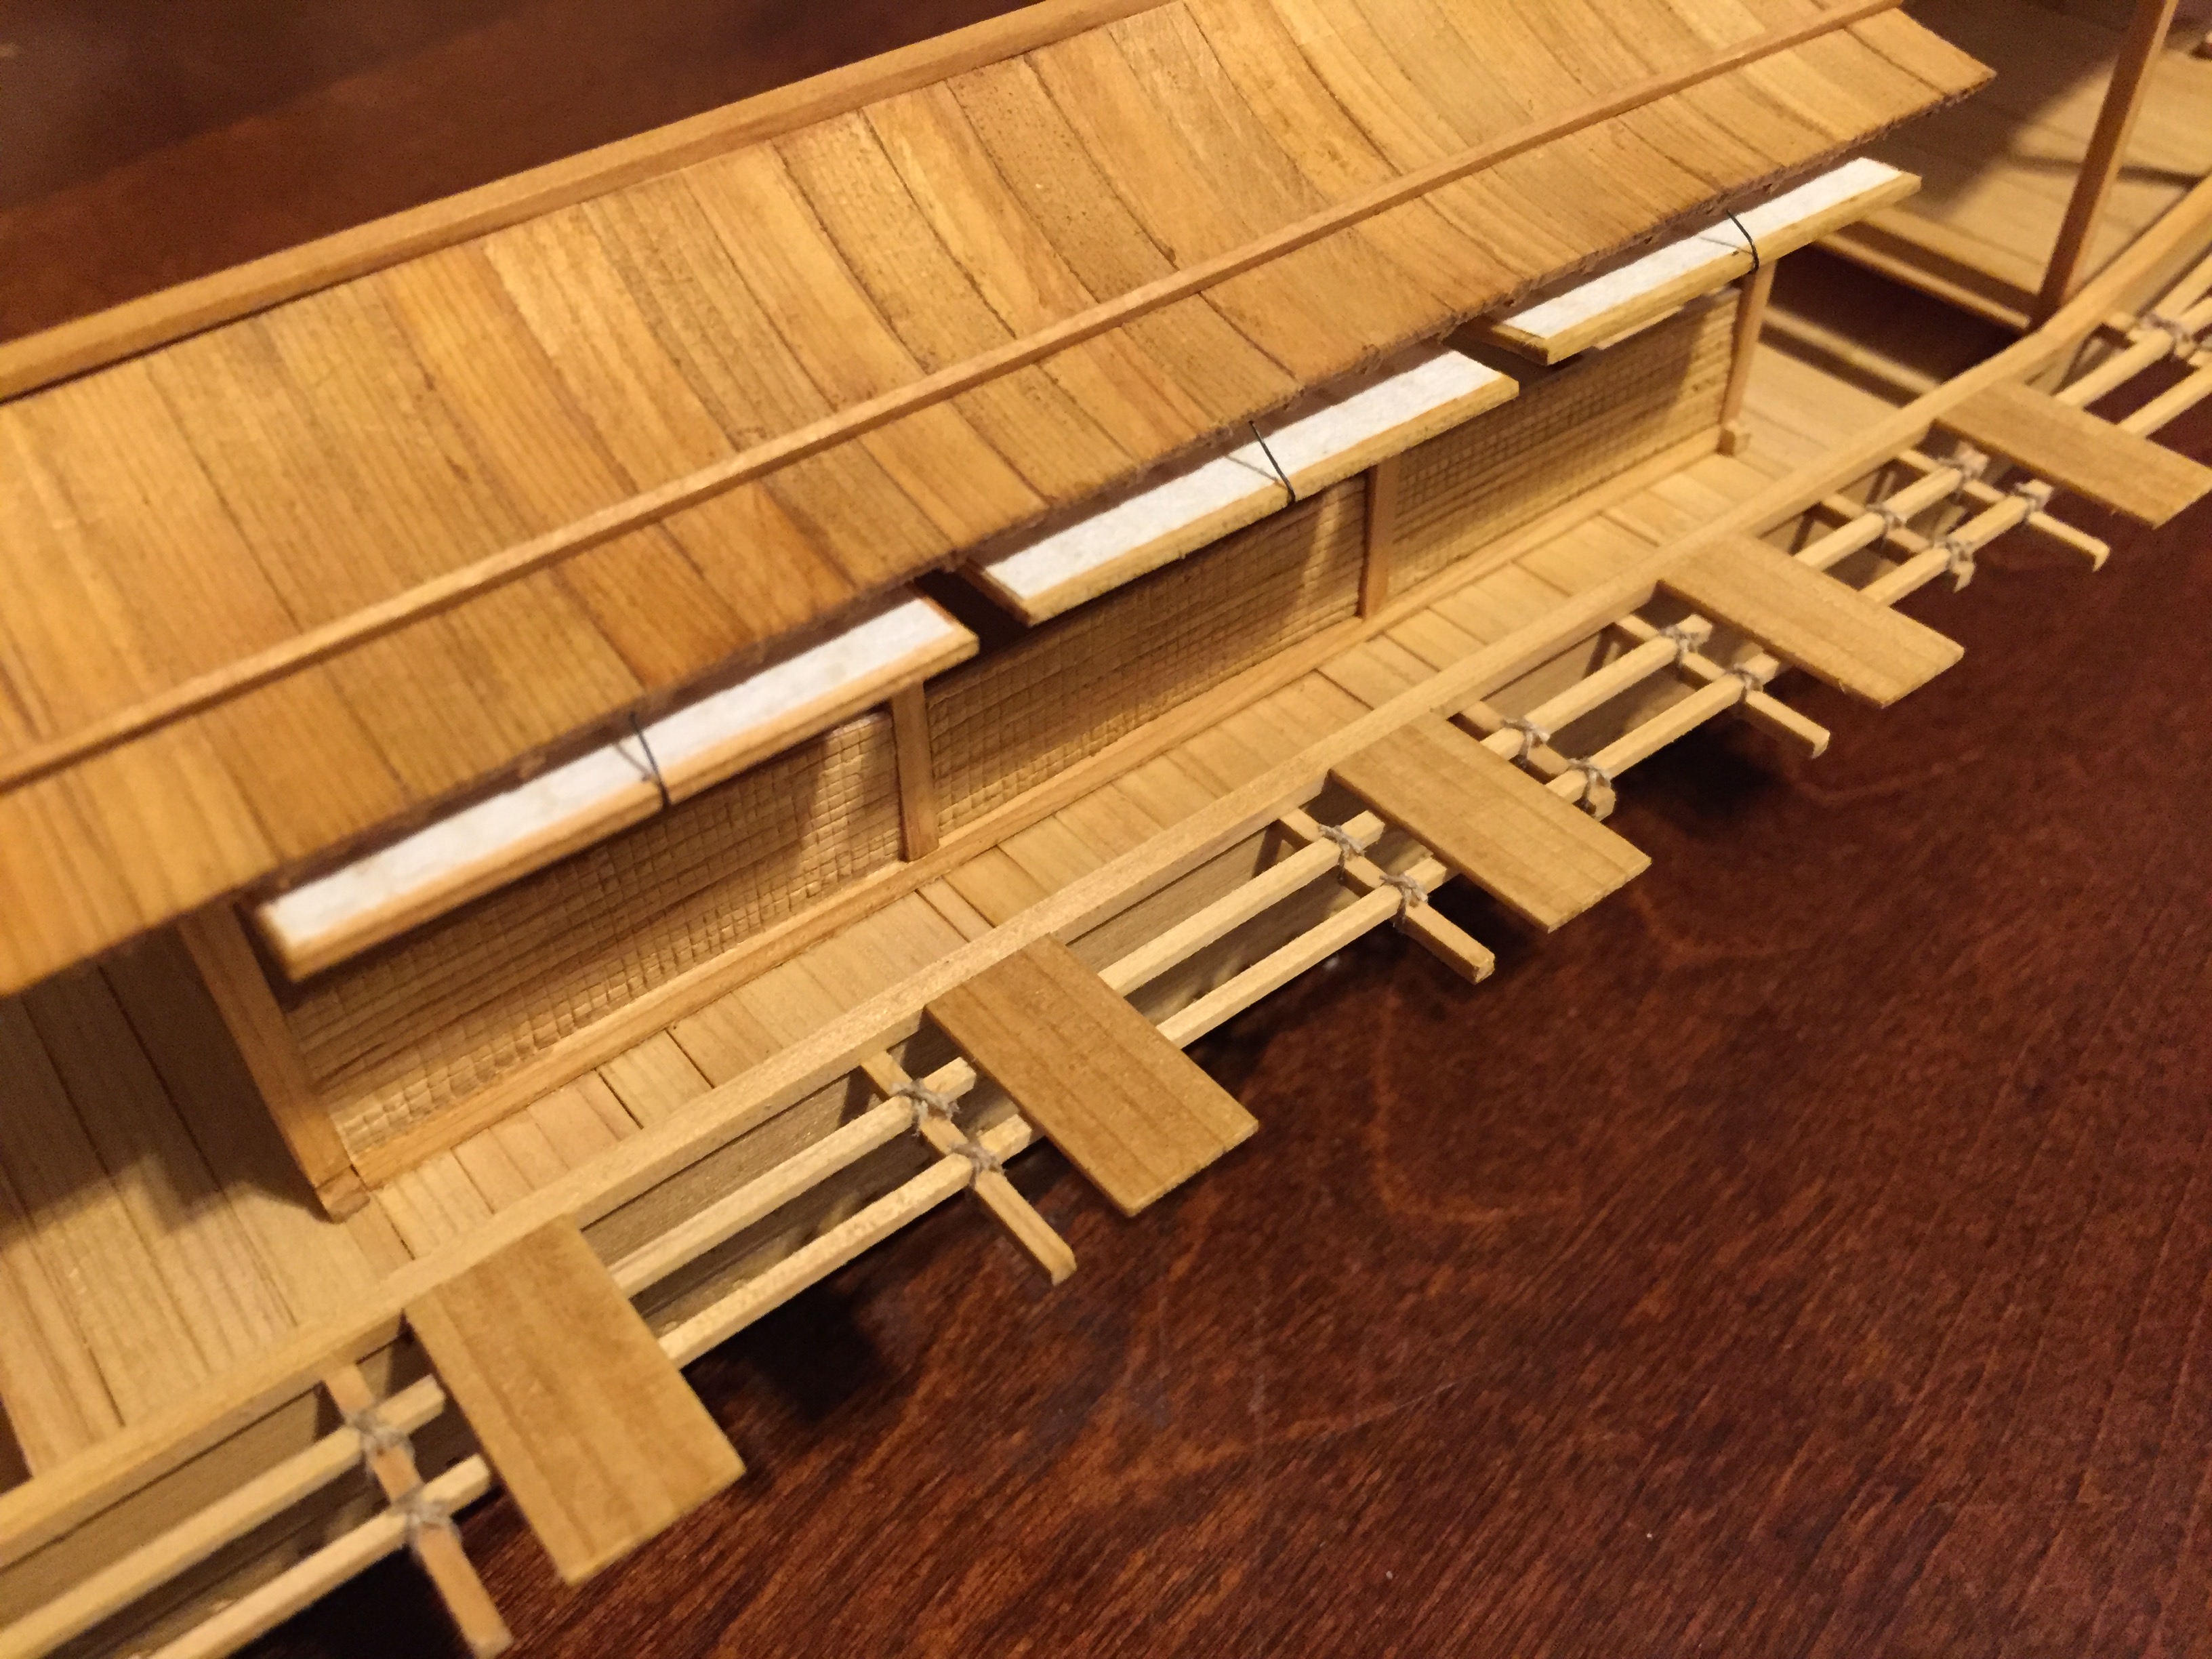
One of the detail features of this vessel is that the railings are fastened to the beams by rope ties. There may have been more to it than that on the real boat. I have seen where a wooden key is used to keep two parts in alignment, while a rope binding holds them together. That may be the case here. But, all that really matters is what can be seen, so it’s important that the bindings make sense and they are all the same.
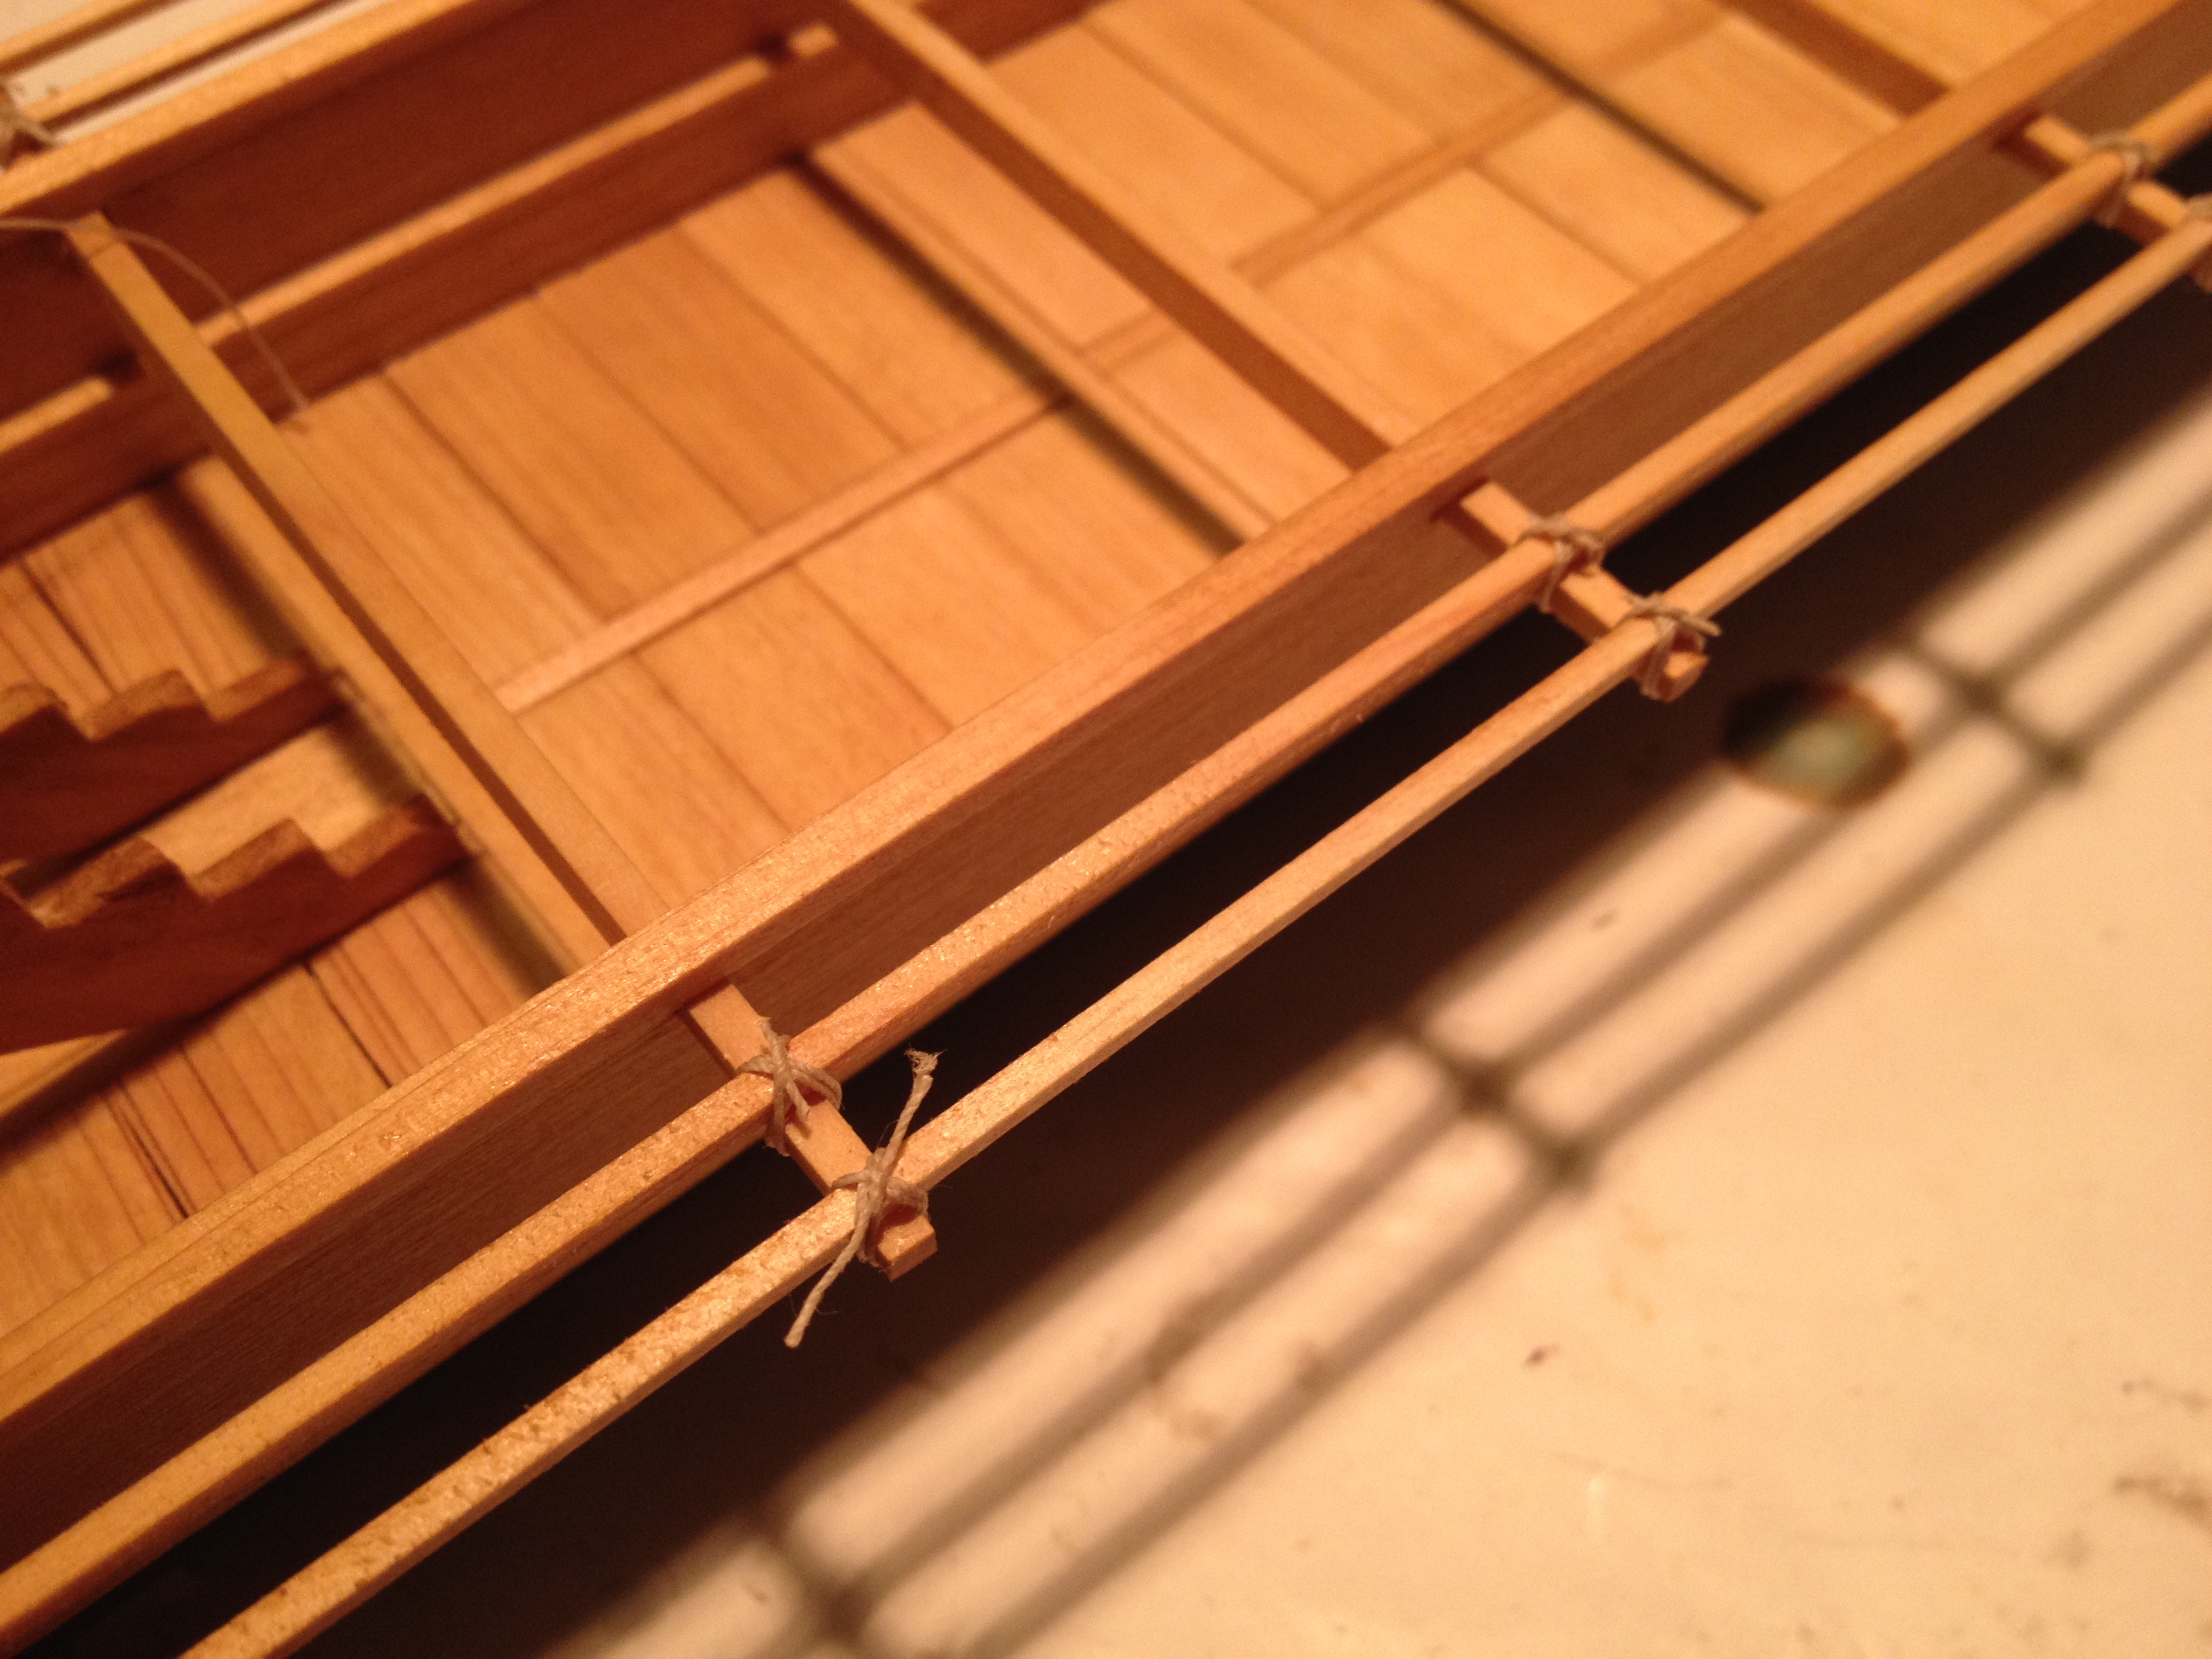
Tying these was a little like tying ratlines on a wester sailing ship model, but with a lot fewer knots! Some people might think that tying these is tedious, but following a process like this is easy, and I find it relaxing. I don’t have to calculate or think about what to do next – I just follow the pattern of wrapping under a beam, crossing over the rail, wrapping under the other side of the beam, then cross one end back over the rail, under the beam, back up, and tie the ends together. Next one…
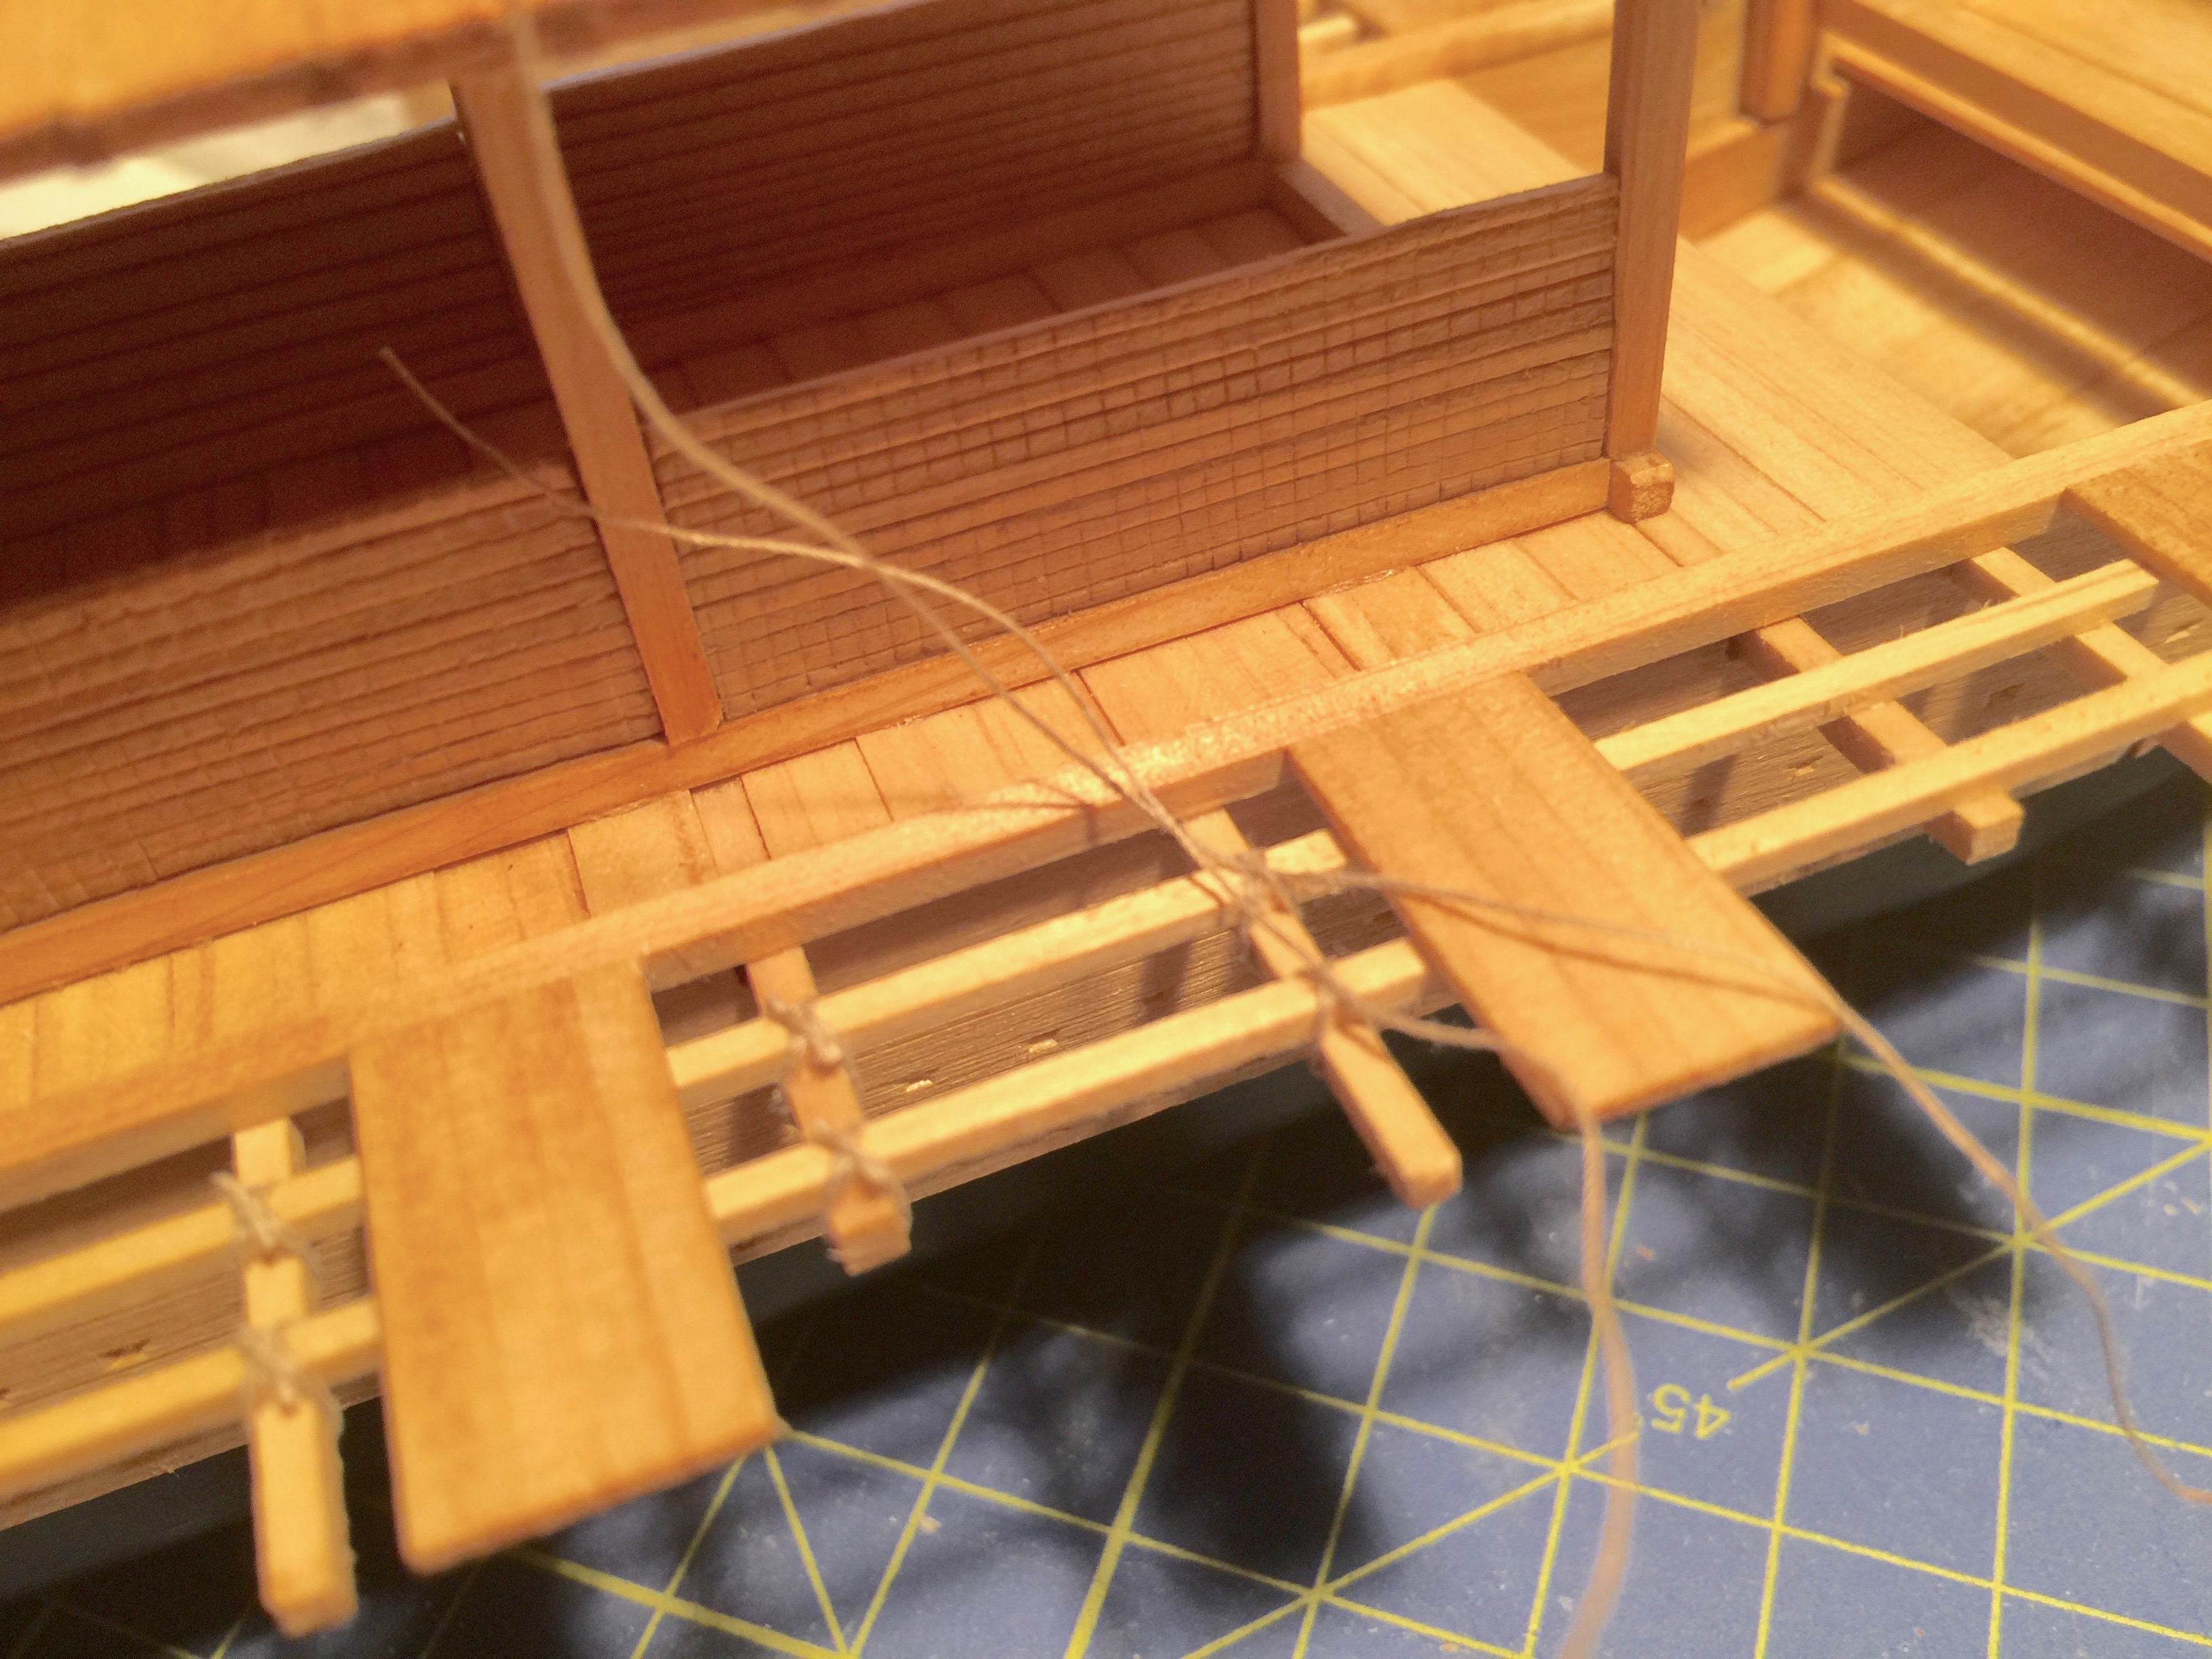
There are 64 ties in all, one for each crossing point between rail and beam, though there are a few beams that are covered by the rowing platforms. These, I did not tie, as the platforms would not then sit flat on the rails. I don’t know what would have been done on the actual boat. I’ll have to take a closer look at the museum models I’ve seen. I think in one case at least, the beams are situation so that there is no rowing platform directly on top.
Yakata Detail
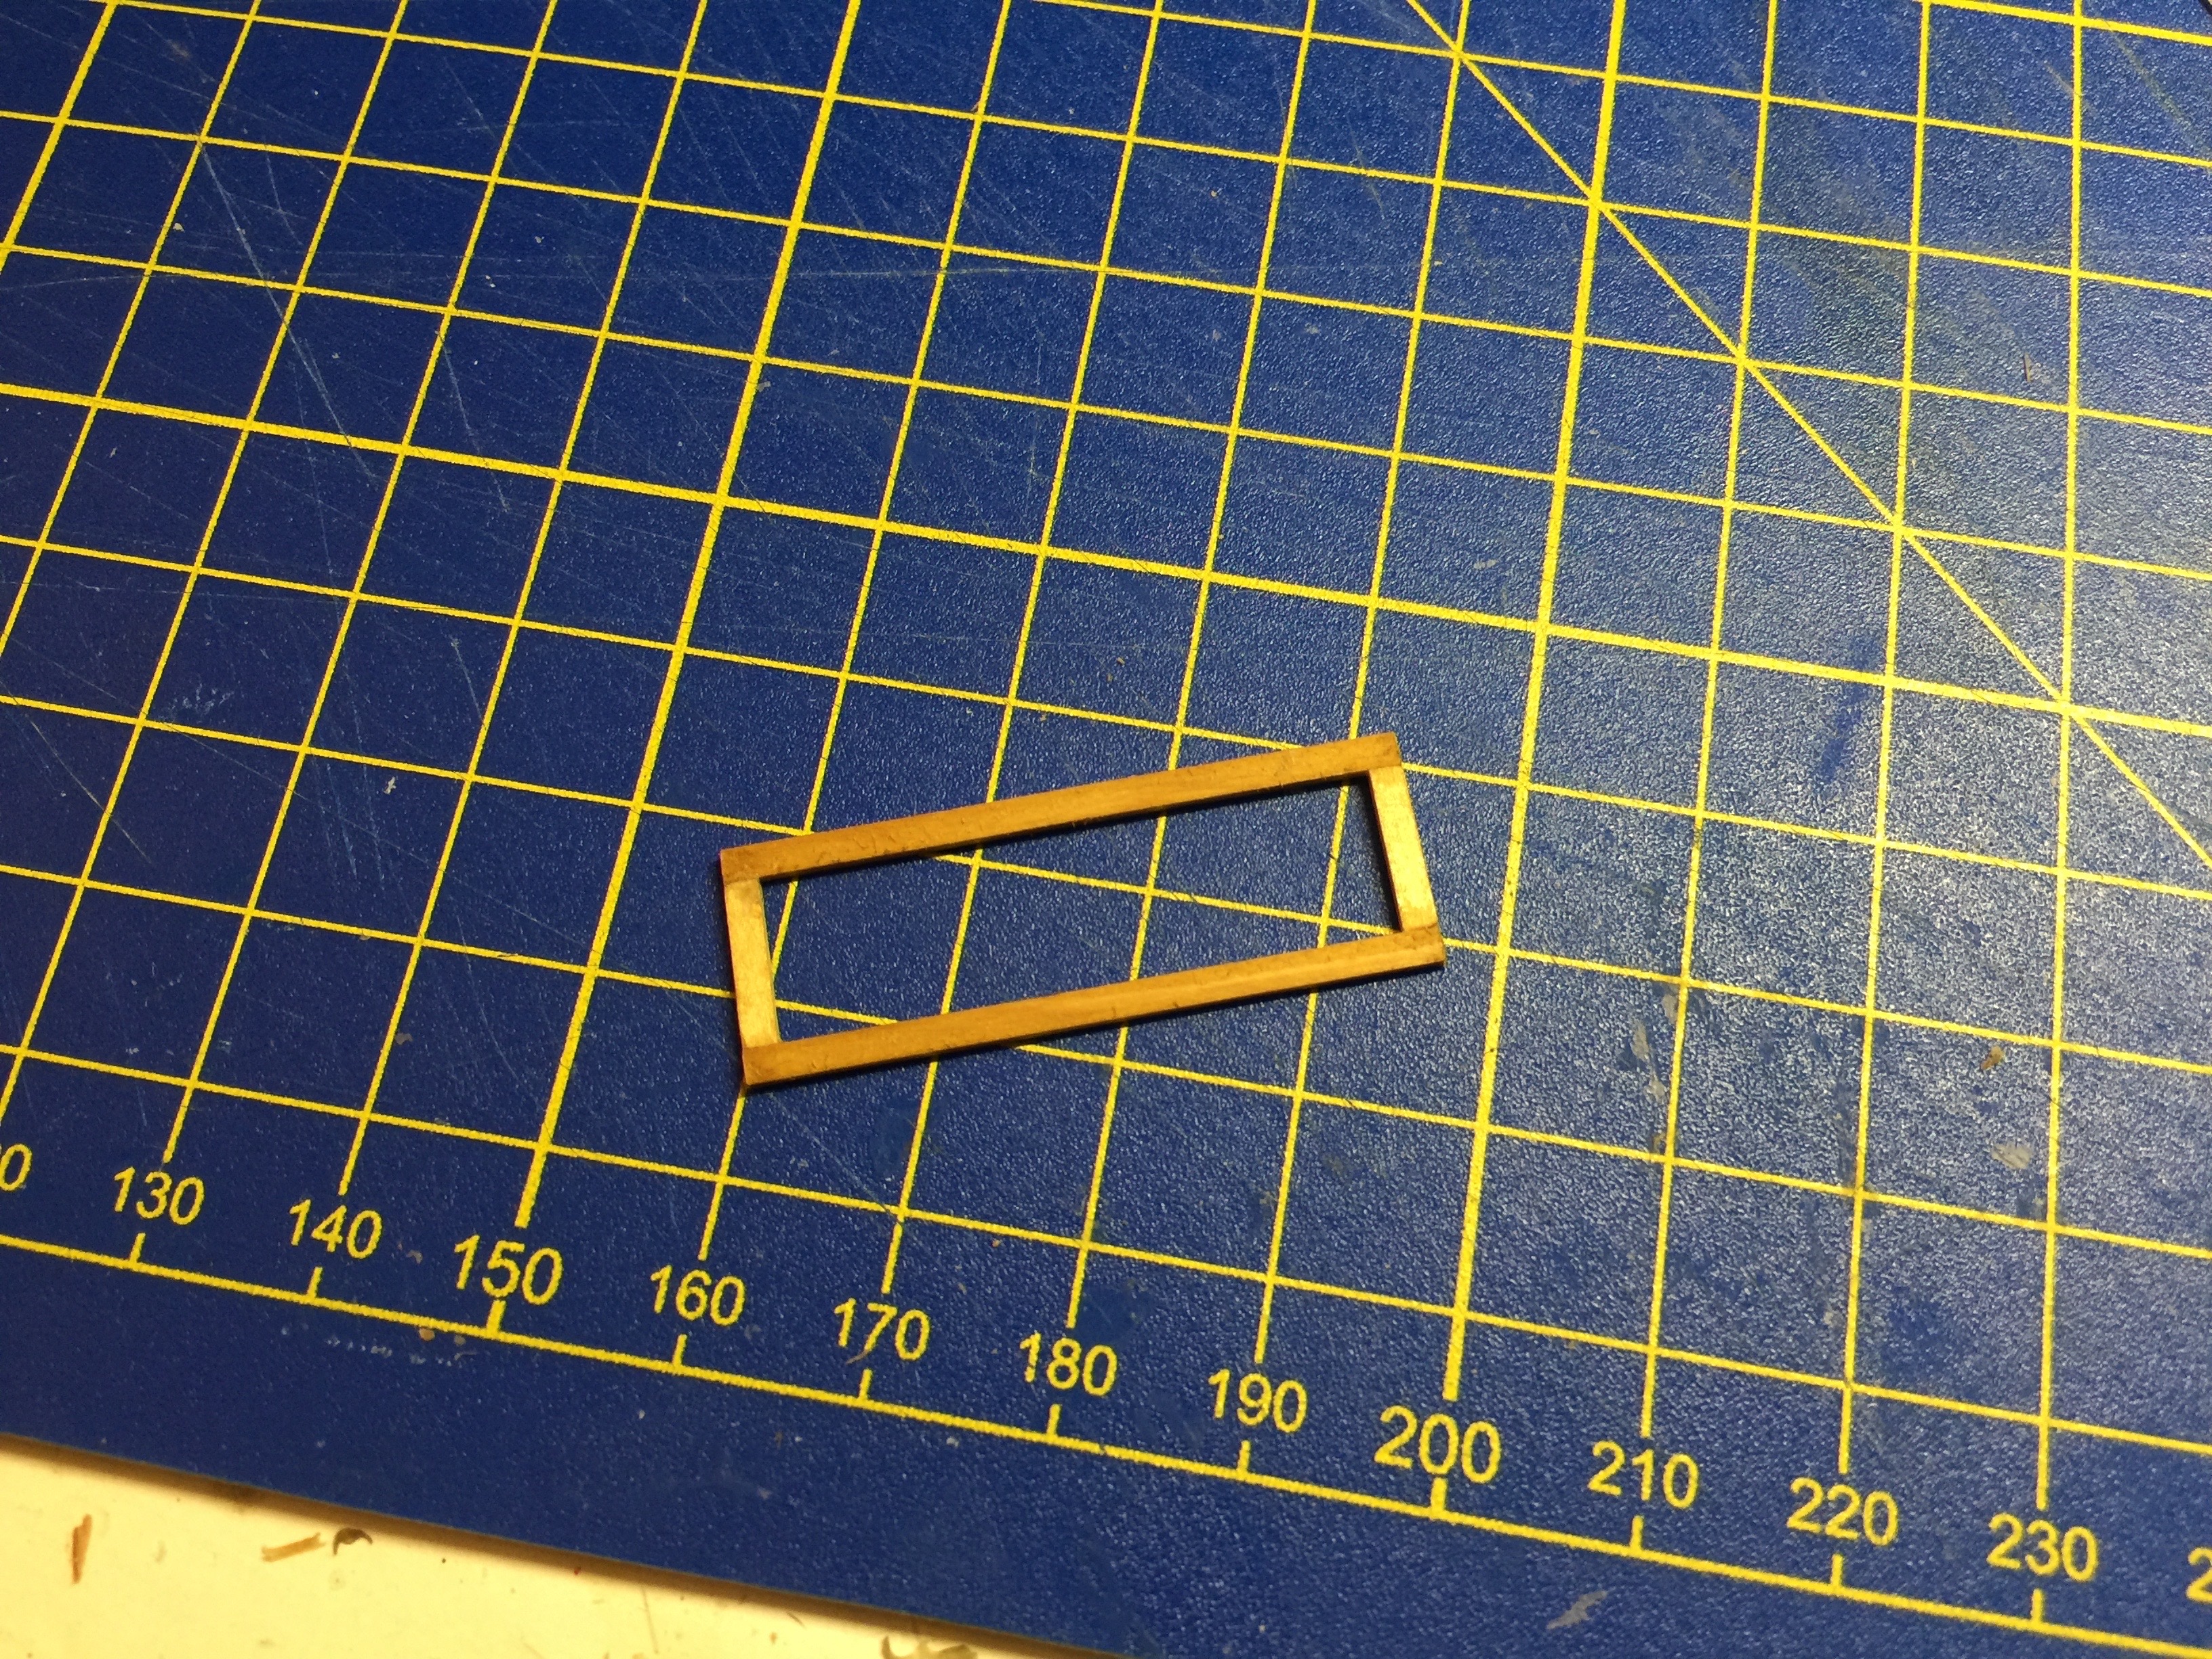
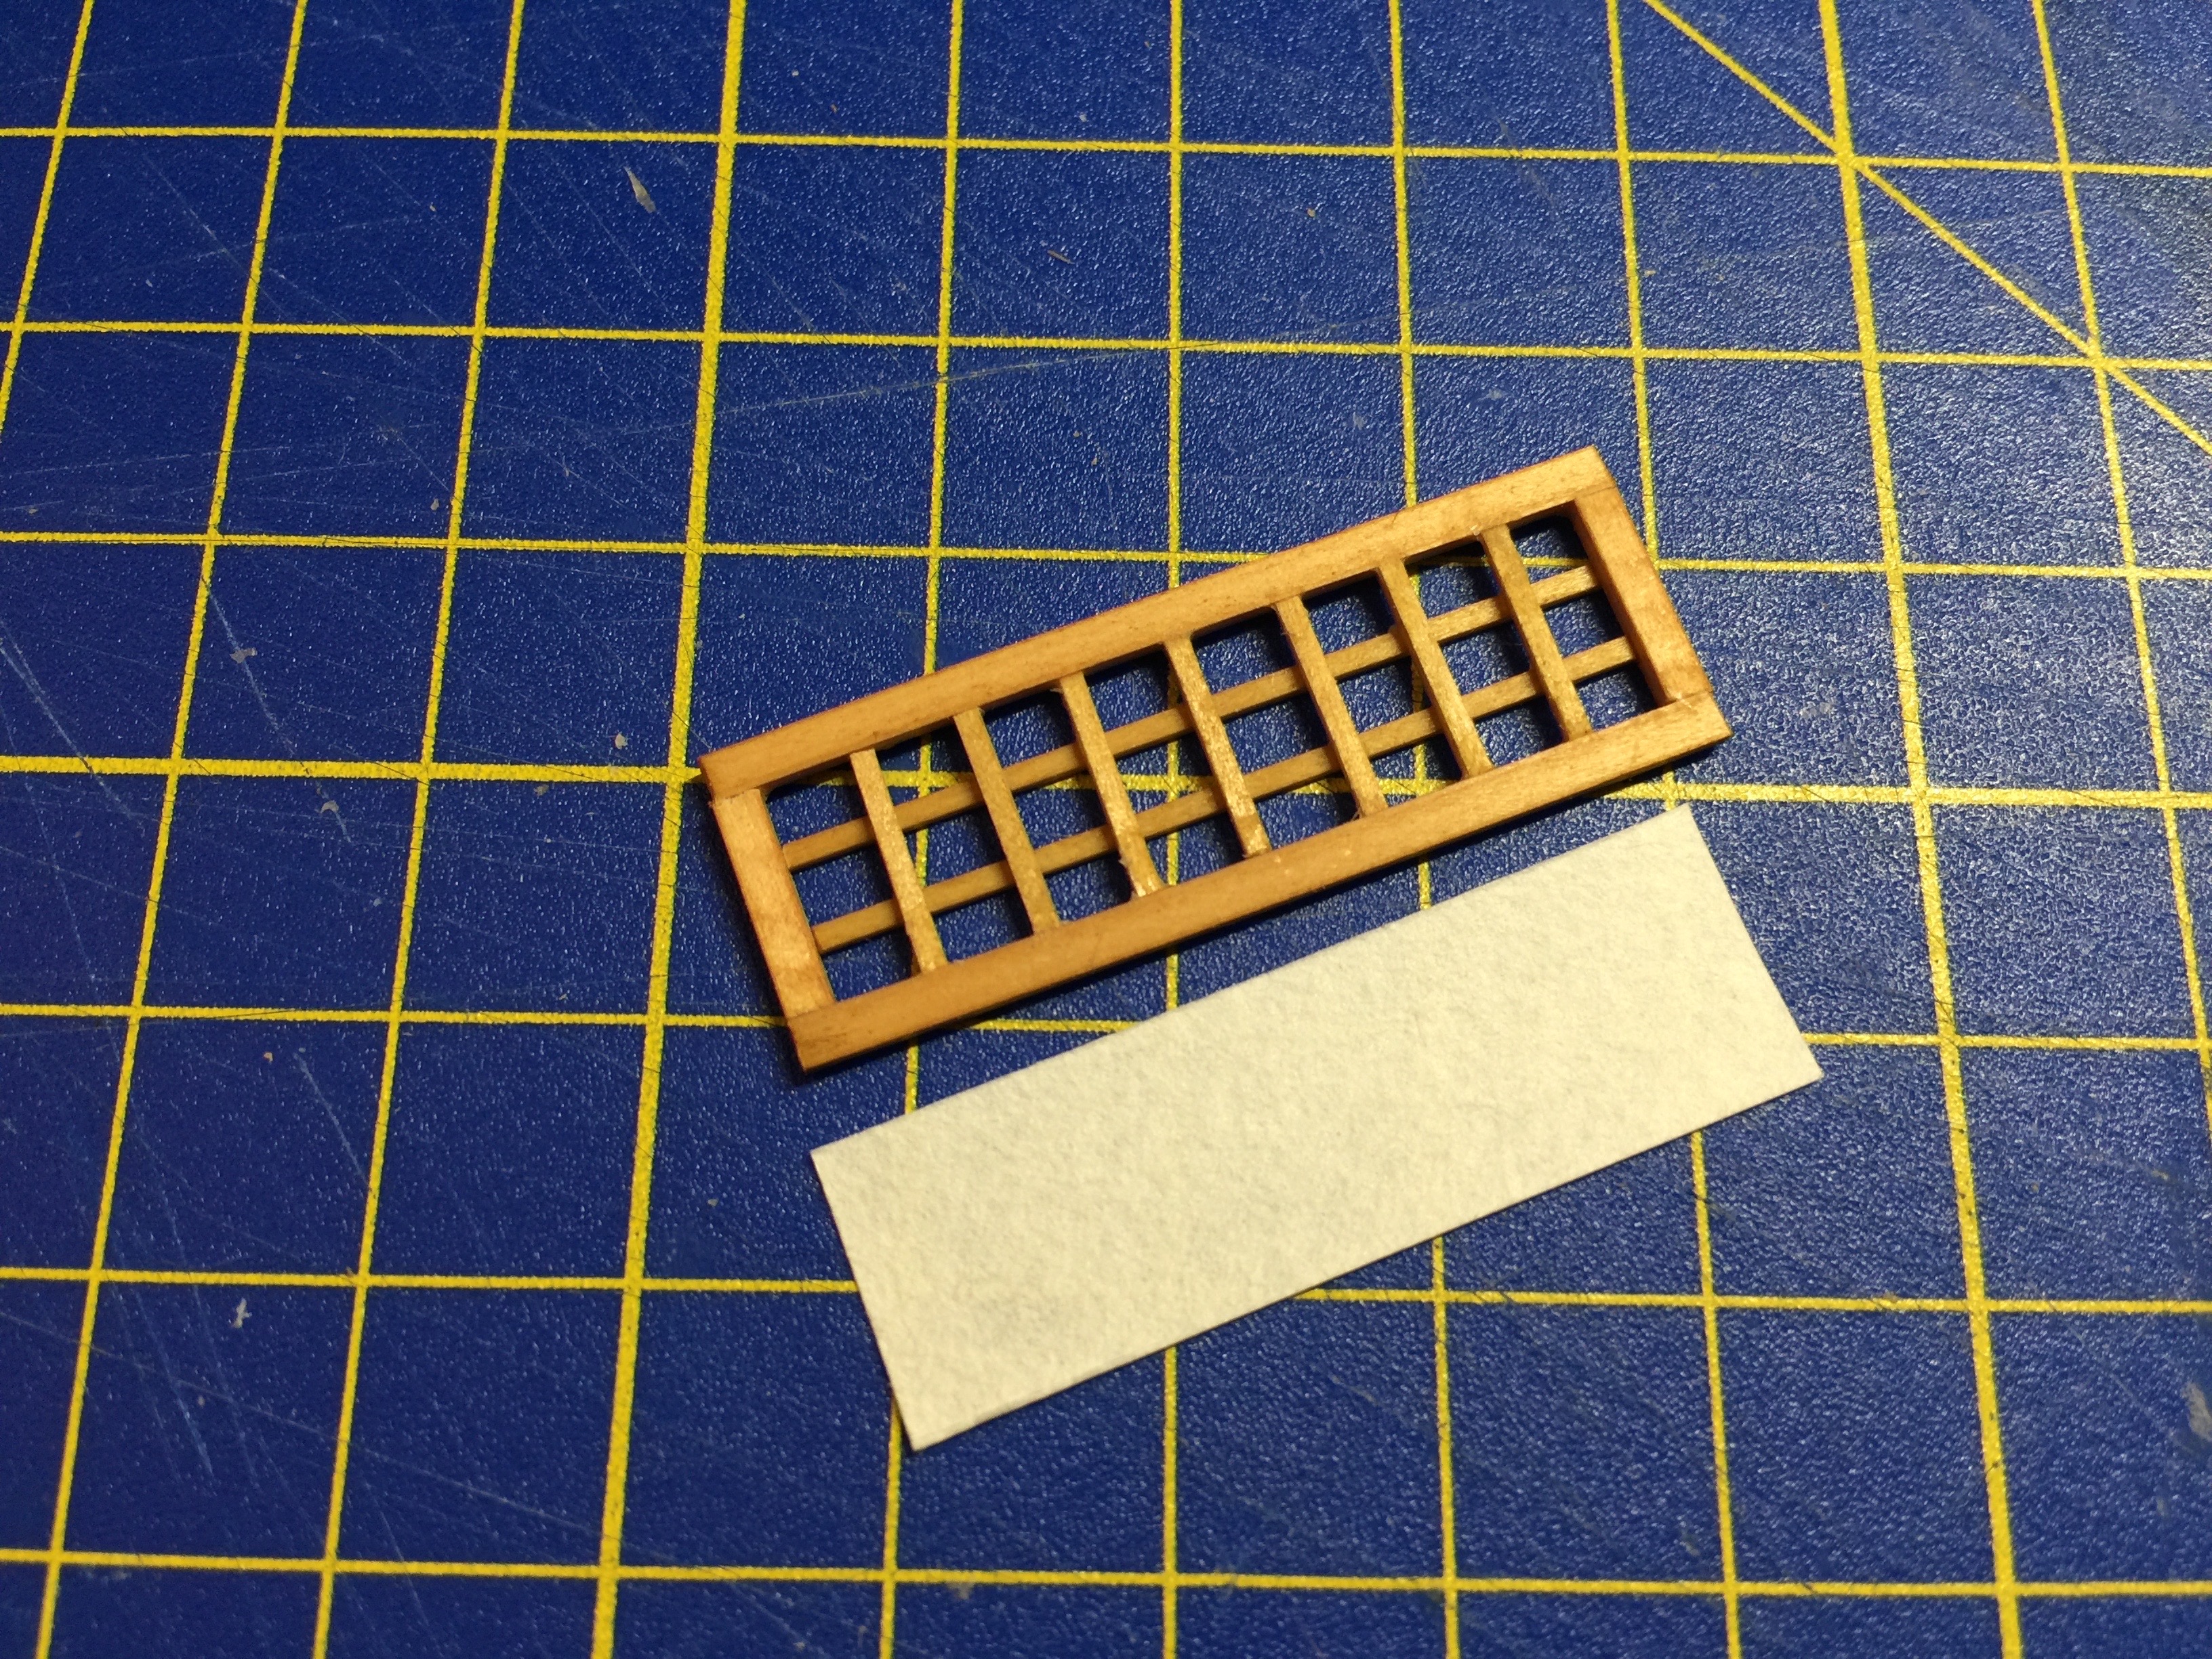
The large yakata, or house, needs to have some way to close the openings in the wall. This would have been a hinged screen of some kind that could be pushed open and hooked somehow to hold it open. Without a great deal to go on, I decided to make these like shoji screens.
I started by making frames to fit the openings, I then used wood half the thickness of the frames to make narrow strips for the cross-members. Rather than trying to make the pieces interlock, like grating strips, I decided to keep it simple and just overlap the pieces.
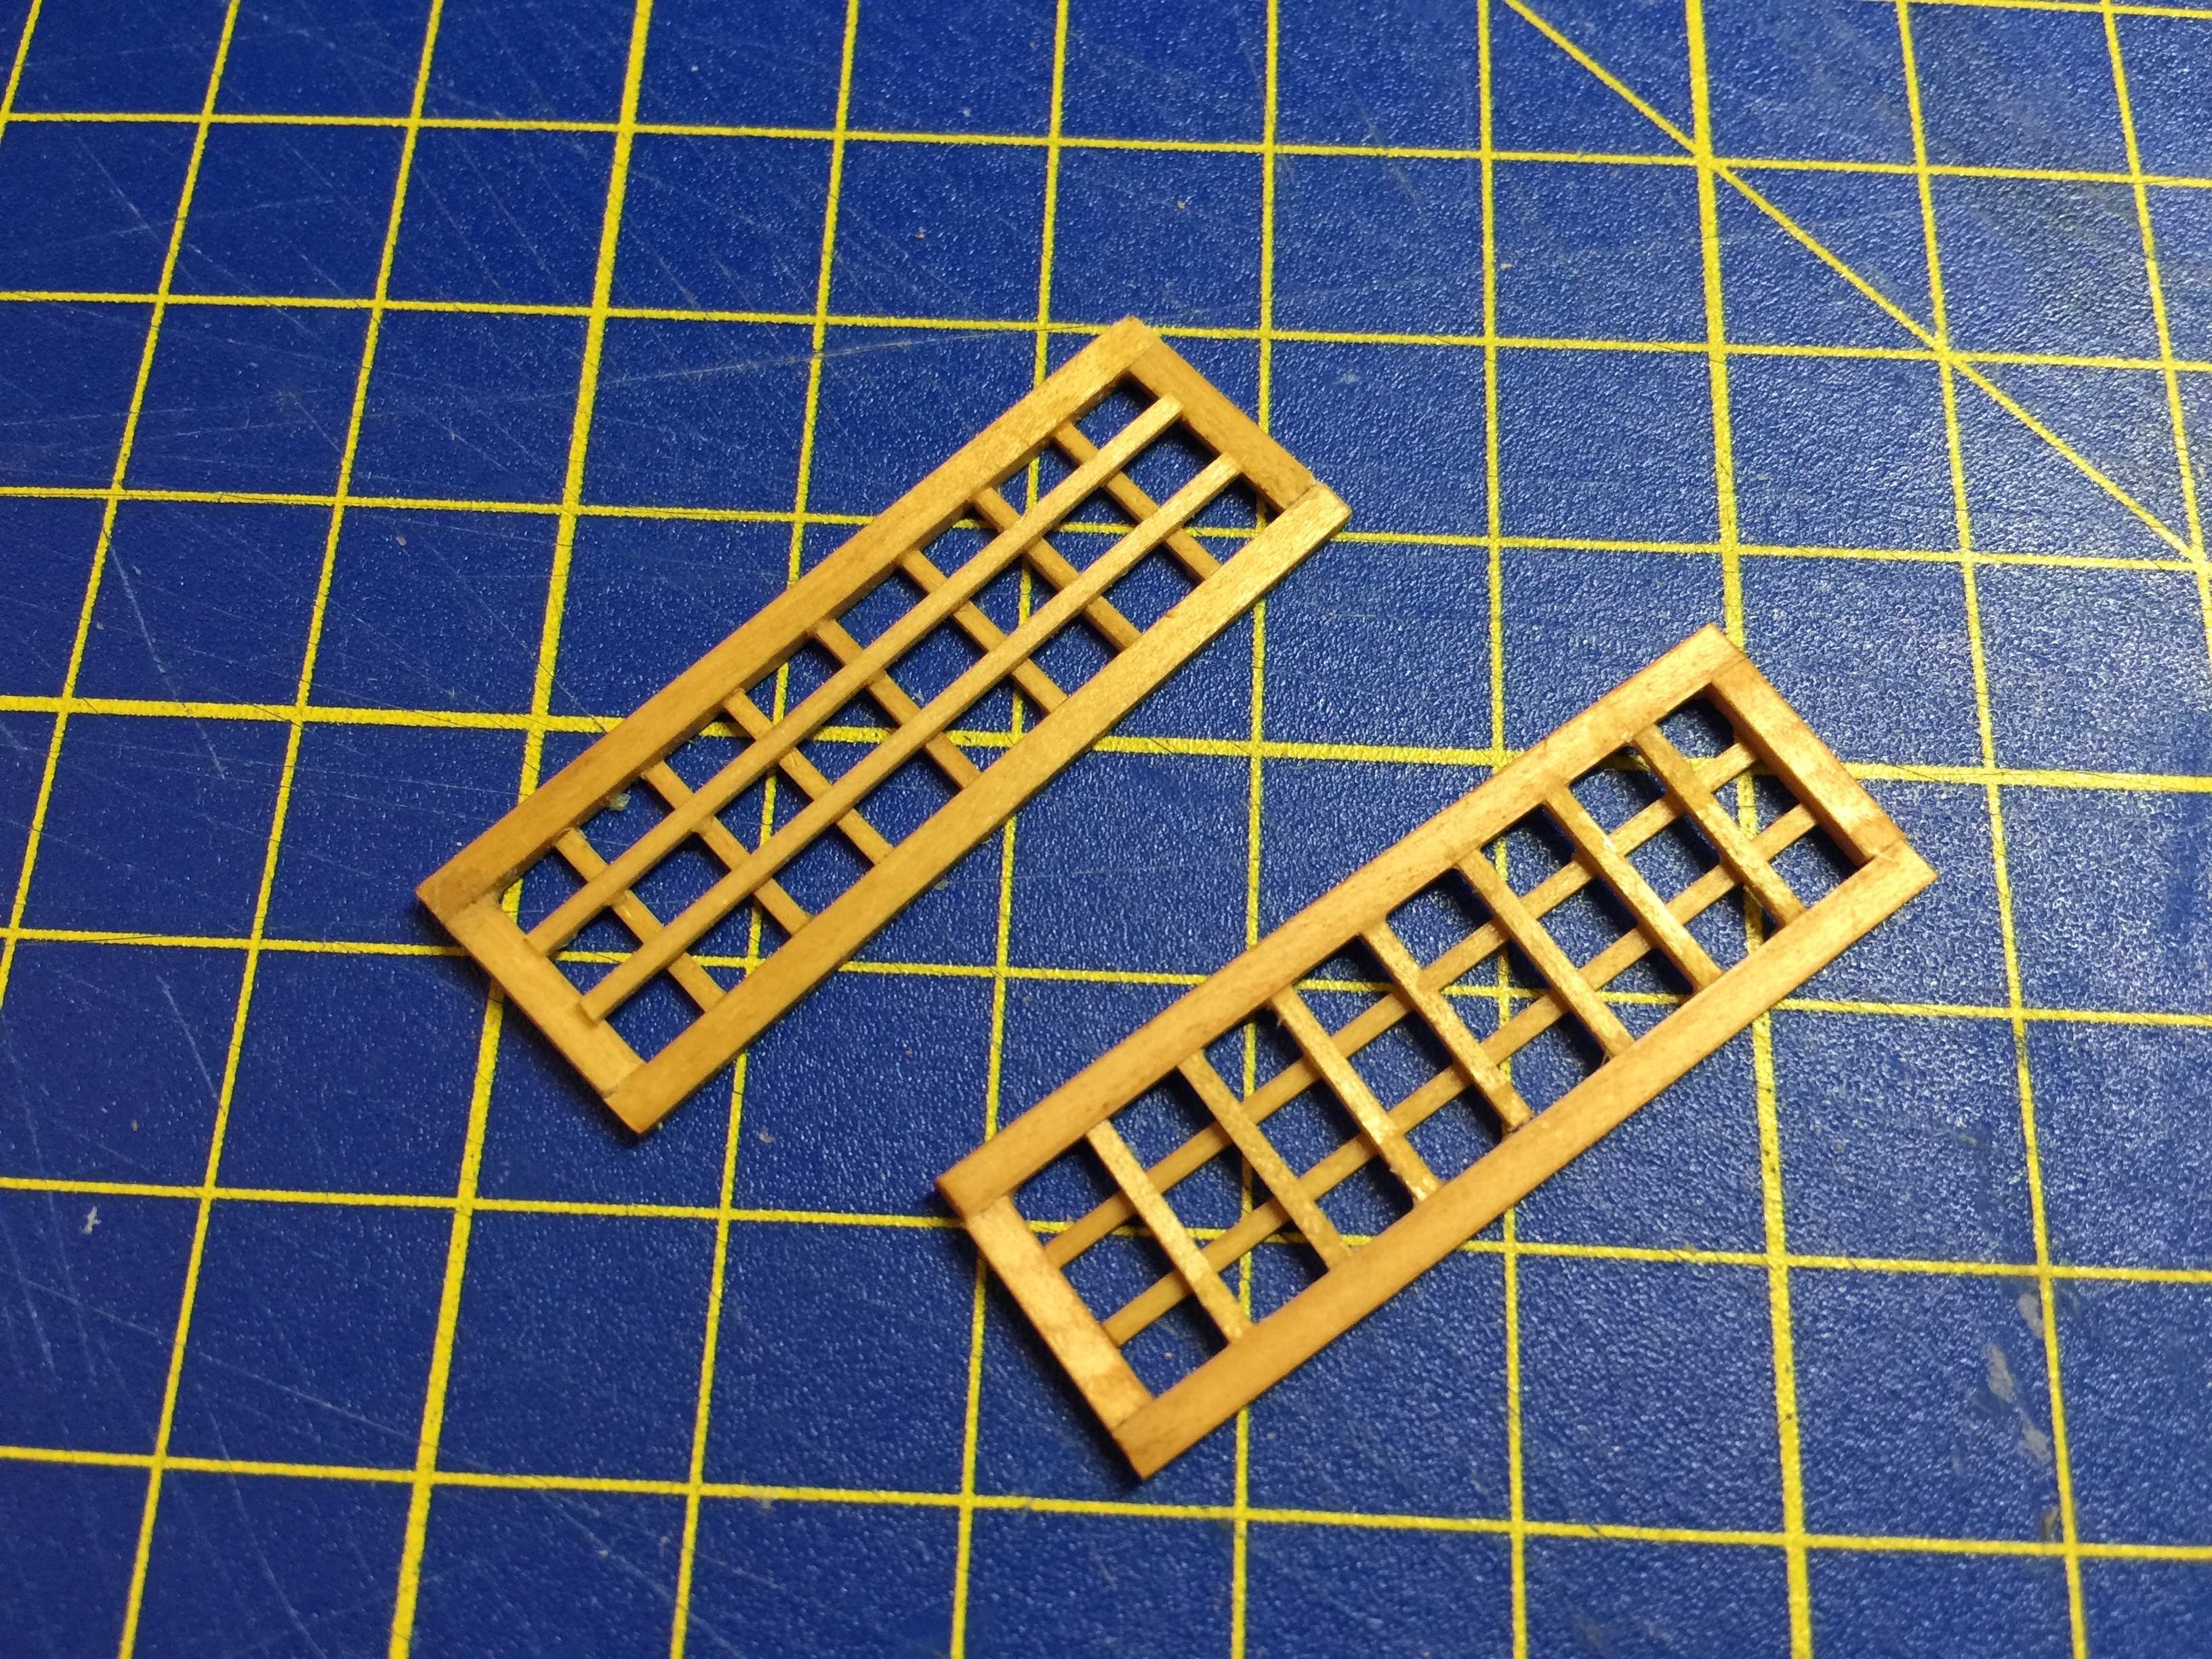
I happened to have some actual rice paper on hand that a fellow ship modeler gave quite some time ago. I haven’t used it for anything, but thought it would work nicely here. I cut simple rectangular pieces and glued them so that they would be on the outside of the latticework when these screens are lowered.
When completed, I added a piece of black annealed steel wire to the middle of the egde of each panel. The wire is 34-gauge, I think, and is stiff enough to look like some kind of line hooked to the underside of the eaves. In reality, they just stick up into the air, and when I glued the panels into place, they just poke up under the eaves quite nicely.
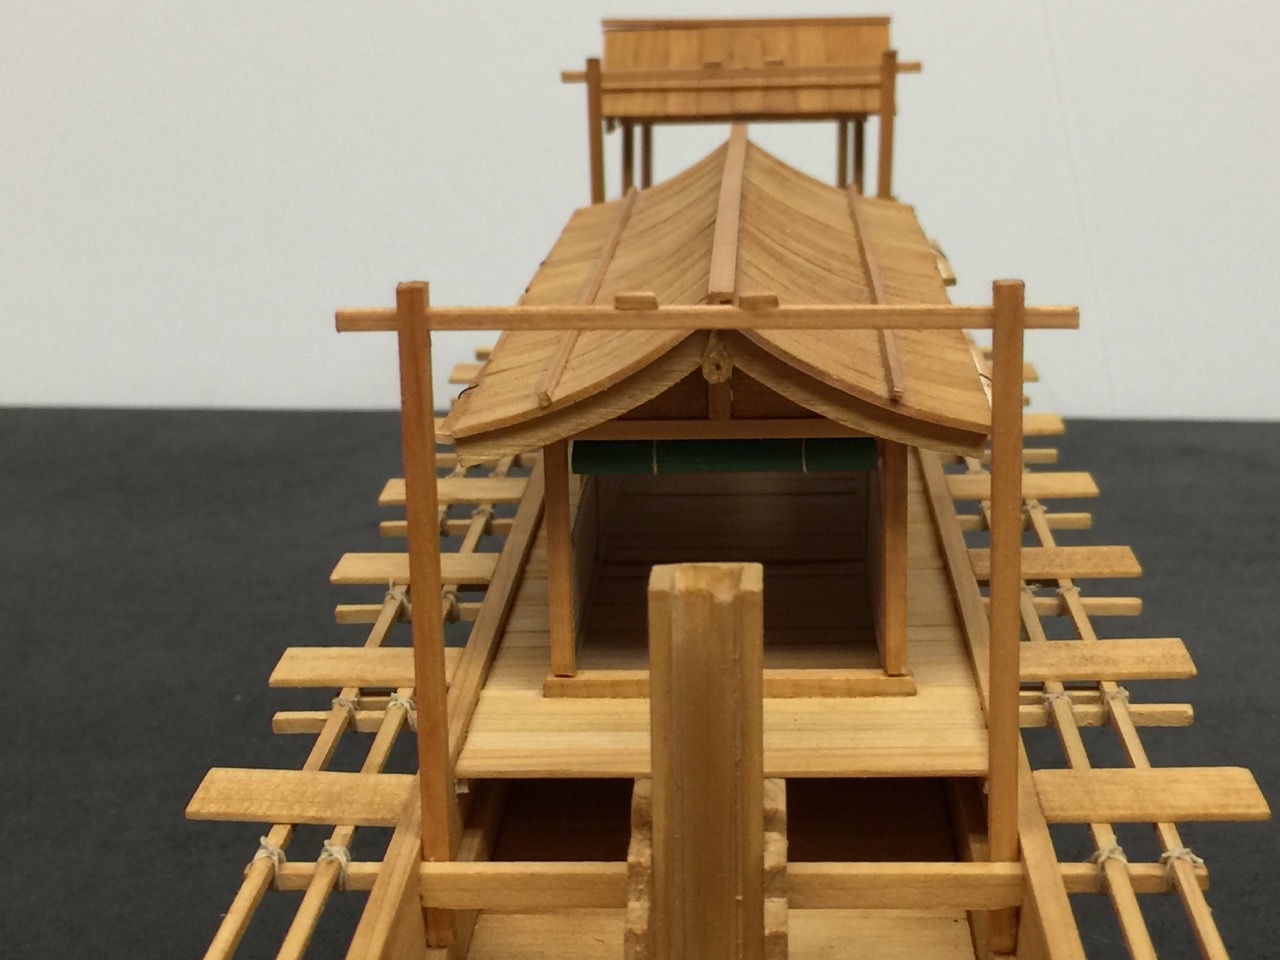
Next, I needed some way for the ends of the yakata to be covered. For this, I assumed either a simple hanging doorway curtain, or noren, or a heavier bamboo curtain, or sudare. However, my thought was to keep the ends open, so I figured on a rolled up sudare.
To make these, I simply used very fine wrapping tissue, which is very thin, to represent a thin bamboo curtain, but decided to give it some color by painting it green. I then tied them with simple thin line and glued them up under the doorway frames. They add just about the only splash of color to the model.

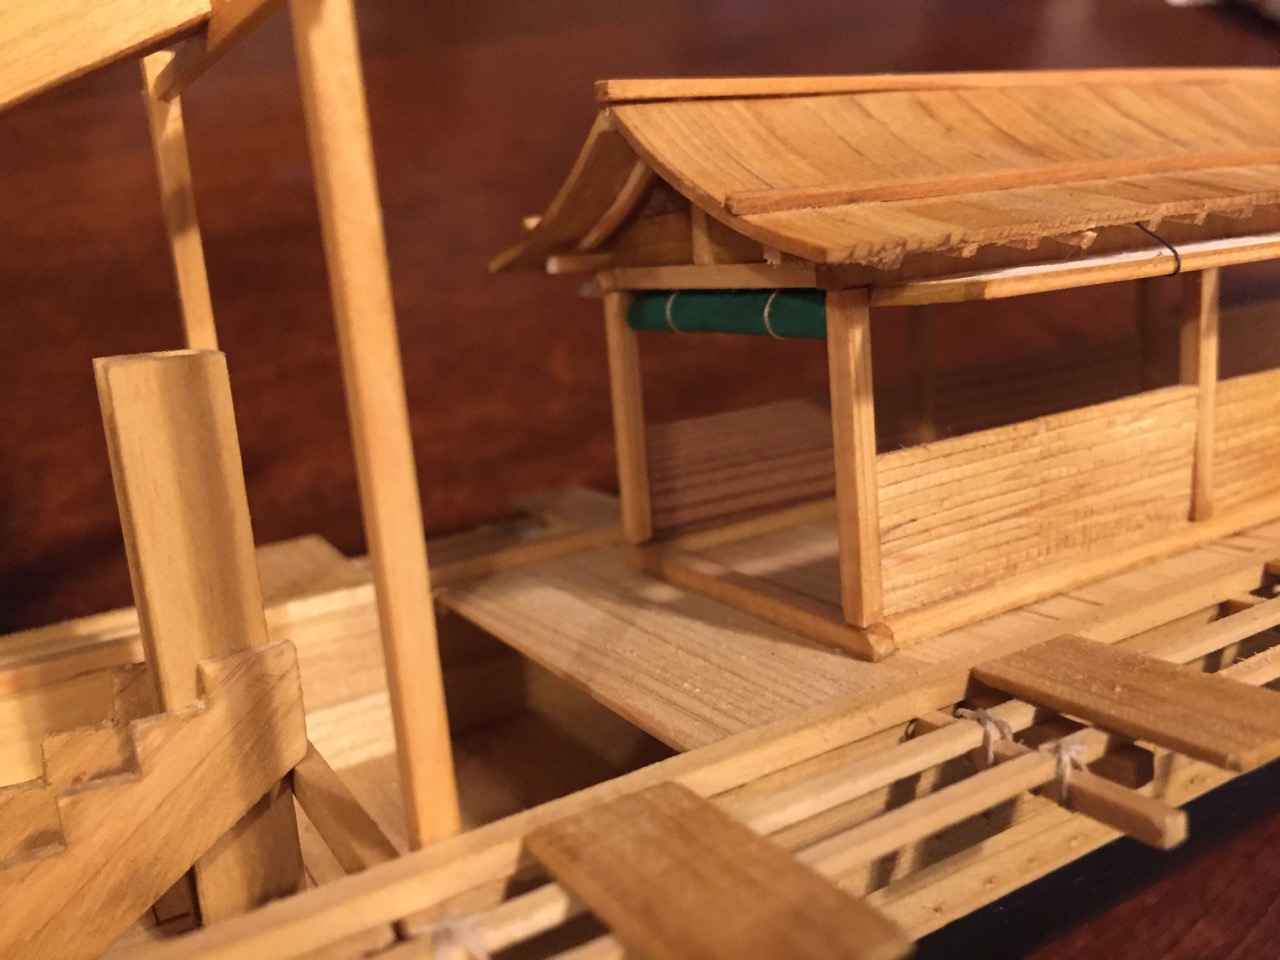
At this point, I realized that the ends of the longitudinal beams of the yakata roofs are exposed. This may have been okay for a simple structure, but I thought of this as a nicer boat, so I decided to cut some fashion pieces to fit up under the ends of the roofs.
This wasn’t all that difficult. I simply traced the shape of the roof ends on paper and then cut single wooden pieces to fit, and did the same for the aft yakata.
I also took the opportunity to add a very simplistic decoration under the peaks of the roofs. These, I found out, are called Gegyo (special thanks to my ship modeling friend in Yokohama, Mr. Masami Sekiguchi, for that and other information). At this scale, these are very small, so I didn’t give them a great deal of detail. I just wanted something to give more detail.
 I’m contemplating some other final details for the main yakata, but still have some structural work to complete on the smaller one aft. I’ll deal with this and other things in my next post.
