Now is the time I find out how I did in the earlier steps of construction. The biggest challenge of kits with laser-cut parts, particularly hull planking, is that if you don’t get it exactly right, you end up with gaps or parts that don’t fit quite right. Even worse, it’s a sign that something else is off and may cause you more problems down the road. You just have to consider it a challenge.
So, the next steps involve adding bulwarks pieces that contains holes for all the beams. These nicely aligns all the beams. There are two pieces for each side of the hull that fit together end-to-end, with a neat, pre-cut scarf joint betweent. The diagram in the instructions, makes it look like you’re supposed to glue the pieces together, so you have one full-length piece for each side, but don’t do it. You’ll have problems fitting the pieces into place over the beam ends and, in the process, the glue joint at the scarf will likely pop loose. As with all hull planks and such, it’s always a good idea to wet the pieces and bend them to shape prior to installation.

Another tricky part about installing these pieces is that they need to fit flat against the first bulwarks sheets that were installed earlier. Not a big deal except at the stem, where the glue joint between the stem and the very thin bulwarks sheet is pretty weak. If you apply any pressure while trying to get things to fit, this glue joint may fail. I’d suggest using a heavier bead of glue, but I believe this area inside the model will be visible when completed, and the glue will probably show up well.
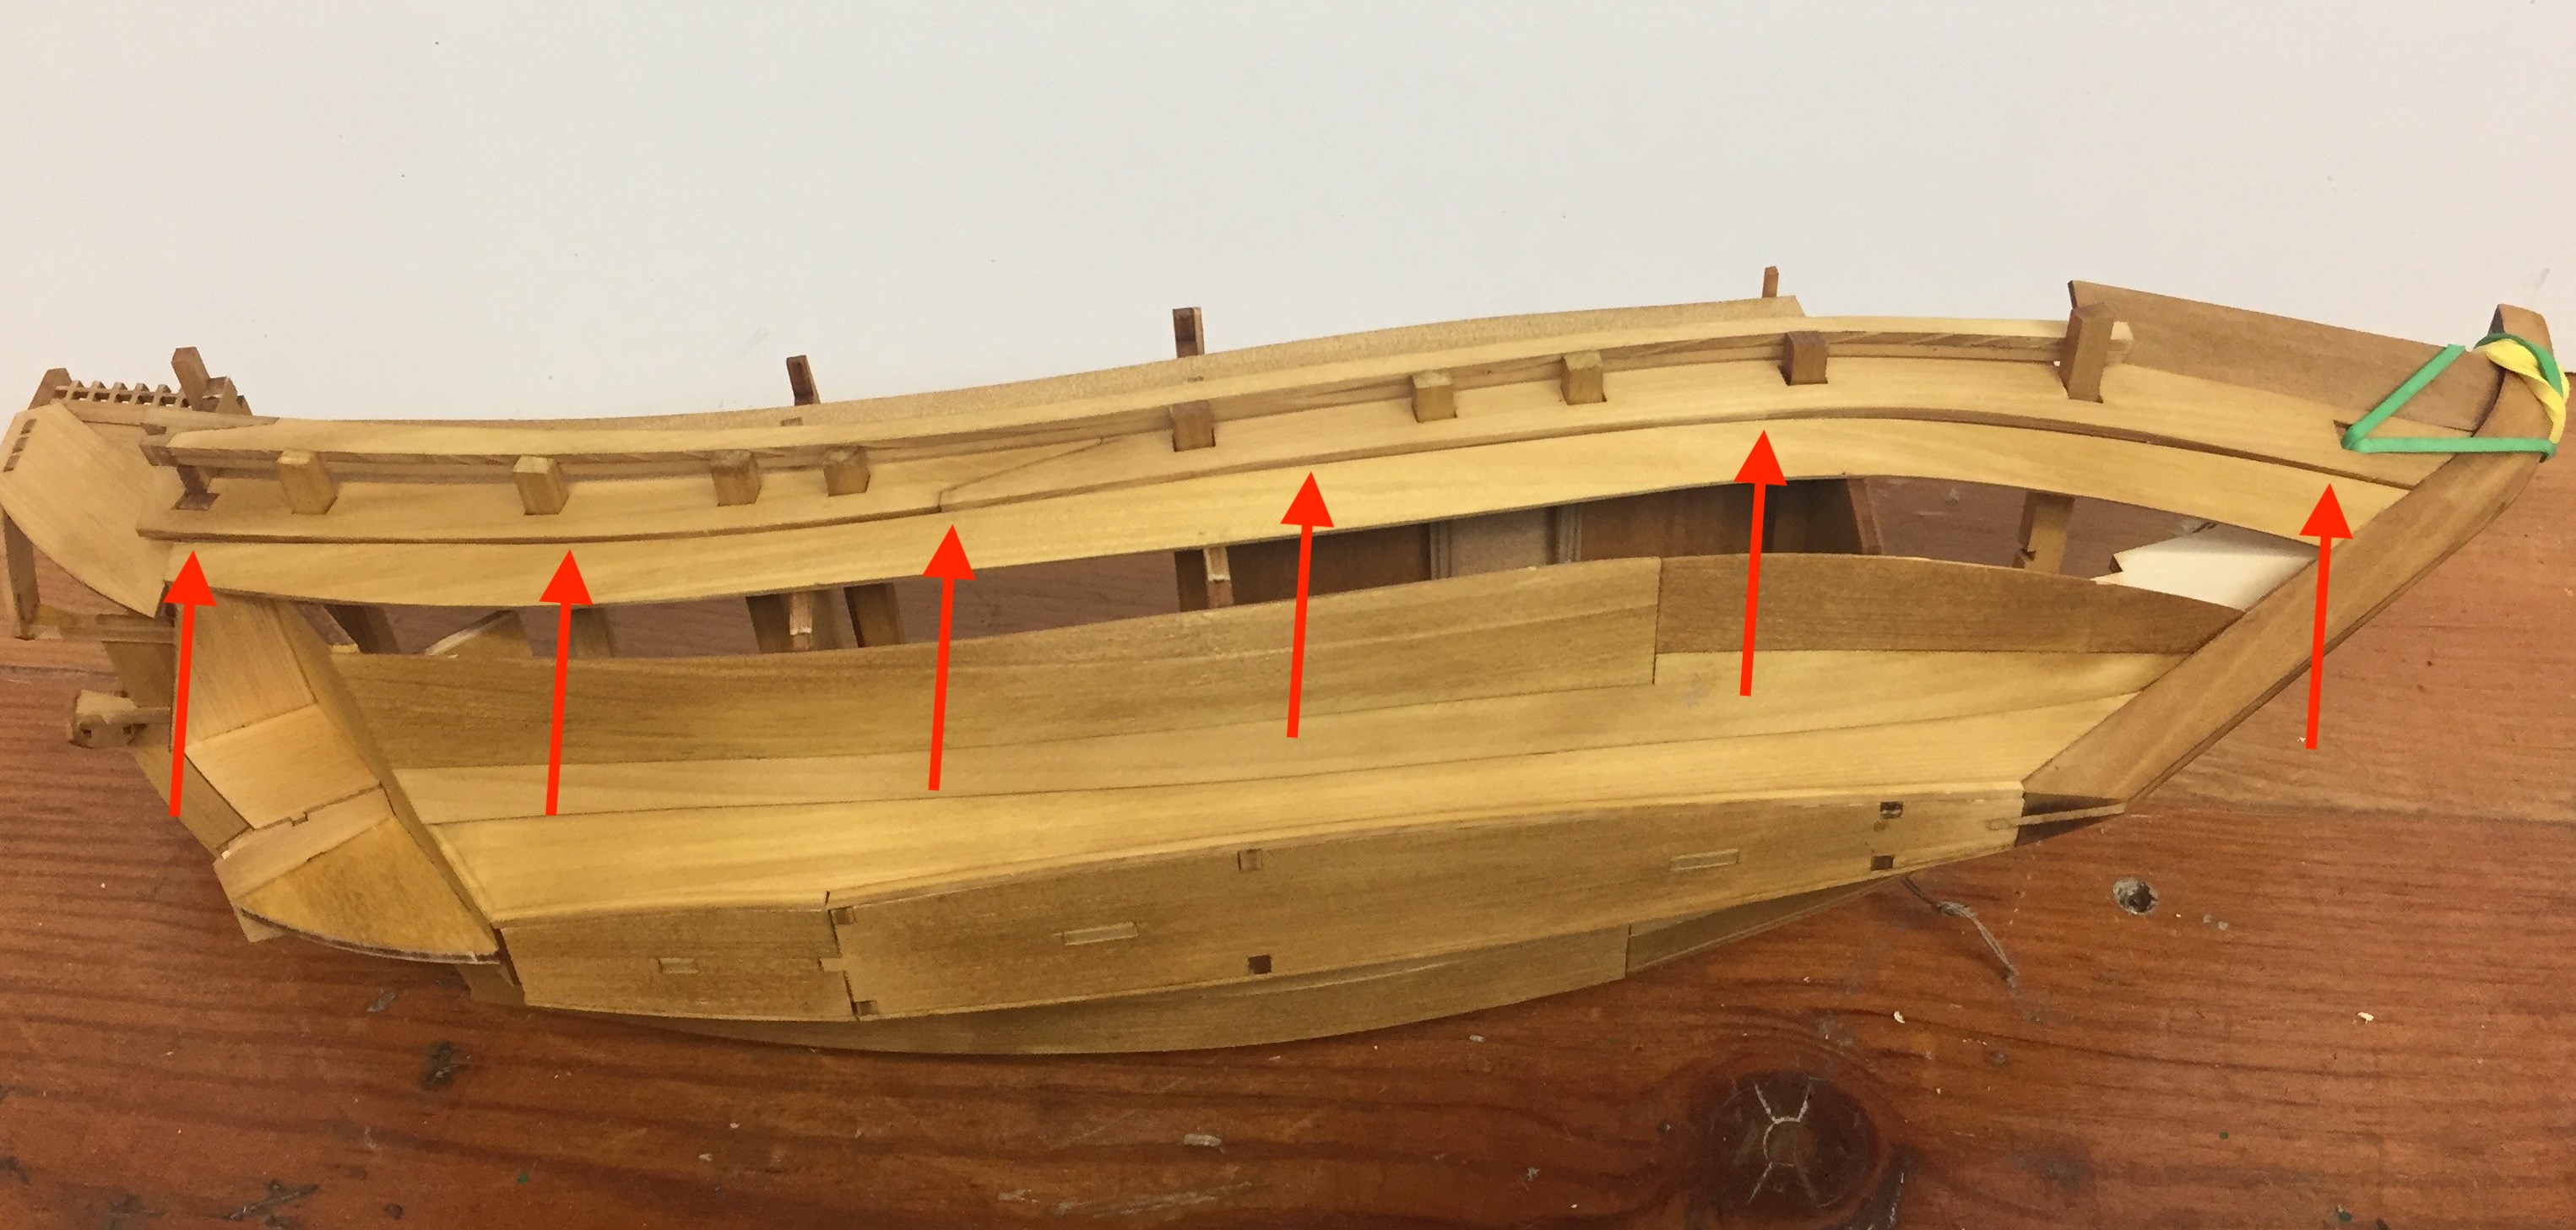
I don’t have a good photo of this step, so I used a later photo and added arrows to illustrate the position of these pieces.