
Details, Details…
Hull construction is done on the Kitamaebune, the rudder has been added, and it’s time to turn my attention to the small details.
The kit, like all of the larger Woody Joe wasen model kits, includes a sheet of photo-etched copper, which covers many of the beam ends and such. But, while these pieces cover all the major features, there are many more, smaller details on the real ships that aren’t dealt with in this or the Higaki Kaisen kit.
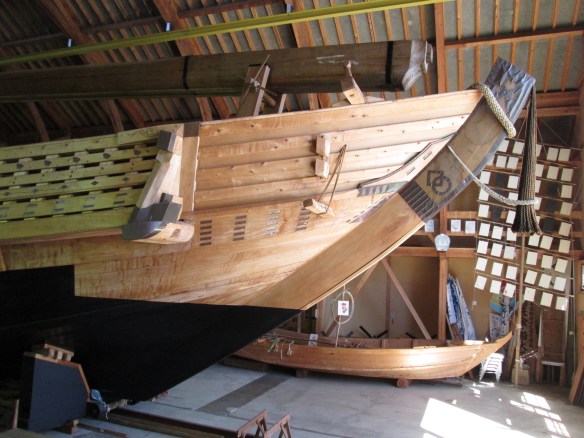
I took these photos of the Hakusanmaru on Sado Island in 2016. In them, you can see all the brown colored copper coverings as well as the black iron bands and fasteners.

I considered trying to make these details in copper, but it wouldn’t match the copper in the kit, which actually appears to be some kind of copper alloy, as it doesn’t tarnish like regular copper. The solution I came up with, was to use brown colored adhesive vinyl. So, it was time to re-introduce my vinyl cutting machine, the Cameo Silhouette 3.

Here’s a link to the blog post where I used the Cameo to make the ornamentation on my Kobaya model: https://wasenmodeler.wordpress.com/2019/05/27/building-a-gozabune-kobaya-from-paris-plans-part-13/
The Kobaya model was the primary reason I bought the Cameo, and I have used it to aid me with one other model, plus some stern lettering I made for a fellow ship modeler. This is only the second time that the Cameo will be playing a major role in aiding me with the construction of a model.
One of the features of the Cameo and it’s accompanying software, Silhouette Studio, is that it allows you to scan or take a photo of existing artwork with the aid of a special mat onto which the art is placed.

The photo can then be imported to the software and you can then generate the artwork from this. On objects this small and intricate, I found that the system doesn’t work so well. But, you can edit the generated artwork to clean it up a bit. You can also use the image to trace the parts manually, which is easy enough to do for the most part.
With this, I was able to recreate the parts in vinyl and then began creating artwork to make all the tiny mortise covers that would be found all over the ship. These are mostly simple geometric shapes, like rectangles and diamonds. I decided to keep my model simple in that regard.
The following is a succession of phots, where I began adding more and more of the vinyl details. These, I found, took a while to make and apply, but they are definitely bringing the model to life.


There is more yet to do. In fact, it seems that I keep finding more and more that I probably should do. But, I’ll probably simplify just a little and leave off certain ones.
In the last photo above, you might note little square pieces added at the stern. These represent tenons that are on the actual ship. These protrude through square holes in the hull. The real ones then have a wooden key that passes through these, locking them into place.
At this scale, it seems to small to add these keys. But, I’m now thinking more and more that I need to scratch build a larger scale sengokubune, though I don’t know if it will be a kitamaebune, higakikaisen, or a tarukaisen. But, I definitely want something in 1/50 scale, at least.
I’ll note here that on the bare wood, the vinyl pieces were in danger of shifting or being knocked off. So, I tried to touch each one with a tiny amount of CA glue, figuring it would wick in around the vinyl and help secure it. I noticed that this didn’t work as easily as I had hoped, particularly for the covers on the beam ends. The CA often beaded up on the surface of the vinyl and created a murky looking blotch. I was able to scrape the excess CA off the vinyl as it didn’t seem to stick to the glossy surface very well.
Hopefully, the vinyl is sticking well enough. Where I did have a problem with vinyl coming up was with the thin black strips that represent iron bands on the rudder, mast, etc. Under the ends of these, I just dabbed a tiny amount of contact cement, and that absolutely did the trick.
Next, I’ll be adding the remaining vinyl pieces and using a little paint to hide any gaps in between. Then, I plan on giving the whole model an overspray of matte finish. Thinking now, I’ll make sure to test the different types on the glossy vinyl to make sure it sticks to the vinyl and doesn’t do anything weird to it.
