
Sailmaking is at somewhat of a standstill, as I’m experimenting with different techniques for representing the large sails of the kitamaebune in 1/72 scale. There are number of possible things I can try,, including simply stitching the seams as one might do for a western ship’s sails, but I’m still hoping I can show some of the characteristics of the Japanese sails.This is something of a long term process, so in the meantime, I decided to move ahead with some of the other model details.

One of my sail making attempts still being tested and considered.
It had occurred to me that might make the most sense to go ahead and build the various components of the main stay. It took me a while to figure out this is called the Hazuo in Japanese.
Dealing with the stay, or hazuo, requires making/rigging four different parts. Here’s the section of the instructions that deal with this.

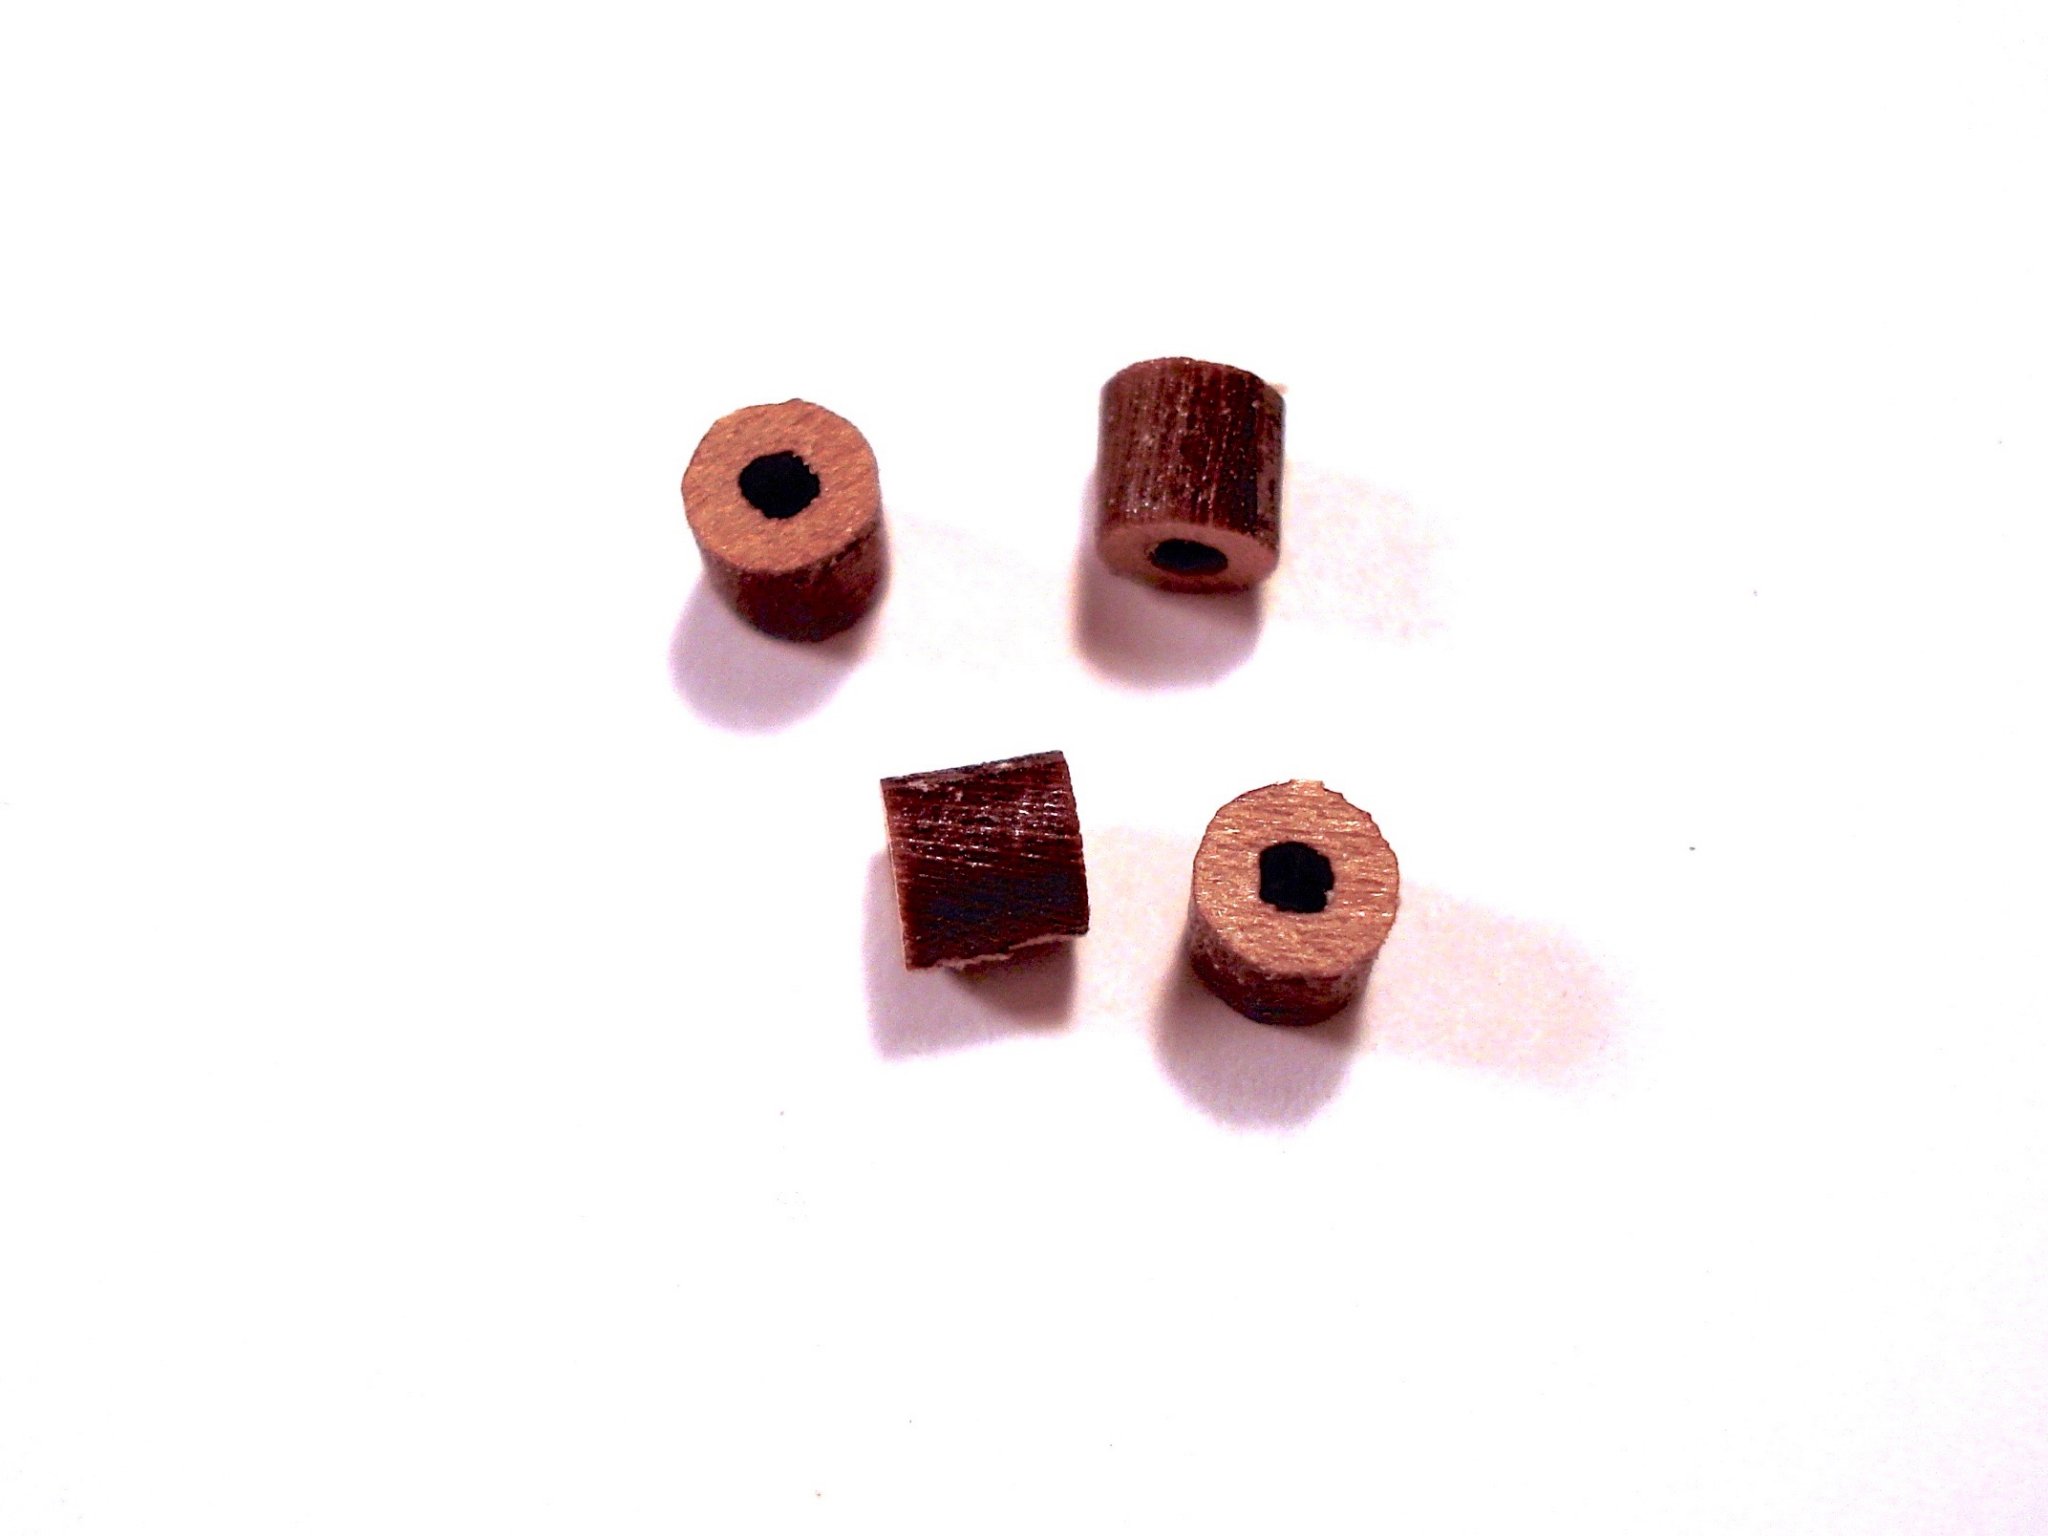
Writing about the stay is a bit difficult, as I don’t know what I would call these parts either in Japanese or in english. For now, I’m labeling them, the stay, stay pendant, stay tackle, and stay collar.
The stay itself is fairly easy. It’s just a heavy line with a loop at each end. On it are threaded the baggy wrinkle and string of wooden beads. I presume these beads help keep the stay from vibrating in the wind. To some extent, they probably also prevent chaffing. But, that’s what the baggy wrinkle at the top end of the stay is for. So, the wooden beads must serve some other purpose.

Woody Joe provides some instruction for making the baggy wrinkle, which they refer to as the hozure. Wrapping heavy line around a piece of provided brass wire. the line is glued up with white glue. When the glue is dry, a hobby knife is used to make cuts across the surface of the rope. A piece of sandpaper is then used to fray the surface of the rope.

It took me a while to get this looking something close to what I expected the baggy wrinkle to look like. You can see the final result in a later photo of the completed stay.
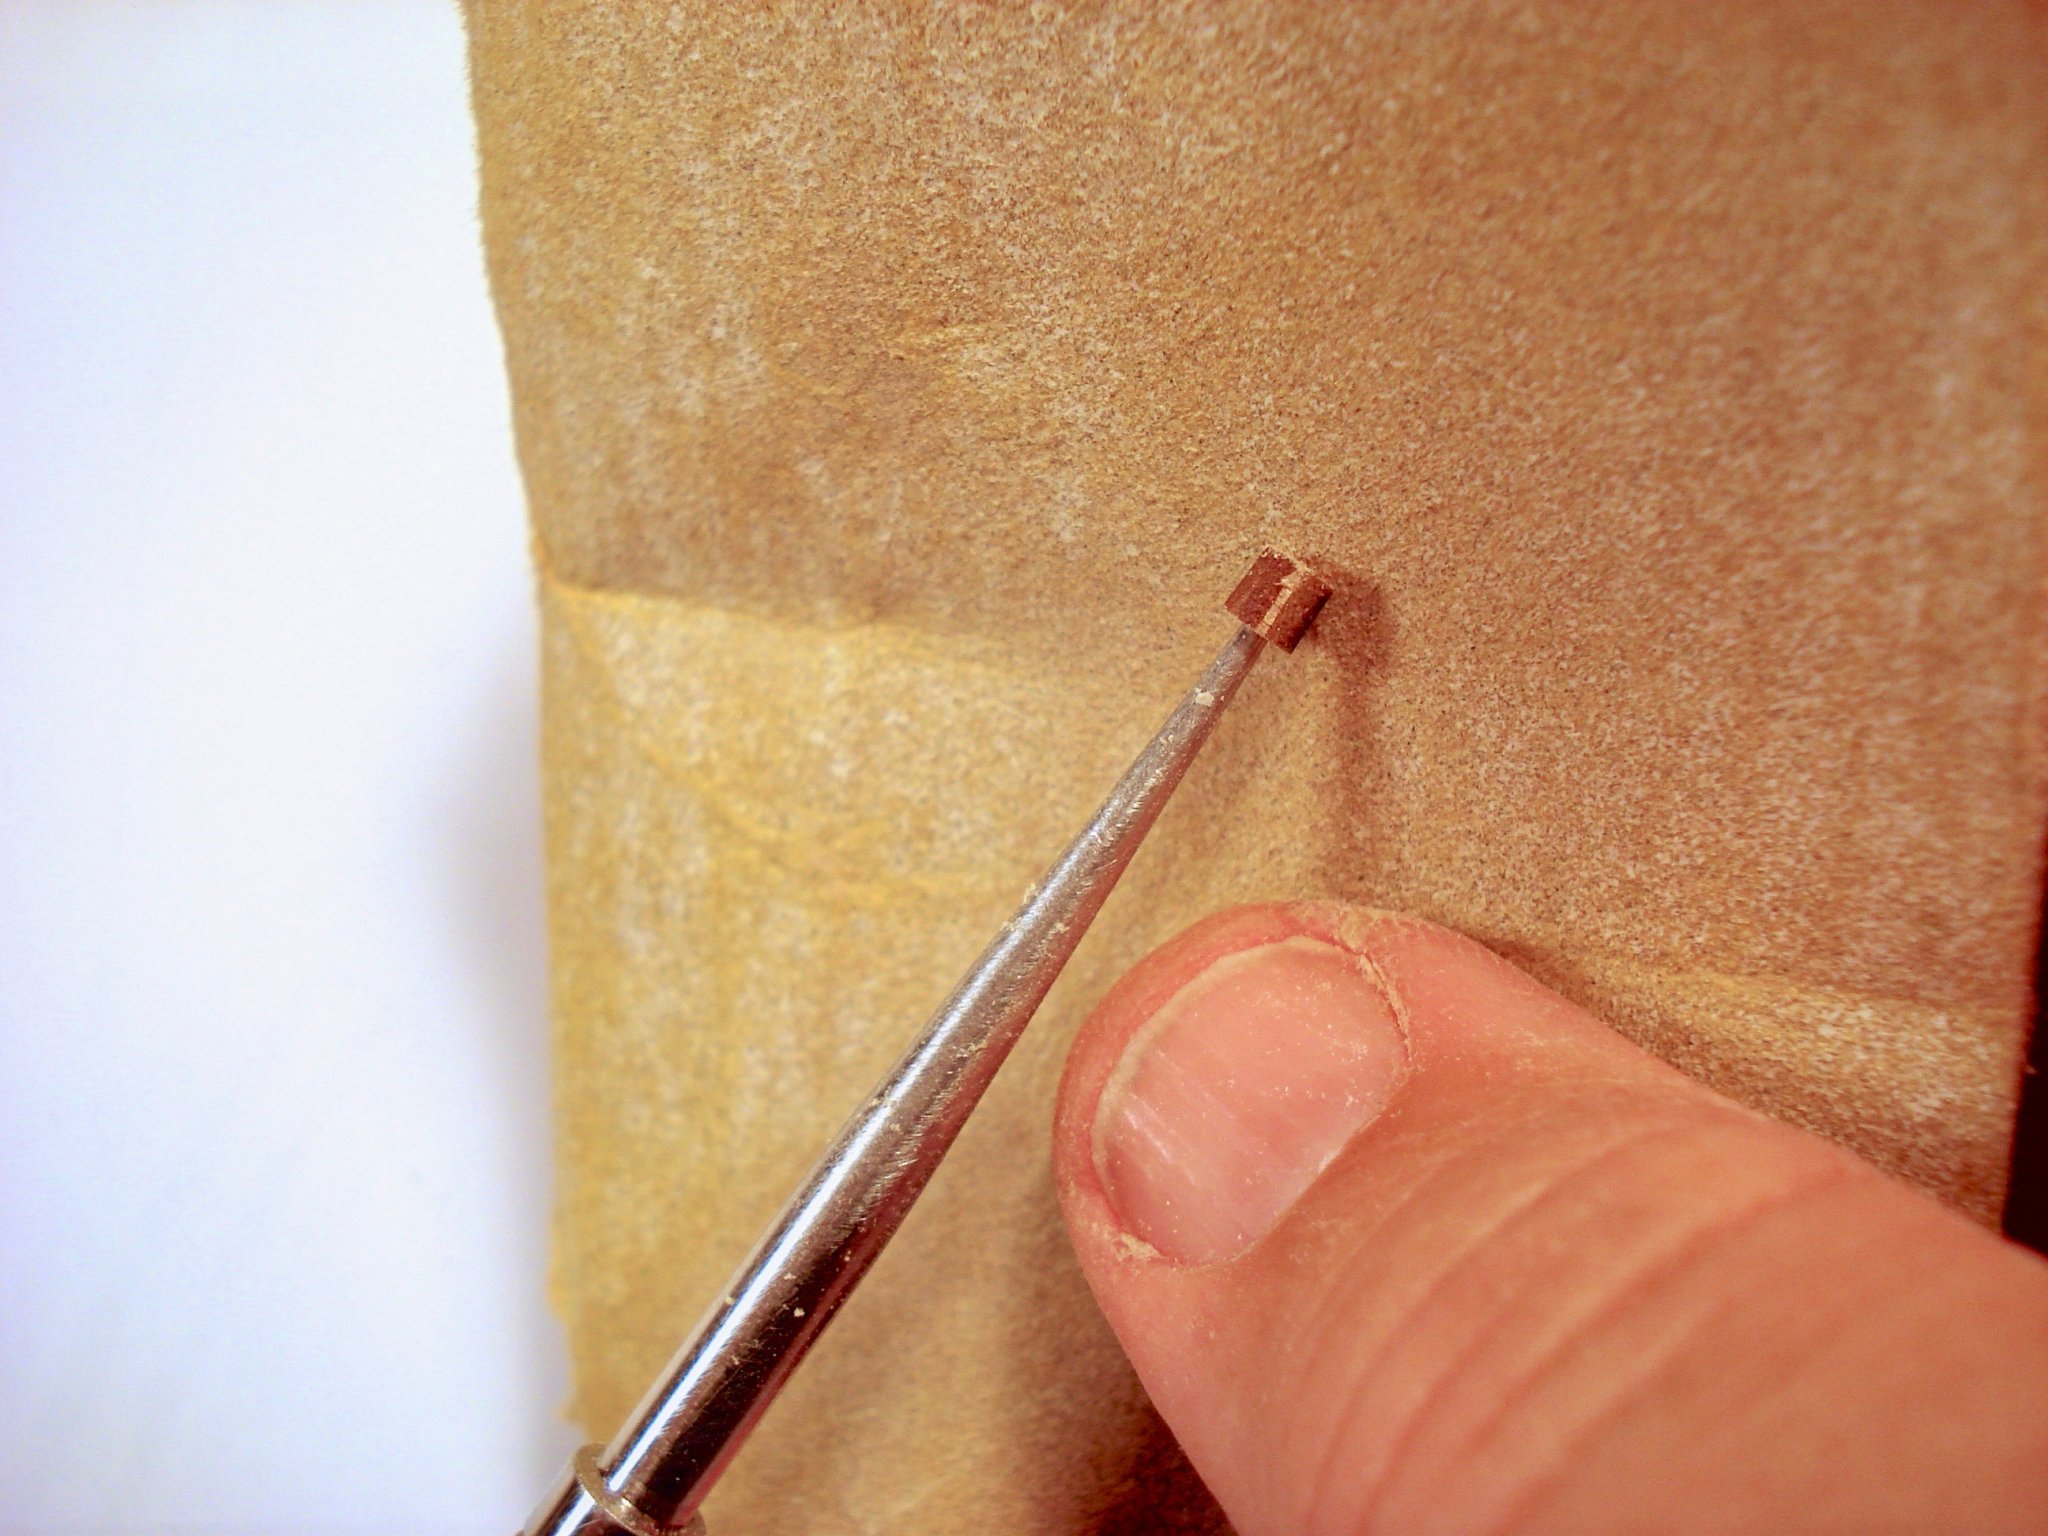
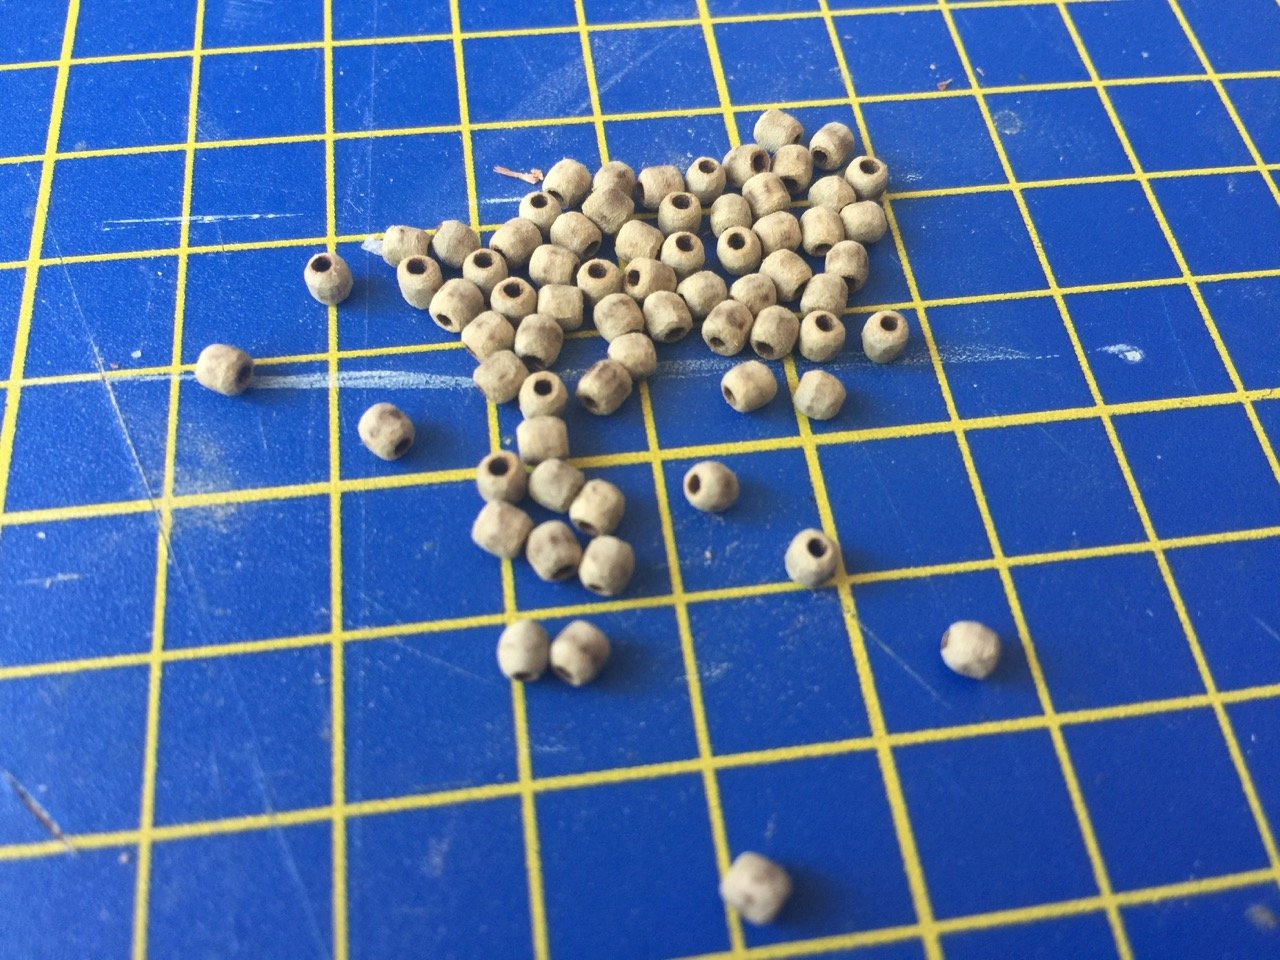
Next are the beads. These come as laser-cut… wheels, that you have to round off. The technique given is to mount them onto a pointed stick and sand down the edges. This actually worked pretty well.
For photos, I had to cheat a bit, as I didn’t take any “before” photos of the beads, so I stole a couple from my past build of the similar model, the Higaki kaisen…
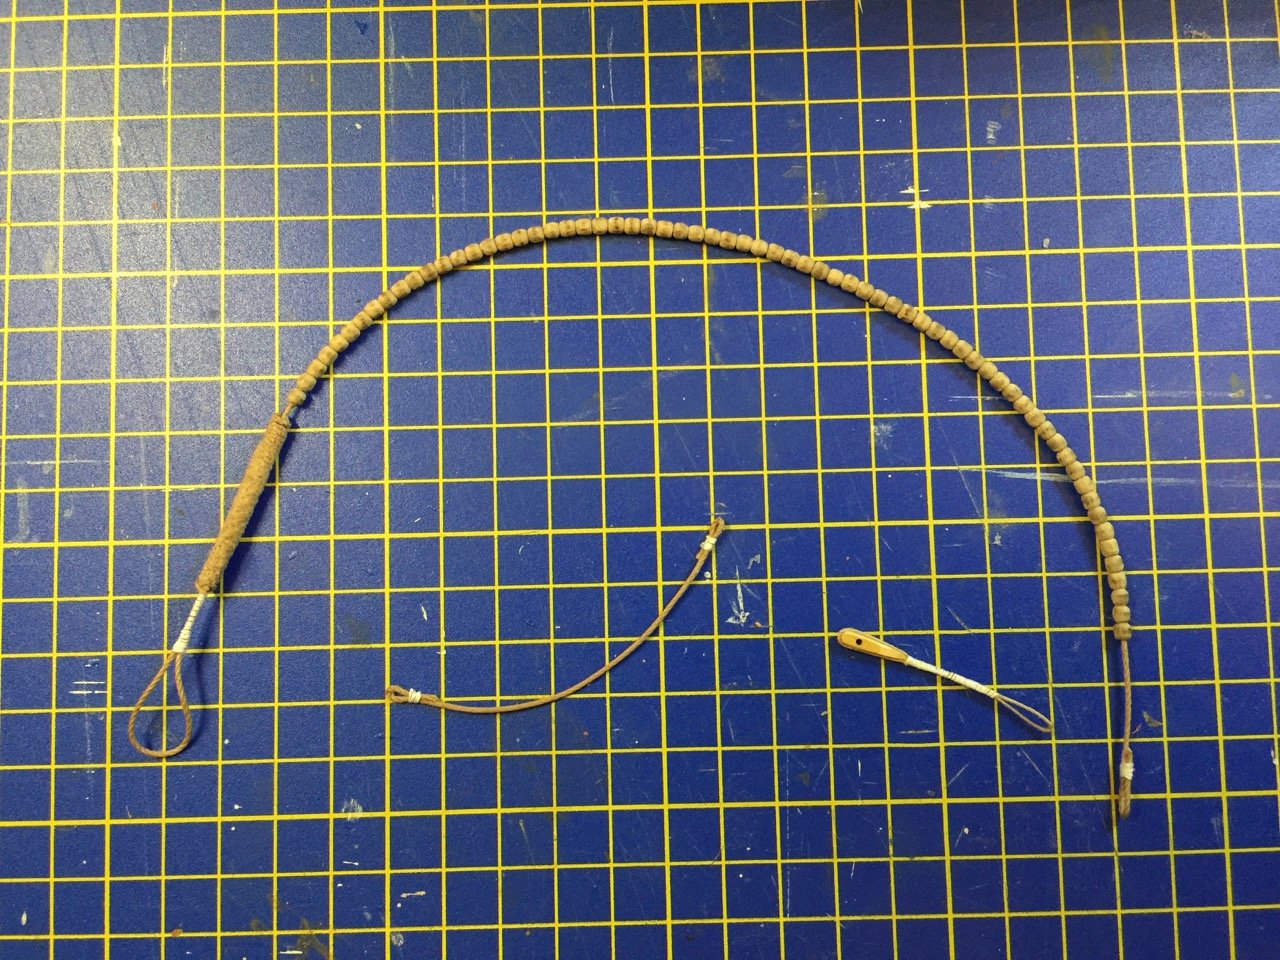
The assembled stay, collar, and pendant.
Meanwhile, I also rigged the line that runs across the top deck and is used for securing the sheets of the main sail.


Finally, the stay was rigged. I didn’t like the way all the tackle was bunching up around that foremast – Recall that this kit is not designed for the foremast. So, to adjust for the presence of the mast, I shortened the stay by about 1/2″ and also shortened the collar by about 1/4″. The stay tackle was easily adjusted to make up for the change.


I’ve seen photos, possibly of models, that show the fore mast lashed to the stay. I may do this for additional interesting detail. It should be noted that the fore mast was removable, as was a second larger mast that often appears behind it. But, for that matter, the main mast is removable as well, and is often lowered when the ship is at anchor for a long period of time, lowering the center of gravity of the ship, and making it more stable.
Now, the one issue with the stay being rigged, is that this is not the order of the build in the instructions. And, from my experience with my Higaki kaisen build, I know that rigging the main yard might be a little tricky with the stay rigged, as the halliards are fixed into place and can not be adjusted. So, when they are tied to the yard, the yard has to be in place, high up on the mast. That can make tying the ends of the halliards a bit tricky with the stay in the way. However, if worse comes to worse, I can loosen the stay tackle and temporarily remove the stay. Also, the pins that hold the different parts together have not been glued into place. So, they can be removed, if necessary.
There are still a few things I can work on before I absolutely have to have the sail ready, but we’re getting down to the wire. But, probably, my next post will be dealing with the sails.
