
It’s been a busy few days for the Utasebune project. This is a really good thing, as I haven’t made much model progress over the past several months, and I’ve found that the Japanese boat models I make at this small scale tend to progress rapidly. There’s really not that much to say about the current progress, as I’m now basically cutting and fitting the upper beams and deck boards.
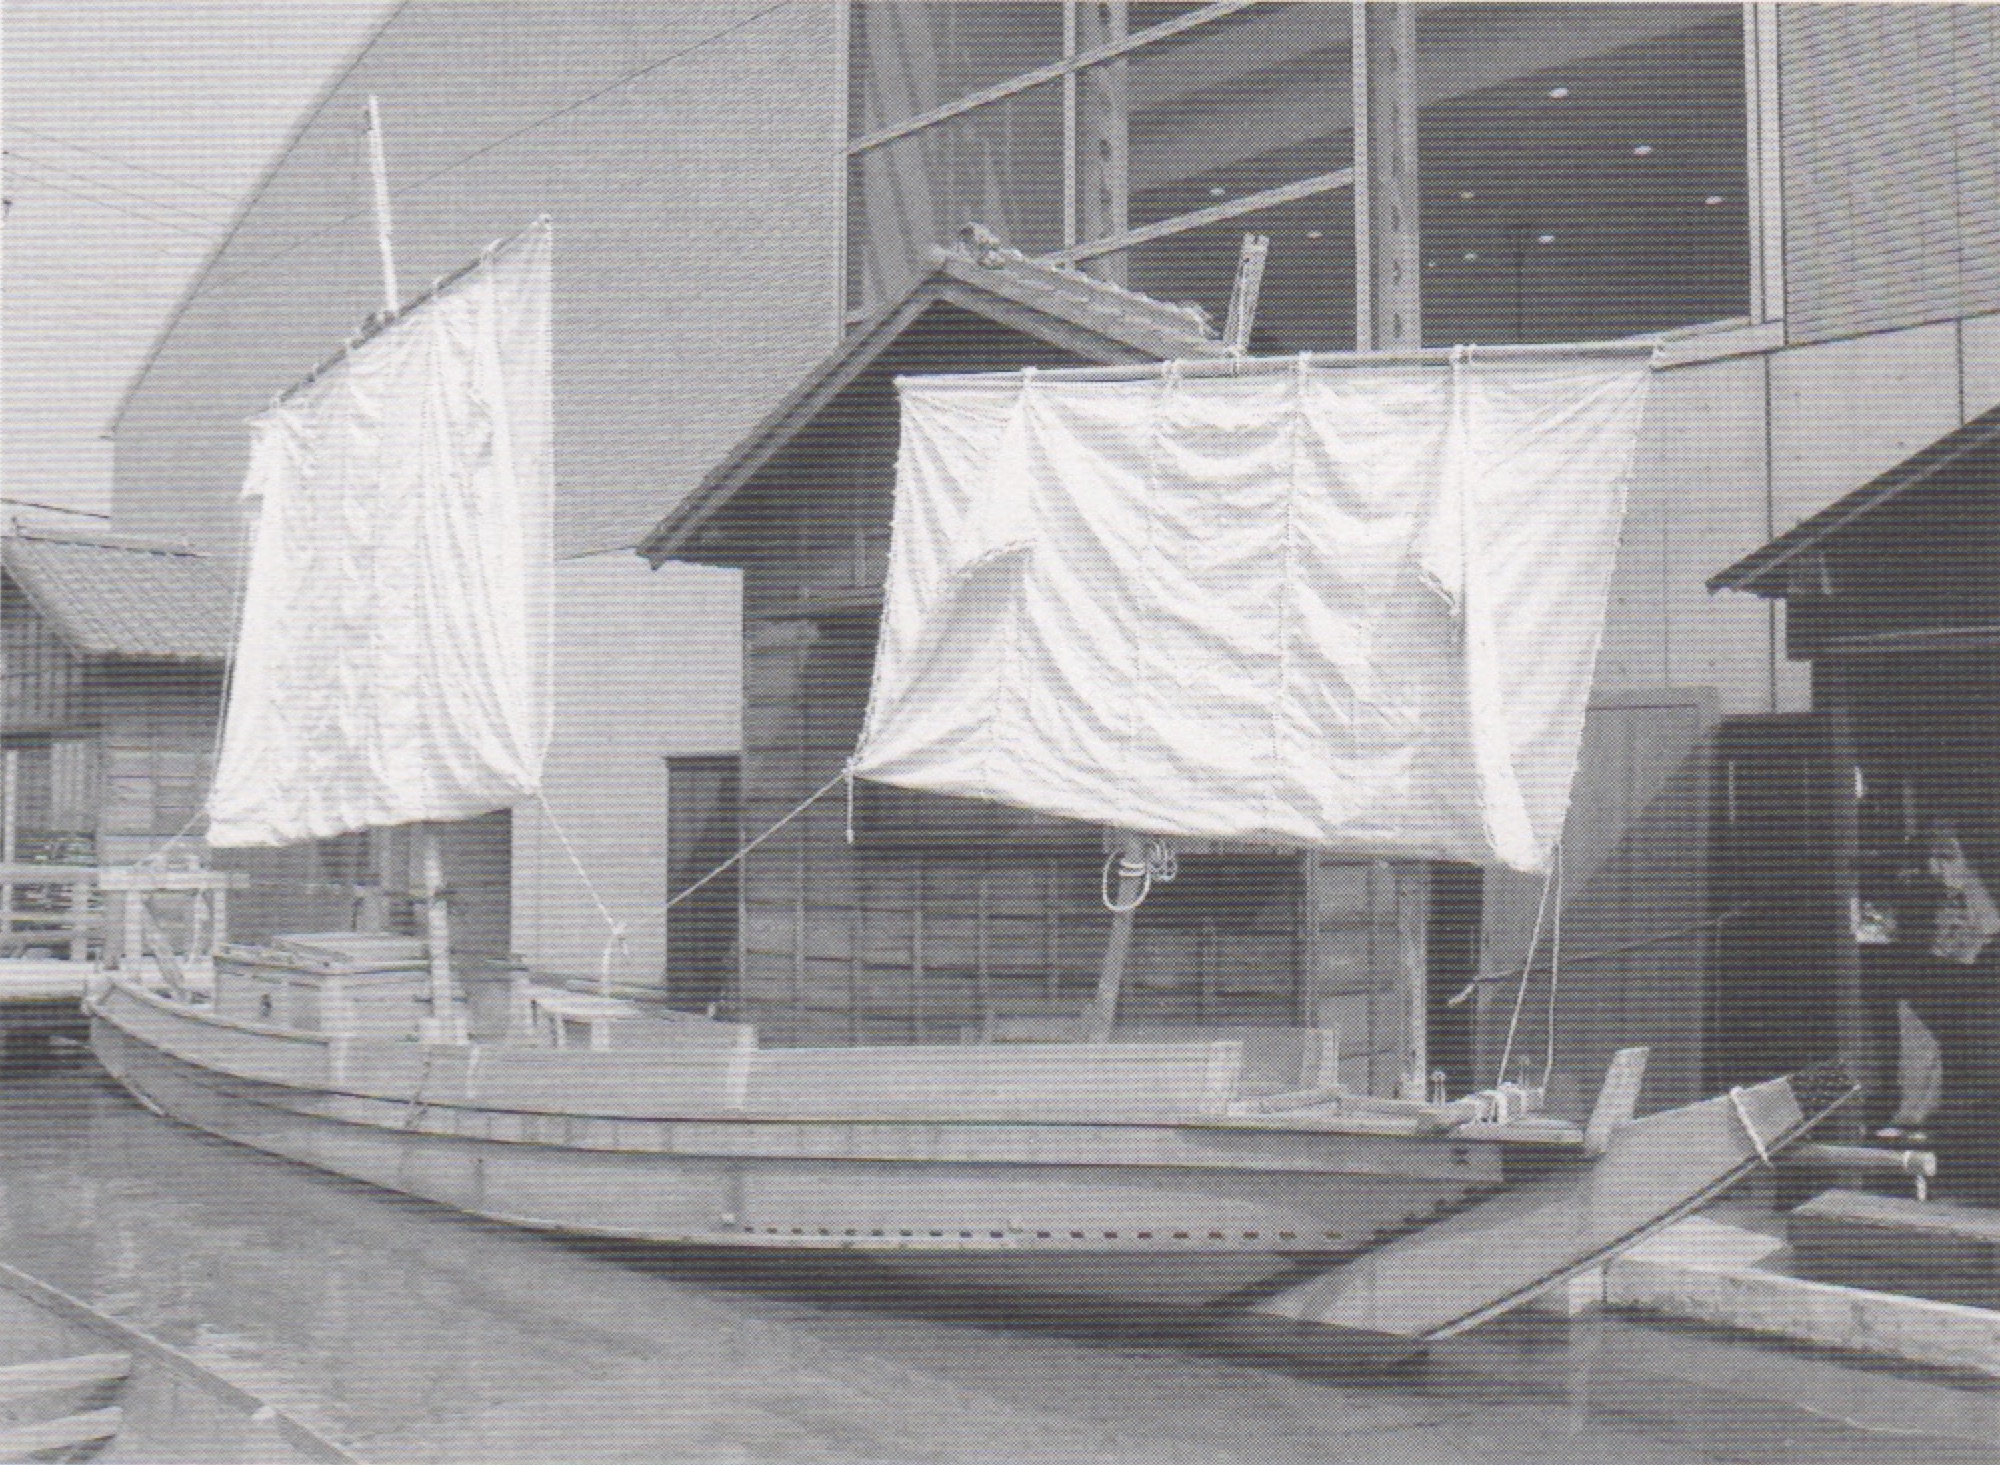
Late period Utasebune at the Urayasu City Museum.
There is quite a bit of review of the hull details I can do here, but I’m mostly trying to focus on getting this model completed. At a future date, I may sit down and do a more thorough writeup of the details show in the Paris drawings, and how they relate to some of what I have learned about Japanese watercraft in general, and fishing boats, specifically.
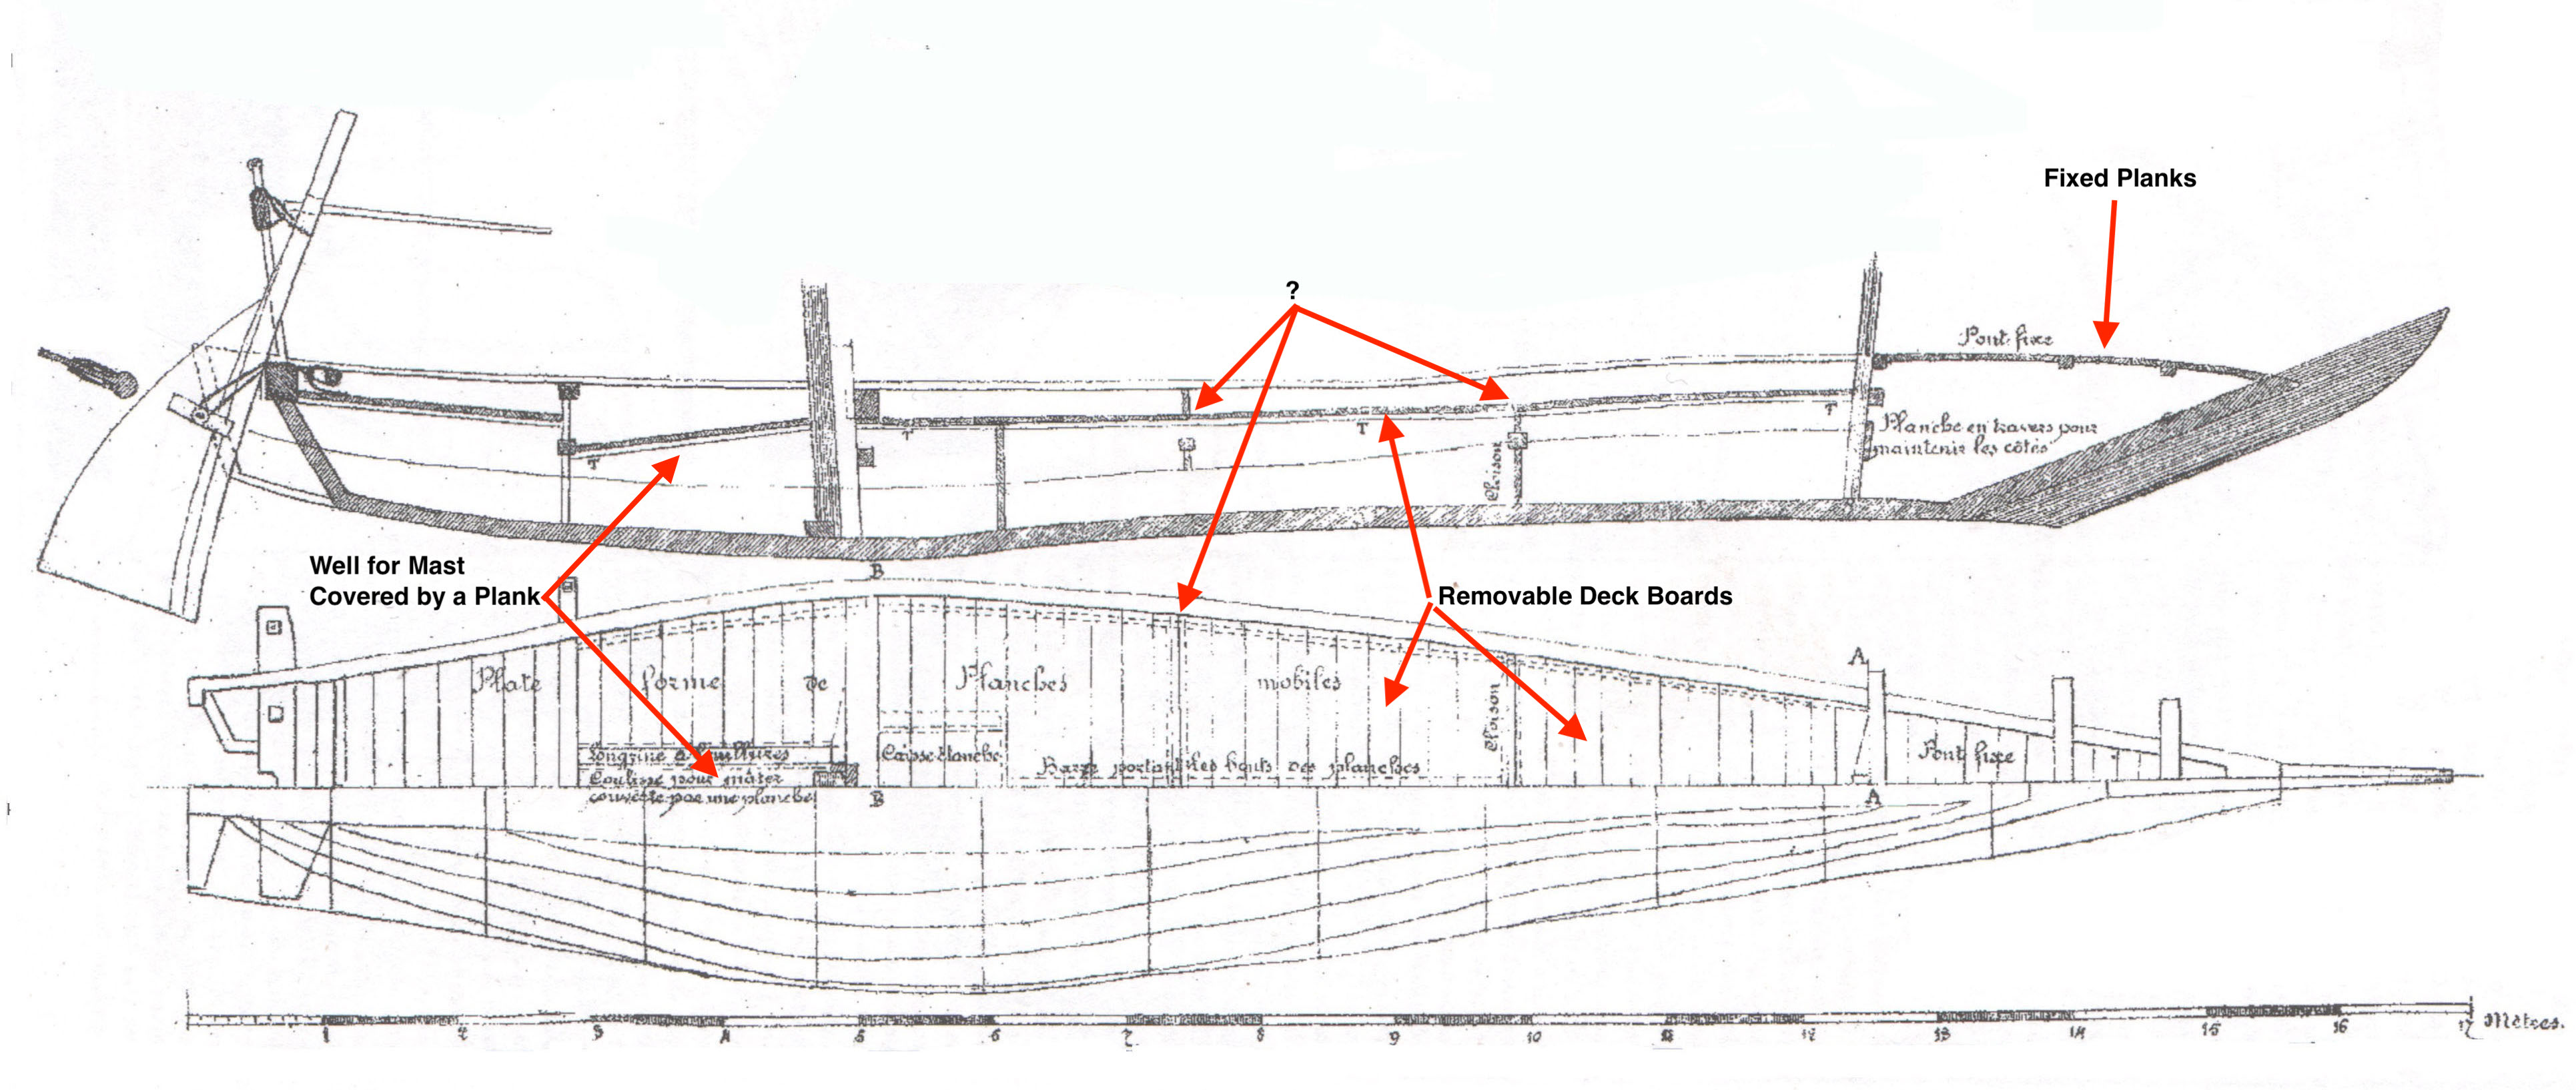
Hull details from the Paris drawings. I’ve labeled some general items. The items marked with the question mark “?” are features where I’m not quite sure how they manifest themselves on the deck. Rather than go into a lot of explanation here, in later photos of my model, you can see how I dealt or didn’t deal with them.
Before planking, I cut the needed beams and fit them into notches I cut into the hull. Most of these were fit into place only temporarily, as they will interfere with the planking of the decks and the fitting of the koberi, or rub rail.
 Next, I started planking the small raised deck at the bow. I assume this is referred to as a kappa, as this is a common term for a raised platform or deck at the bow. This deck is made up of fixed planks on the real vessel. On the model, the central strong back was left high enough, so the planks can be glued directly onto it.
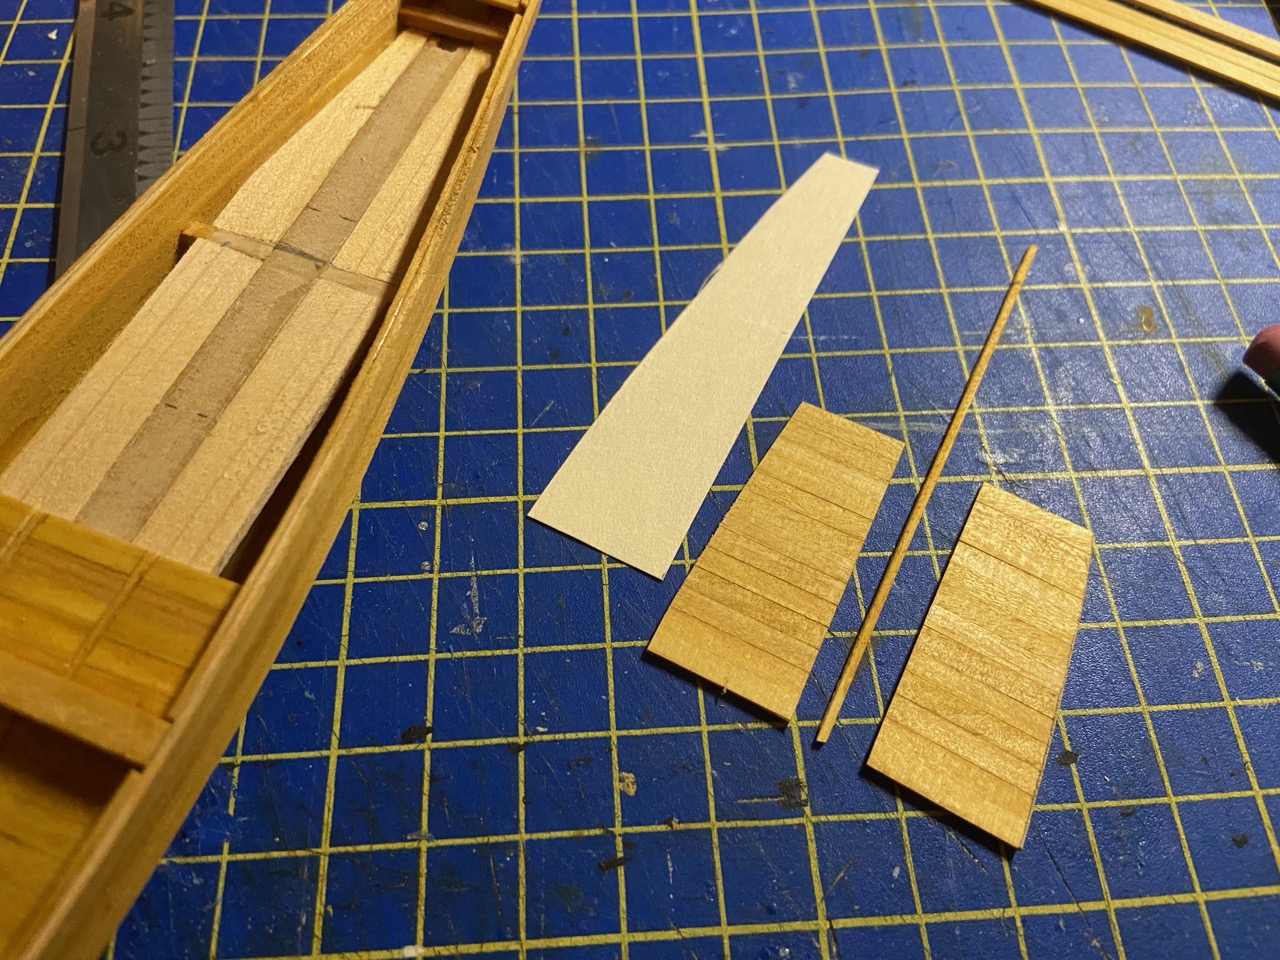
 After completing the kappa, I started planking the deck planking at the rear of the boat. I glued some short planks together, edge-to-edge, until I had a squarish panel that was large enough to fit the area I was working on. In some locations, I could just sand and trim the panel until it fit as closely as possible. In other areas, I found it easier to cut a card stock template to fit the area, then use that as a pattern to cut the planking.

If you look closely, you’ll notice I added the rub rails or koberi at the upper edge of the hull planking. This was a bit of a challenge, as it required the very thin planks be bent to the unusual curvature of the upper planks. To aid the process, I used a lot of hot water and steam.
 ‘Note how the koberi covers the end of the large center beam. This is the only beam where the ends get covered by this rub rail. The rest pass through it.

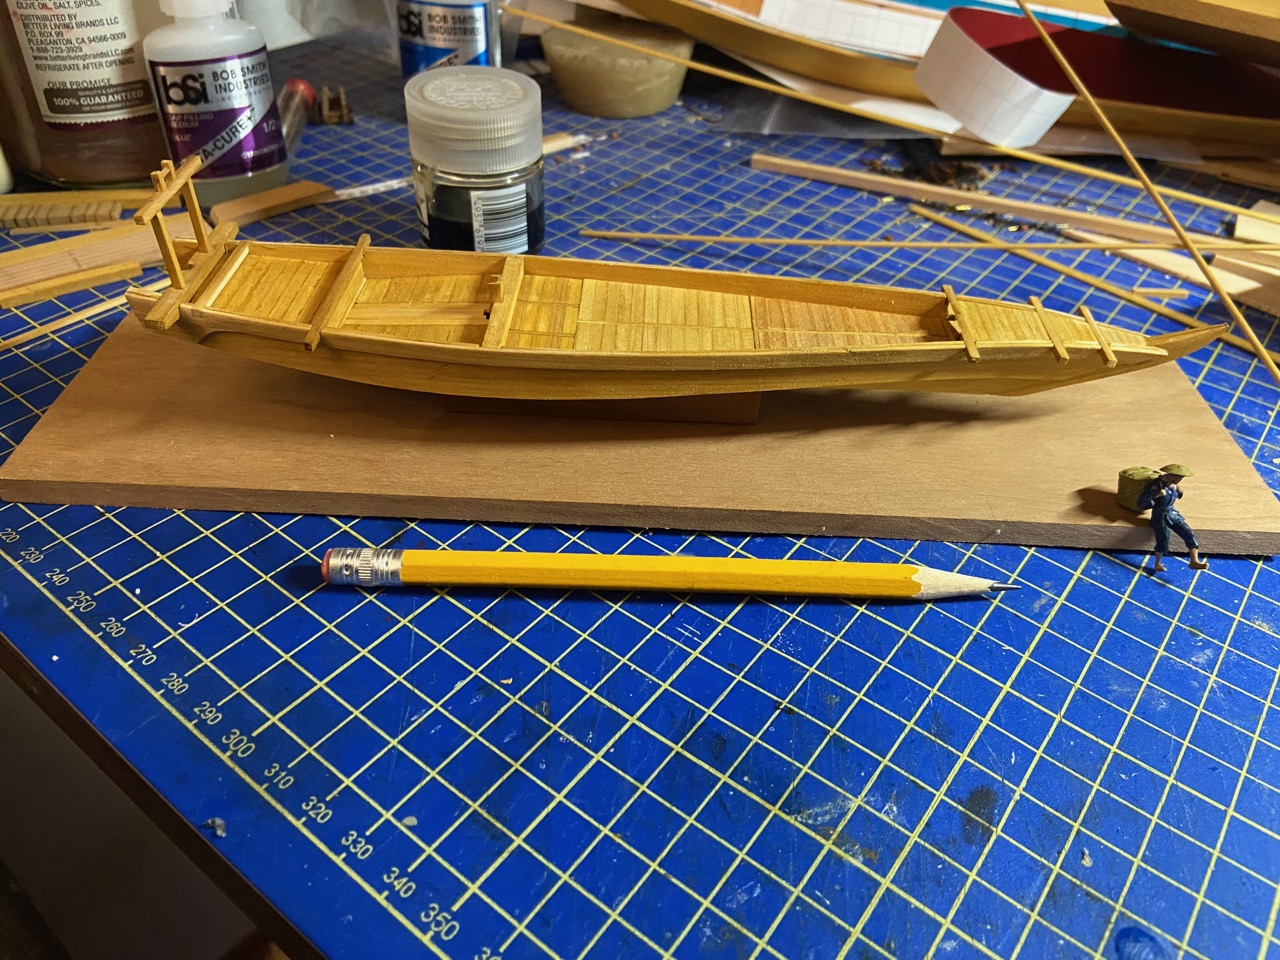
In the last pair of photos, you can see that not only did I complete the deck planking, I glued the forward beams into place. A couple beams are still removable at this stage, with the most significant one being the ōtoko, or great beam, that supports the rudder and the rudder gallows.
Here, you can also see rudder gallows I pieced together, though it’s not glued into place. This is one of those assemblies that I just sat down and did without a lot of thought put into it. It’s a bit fragile, but is still removable at this point.
 In the final photo, the only real change is that I added a fashion piece at the stern, right under the rub rail. It forms a kind of curved extension of the rub rail, which you can see if you look closely at the photo below, just under the ōtoko. This is a feature that appears on a lot of wasen. Note also the little 1/72 scale peasant sidding on the edge of the baseboard I made. He gives a good sense of the scale of the model.
I don’t think it’s showing in these photos, but I also shaped the mainmast, which fits snugly into the mast support just behind the central beam.
Coming up on my next post, I need to add the cap rail, called the uwakoberi, and the protective caps that cover the aft ends of the hull planks. Also, I’ll need to make a rudder, but this and the rigging for raising and lowering it, is pretty clearly illustrated in the Paris drawings.
Later, I’ll also be drawing up and cutting adhesive backed vinyl pieces to represent the mortise covers. Also, the Paris drawings show the lower hull painted black, which I will probably do. After that, there is the matter of making the sails and rigging the model.
As for added details, I really don’t know how I would simulate fishing nets in proper scale, or how they were made, so I may not mess with them. However, the boat would have been equipped with a few sculling oars, ropes, perhaps a few poles for maneuvering at the dock, and a portable gang plank, so I’ll definitely be making these.
And, while I made a burst of progress this past week and weekend, I expect some slower going moving foward, due to work commitments, and the detailed nature of the remaining parts of the model. But, I will press forward as much as I can.

Looks fantastic – please keep the updates coming
LikeLike