
I’ve finally made significant progress, though most of it doesn’t really show, as so much is in the small details – the simulated copper coverings are finally done!
This took me a while as I kept thinking I was done. Then, I’d think some more and realize there was some other feature I wanted to add. I’d no sooner finish that, than realize I really should add yet another feature. This cycle has repeated itself many times, but I think it’s over now, and I can put that equipment away.
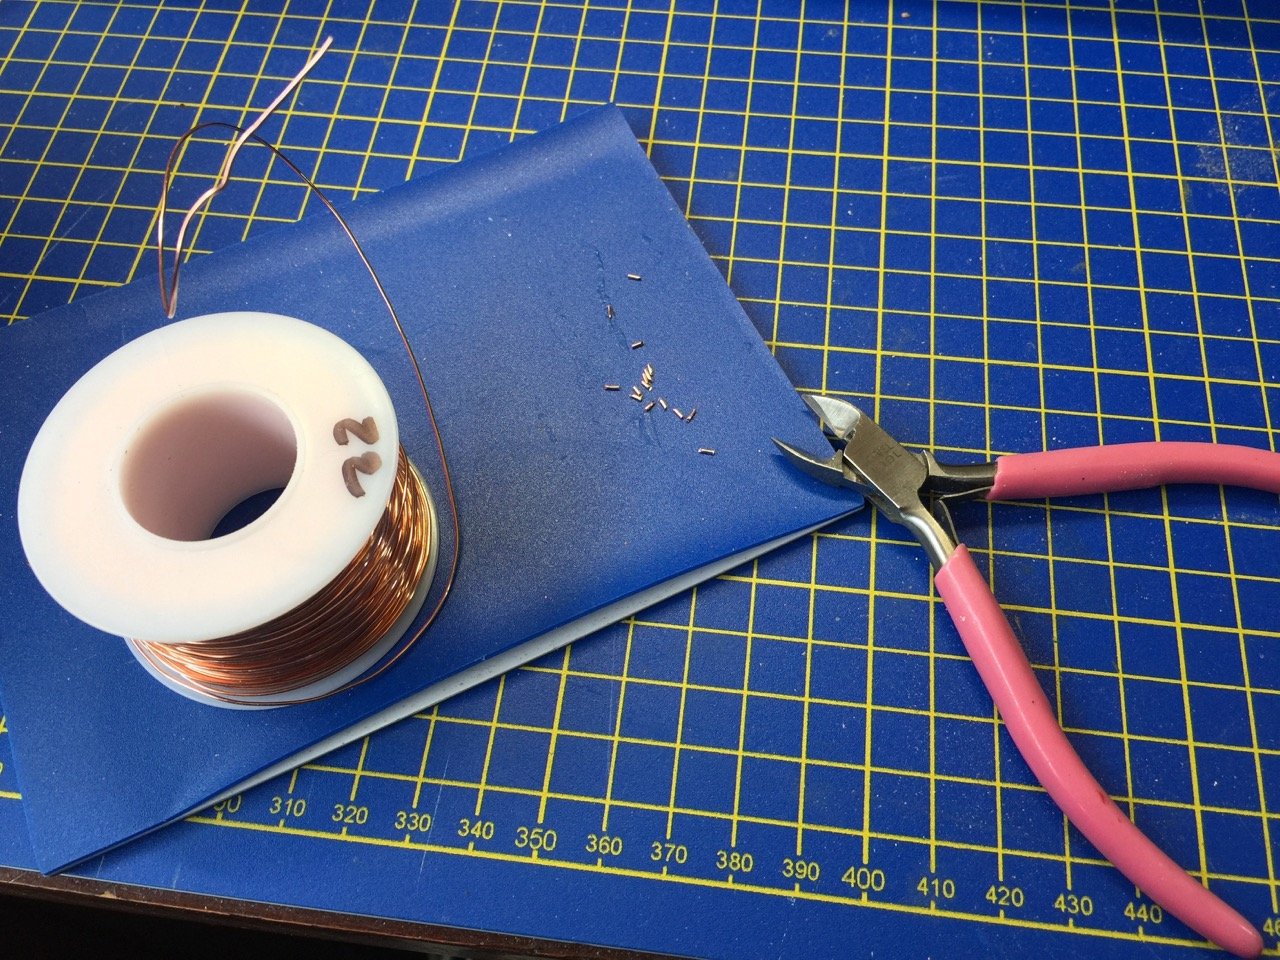
The next item I decided is pretty straight forward and related to the vinyl “coppering” details. Often times, the coastal transports, known generally as bezaisen, are shown with nail heads in the bulwarks fences. Adding these at this scale may be a mistake, but I’ve started down the road – No turning back now. I drilled out all the necessary holes which will be plugged with some 22 gauge copper wire. I intend to blacken the wire using liver of sulfur.
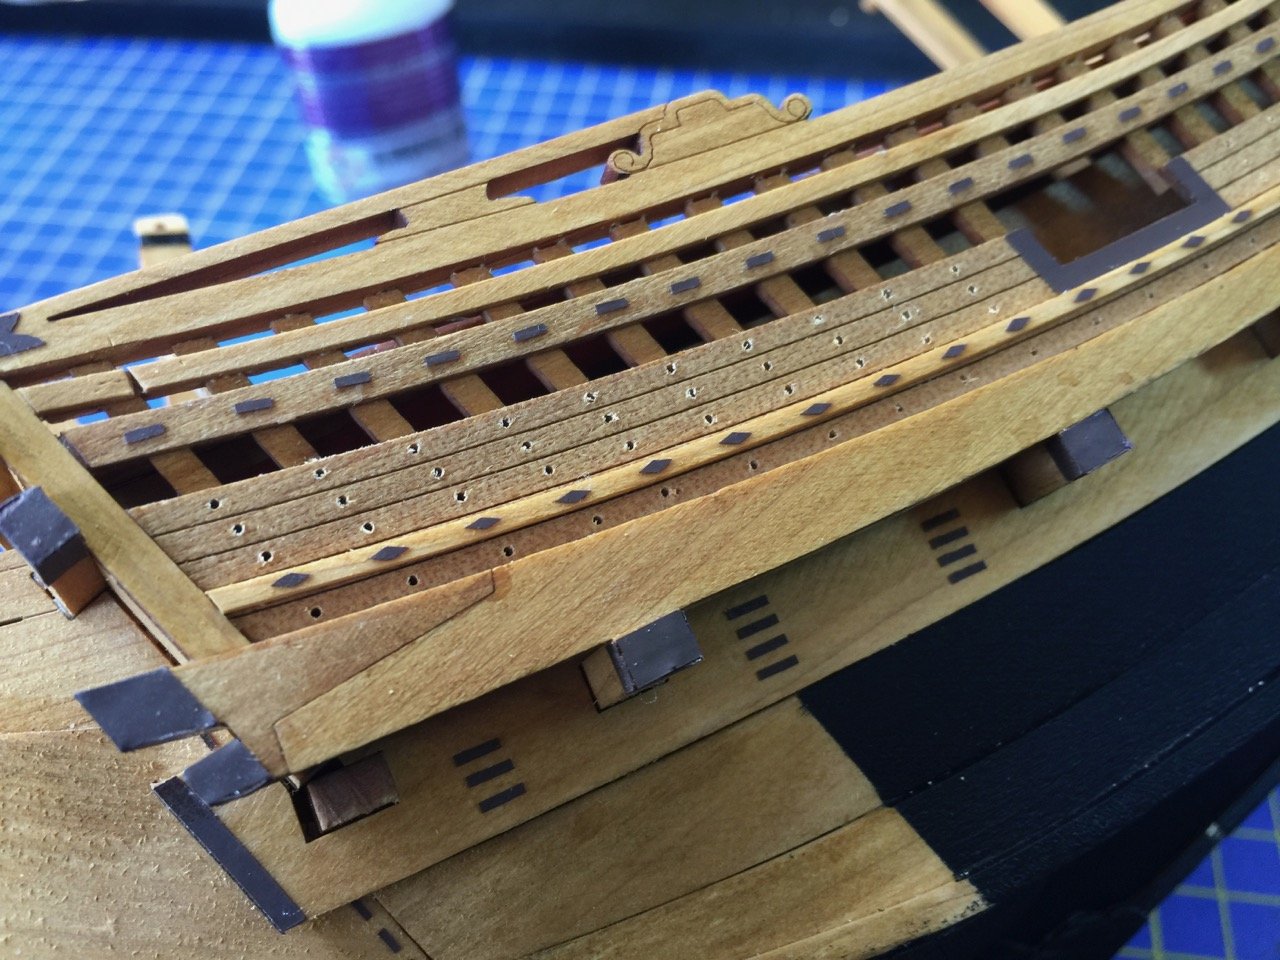
Holes were drilled out and I started the process of making copper “nails”. The heads have to be flat, so I filed the end of the wire and then cut the “nail” off.
I glued the finished nails into the holes and pressed them flat against the hull. The process seemed to work okay, though I won’t really know how well I will like the results until it’s all done. It’s slow going, but there aren’t really too many to do when you get down to it.
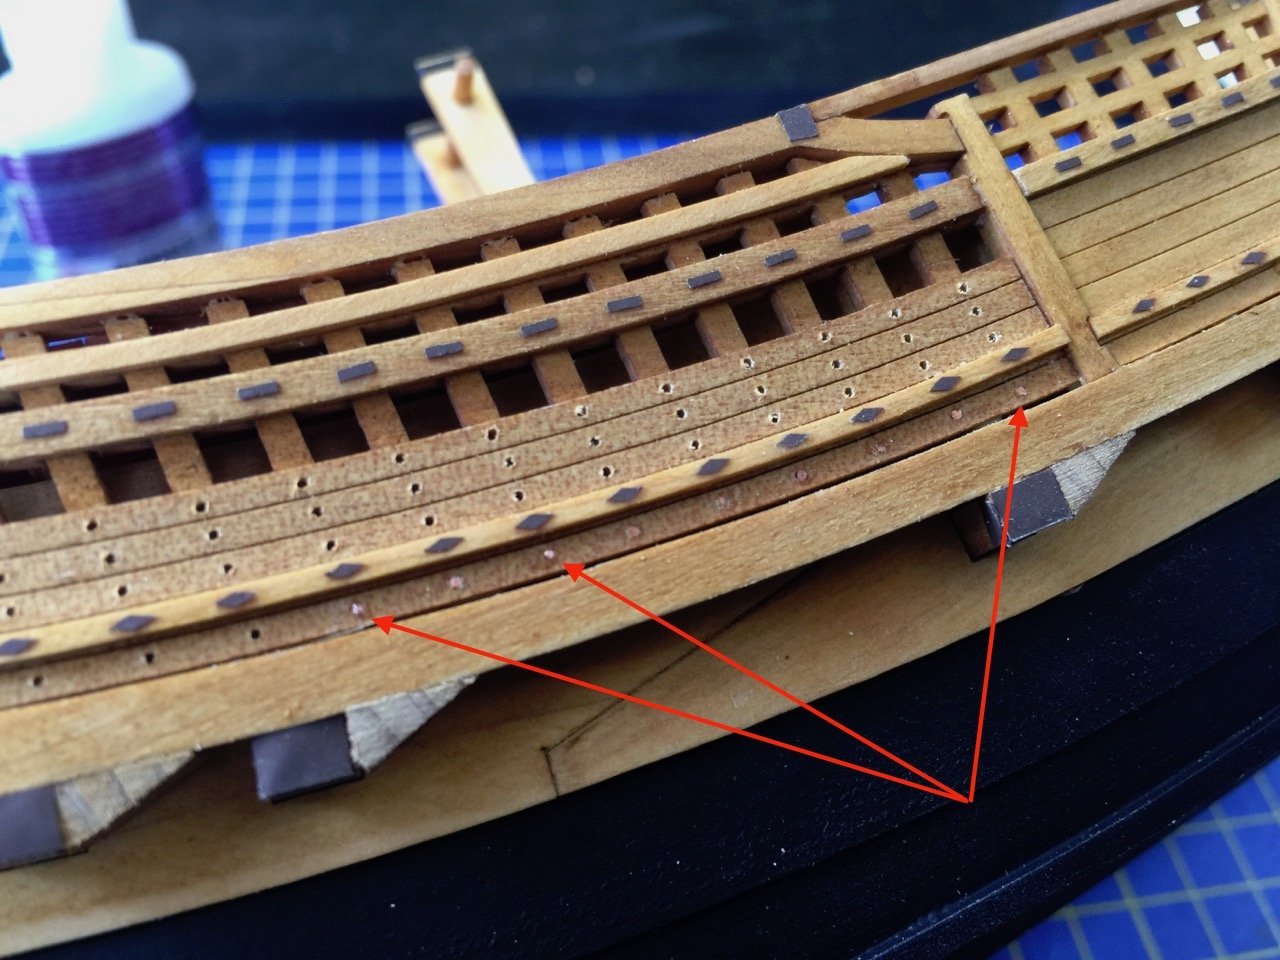
In the photo above, the red arrows point to some of the copper nails after they’ve been place.
With those nails completed, I discovered that I had managed to misplace the instruction booklet for this Woody Joe kit. Fortunately, at this stage, the model is nearly identical to the Higaki Kaisen kit, which I’ve built before and still have the instructions for.
I went ahead and added the main mast and decide I would just make a single short mast that is often fitted at the bow, using various museum model photos and the Paris scans as a guide.
The main mast, I had built months ago, so it’s been ready to mount for some time. For the bow mast, I fashioned that out of some of my hinoki supply and fit it into place. I placed it just forward of the foreward most beam at the bow, which allowed me to lash the mast to it for strength. I added a very simple rectangular piece of wood for the mast step, and fit a piece of brass rod into the base of the mast to help secure it to the deck.
I also added some lines to chocks I made for the tenmase, the small boat I placed on the foredeck.

I forgot to mention that I added a pair of small eyebolts on either side of the bow and made a piece of red and white rope that’s used to hold the sagari (the tasssle hanging from the stem) from swinging about.
I used white line that I’m told is cotton, but I’d swear it was linen line. Anyway, I used some red gouache paint on one length of line. It gave me the brightest looking color for the rope that I’ve been able to get. I then twisted this and a piece of white line to make the final red and white rope. This worked well enough, but had to be careful with the gouache, as it stays water soluble even after it dries. I’ll be spraying the whole model with some matte laquer, so this will hopefully stabilize the paint in the rope.

I also got out the mini drill press and drilled holes to add bars to the windlass barrels. These would actually have been wood, but it seemed to be a lot simpler to use some wire I have on hand. They look pretty good here, but I’m sure these wouldn’t have been iron, so I’m going to mix some paint to try to match the rest of the wood and paint these.
Securing the main mast was easy enough. There is a pretty simple lashing that makes several turns around the whole assembly. I’d seen one photo that had this nice crossing of the rope behind the mast, so I thought I’d work that in. Looks a lot less plain this way.

Finally, here’s the tenmasen up close, now secured to the deck, with excess line trimmed off. I still need to make oars for it, but I’ll add that to the list of little details I’ll add at the end, to include possibly a ladder on the main deck and possibly some sample cargo.

Next, it’ll be time to make the sail. Haven’t decided how I want to do it, but I have some ideas. We’ll see which one wins out.
