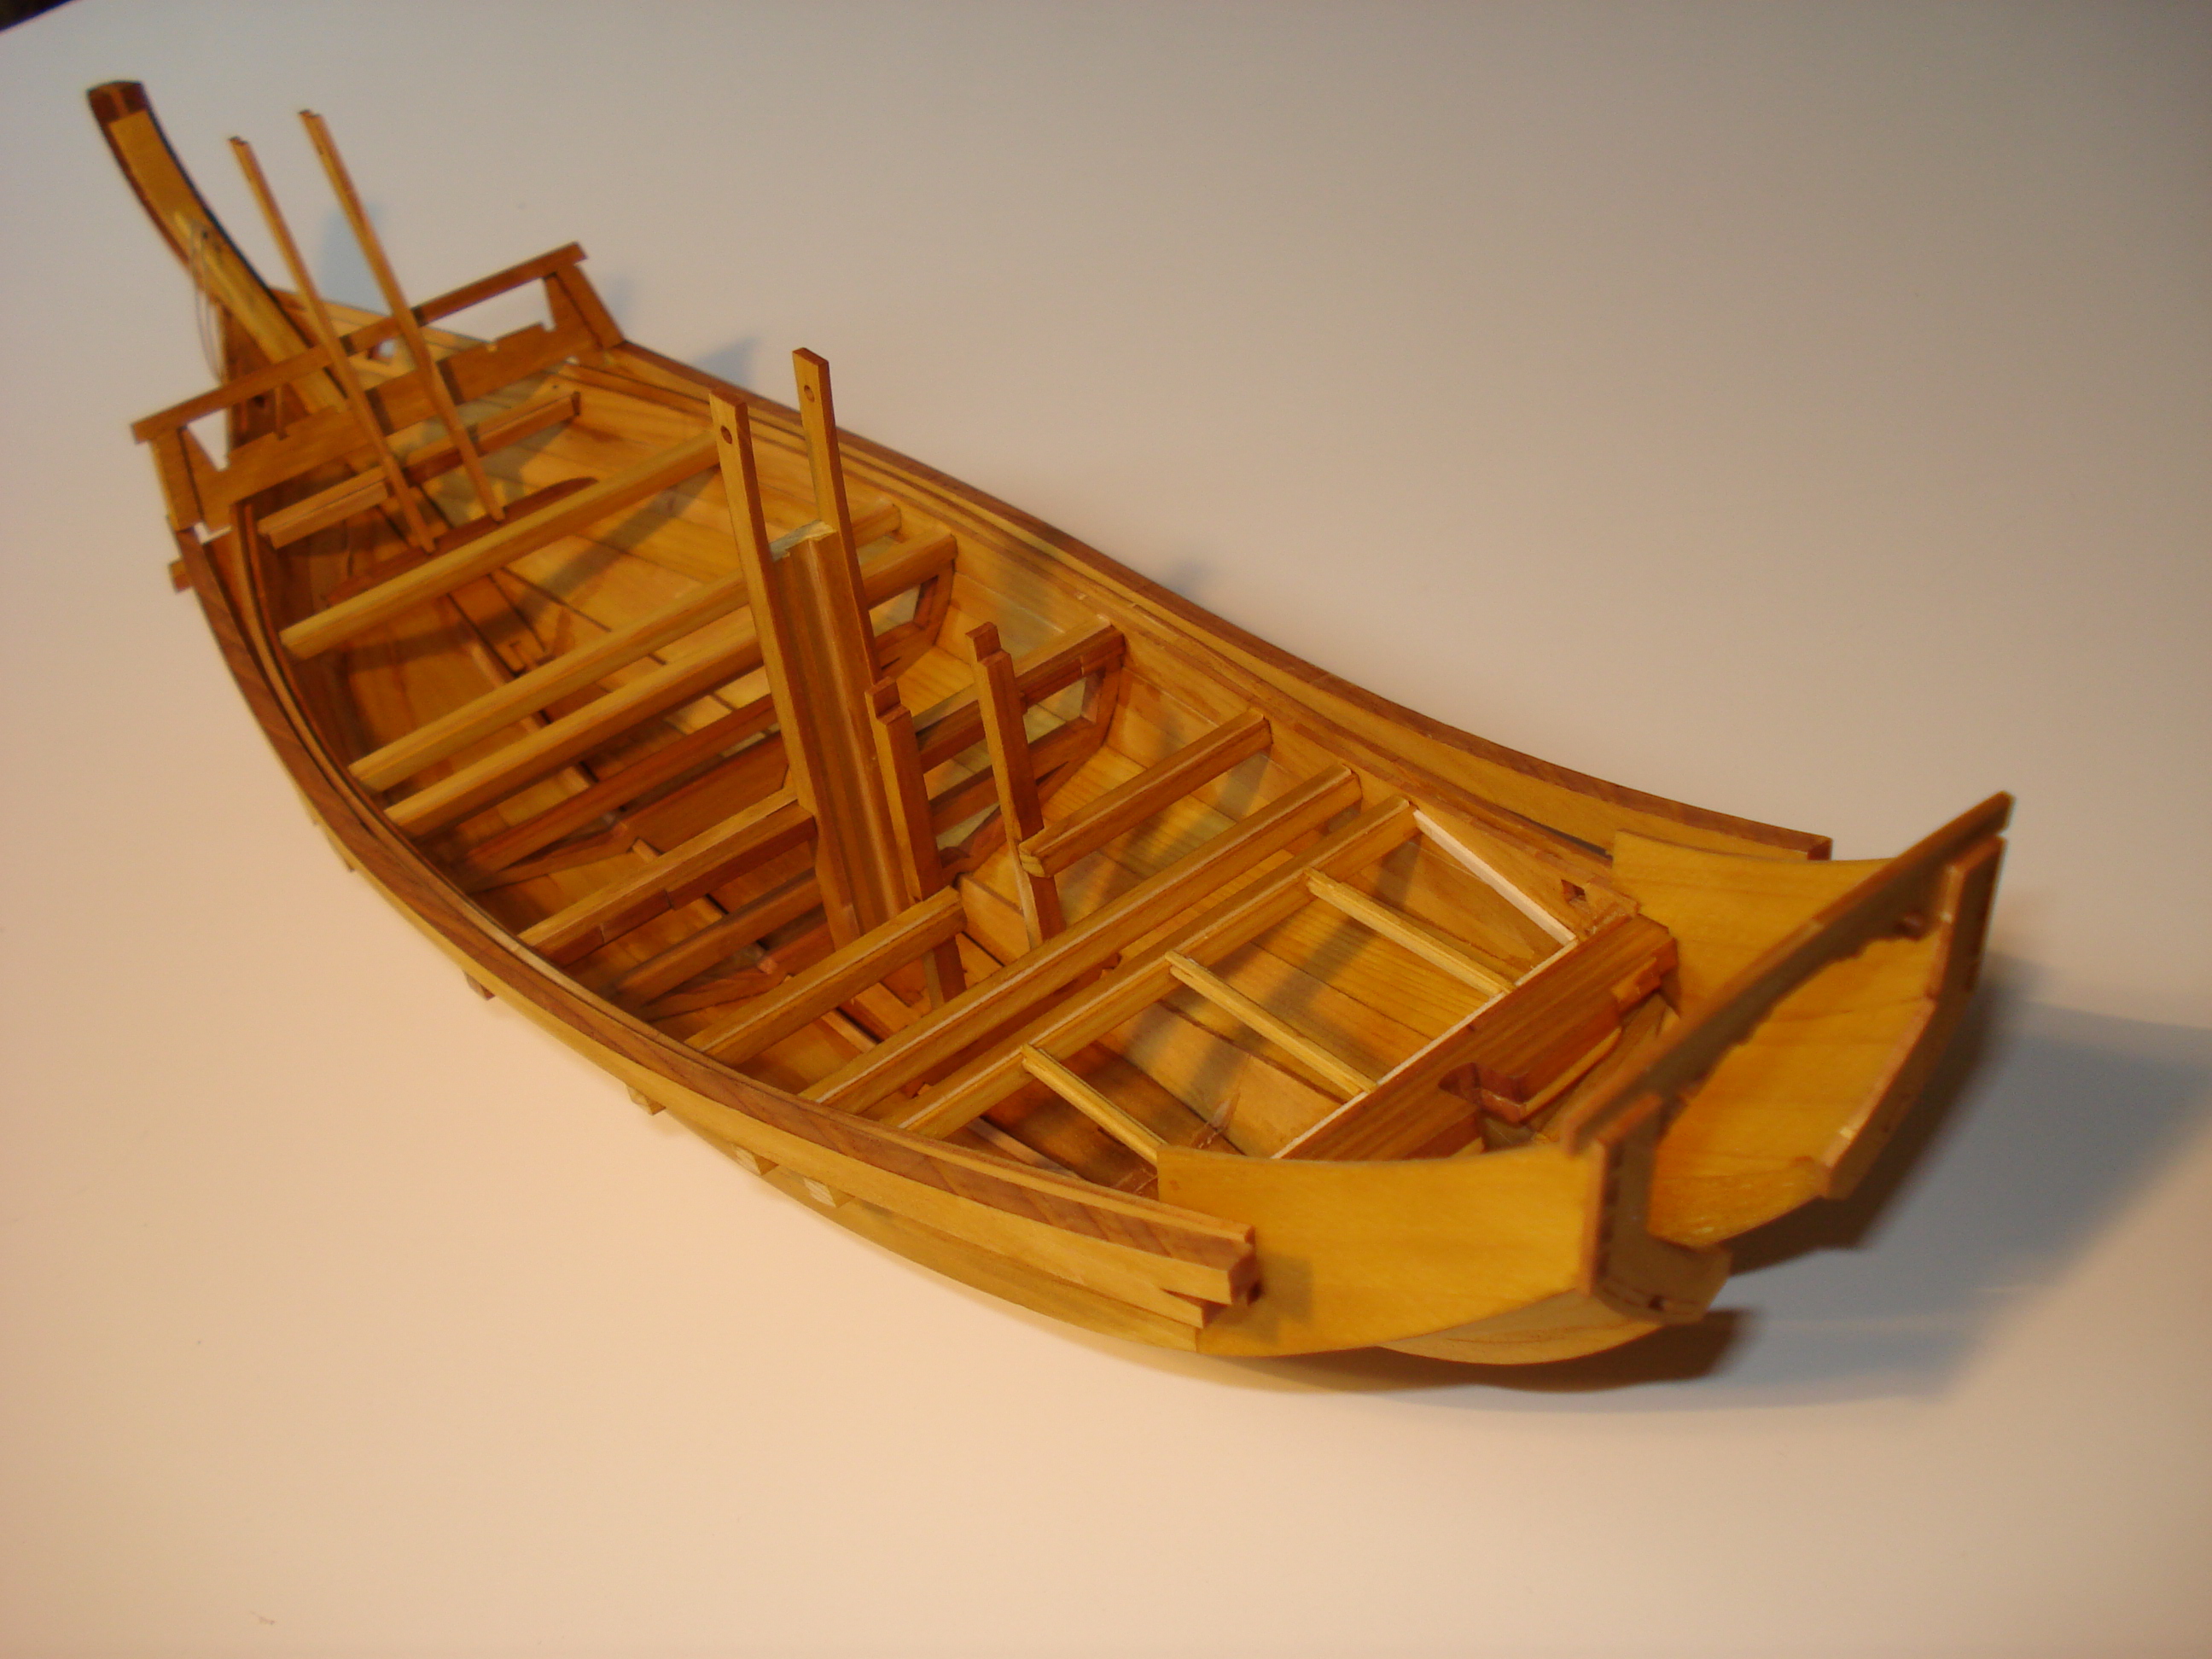
I’ve had the Higaki Kaisen kit for close to two months now and I’ve been working on it pretty steadily except for about a 2-week period where I couldn’t due to the holidays and a shoulder problem I had. But, I’ve had a chance to work on it again and develop some more thoughts on the kit itself.

This is still a really fascinating kit and at about half-way through, it’s still fun and challenging. I’m spending a lot of time now on interior details and I’m finding that the level of challenge seems to be increasing as I get further along in the build. But, my comments on the amount of care and patience needed still hold. You really want to study the illustrations very carefully, and at this stage, you also have to be consulting the plan sheets to check measurements for the deck beams and such.
I’ve had a chance to go over the text in the instructions with someone who can read Japanese and, had they been written in English, I think it wouldn’t make all that much difference. Much of the text is there to remind you to be careful or to watch to make sure you glue a piece on with the correct side up or make sure that you line up the parts along the edge. Most of these things you can get from close study of the illustrations.
Here’s a helpful clue to successful build of this model: There are times when you are not supposed to glue parts together. Of course, this instruction is given in Japanese. However, it is always noted in red and if you can spot the Kanji (Chinese characters), you can “read” these most important instructions. The text to watch for is 接着. These are the characters for “bonding” or “gluing”. If these characters are followed by either of the negative verb endings しない, or しません, then don’t glue the indicated parts. When parts are to be glued together, the characters for gluing (again, that’s 接着) are usually followed by しますor する or simply have no verb ending at all.
So, summing up:
接着しません or 接着しない = Don’t glue together
接着します or 接着する or just plain 接着 = Glue together
This might seem like too much to deal with, but actually there isn’t a tremendous amount of text to follow. There is no separate written paragraphs of instruction, unlike in many Western kits. All the instructions are in simple steps, so there are only a few sentences with each illustration. Also, the text to watch for will be marked in red. Finally, Japanese verbs come at the end of sentences, so they’re pretty easy to locate (plus, the Japanese period is an open circle “。” – easy to spot).

Above is an example of a piece not to glue into place. In this case, you are just using the piece to aid in getting a proper angle on the cross-beam. I circled the important text in a green dashed line.

Here is another example where you are instructed not to glue the dowel in place. If you look ahead in the instructions, you will find that you later need to be able to push the dowel out temporarily.
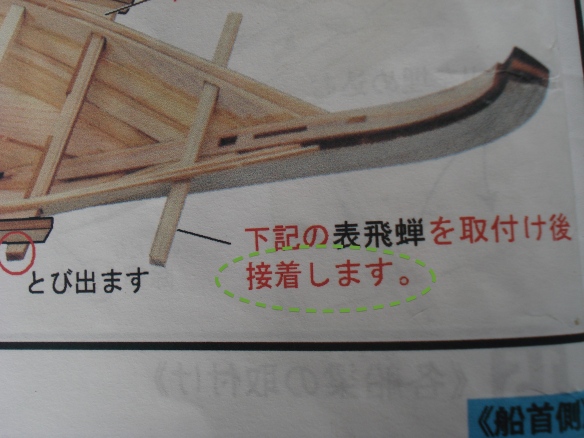
I include this to remind the builder to look carefully as the text telling you to glue the part is similar to that which tells you not to glue. Proceed slowly, look ahead and study illustrations carefully.
I recommend going through the whole instruction book and searching very carefully through the text before beginning the build. Circle any occurrence of 接着しません or 接着しない to flag them so you’ll clearly catch them later. There really aren’t that many times that you have to avoid gluing parts, but if you miss the call to not glue, you’re going to be trying to pull apart parts at some point. On that matter, I’d also suggest that you glue sparingly. The parts in the kit are pretty light and don’t need much glue to secure them.
Alignment of parts is probably the trickiest part of this build. I’m finding it best to read ahead in the plans, see what parts are in contact with what and do a lot of test fitting. In some cases, I found it best to jump ahead on some small sub-assemblies to make sure they’ll fit into place properly when the time comes to glue them into place.
I’m about half-way through this model and I’ve run into mistakes I’ve made, most of which I was able to fix one way or another. In most cases, I glued where I shouldn’t have, but was able to pop glue joints loose to make corrections. There was one issue with the hull planks where they didn’t come together too well and I ended up having to fill a small gap, but that shouldn’t be too noticeable in the end.


I’ll post more about the build later. But, I think I’ve pretty well covered the issues you will run into when building this kit. I’m still really enjoying this build a lot. It’s neat to see it come together and the details are nice. This is definitely a kit for the patient and careful, but adventurous modeler. Ω