Visiting the Umi no Hakubutsukan

That’s what the Toba Seafolk Museum is called here in Japan. While there are some signs in english on occasion, if you ask anybody for directions or about the museum, it really helps to say it in Japanese: Umi no Hakubutsukan (oo-mee-noh-ha-coo-boo-tsoo-kahn).

IMG_2688

After a really long first day in Japan, which included visiting Woody Joe in Shizuoka and then getting a good look at the Hacchoro in the port of Yaizu, I was a bit burned out and decided to just relax in my room in the morning. The museum opens at 9:00am, but I didn’t get there until a little before noon.

First, a note about using Google Maps, which I used heavily during trip planning. If you look on the web about the museum, it would appear that the museum is open daily except for a small handful of holidays. Well, Google Maps, has a neat feature where you click on a public place like the museum, and it will tell you how popular the place is over the hours of the day. This would help you figure out when to avoid crowds. Well, I had a last minute freak-out before I left home when Google indicated that the museum was closed on Tuesdays, the main day I was to be in Toba.

So, I made contingency plans, and when I arrived at Toba, I asked about the issue at the hotel, but they said it was open. Could the hotel owner not know the museum is closed on Tuesdays? Seems unlikely. And, in fact, the museum is open on Tuesdays. Google lied, so just beware of that online feature.

Getting to the museum from town is very easy. There is a great local bus system here that you want to use called the Kamome Bus (kah-mow-may). The bus center is attached to the Toba JR station. Just be aware it’s on the ocean side of the tracks. The bus to Umi no Hakubutsukan is the No. 4 bus and it picks up at station number 2. The person at the ticket window can indicate which door the bus arrives at.

IMG_0946

The round-trip is 500¥, but you don’t have to pay until you arrive at the museum. As you enter the bus, grab the little return ticket that’s sticking out of the machine just inside the bus door. You’ll give this to the driver when you exit the bus on your return to the bus center.

IMG_2648

At the Museum

I read something that indicated it was a 10 minute walk from the museum bus stop to the museum itself. Another lie. The bus stops directly in front of the museum entrance. Just be sure to push one of the stop request buttons when you get close so the bus driver knows to stop there. Maybe he’d stop anyway, but why chance it?

Admission to the museum is 800¥ for adults and 400¥ for children under 17. If you want a refreshment, there is a little café right across from the museum entrance. It appears to be staffed by the museum people, so you may have to let them know at the front desk that you want to sit in the café. If it’s a hot day, you might take a respite from the heat as the café is air conditioned. Note that the rest of the museum is not, with the exception of movie viewing theater, where you can watch some film about Ama, the female divers of Japan.

IMG_0953

Museum entrance and main building.

If I had more time, I would have take more time to learn about the Ama, as there is a great deal of information about them at the museum. There is also “Pearl Island” in Toba, where I believe you can learn more about the Ama.

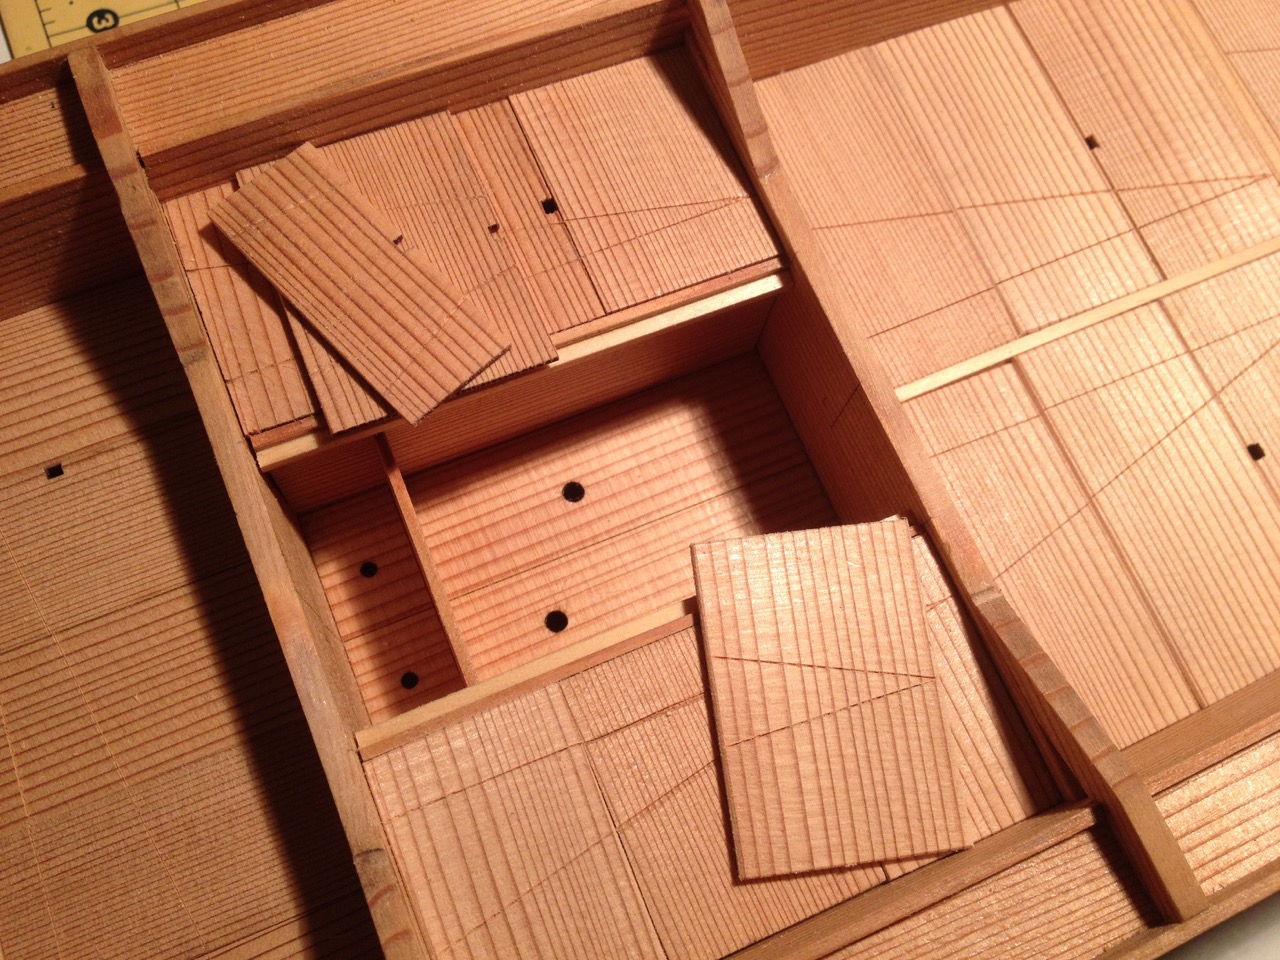
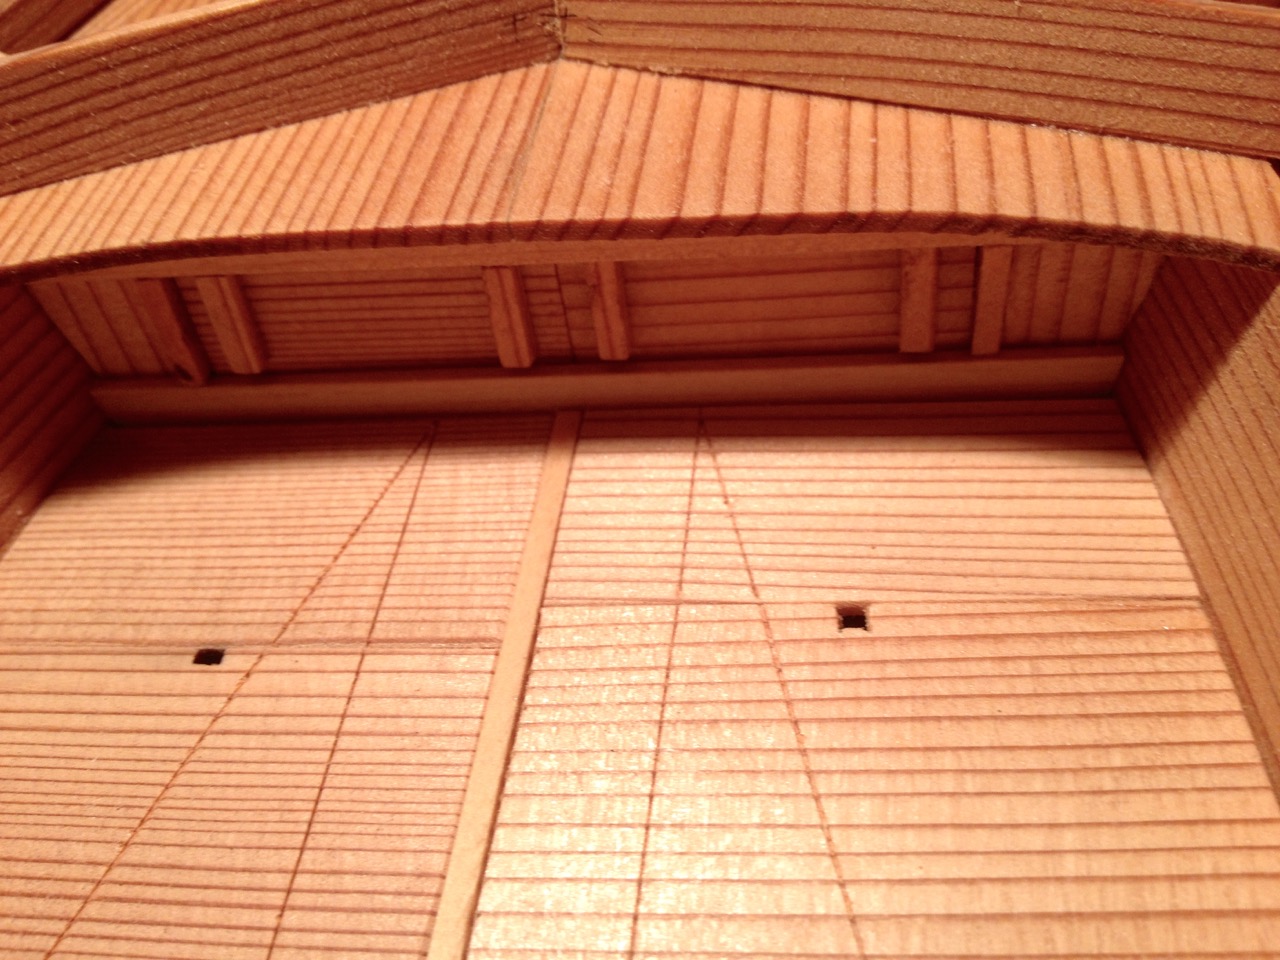
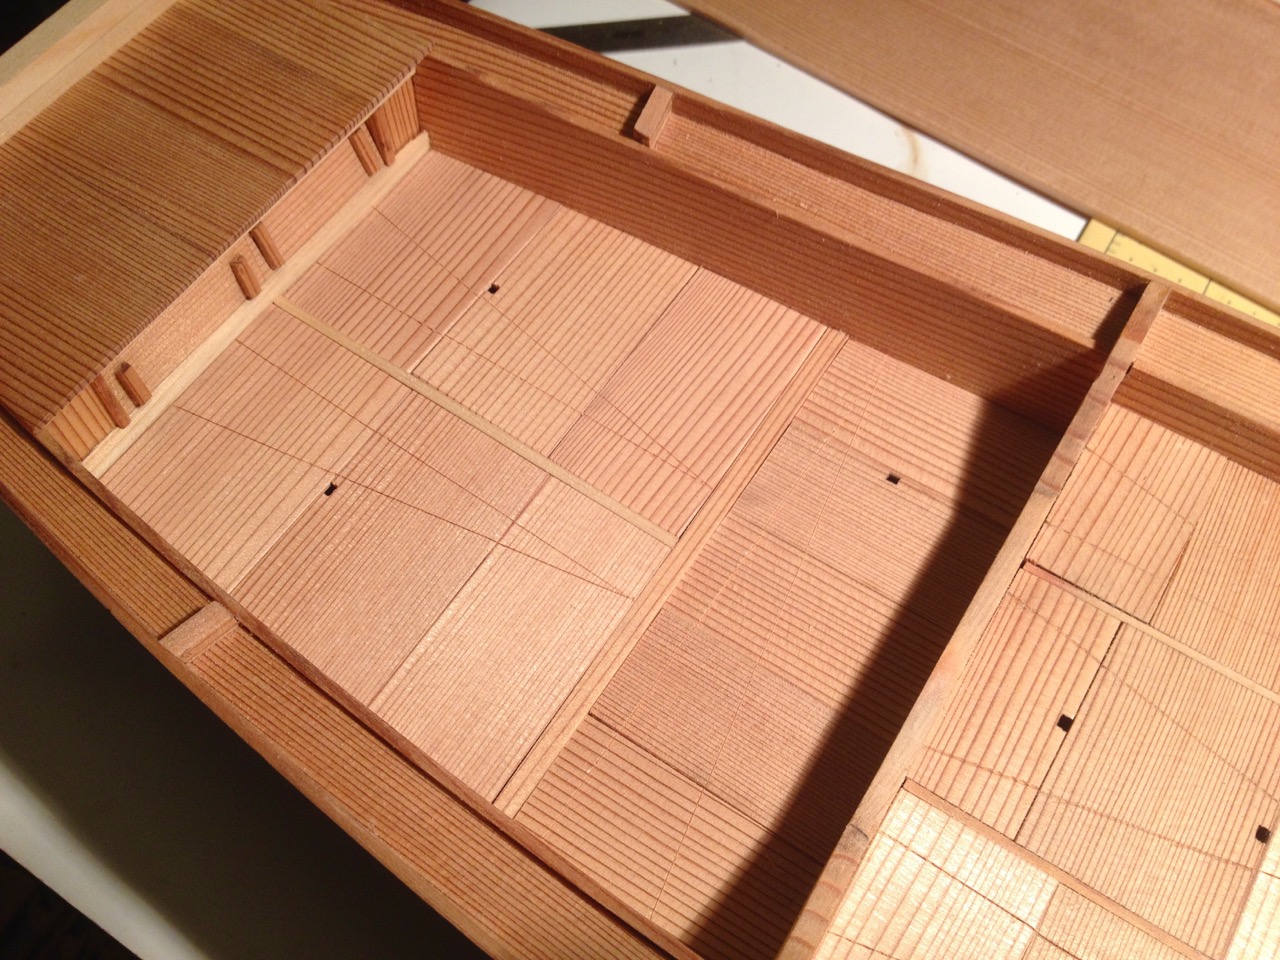
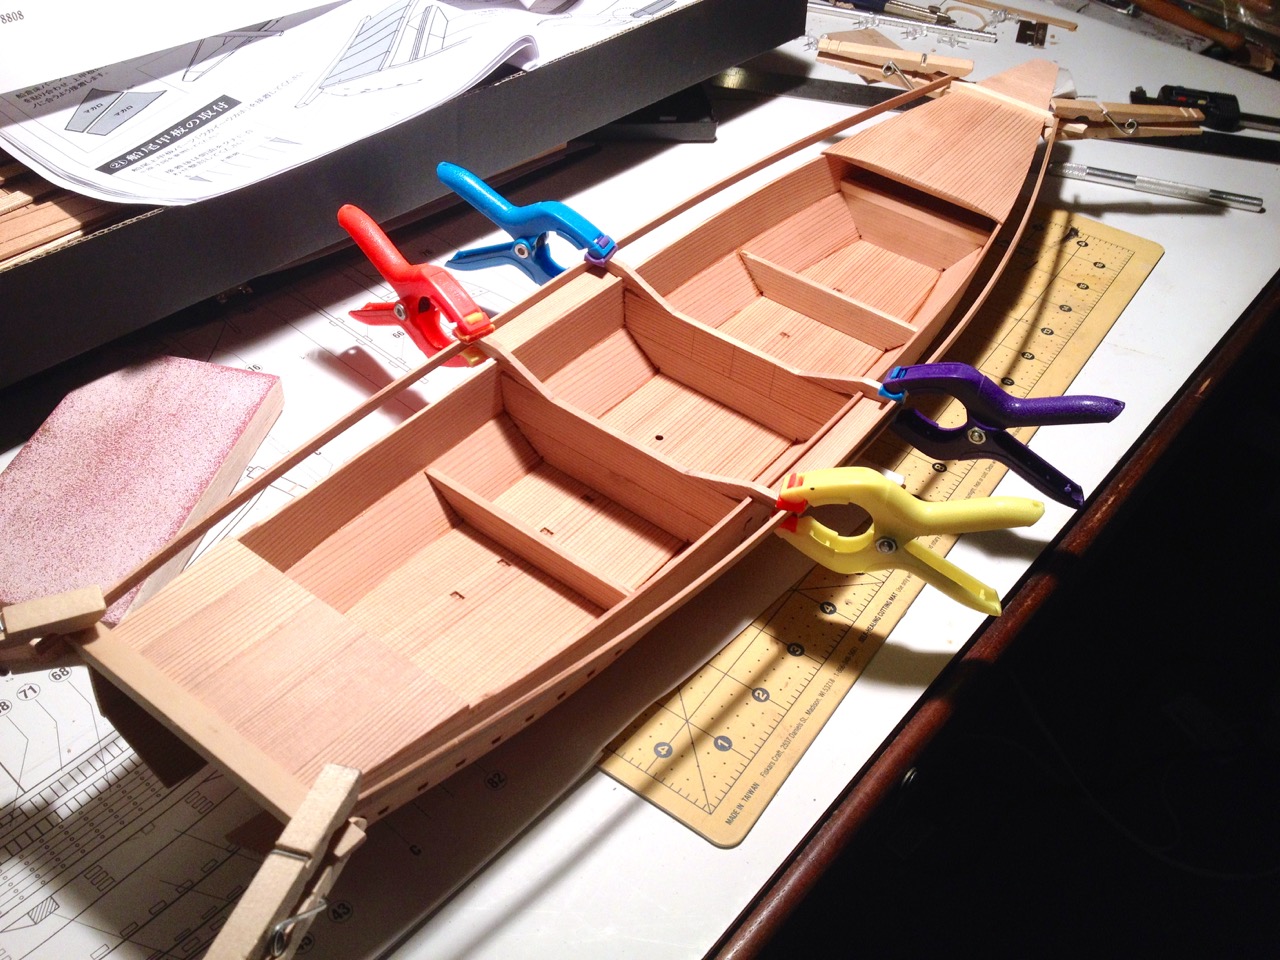
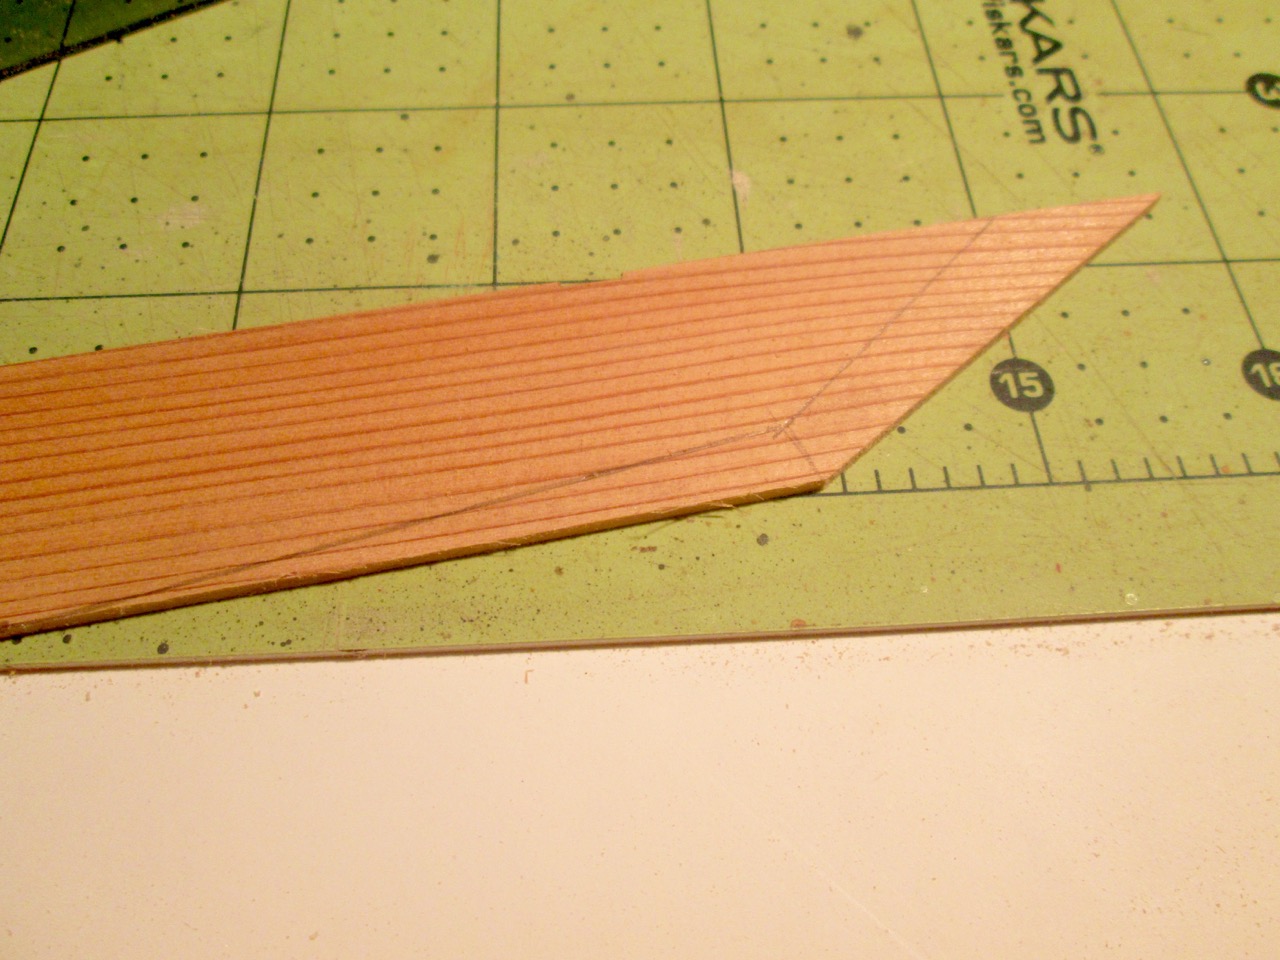
As it was, I spent about 3 hours looking at boats, fishing history, models of boats, the history of Toba, boats, and more boats. I did my best to learn and collect as much information as I could. I ended up burning up one camera battery, filling up my iPhone (doesn’t take much), and collecting more than 500 photos throughout the day. Of course, some were just countryside photos, a few selfies, and views of the bus, etc. But, for the most part, they were boat pictures.

IMG_2676

Inside the boat repository building.

I will have to admit that the value of most of the photos may be somewhat less than might be expected. There are so many boats in the repository that you can’t even get close to most of them. Also, the lighting is so bad that it’s hard to get good shots. Some are blurry and when I used the flash, it over exposed some of the pics.

IMG_1385

Not a lot of room to get close to the boats.

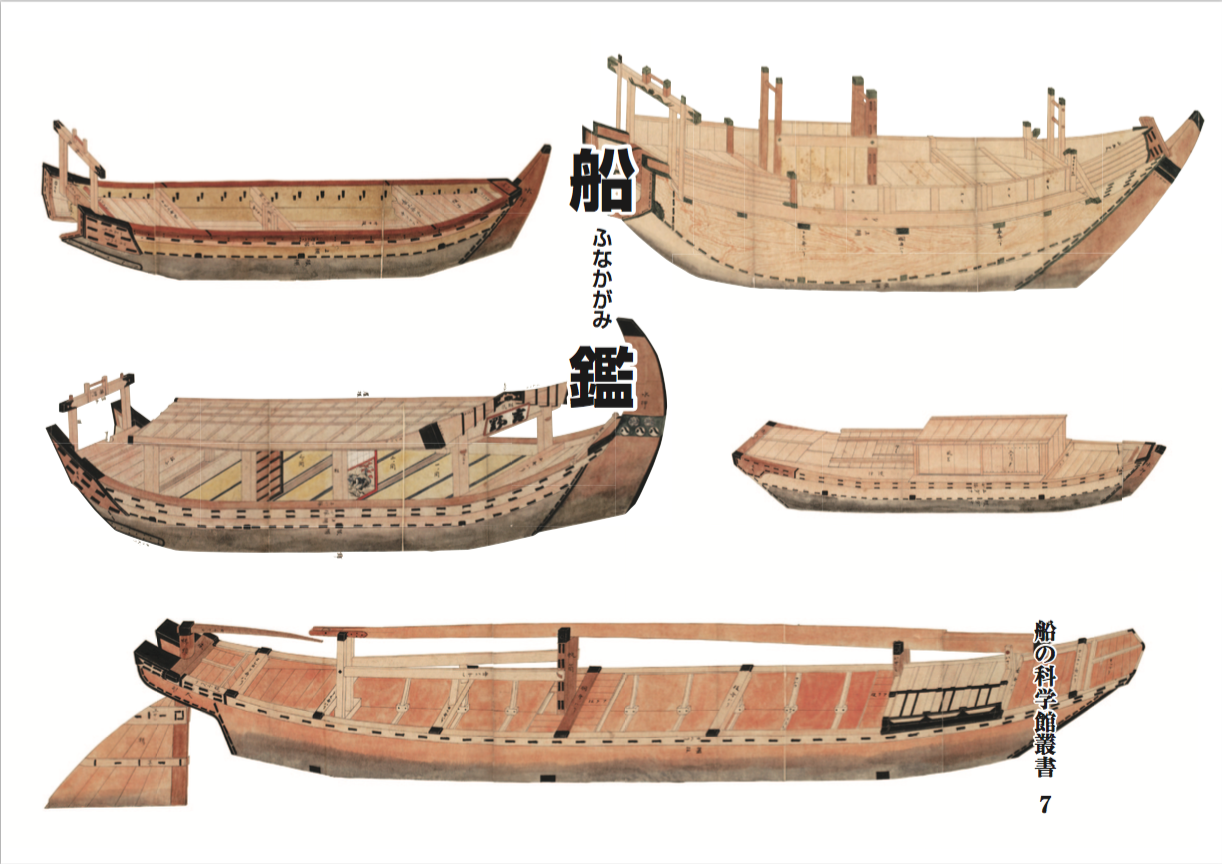
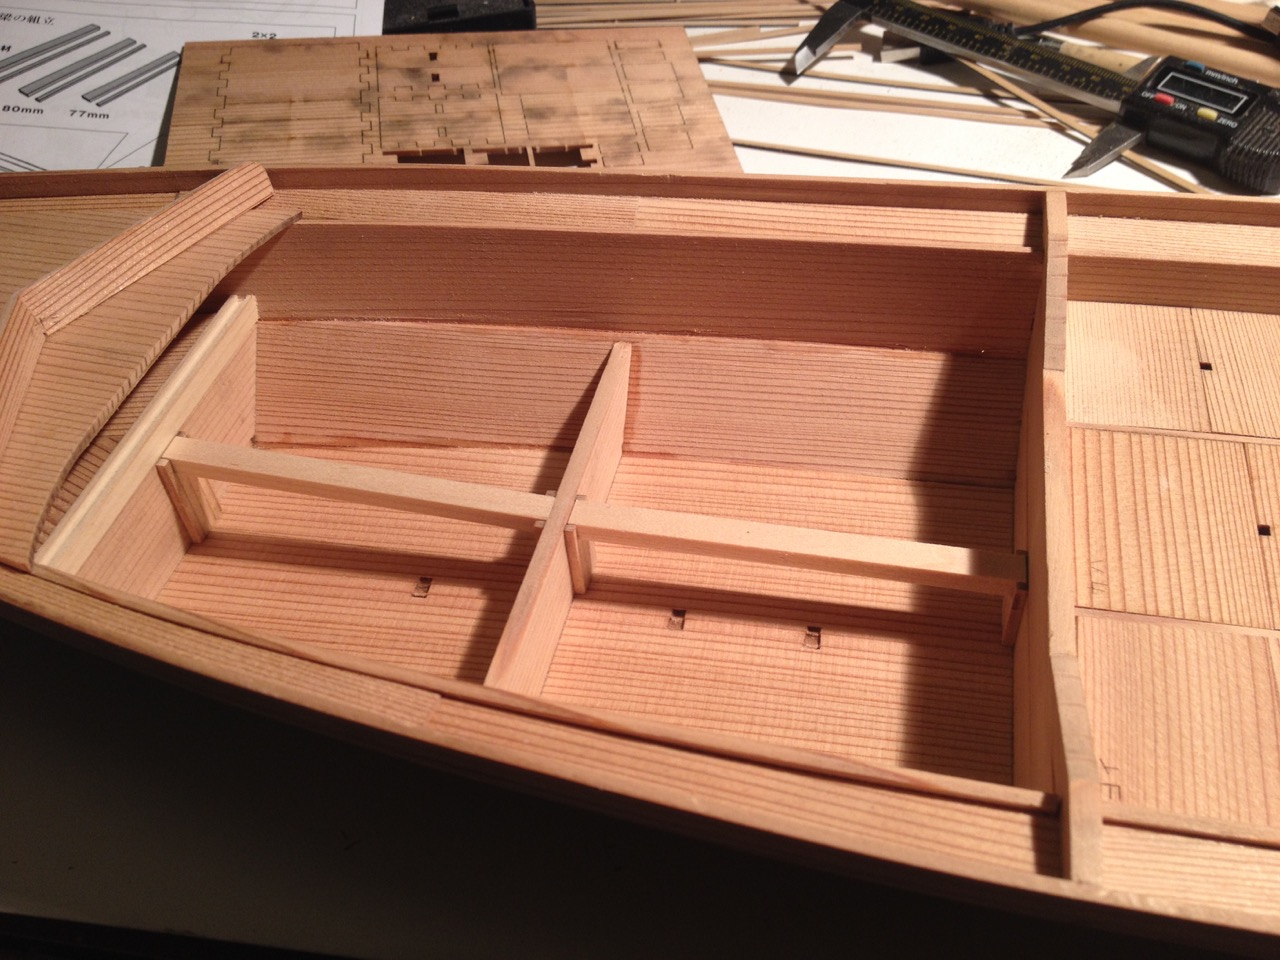
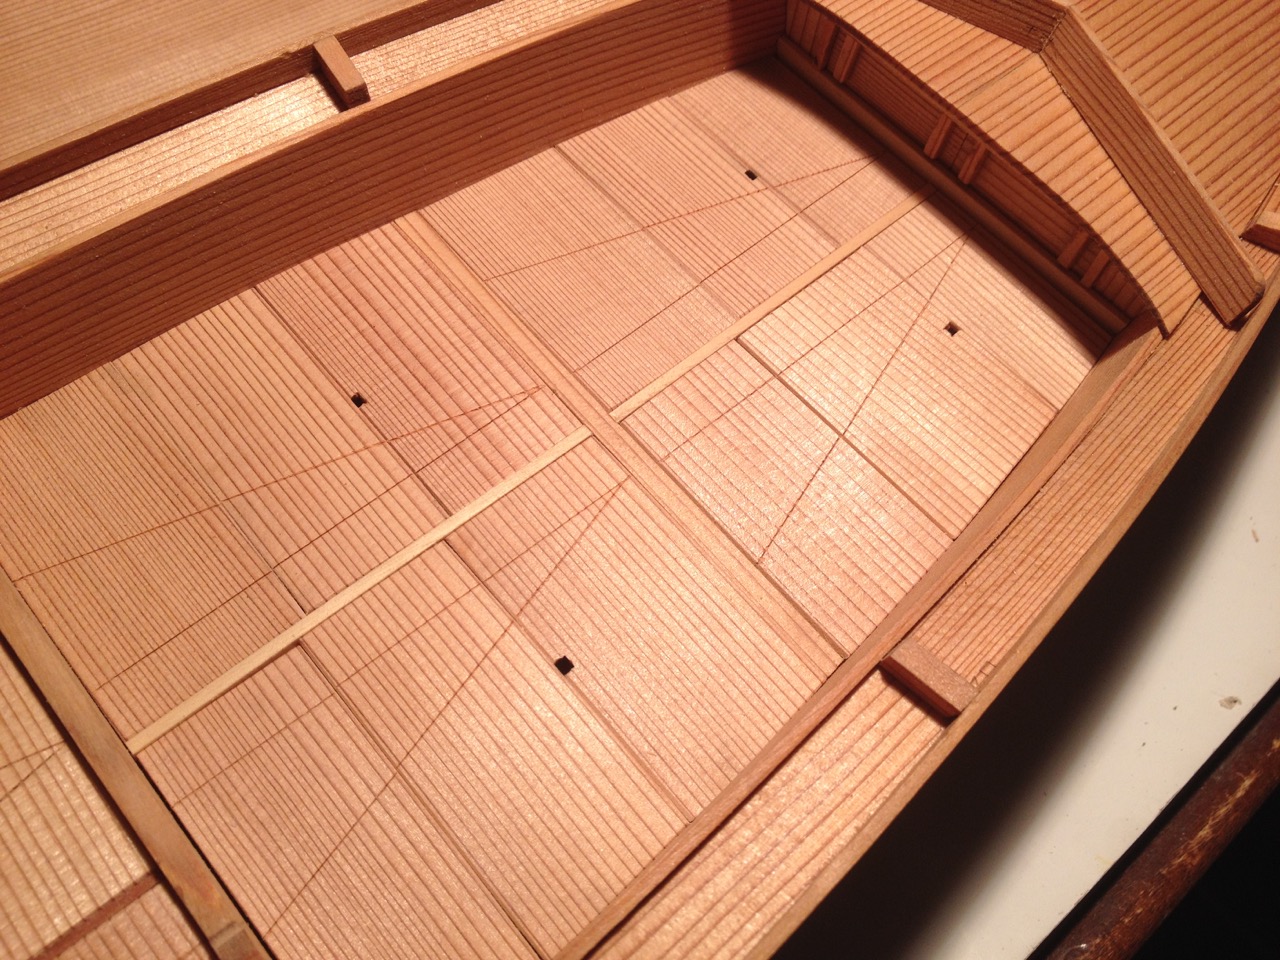
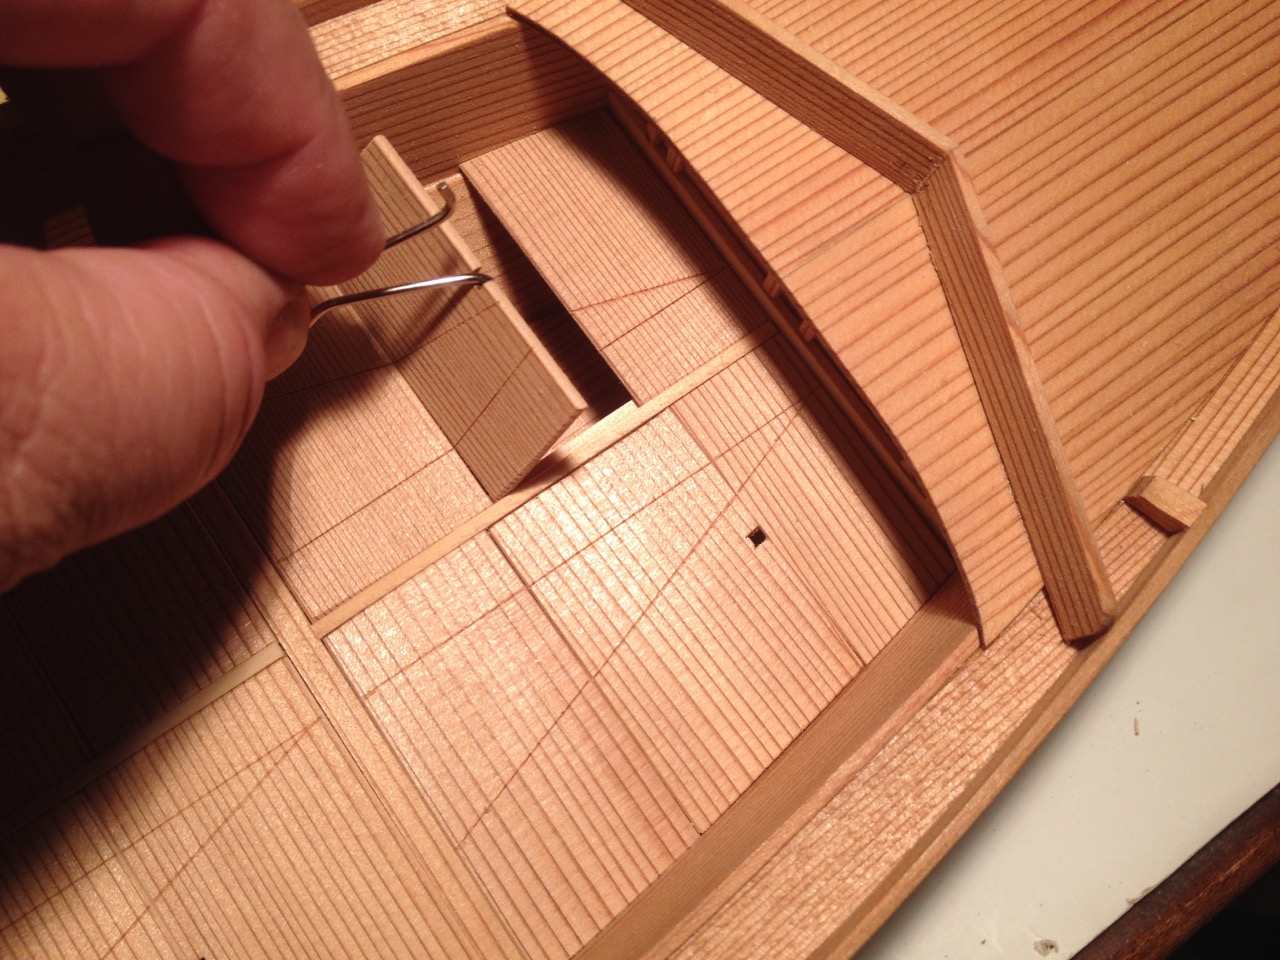
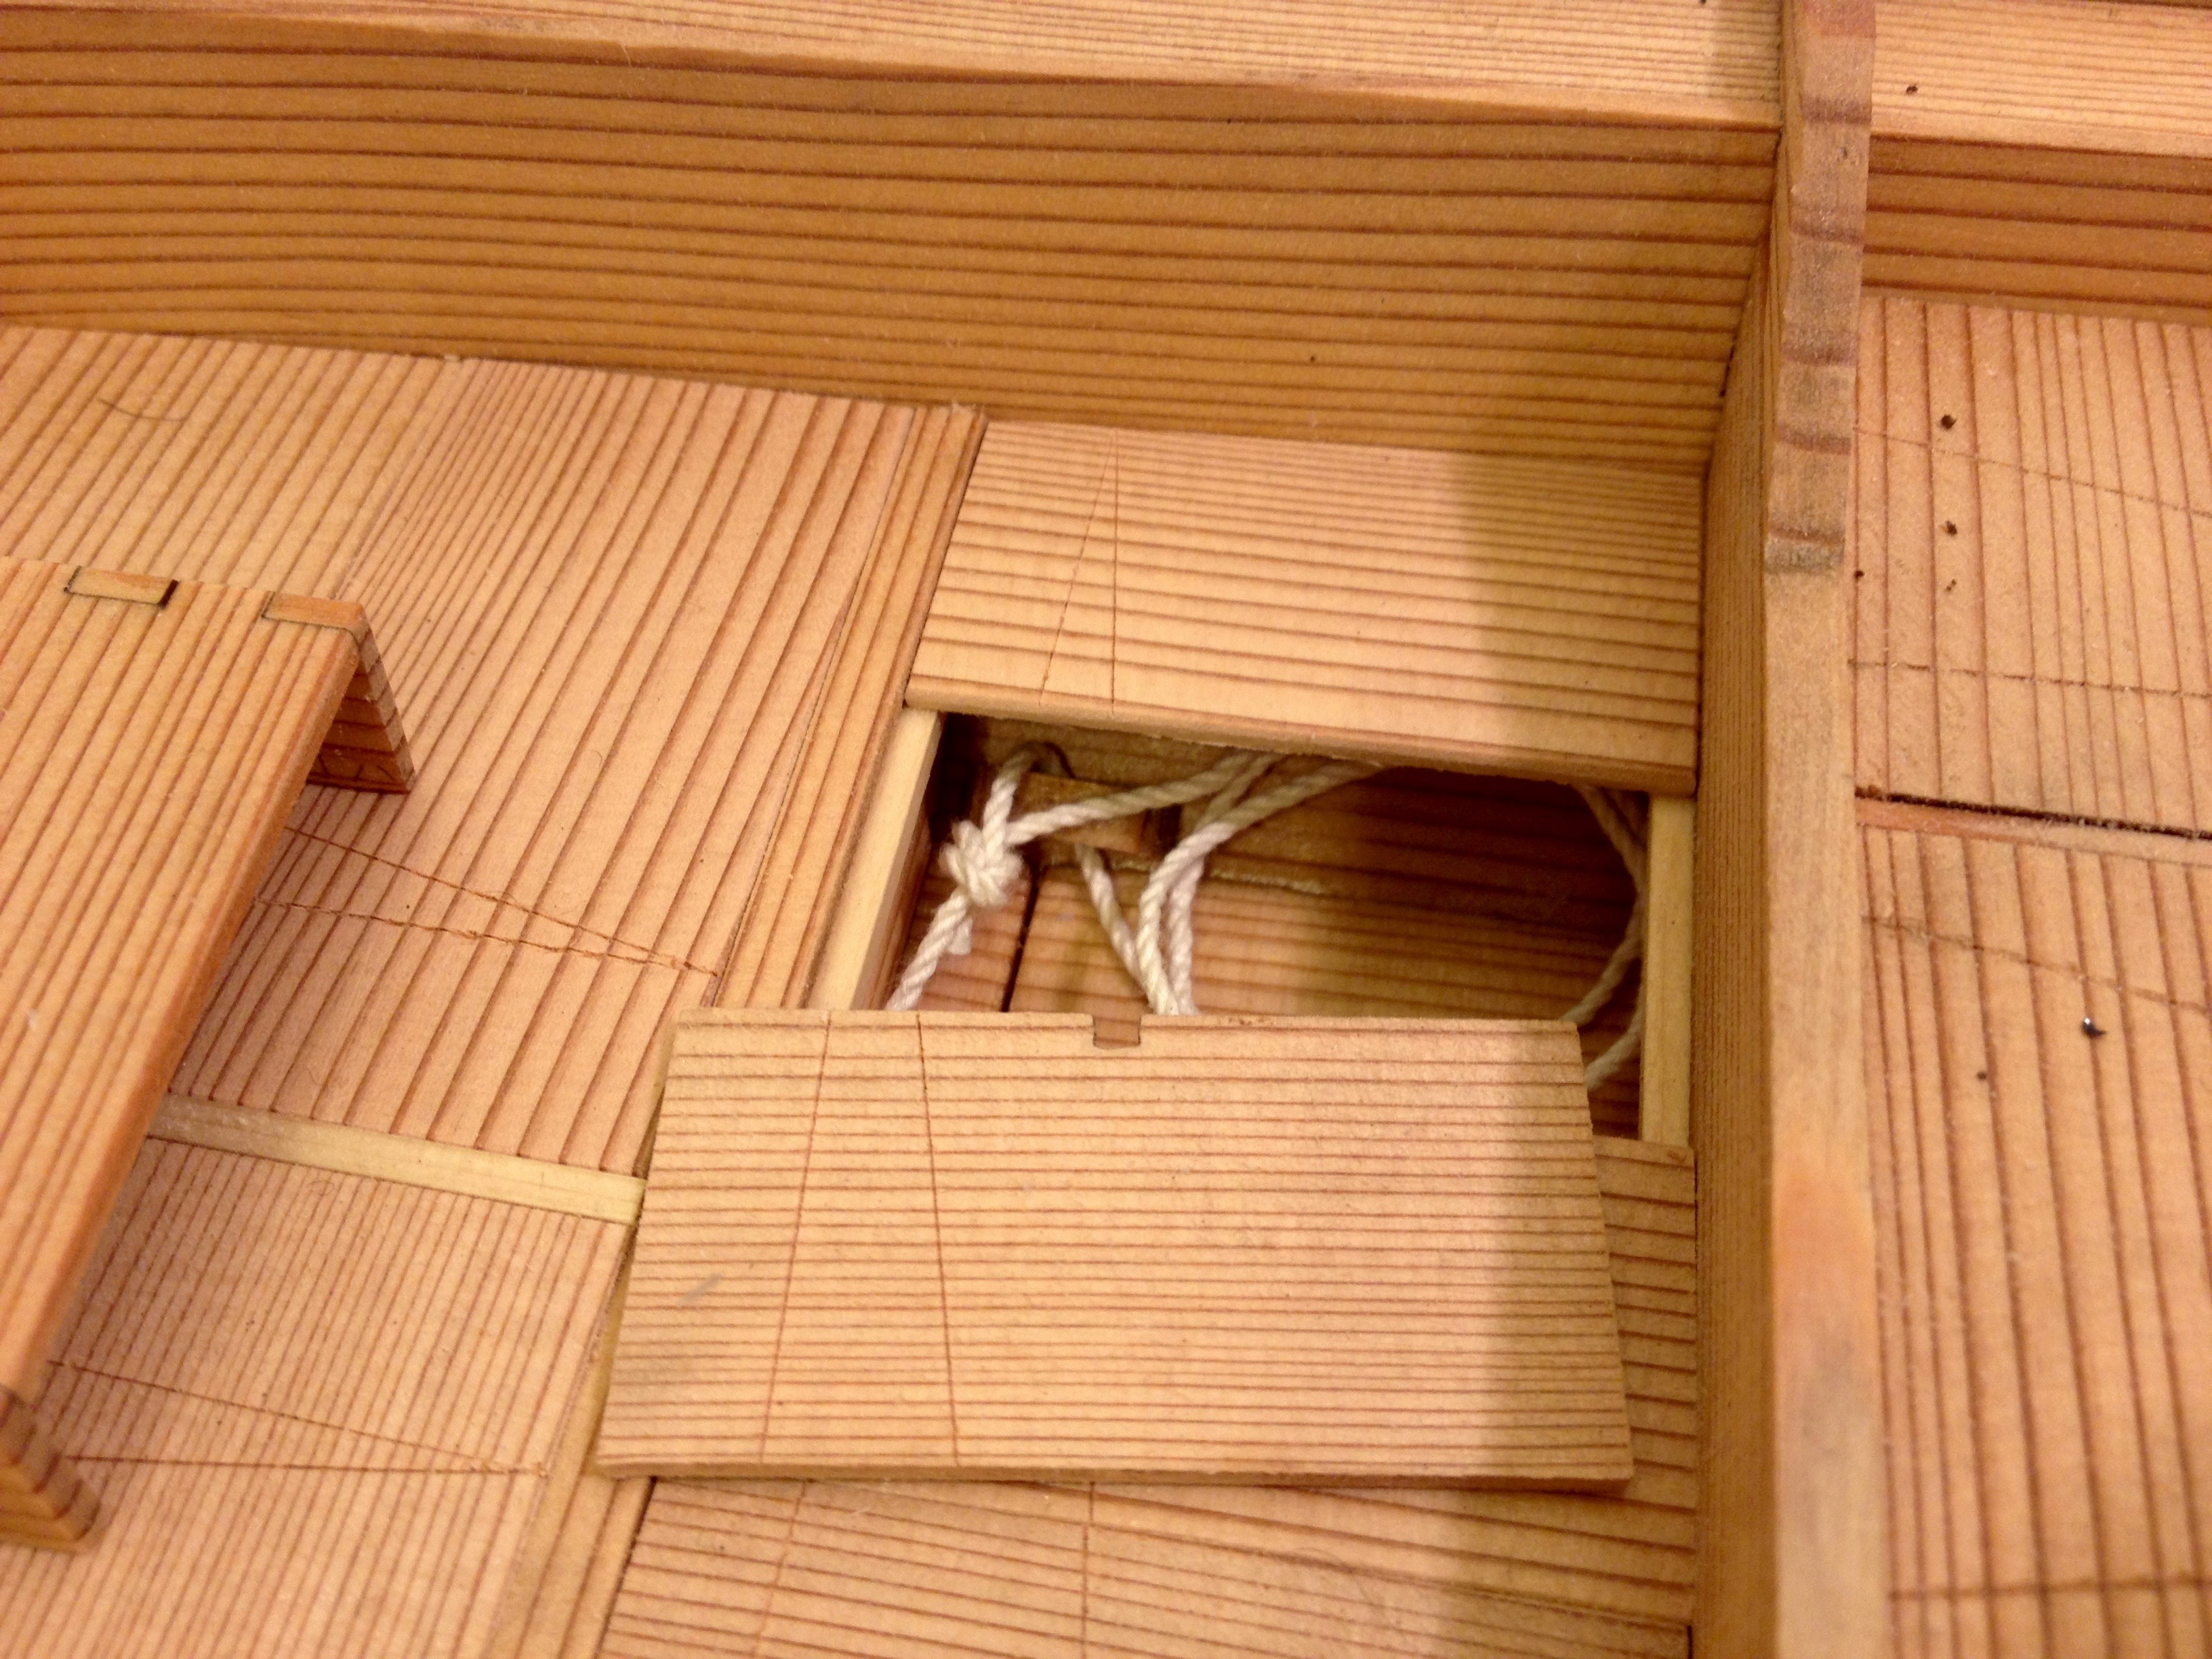
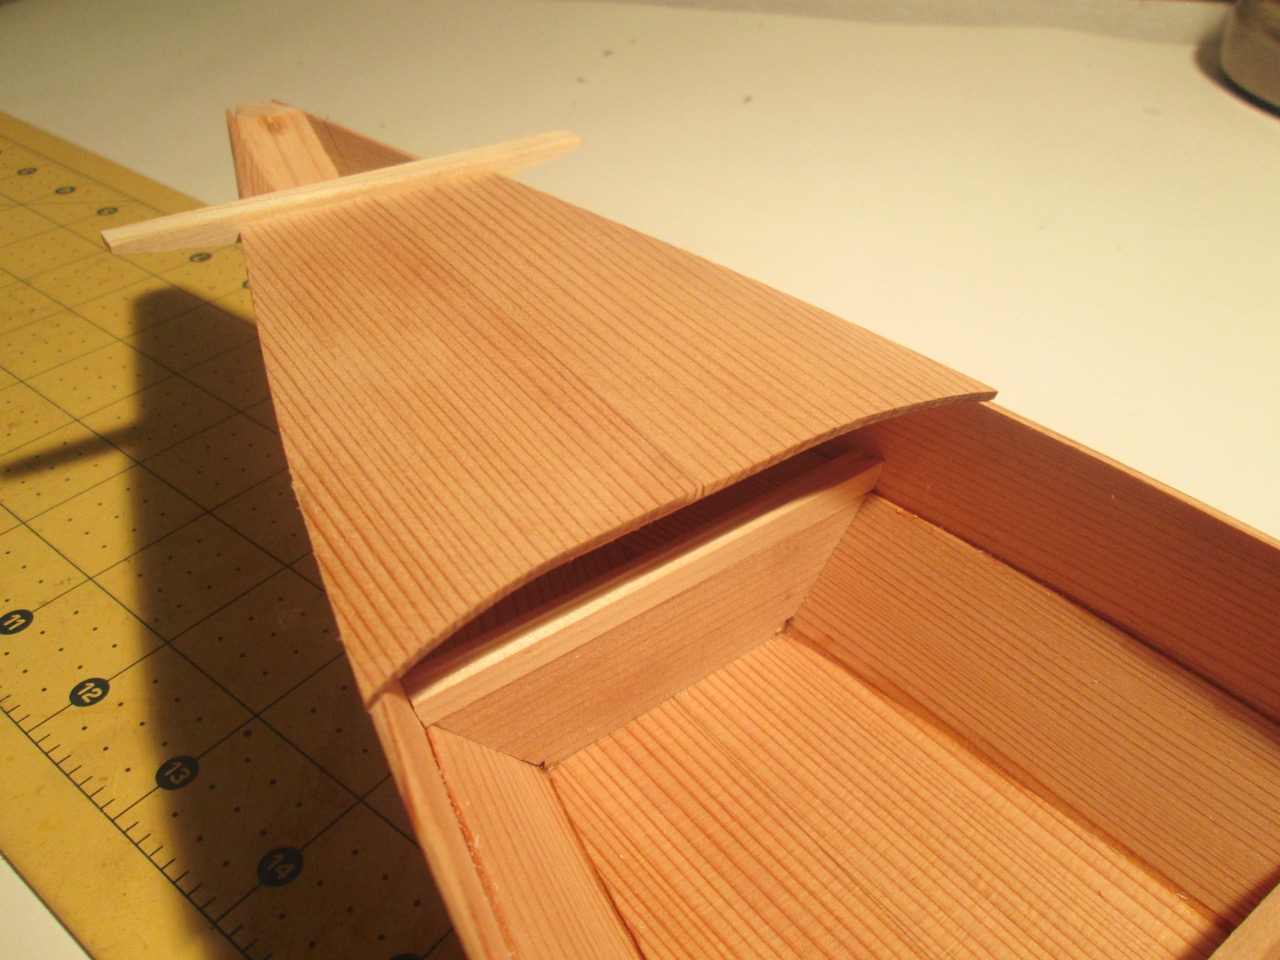
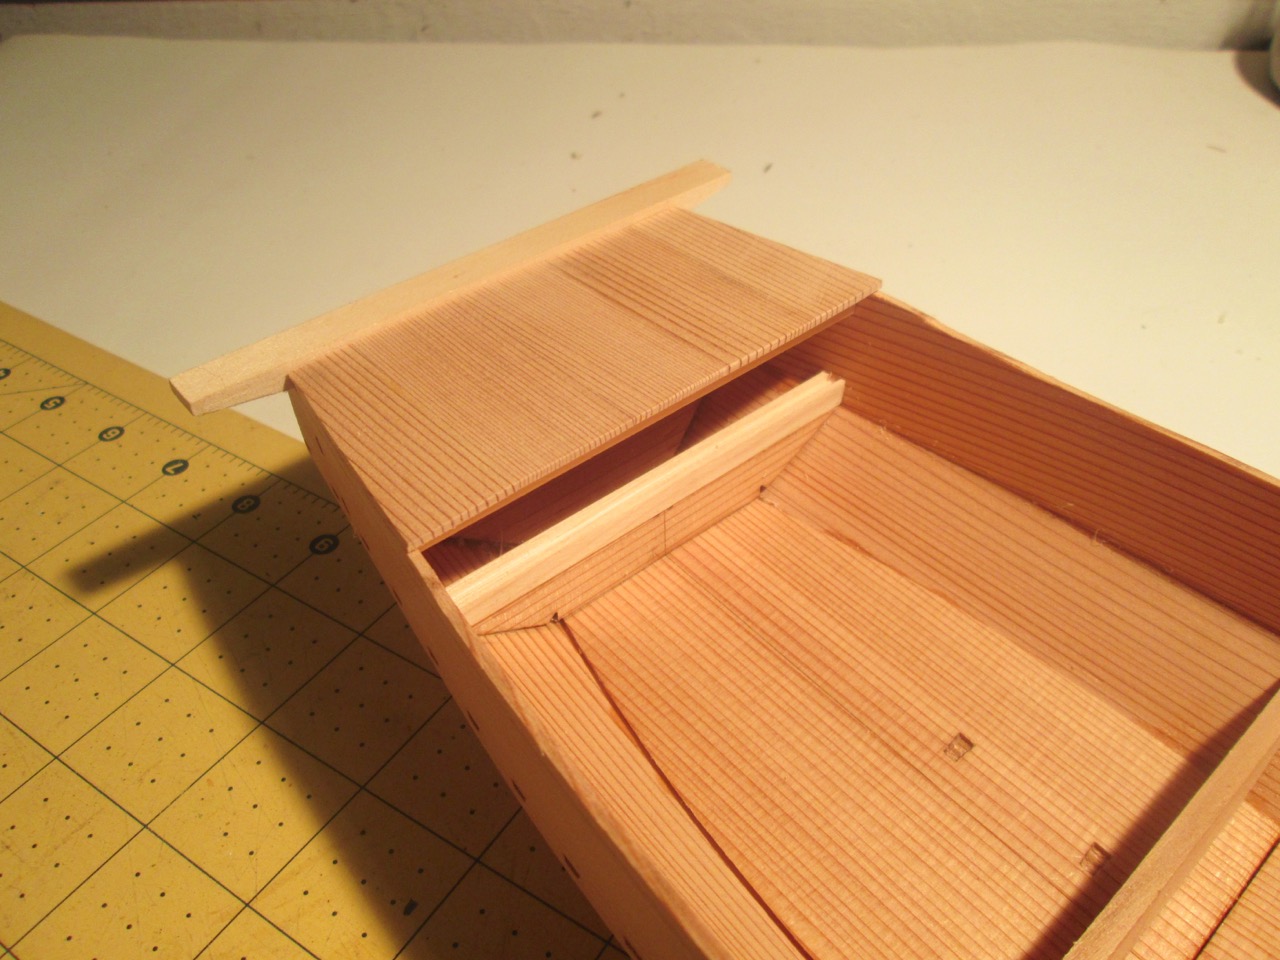
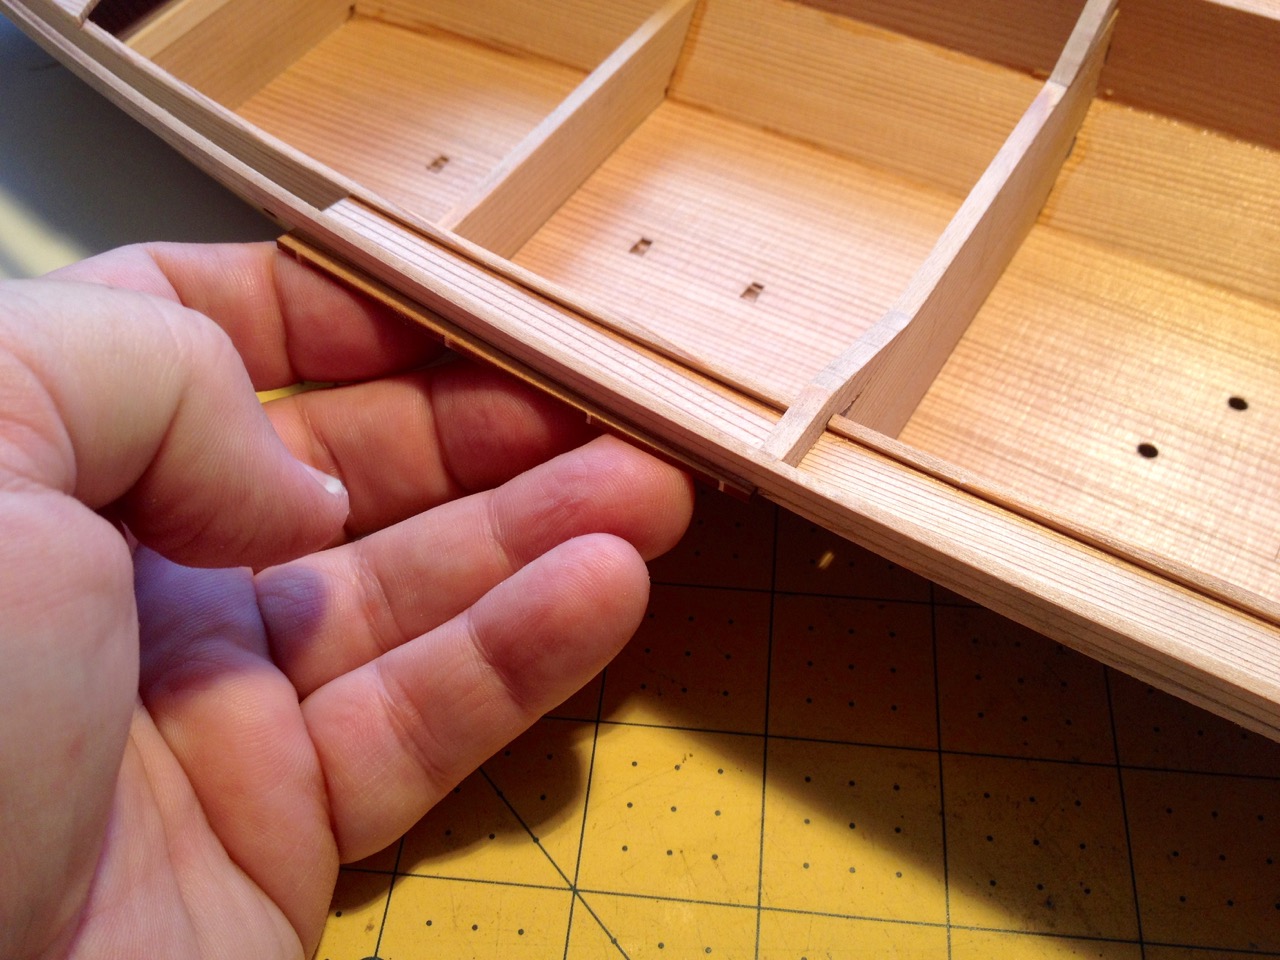
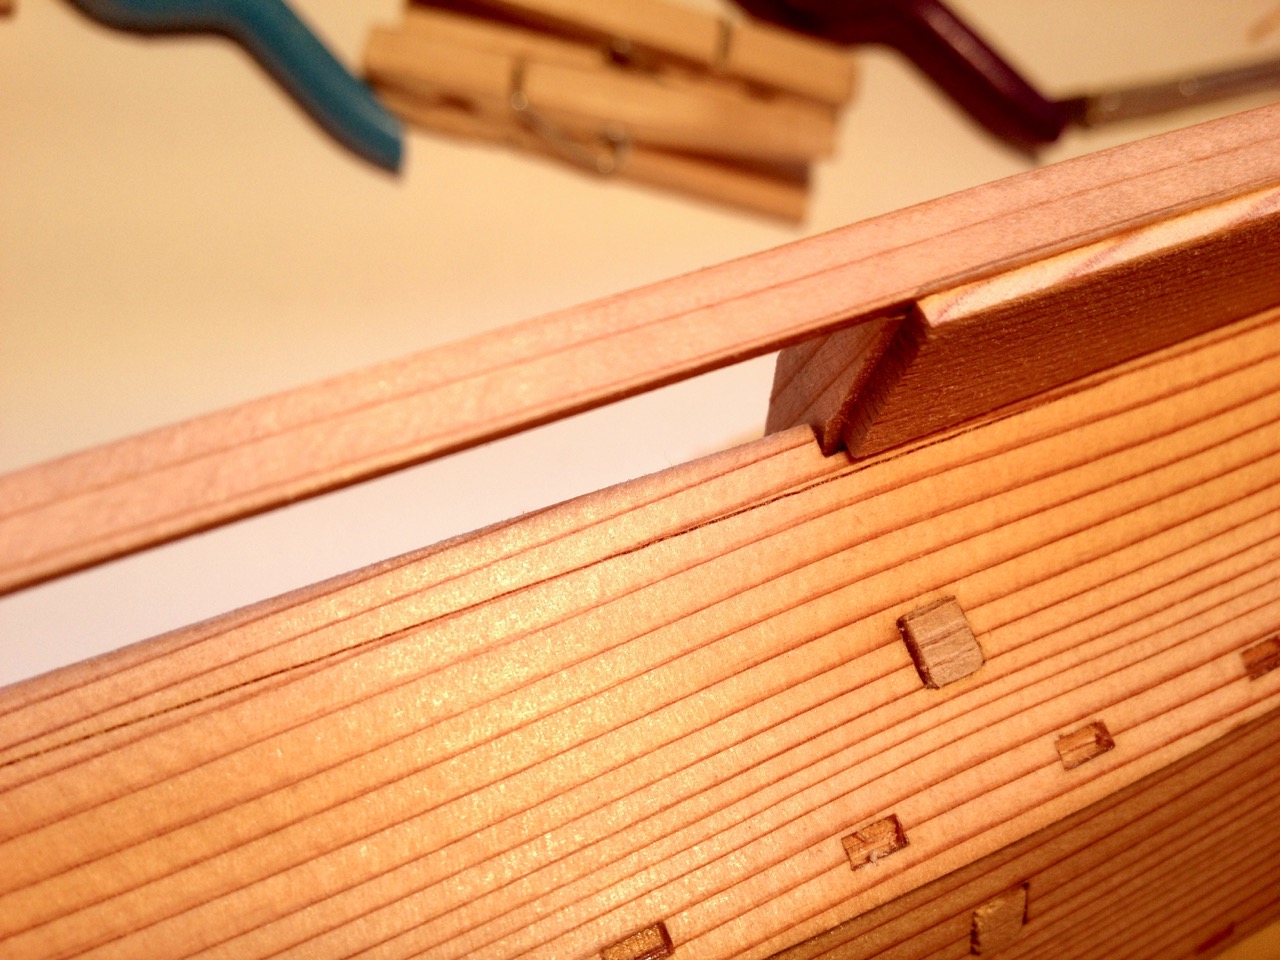
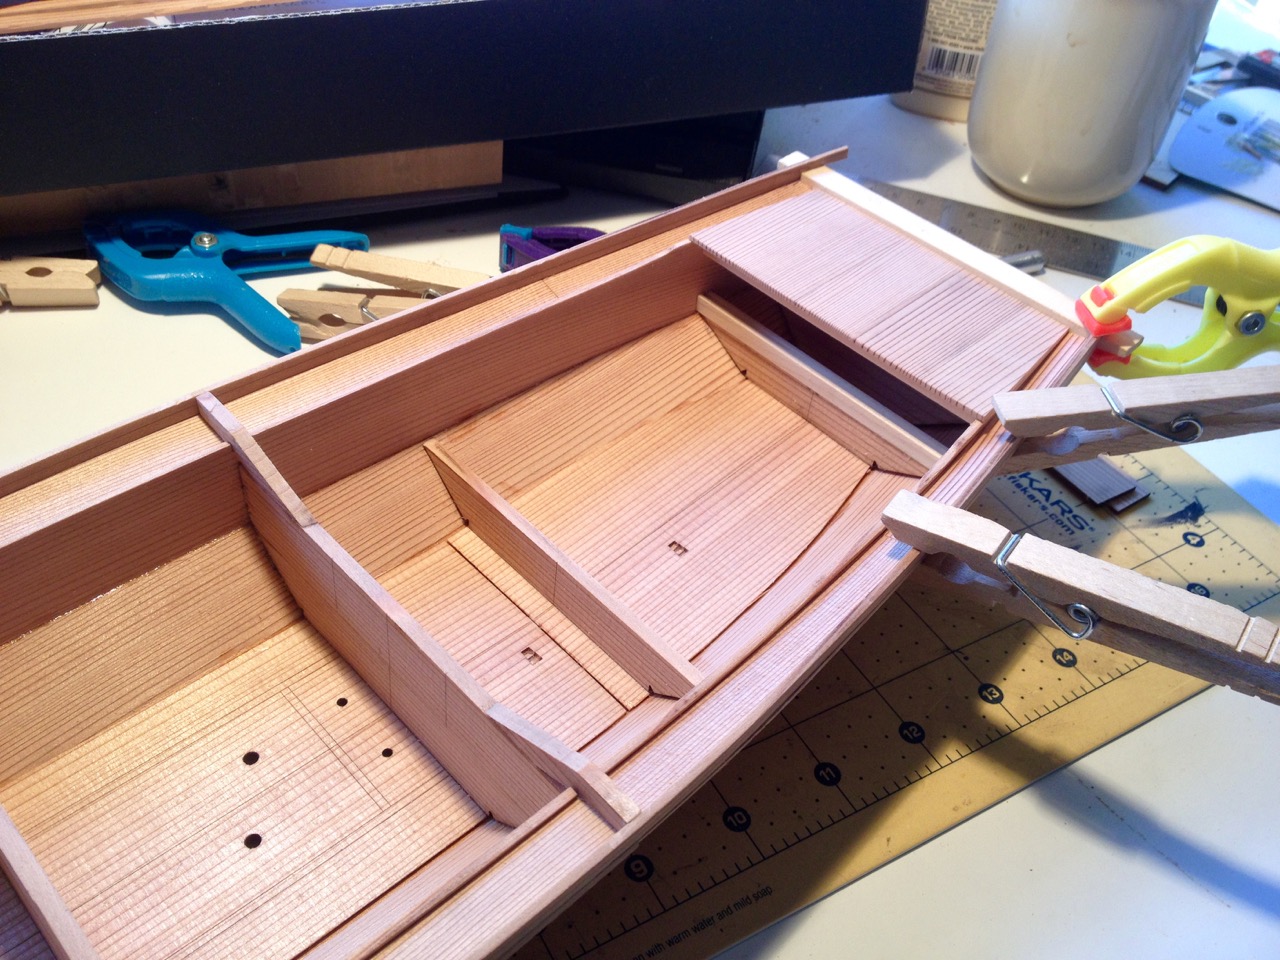
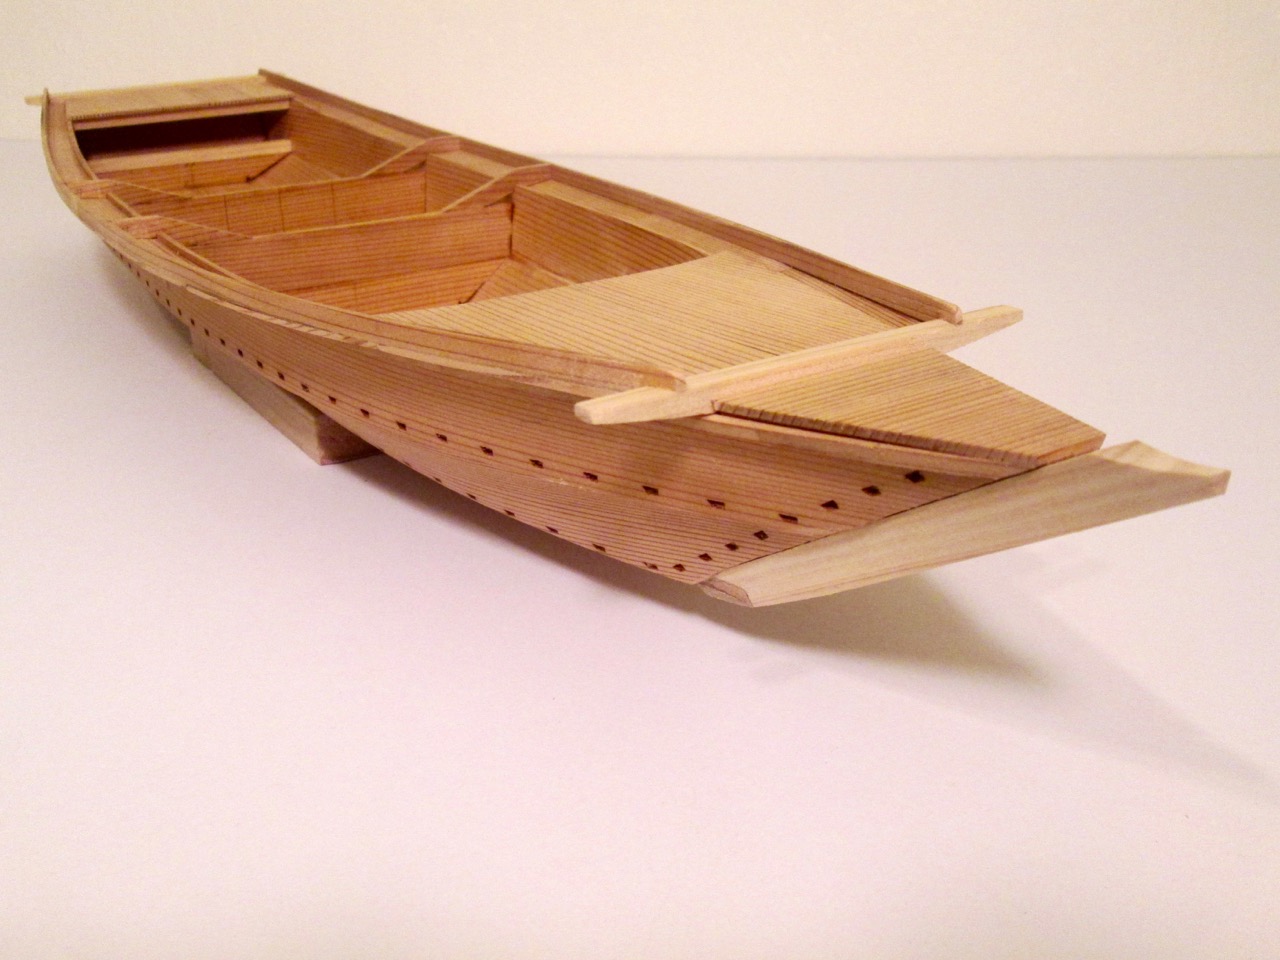
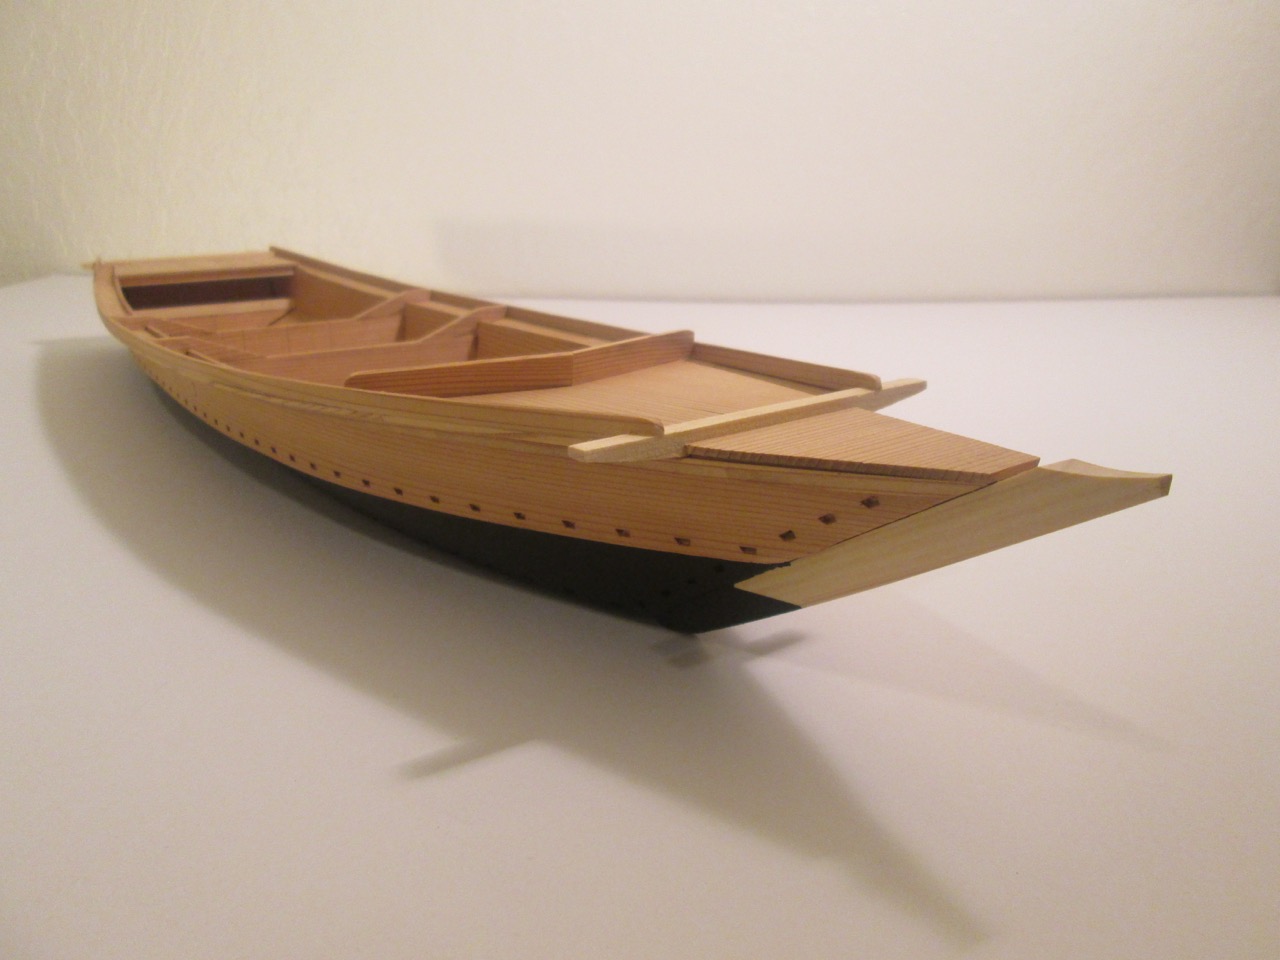
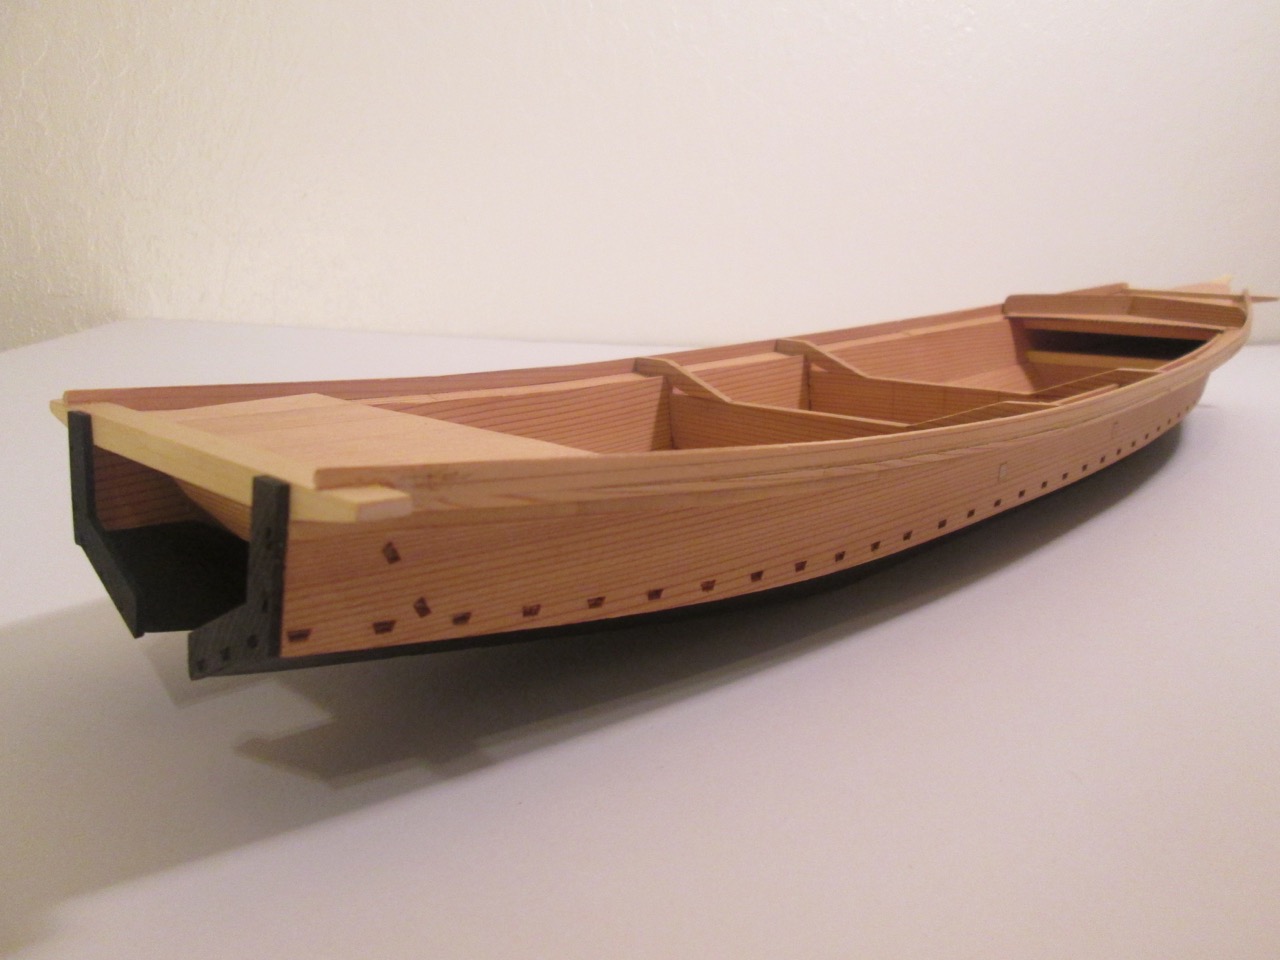
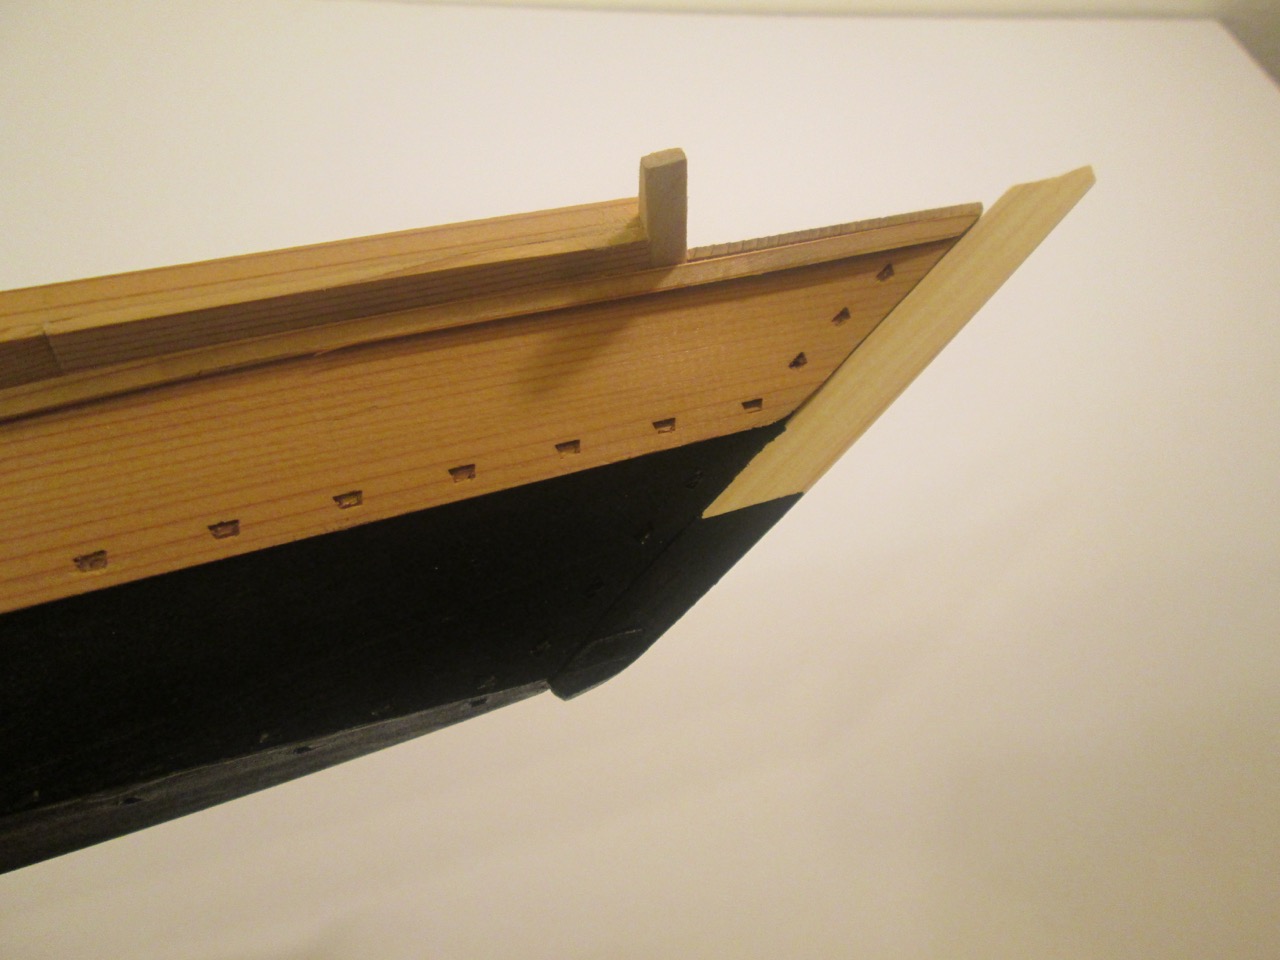
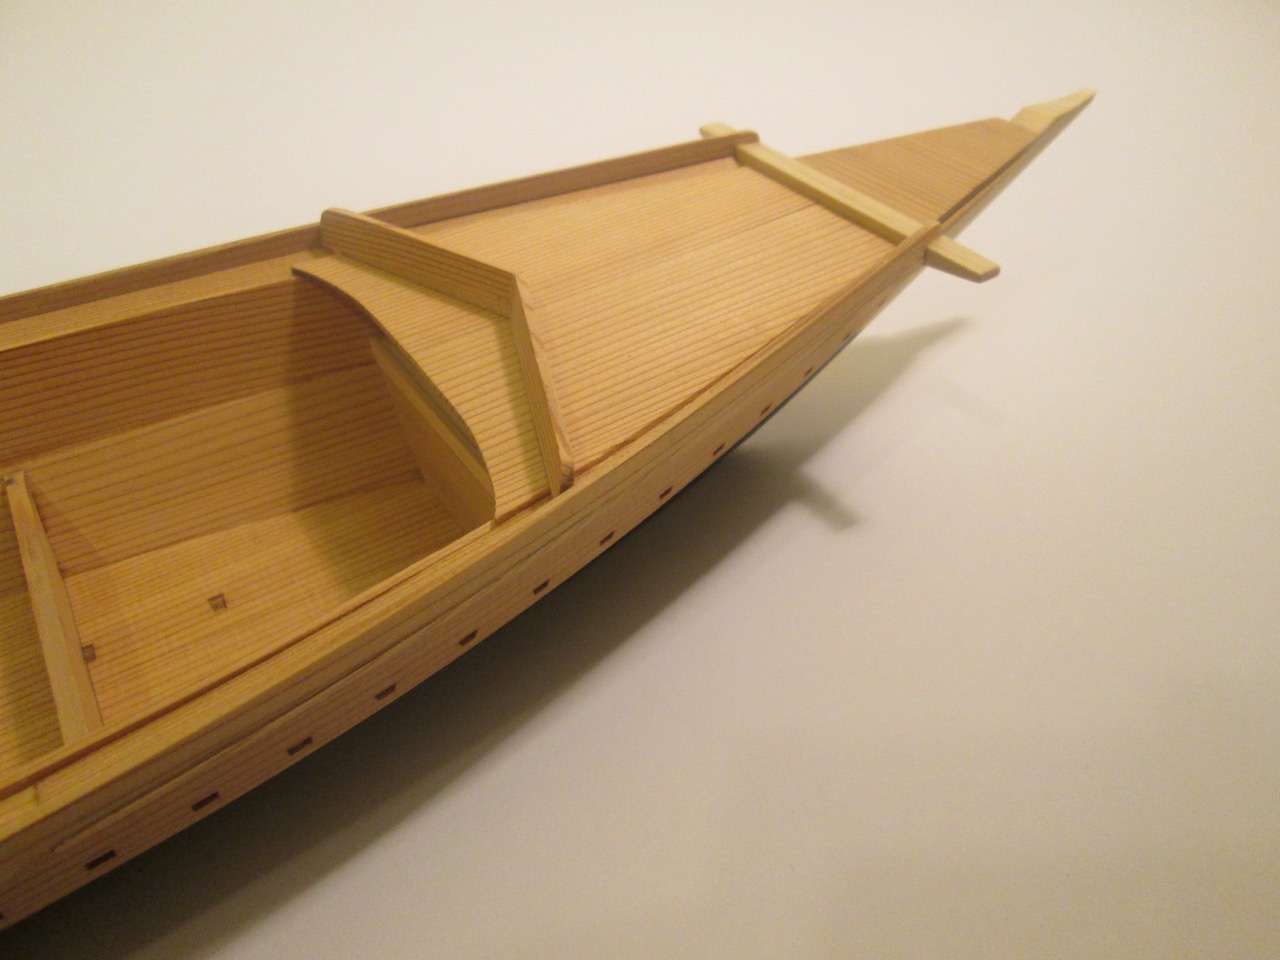
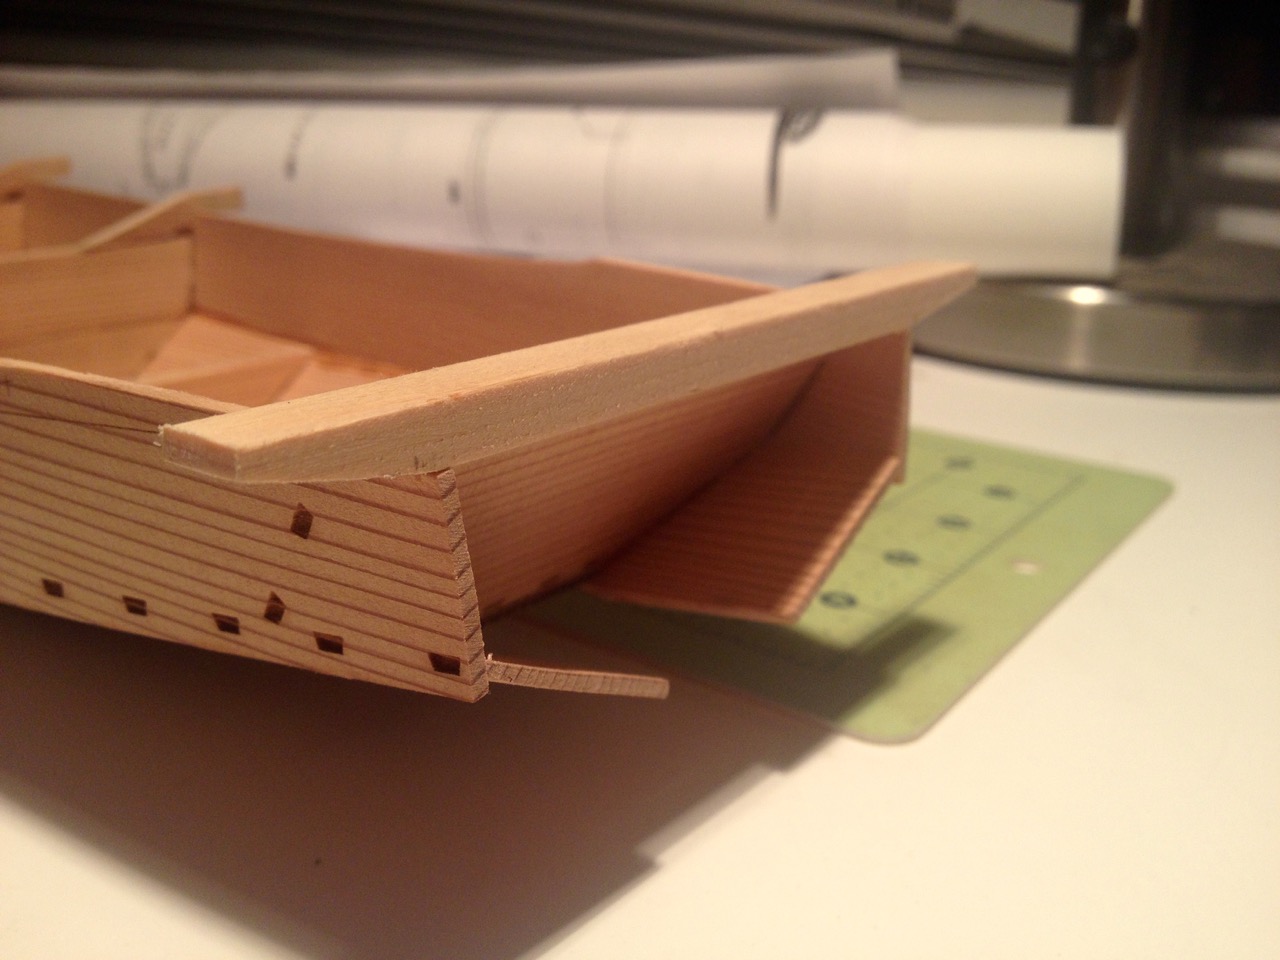
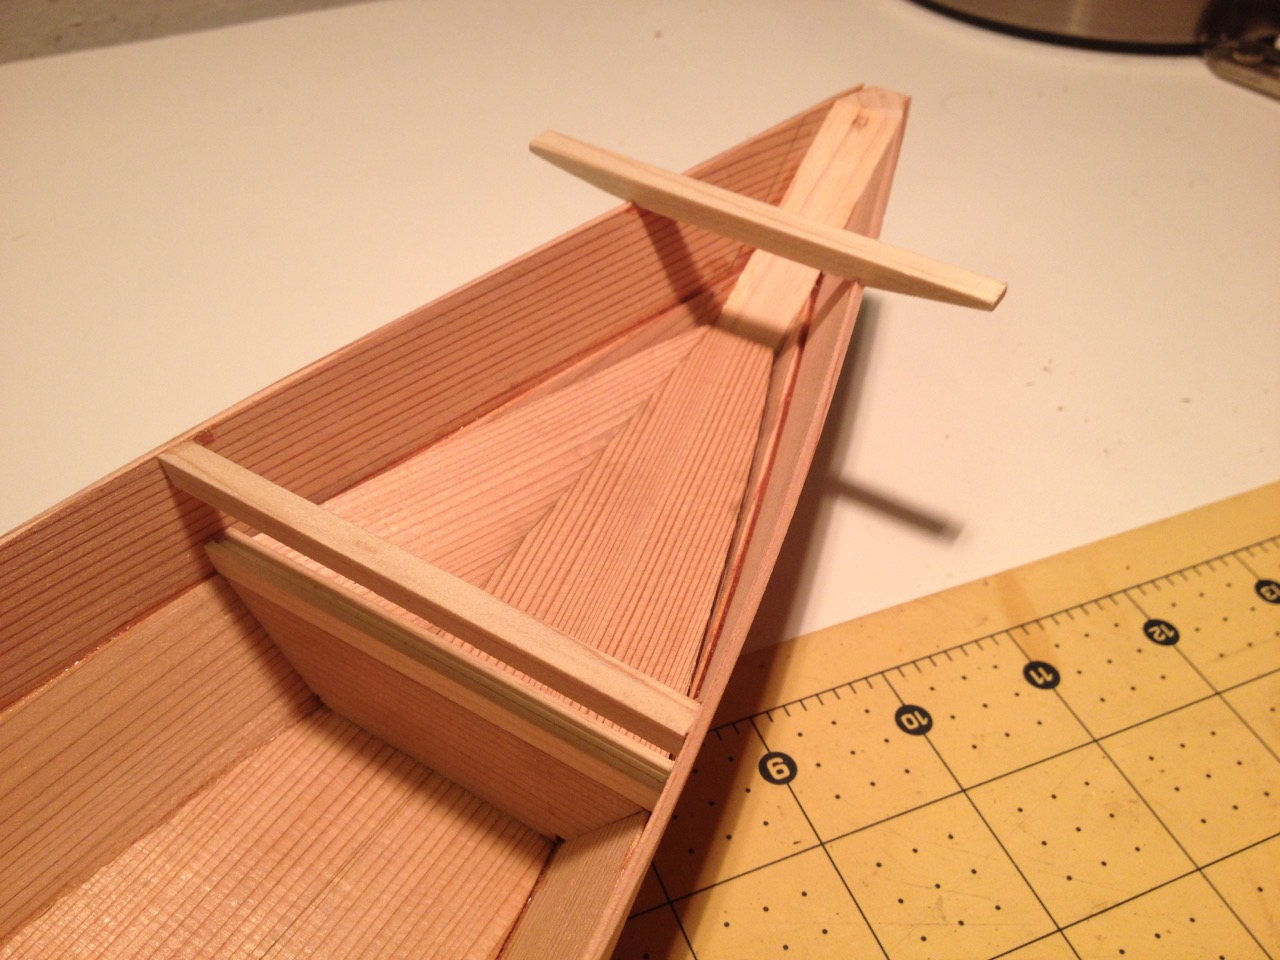
One subject that was really hard to shoot because it was in a dark corner, in the shadow of a bigger boat, was a small score for me. The boat is a nori gathering boat called a Bekabune, and I happen to be currently modeling one of these. So, this was a particularly nice find.

IMG_1298

Bekabune, once used on Tokyo Bay for harvesting seaweed.

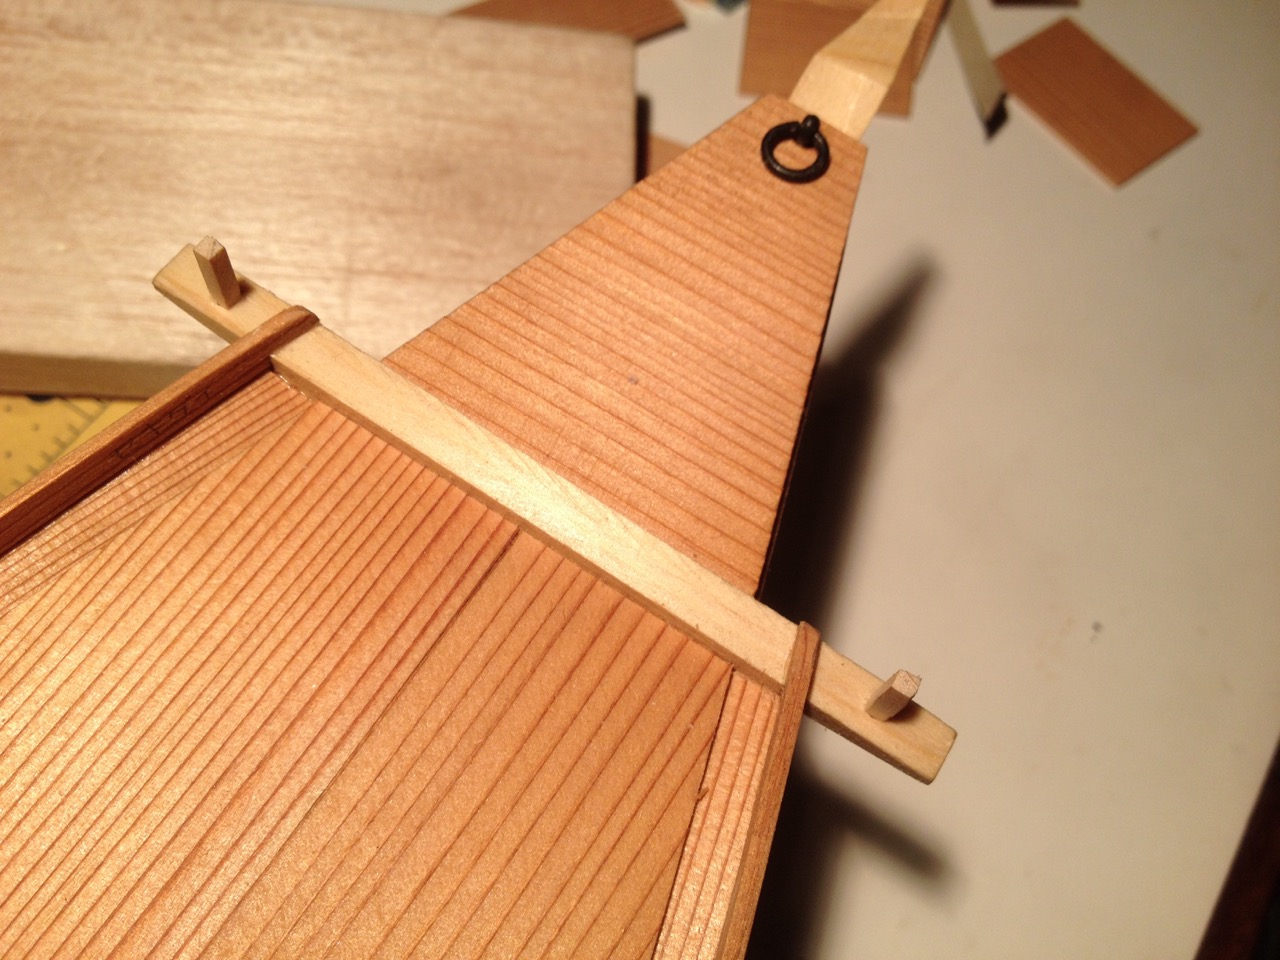
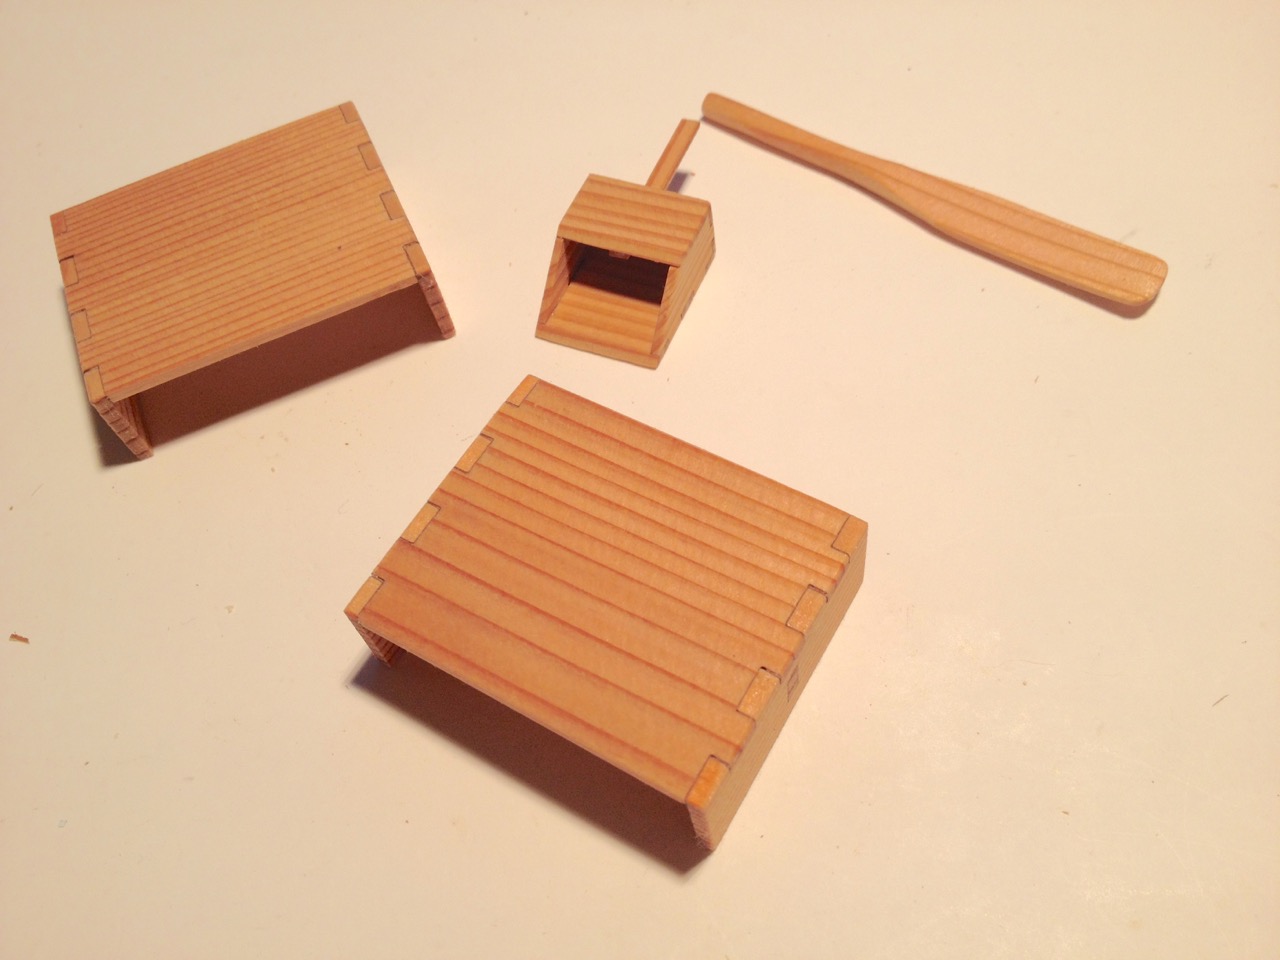
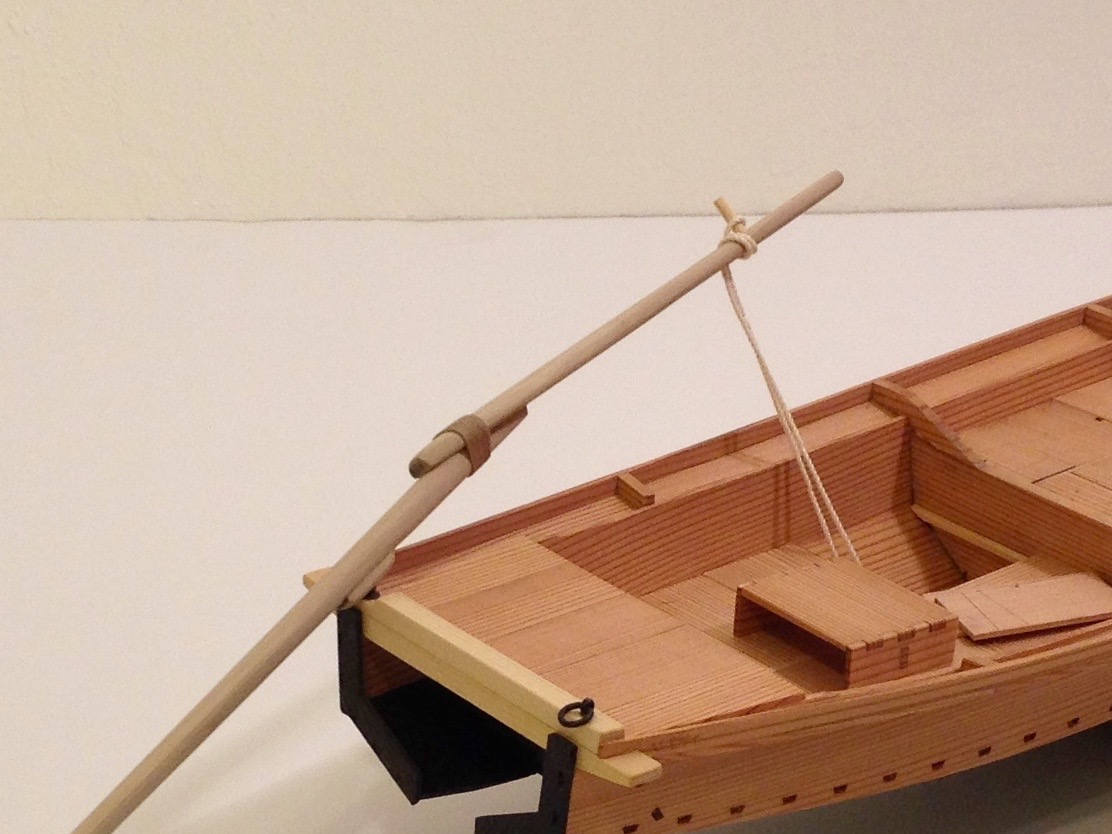
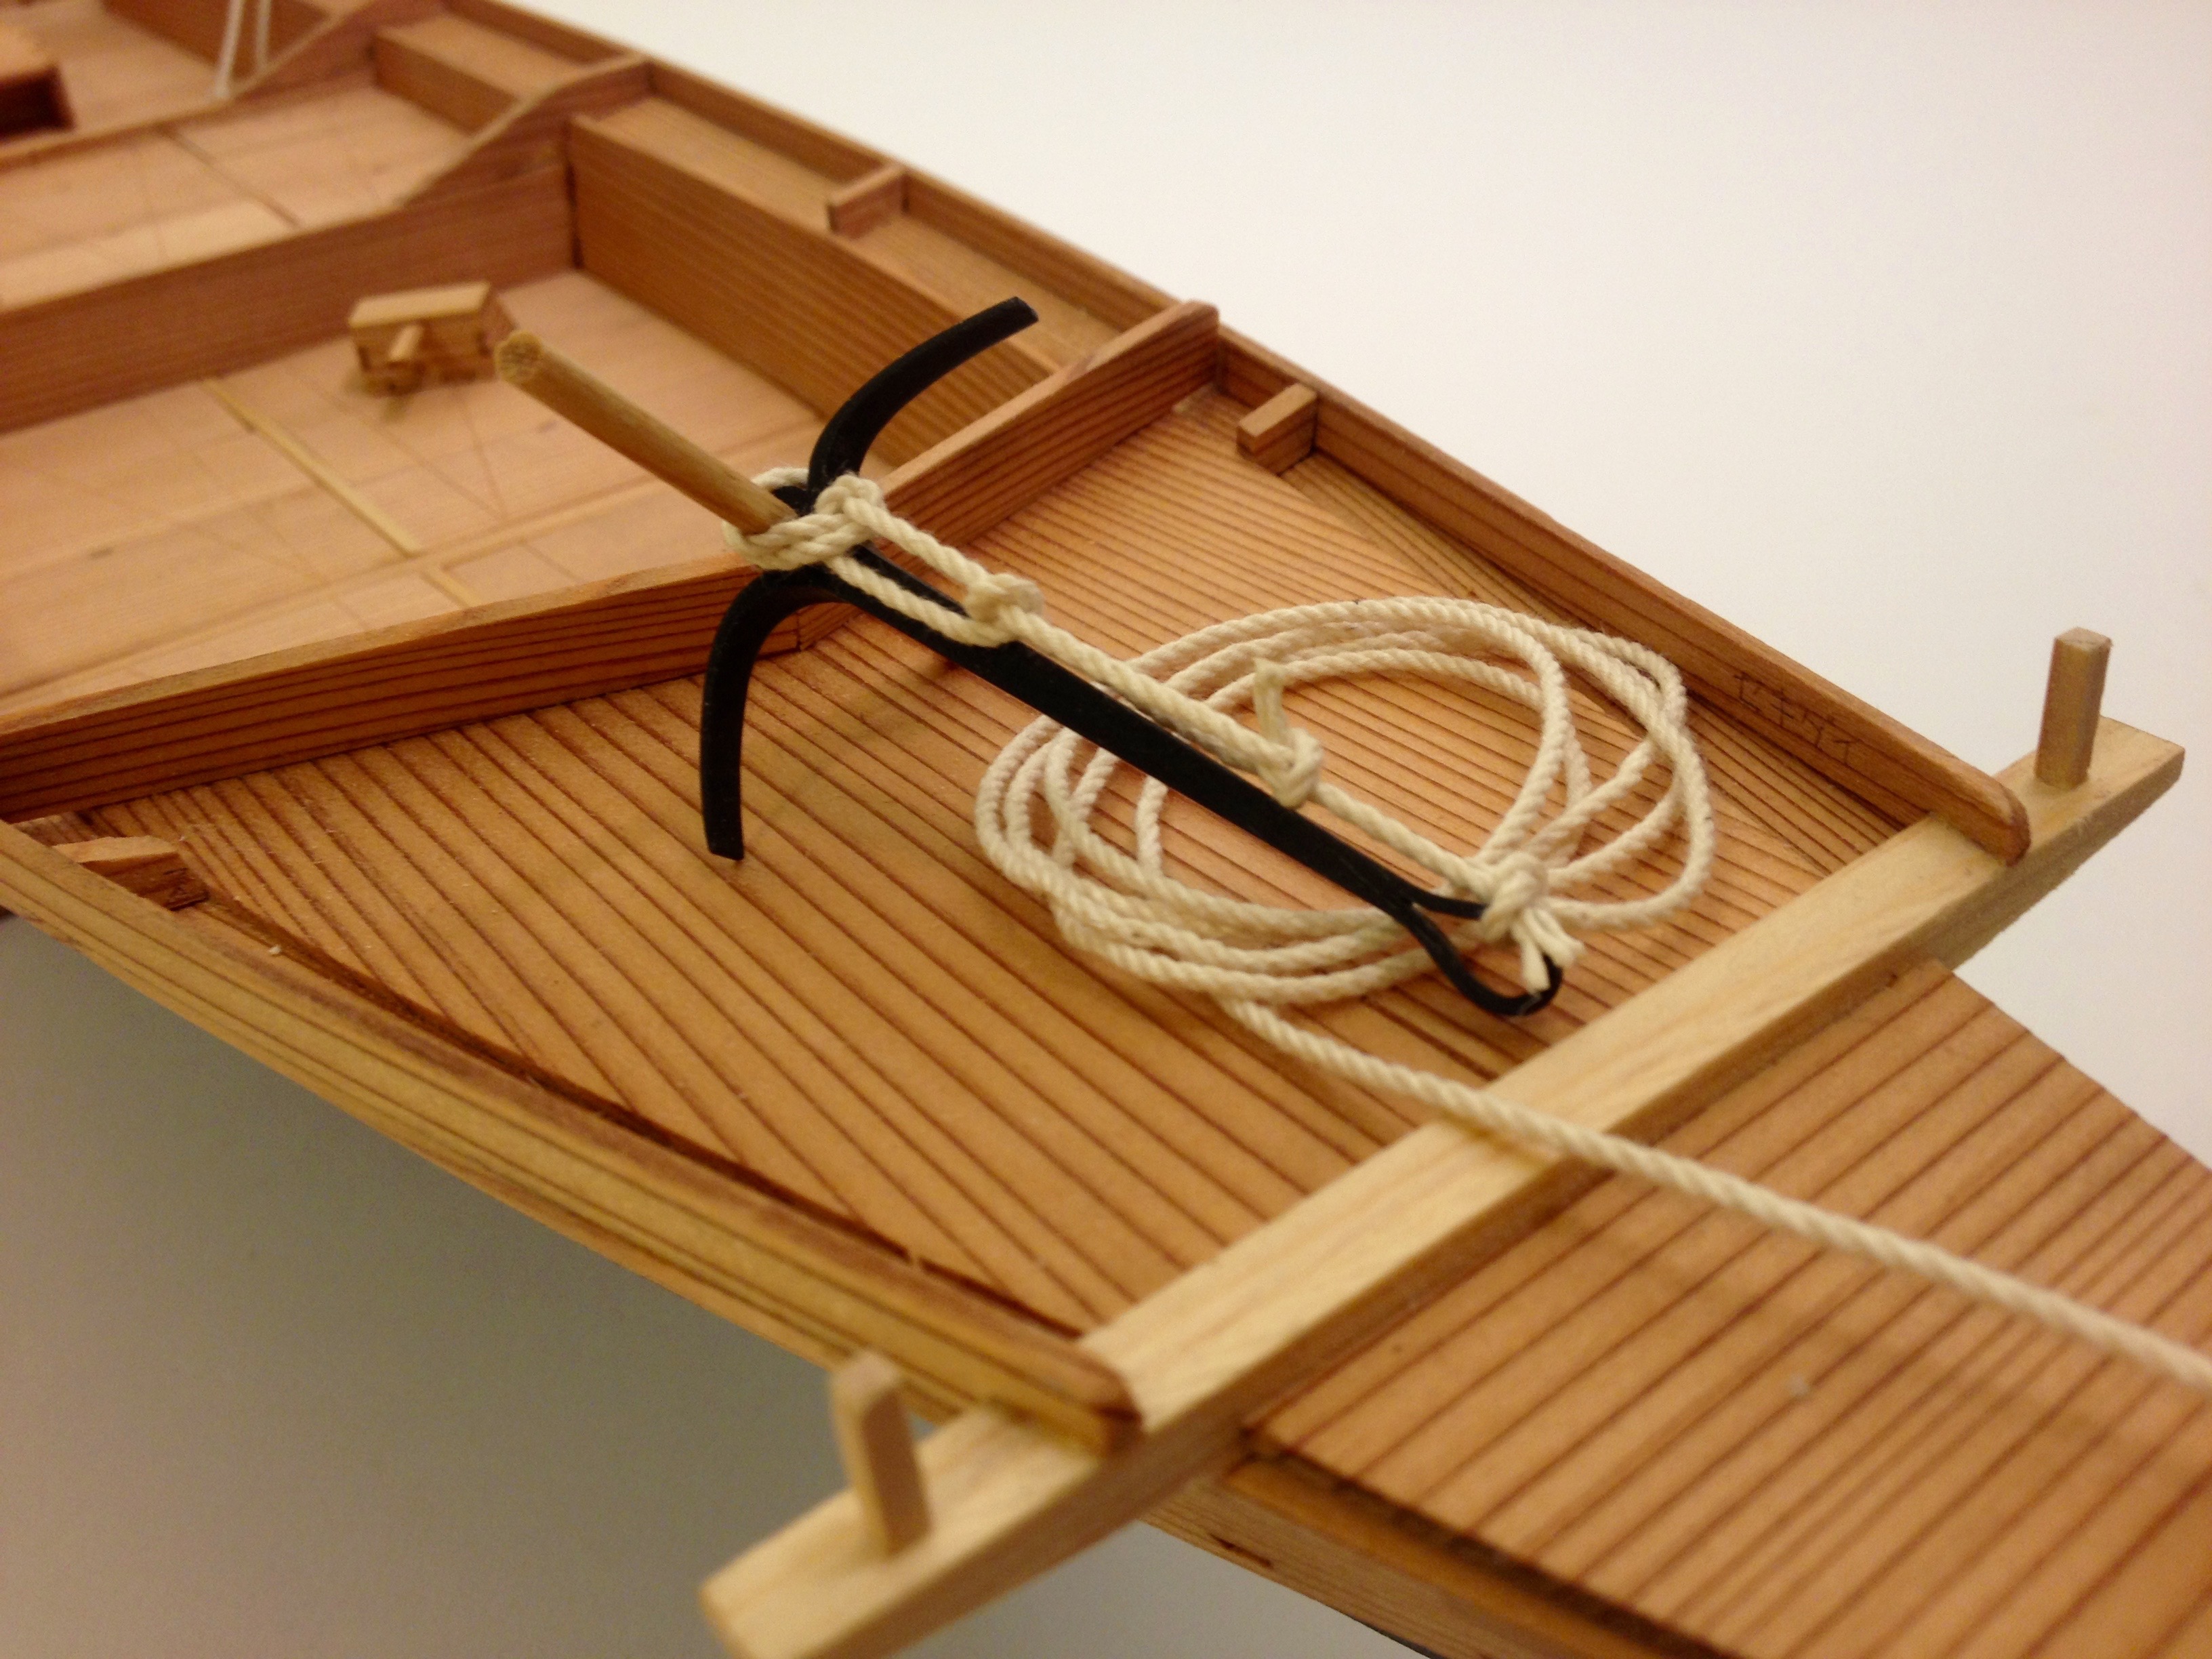
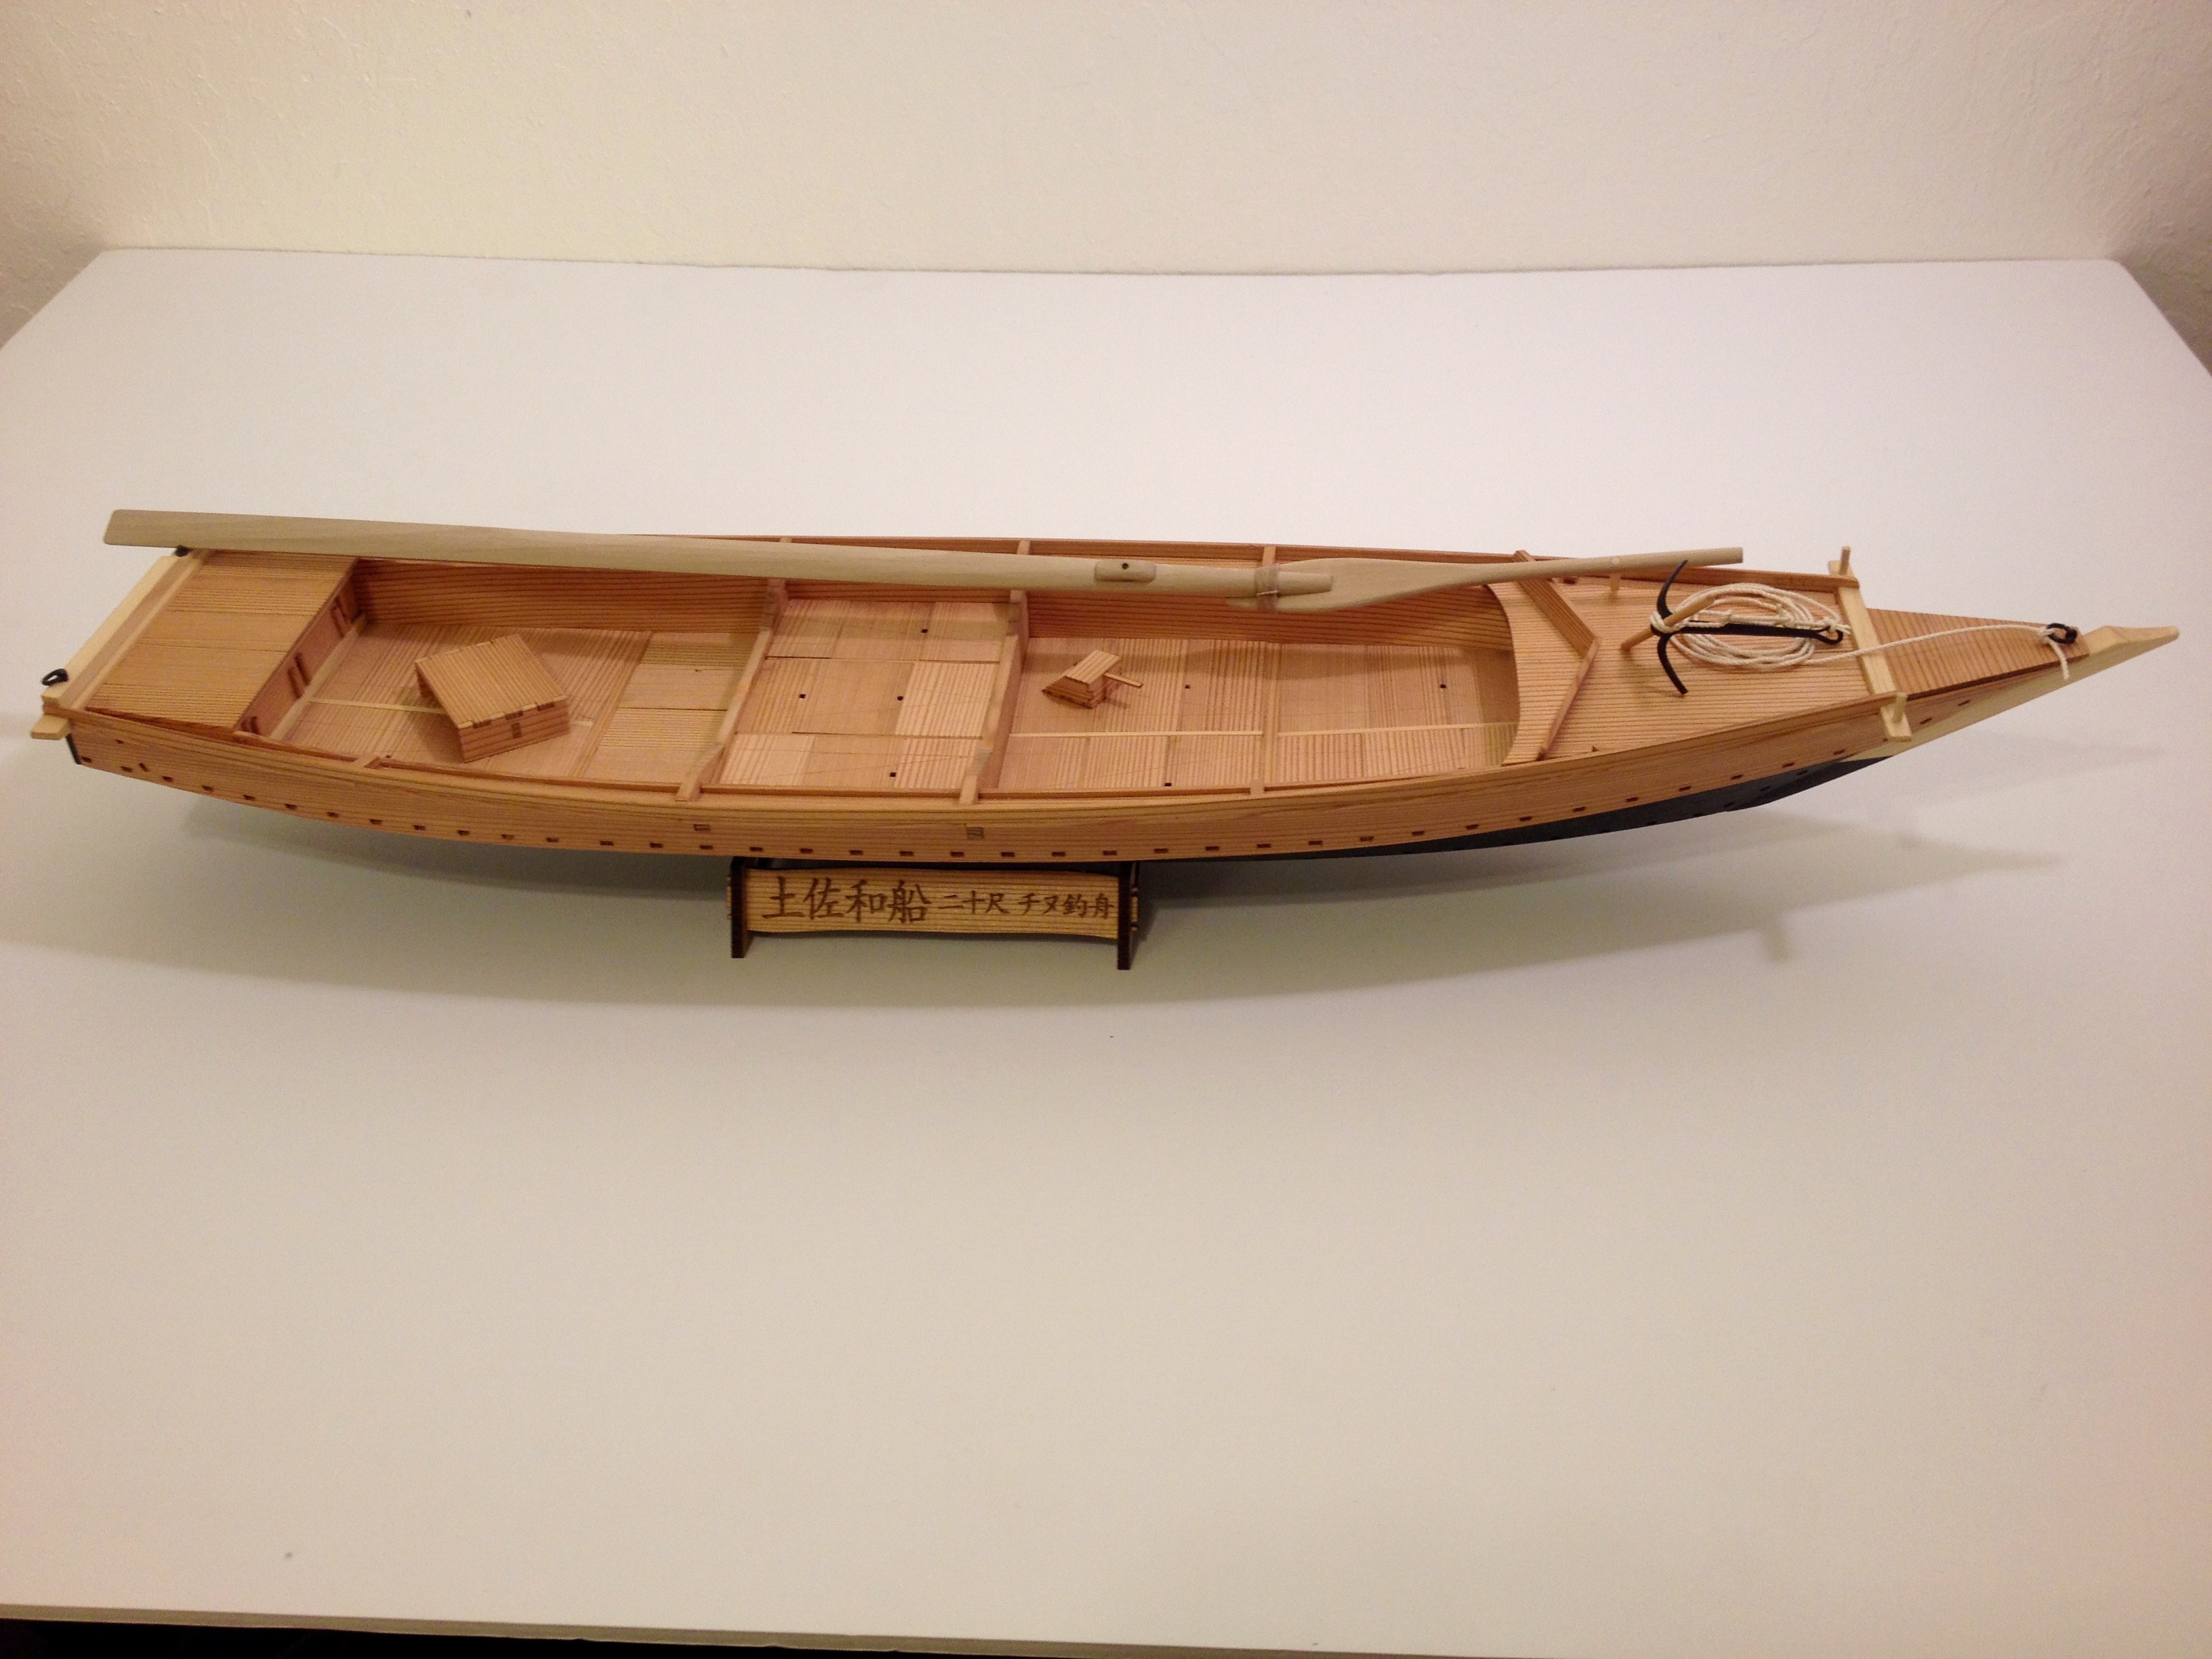
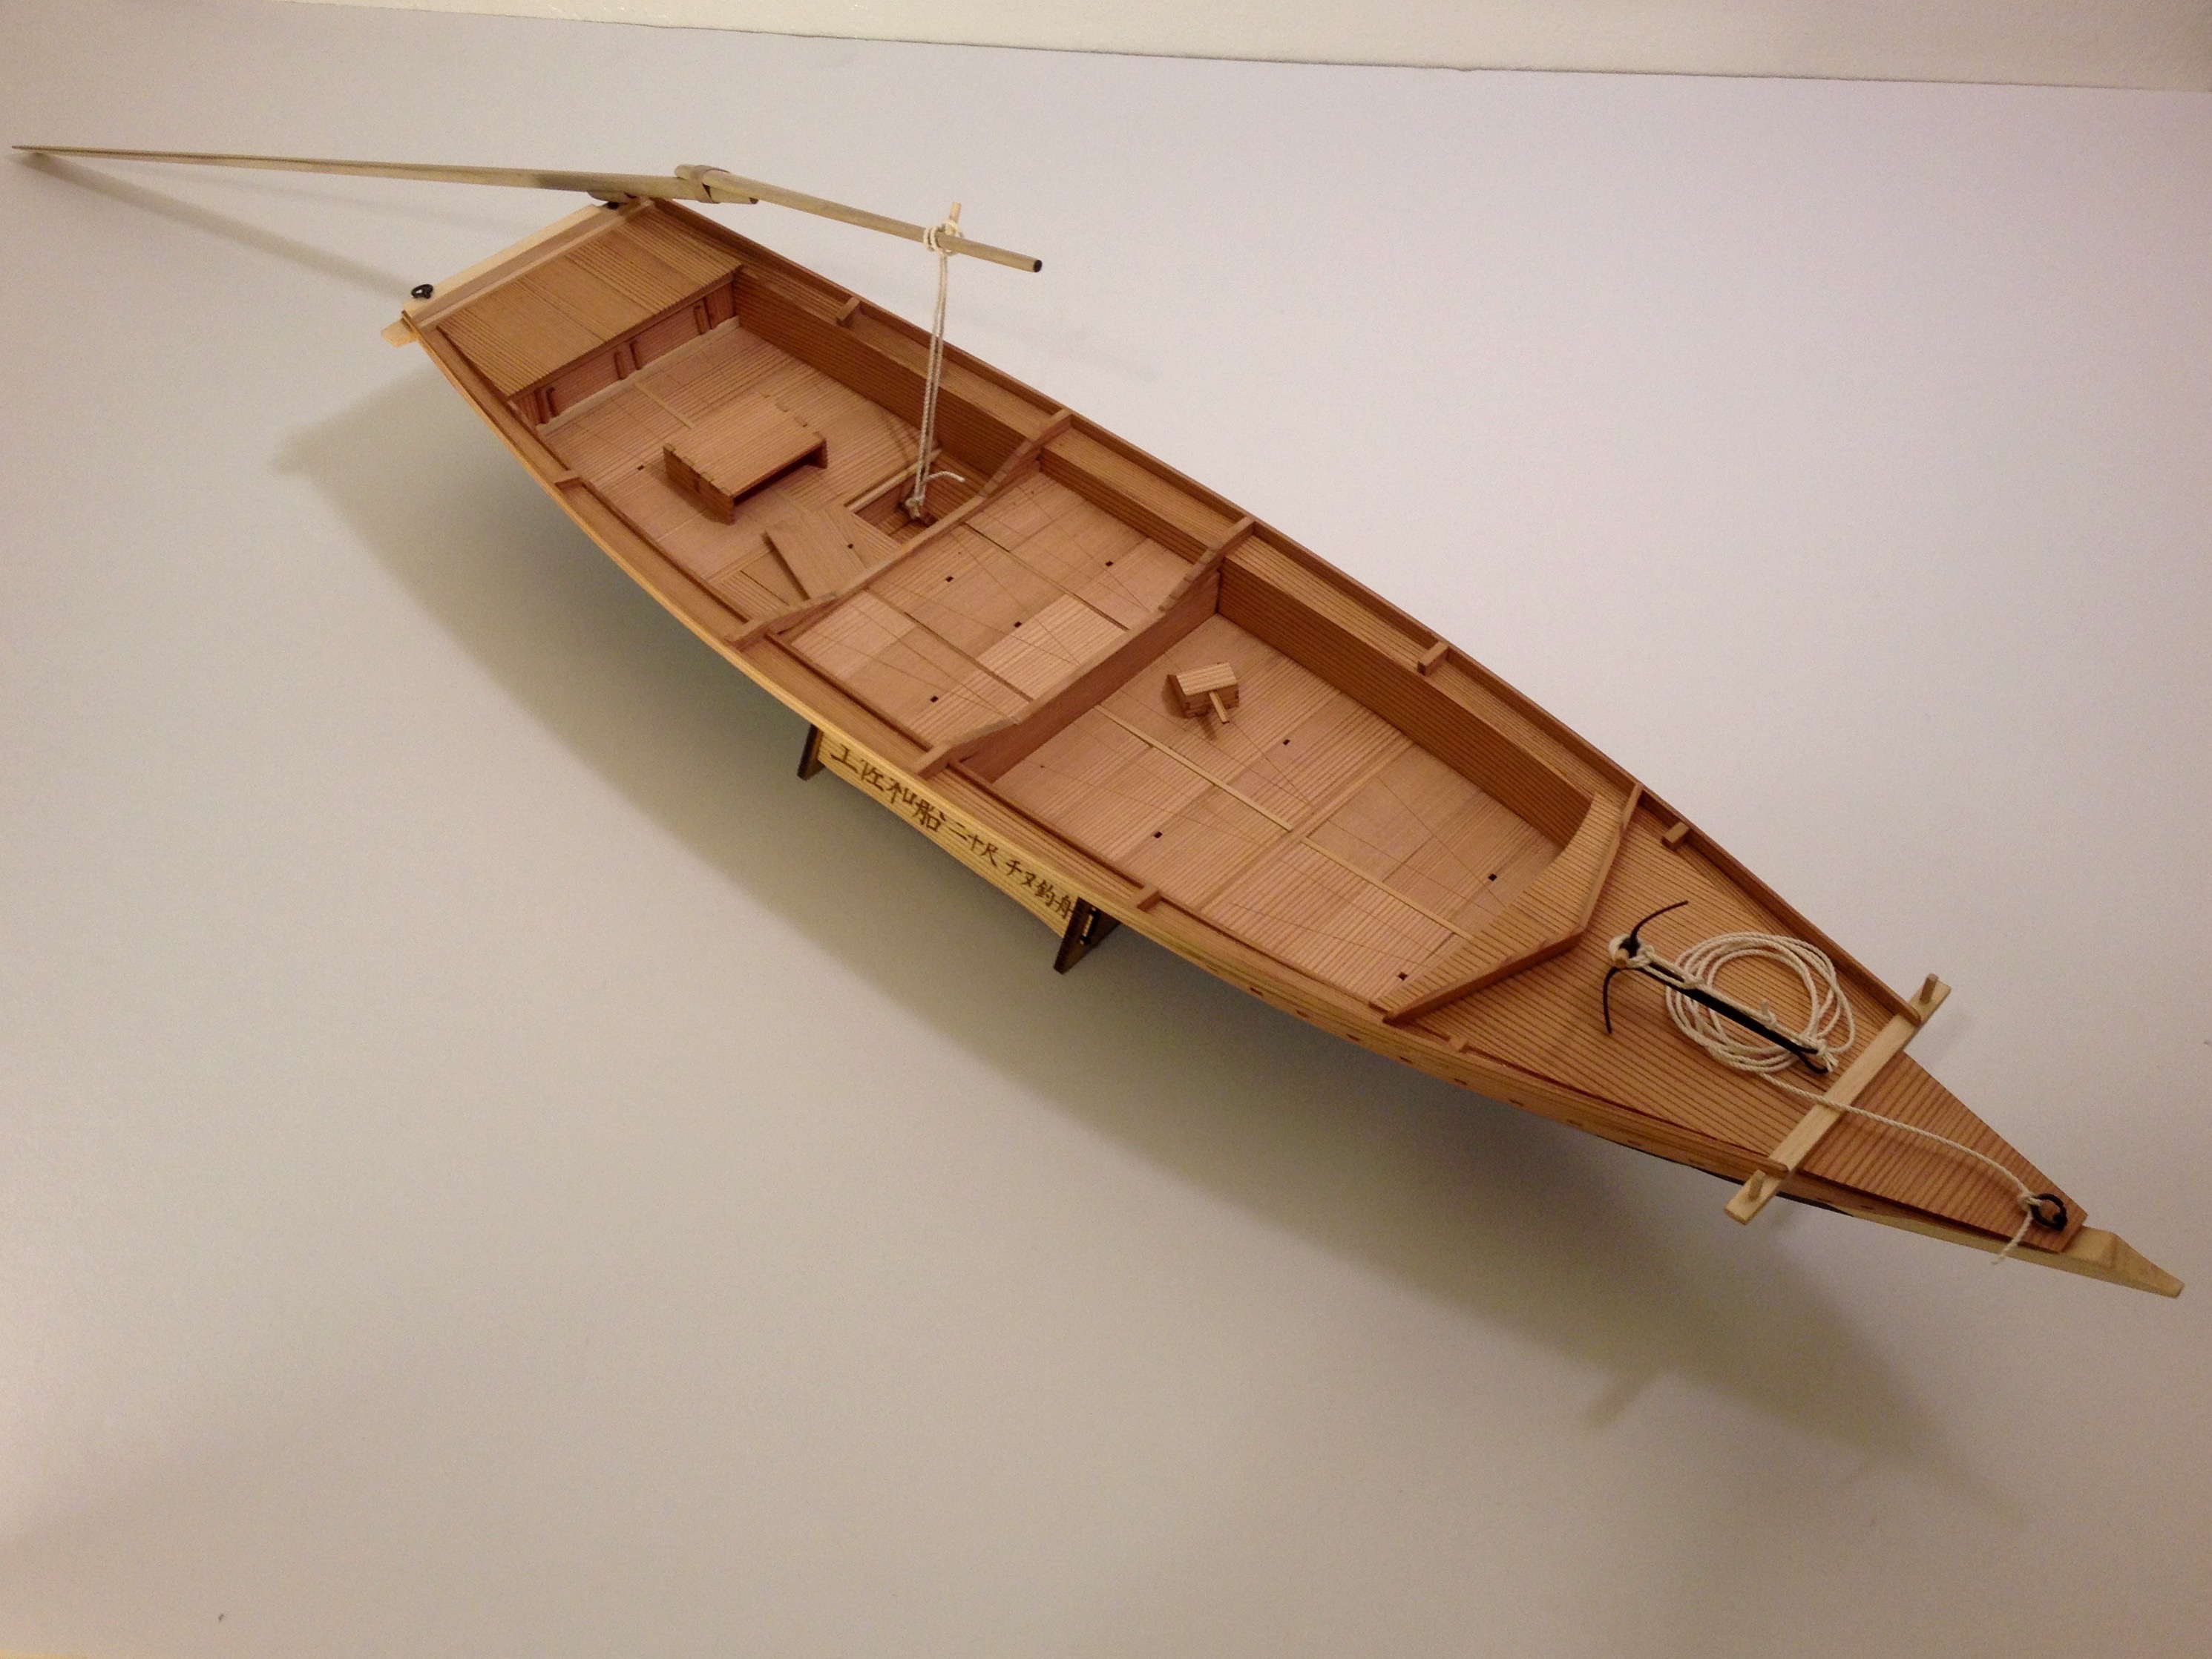
Besides the full-sized boats, there’s a nice assortment of models in the main building. Again, there was a problem with lighting. But some in a glass case were well lit. Others that were not well lit suffered further by being in a glass case, where glare was a bigger issue.

Amazingly, some models were not in a case, and one European style galleon model made me nervous because I was carrying a backpack, and if I was careless, I could have easily stepped back or turned around and broken some of the rigging. The Japanese visitors must be amazingly careful around this stuff!

One of the things I found the most interesting were the dioramas showing how fishing was carried out. One was a full-sized boat suspended above the floor, with fishermen wearing what is most easily described as grass skirts, pole fishing over the side. It looked very dynamic, and I think it must have been a very accurate image, as there was a video playing in one part of the museum below the boat where a the bow of a modern day fishing boat was lined with fishermen with long poles just hauling up fish after fish. One fisherman pulls up a big fish and flings the line overhead and behind him with a big catch. He then throws the line back in and it looks like within seconds he’s caught another. So, the boat display seems authentic.

IMG_1179

But, the big score for me, turned out to be the museum store. I found a whole section on Japanese boats, most of which were from the currently closed Maritime Science Museum in Tokyo. It took me a while to decide what to get, but I ended up buying about 6000¥ on books. Sadly, there were many others I wanted to get too, as they are really hard to order and have shipped to the U.S. But, I figure I’ll have an opportunity to find the same books when I’m in Tokyo or in the Ogi Folk Museum on Sado Island in a few days.

Well, after about 3 hours, I was pretty well spent given the 80 degree weather and 87% humidity. I cooled off in the café while waiting for the bus. I almost decided to just hang out there around the museum and in the café until closing time, 5:00pm. But, at the last minute, I figured I’d better head back and get to work writing.

IMG_2687

Hot, tired, wet, stuffed brain, but satisfied.

Tomorrow, I could go back to the museum in the morning for a bit, but I don’t think I’d get that much more out of it if I did. At least not so soon after, and without specific goals in mind. So, I’ll be leaving for Ise-shi station tomorrow. Not sure if I will stop at Ise now or not. It’s a beautiful place, but, I have been there before, and there’s so much to see everywhere that it might be better to get settled in Tokyo, where I’ll be staying the next two nights.

Sometime in the future, when I have more time to sort through things I’ll start posting more of the photos from the Toba Seafolk Museum. Ω

The Wasen Modeler Launch

I’ve finally decided to bite the bullet and launch my wasenmodeler site. I’ve been posting my work on my shipmodeler blog for a while now, but there have been stretches when I’ve been working a lot on Japanese traditional boats, or Wasen. So, I started a page on my site, Japanese Watercraft.

Since I began my first Japanese wooden boat, my work has matured a lot, and I’m giving a talk together with boatbuilder Douglas Brooks at the 2016 Nautical Research Guild conference in San Diego in October (my segment is on modeling Japanese boats, and it will be very short). In addition, I’ve been scheduled to do one of the roundtable discussions there on modeling Japanese boats. And, now that I’m finally heading to Japan for a week of research and networking, it seems that the time has come to spin off wasenmodeler as a stand-alone blog site.

Woody Joe’s Yakatabune kit

Of course, this is just getting off the ground, so I’m just beginning to build content and create new site pages. Now, visitors who are interested in Japanese boats and their models no longer have to wade through my ship modeler posts about building english sailing ship models in paper, etc.

I do want to point out that this is actually a massive topic. Even though I’ve been building Japanese boat models for a couple years now, I’m only just now scratching the surface. The more I learn, the more I discover how limited my knowledge is. The amount of available information in English is minimal, and it really helps not only to be able to read Japanese, but to actually be in Japan to access information first-hand. I neither read much Japanese (just a few words and can read the phonetic alphabets), or speak much Japanese (better than I read). Nor do I live in Japan.

Cover of the Funakagami

Cover of the Funakagami

But, heavy use of scanning and OCR, the trackpad handwriting recognition technology and Japanese language input system on my Mac, and a good network of helpful friends and associates (ship modelers, maritime experts, Japanese boat builders, and native Japanese speakers) helps to overcome some of these obstacles.

So, please bear with me while I work my way through the subject and building up the content here. In the meantime, make sure to check out these links:

English sites

Japanese sites/links

Funakagami – A PDF Book on Japanese Boat Types

As I’m preparing for my study trip to Japan in, I’ve been checking on museum websites and such. The Maritime Science Museum is closed, except for a small museum annex, their website still lists the museum publications.

I don’t see any place to actually purchase these, but there are a couple books that you can download as a pdf. The one that immediately caught my interest had a number of Edo period boats on the cover. So, I immediately downloaded it and started looking through it.

Funakagami cover

Funakagami cover

I’m still working to understand the text, but the first part of the book is mostly old illustrations. Apparently, this is taken from a book called a Funekan, which was used by the Bakufu, or Shogunate government, to aid in identifying the many types of small boats on the rivers of the Kanto district, which is the region of old Edo (Tokyo) and its surroundings. The identification was necessary for taxation purposes.

Such a book is a boon to anyone who is trying to learn about different types of Japanese boats. There is little information about the boats themselves, but there is a nice large illustration of each boat type, and an index which classifies the boat. In the back of the book is a section which identifies the names of the parts of each boat. In the end, the text gets very meaty with, as far as I can tell, discussion about taxes, etc.

The book can not be printed as it is a password protected pdf. But, I discovered I can still copy text and take screen shots of the images to compile into my own notes. The copied text can be pasted into Google Translate or similar service. I’ve found that the translation is sometimes not as useful as the pronunciation/romaji spelling that is shown – For those who are familiar with Google Translator, just look under the box on the left, which is where you paste in the original text.

Click here to download the pdf

For me, the book has confirmed things I’ve already learned, taught me a number of new things, allowed me to see things I’d only read about, and raised a number of questions that I will be researching answers to. Ω

Douglas Brooks’ Japanese Boatbuilding Class Project

American boatbuilder Douglas brooks recently finished teaching a one-month class on building a traditional Japanese wooden boat at Middlebury College, in Vermont. The subject was a boat that was once used on the Agano River in Niigata Prefecture.

DSC_0005 (28)

What an awesome class to be part of! The students did an amazing job. I can only wonder if they realize how fortunate they are to have been part of this experience.

DSC_0089 (14)

You can see more photos and description on Douglas Brooks’ blog here. Ω

Building the Tosa Wasen – Part 6

The next step in construction of the Tosa Wasen kit is the addition of the deck boards.

This part of the build turned out to be a lot tricker than I’d expected. This is an area where you really want to take your time, and it’s easy to want to rush through it. The deck boards serve as a deck to walk (or sit) on and work on, but they are also designed to be removable, allowing the fisherman access to storage space under the deck. This allows the deck to be kept clear and free of clutter, making for a tidy looking boat.

IMG_1936

Beam supports glued into place. The beams are sanded to fit, but I left them unglued, so they’ll remain removable. Ledges are then cut to length and glued to the beams for the deck boards to rest upon.

The deck boards themselves are rather interesting in that they are made so that almost no two are alike. Each one can only fit in one location, with the possible exception of the boards that cover the live wells in the center of the boat. But, given that there are many boards, it would seem to be something of a puzzle trying to figure out which one fits where. To make the positioning more obvious, there are two lines scribed into the top of the boards.

IMG_2035

The lines form a sort of an arrowhead with the point at the front of the forward most board, and each compartment has a 3 or more deck boards covering it, with its own arrowhead pattern scribed on it. This makes for a quick recognition of the order of the deck boards and also makes it easier to keep from mixing them up, kind of the way a picture is printed on jigsaw puzzle pieces.

Note that one deck board of each set has a square notch cut into one edge that serves as a finger hole to make it easier to pull up the boards. This also makes it easier to pull up the boards on the model using a paperclip or other small tool.

IMG_2041

IMG_2042

Live wells with holes in the bottom of the boat, open to the sea. The large one is for the catch, the small one is for bait.

The kit supplies the deck boards as laser-cut pieces, which look they’d make it easy to put them into place. However, in order to allow some variation between models, these parts are cut over-sized, so they have to be sanded to fit. This turned out to be a far trickier than I’d expected, as the Japanese cedar is pretty soft, and really wanted to avoid small gaps between boards. In fact, I used every scrap piece of cedar that I could find in the kit in order to finish the deck boards.

If you’re building this kit, Proceed Very Carefully here.

The next step was to scribe the patterns into the deck boards. I found it easiest to take each group of deck boards which are part of the same pattern set and marking the endpoints on the first and last board, then scribing them all together as a group. I lined them up against a straight edge to keep them in alignment (each set of boards has at least one straight side).

This was pretty much the last of the difficult work. There is one more step that was a little tricky, but in a completely different way, and that was the next step. For those following along with the kit instructions, this is step 33. This involves the construction of the covers for the cargo compartments in the bow and the stern of the boat. If you haven’t built the model kit yet, I would consider doing this work in steps 17 and 18 before the compartments are decked over. It seems it would just be a lot easier.

IMG_2033

I’m not positive why the kit has you build the compartment covers at this stage instead of earlier in the build. Possibly, it’s because the real boat might be built in the order shown in the kit. That would be okay, except that trying to reach in with your finger and thumb to get the covers into place without knocking parts into the compartments is pretty difficult.

The kit includes a small pair of wooden tweezers that you’re instructed to build for handling those compartment doors. In the long run, these will be necessary in order to be able to remove or replace these doors without damaging the soft wood.

Completing the Rail

I jumped ahead just a little bit with the compartment covers since I was kind of on a roll with the trickier stuff. So, afterwards, I went back to deal with the rail supports. These are tapered blocks that are added to the rail after it has been constructed. By constructing the rails first, the nice fair curve has already been established and doesn’t need to be engineered into the design. Afterward, the support blocks were added to give the structure more rigidity.

You can see the support blocks of the rail in the photo below, and also in the second photo shown above.

IMG_2037


Finishing Details

The last steps of the Tosa Wasen kit involve adding the finishing details. These included the rail supports, oar, ringbolts, anchor, oar and some fisherman’s accessories.

Dealing with the details on the boat first required drilling some 2mm holes to accommodate the ringbolts, etc.

IMG_2044

Ringbolt and the pin for the sculling oar added to the stern beam.

IMG_2043

Ringbolt and, for lack of better term, “belaying pins”, which are mounted on the bow beam.

The kit includes some accessories that I jumped ahead and worked on because they looked fun and interesting. Specifically, there are two wooden seats, a small hand-paddle, and a bailer for scooping water out of the boat.

IMG_2045


The laser-cut pieces are designed to create nice box joints between all the parts, and as with everything else, the parts go together in a perfect fit. This is true of the bailer as well as the seats. The hand-paddle, called a Tekaki, was the only item here that required any shaping. Everthing else just went together and took a little sanding to soften the edges just a bit.

Afterwards, if you don’t want to display them on deck, they fit quite neatly in the storage spaces below the deck.

IMG_2046


The Sculling Oar

The boat, like most traditional Japanese boats, is propelled by a long, rearward facing sculling oar called a “Ro”. The sculling oar in this kit makes an accurate representation of a Japanese sculling oar. The plans show the cross-section of the oar at different points along its length, and the scale is large enough for people to see the shape detail.

The oar comes in two main pieces where were milled, not laser-cut, from Japanese magnolia, or “Ho”. This is kind of a grayish colored wood with a fairly fine grain that is harder than the cedar or cypress in the kit.

I varied a bit from the kit design here in that the kit included a tiny screw and nut to fasten the parts together. This is how the real Ro are made today and for the last 100 years or so. But, going for the Edo period look, I decided to wrap them together with rope instead.

IMG_2084

The anchor is the last item of this build. Not sure how they form this, but it seems like a piece of cast acrylic. It’s just a ted flexy, but has a good shape to it. It comes a little too thick, so it required some sanding to get it to look a bit more like the photos in the instructions. I ended up speeding up the process by using my belt sander. The part held up well and didn’t melt, so this worked out pretty well.

The anchor’s shape has a bit of taper, so it’s thinner at the top than at the bottom. At the base, there is a hole from a cross piece, making it look something like a grappling hook.

IMG_2071

The hardest part was tying the knots. I tried translating the text with Bing Translate, but all I got was a Japanese name for the knot. However, Google Translate came up with “Bowline”, which made life much easier. Basically, there’s a bowline at the base, a pair of half hitches, and the a separate rope ties the anchor cable to the eye of the anchor. The cable is then fastened to the ringbolt on the stem using a bowline.

A short piece of the supplied rope for the anchor cable was needed for the loop that secures the sculling oar. When not in use, that loop of rope stores away nicely under the deck.

IMG_2086

The finished project turned out beautifully. I used a coat of natural stain to finish it off and seal the wood. According to the label on the Minwax can, it seals, so that should help the longevity of the model as well as bring out some of the color of the wood.

I’ll eventually build a case for the model. With not masts, a cased Tosa Wasen model will fit easily in the bookcase. My Wasen Display is still running at the bank in San Francisco’s Japantown, but I have plenty to do with other projects, so I won’t worry about adding this model until Wasen Model Display 4.0 maybe in the Summer.

IMG_2087 IMG_2070 IMG_2085

Again, this is a great model kit for those interested in traditional Japanese boats. Email info@thermal-kobo.jp for ordering information. For now, the kit has a very low price – about $130 shipped by express service, payable using Paypal. If you would, tell them I sent you. Ω

Building the Tosa Wasen – part 5

Continuing with the detailing now starting with the bow and stern decks.

The bow deck required installation of support beams. The beams are provided pre-cut, but the ends needed to be tapered to fit snugly against the hull planking.
IMG_1905


The deck itself is made up of two pre-cut pieces of cedar.
IMG_0286


The stern deck is made up of 5 pre-cut boards, but the pieces are of different widths. The instructions don’t show you, but the plans provide the labels, so you can locate the needed pieces. You don’t have to read Japanese, but you do have to match the characters on the plans with those on the parts.

To those familiar with Japanese, the labels are all in the phonetic alphabet known as Katakana. In this case, the parts are:

ウカイ

ウカロ

ウカハ

ウカニ

ウカホ

These characters don’t actually mean anything here – They’re basically no different than labeling parts as A1, C2, etc. Most of the parts in the kit are identified this way.

Something else to note is that the pieces aren’t necessarily placed on the sheets in any order. Efficiency of material was very obviously given precedence here, so related parts may be separated  quite a bit. You can see this by how these deck pieces are located on the laser-cut sheet.

IMG_0287


The deck parts were glued up and I then placed them on the hull and traced the edge onto them using a pencil. This was then trimmed by knife and sanded to fit the hull. As I mentioned before, trimming Japanese cedar with a knife can be quite tricky as the wood is soft and the grain is hard, so the knife catches the grain and wants to follow it, so extra care is required.

IMG_0283


One thing you’ll notice is that the part labels are etched onto each part, so you have to either hide the labels or sand them off. Or, you could always just ignore them. They’re not that easy to see unless you’re looking closely. In this case, I just glued the boards so that the labels will all be on the underside of the deck.

IMG_0285


Adding the Rail

We’ve now come to the stage on the Tosa Wasen model where I became a bit confused about the next step of construction. It involves installing a rail, and I suppose that it may simply be a matter of getting accustomed to traditional Japanese building methods which, as far as I can tell, this kit seems to follow quite closely.

The first problem I ran into was that the ends of the long rail pieces that have to be added first. These are notched to fit to the beams at the bow and stern, but the pieces are too long to fit. So, the notch at one end can be used, but the other end has to be cut to deepen the notch.

More than this, where on a western style ship, we’re accustomed to installing framing and then attaching the rail onto that, with Japanese boats, the process is reversed. The rail is installed to only a few attachment points first, then the supports are added afterwards. This is something that I’ve seen in hull construction of Japanese boats too. The hull planks are edge fastened and bent/clamped into place in the process, and the framing is installed afterwards – Lessons in traditional Japanese boatbuilding!

Page 12


Of course, this isn’t limited to the Japanese or Asian ship/boat building. Thinking back, I recall local ship modeler and marine archaeologist Ed Von der Porten (he’s written a number of articles that have appeared in Ships in Scale) talk about modeling a Basque whaler and about how frames were added after the planking process had begun.

Anyway, I finally worked it out in my head, and the rail construction progressed.

IMG_1907

IMG_1911


I completed construction of the rail, adding the pieces that make up the underside. With these in place, it’s a much stronger structure.

To fit the pieces into place, I had to soak the cedar pieces a little bit to impart a slight bend or twist here and there. I took the shortcut of wrapping the pieces with a wet paper towel and putting them in the microwave for about 30 seconds. This was just enough to do the trick.

IMG_1914


Along the underside of the rail on the upper hull planks there is a laser-scribed line to help position the underside pieces of the rail.

IMG_1915


The pieces glued and clamped into place
IMG_1917

IMG_1912

After the rail was completed, I went ahead and added the stem and other hull details, including a thick strake located on the upper hull planking, just underneath the recently completed rail.

IMG_0364


You may notice that the stem is lighter than the rest of the hull. Like the stern beam, the stem is make of Hinoki or Japanese Cypress instead of Sugi, Japanese Cedar.

Painting the Hull Bottom

Next, it was time to paint the bottom of the hull. The finish of the hull bottoms changed a bit over time. But, what we see as common for the Edo period would be black paint. The kit actually included a roll of narrow yellow masking tape from 3M which worked very well. For paint, I used a model paint sold by Caldercraft as part of their Admiraly Colors line.

There was no particular reason I used this other than to test the paint out. For all other wasen models I’ve built, I used artist’s acrylics Mars Black from Liquitex. In fact, the result using the Caldercraft paint was just a bit shinier than I would have preferred, but it came out fine. I keep trying other hobby paint brands and often end up just coming back to the artist’s acrylics.

IMG_0367

IMG_0369

IMG_0370


While I was at it, I went ahead and added the splash rail, which sits on the bow deck. The joint where the two piece meet and also the bottoms of the pieces had to be beveled to fit properly.

IMG_0368


IMG_0371


Finally, I built the well area. This was pretty straightforward, though I did start to run into little discrepancies in parts alignment, which is going to happen on kits with pre-cut parts. Also, a reminder that it’s REALLY easy to over sand the kit’s Japanese cedar.

The bottom of the boat will be comprised of covered compartments. So, beams and ledges will be added to seat the deck boards / compartment covers. The well section is the tallest compartment.

Here, I’m adjusting the position of the ledge that I’m gluing into place on one of the well partitions. I used wood from the sheet of deck covers as a guide for exact positioning of the ledge. This assures that the deck covers will be flush with the tops of the partitions.
IMG_1931


Here’s the completed well area. Note the ledges glued to the hull.

IMG_0381


Before the deck covers can be added, beams and more ledges have to be added. I’ll cover this next time, along with the covers for the bow and stern holds, making the “Ro”, which is the Japanese name for the long sculling oar, and the final accessories such as the anchor and the bailer, etc. The next installment should see the completion of our Tosa Wasen.

Building the Tosa Wasen – part 4

Last time, I left off with the basic hull completed. Now comes the detailing.

A pair of beams are provide which are attached directly on top of the upper hull planks. These are first tapered from underneath so that at the ends they are reduced to half thickness. The fore beam referred to here as the ツノ or Tsuno (tsue-no), and the stern beam is the オオトコ or Otoko (oh-toe-koh). The heavy stern beam in particular is a common feature of traditional Japanese boats as it is used to mount the rudder on some boats, and usually bears the seat for the sculling oar.

IMG_1887

IMG_1888

One thing you might note about these beams is that the parts are made from a lighter colored wood. True to the original boat, instead of the Japanese Cedar used for the hull planks, these parts were usually made out of Hinoki (Japanese Cypress) because its greater density and strength.

IMG_1894

At this time, there are some extension pieces located at the midships frames (I was calling them beam initially, but now they’re built-up high enough to call them frames or bulkheads). I don’t know what it’s called yet, but this boat has an extended rail outside of the hull and these pieces are the central supports for it.

These small pieces initially had a lot of char from the laser cutting on top and bottom. I was as careful as I could be to not take off too much material. But, the cedar is relatively soft and it sands a little too easily here. But, I seemed to manage okay and essentially got the char off.

By the way, something interesting about that space between the frames that you see in the photo. In the center portion of the hull bottom, there are a few holes. I believe that this might have served as some kind of “live well” that must fill with water through those holes. There are in fact, two sets of holes. Near the forward bulkhead, there are two smaller holes in the bottom, and I believe these open into a smaller, separate section that might have been for storing bait. I’ll report on this at another time after i’ve collected some facts.

So, next step was to add the upper and lower slotted beams, which will hold removable doors to allow access into the bow and stern storage compartments. The ends of the beams had to be sanded down to fit nicely in place.


IMG_1892

A special template is provided to make sure that the beams are properly aligned. One side of the template is used for the bow and the other side is used for the stern. The angles are different enough so that it’s pretty obvious which side is used for which end of the boat. You don’t need to read Japanese to figure that much out.

IMG_1897

IMG_1901

One of the issues I ran into was that the tops of the upper hull planks weren’t perfectly aligned. So, I made an extra effort to make sure the gap between the upper and lower beams was consistent.

After the stern pieces were done, I assembled the floor of the bow storage compartment. Interestingly enough, the two pieces that make up the floor aren’t two symmetrical halves. In fact the joint between the two doesn’t even run parallel to the centerline of the ship. You can see what I mean when you look at the photo.

IMG_1900

I’ll cover the completion of the holds next time. The next step is to add the deck beams to the bow compartment and then the add the bow and stern decks.


Building the Tosa Wasen – part 3

With the lower planks in place, there are next two support beams that were glued in place. Like the pair of lower support beams that the lower planks lock into, these upper support beams are notched so that they fit into holes in the upper planks. When the glue on those beams was drying, the upper planks were cleaned up the leading edges were tapered the same way as the lower planks. The lower planks were then glued to the support beams described above.

IMG_0260

As with the lower planks, the upper planks were then initially glued only at the transom and at the stem. Fitting the planks was fairly easy at the stern, but was a bit harder at the bow. There, the planks are hard to seat tightly against the stem since there is some overlap between the upper and lower planks.

IMG_0266

This definitely took a lot of hand pressure and the use of medium CA glue since I couldn’t get a clamp onto the bow. I just had to hold the planks tight as long as possible until the glue set. At the stern, the planks were much easier to glue. But, I did run into one self-created problem that was actually less of a problem than I’d realized.

IMG_0265

The stern edge of the transom should have been lined up with the edge of the notch where you see the rubber bands in the above photo. I cheated a little in order to fix the problem by trimming the leading edge of the notch, effectively moving the notch forward. A beam is supposed to fit precisely into this notch, so I had to sand the stern edge of the planks just enough so the size of that notch was retained.

But, as it turns out, the top of the transom gets sanded flush with the top of the planks and later the whole section gets covered with planks right up agains that beam anyway, so you wouldn’t have been able to tell that the transom didn’t touch the edge of the beam, unless you looked up at it from underneath the boat.

With the planks secured in place, I then ran a thin bead of CA glue all along the inside of the joint between the upper and lower planks. Lots of clamps made sure that the planks were held properly together until the glue set.IMG_0263

After a while, it was safe to then remove the temporary strong-back, which was a nice and satisfying milestone in the build.

IMG_0267With that, the basic hull is complete and we have something that now looks like a boat. There is still the outer stem to add as well as some stern trim that protects the ends of the planks, but aside from that, it’s pretty much time to start detailing.


Building the Tosa Wasen – Part 2

The next stage of the build is the hull planking.

On a traditional Japanese boat, there are basically only 4 planks, 2 on each side, with the upper planks making a nearly vertical surface. The kit refers to the lower planks as カジキ or Kajiki and the upper planks as タナ or Tana. The term Kajiki is the same term used for the lower planking on the Bekabune as described in Brooks’ book and blog. And in fact, the Tosa term for the upper plank, Tana, is related to that of the Bekabune, which is the compound word Uwa-Tana, but run together the “T” becomes a “D” sound and becomes Uwadana.

Diagrams in the kit show that the leading edge of the lower planks need to be tapered. There are measurements shown in the instructions, but the exactly shape of the tapered area is not precisely defined. It ended up being a matter of getting something to look like the shape shown in the diagram – a shape that reminds me of the tip of a samurai sword.

IMG_0259

After tapering the leading edge of the planks, it’s then a matter of fitting the planks on. The laser-cut planks have square openings that line up with square tabs that protrude from the central beams on the model. These are actually located slightly aft of center, but they are at the widest point of the boat.

I found that mating the planks to those notches was a pretty tight fit, but it was good that the fit was snug, as this helps hold things together while gluing. I glued the planks to these notched frames first and let that dry, which seems to be how the instructions want you to do it. Next, the planks were fit to the transom and glued only at the transom.

IMG_0254

From what I could tell, it seemed that the top of the planks should be kept low against the frames, so that the planks ended up sticking up above the frames by only a small amount at the stern. On the forward half of the boat, the planks seemed to mostly line up with the top of the frames.

The planks were then glued to the stem, which is called the Miyoshi (mee-yoh-shee). The planks had to be positioned so that the very forward edges were flush with or just barely past the stem. After the glue dried, the rest of the planking was glued to the bottom and the frames using medium CA and the applicator tips supplied in the kit. Those, by the way, were a perfect fit for ZAP brand glue bottles.

IMG_0253

I found it a bit of a struggle to hold the boat while trying to glue the lower planks into place. The strong-back in the center is only glued in at the top and bottom of the transom and the stem, so it’s very flexy. It took a while to learn to hold the whole thing while bending the planks and gluing them into place.

IMG_0256

I should also mention that the kit never has you soak any of the planking. It’s long and thin enough that it flexes pretty easily. I suppose it might have made sense, as a ship modeler, to try to pre-bend the planks. But, it certainly wasn’t necessary and I managed without soaking or pre-bending the planks.

IMG_0252

I left the whole thing to dry and then came back and sanded the upper edges of the lower planks. When dealing with the upper planks, the will overlap the edges of the lower planks, and to make a good bonding surface, or watertight surface in the case of the real boat, the outer edge at the top of the lower plank has to be sanded roughly vertical.

IMG_0257

On the real boat, iron nails would be drive into the bottom edge of the upper plank and into this flat edge of the lower plank. Of course, there’s more to it than that, but that’s the basic idea.


The model is just about ready to receive the upper planks or the Uwadana.

Building the Tosa Wasen – Part 1

The build begins with the floor piece. There are apparently different regional names for this and I don’t know what the name is in the Tosa region. The term カワラ, or Kawara, is shown a lot for it in the instructions, so I assume that’s the regional term in Tosa. I’ll have to send an inquiry about these things at some point.

The first step in the kit is to bevel the bottom edge of the kawara. To aid in this, there are laser scribed lines. Interestingly enough, the sheet with this part is actually scribed on both sides. I’ve never seen that in a model kit. This means that the manufacturer had to register the wood and the laser in some way so that the cuts on one side line up with those on the other side.

IMG_0235

Something interesting about working with the Japanese cedar. Where those dark lines in the grain show, that’s where the wood is more dense. When carving, you have to be aware of that because those lines are harder to cut through than the lighter colored wood in between. These dark lines are also harder for the laser to cut through. So, if you look in those etched trapezoidal holes, you can see lines of wood that line up perfectly with the grain. I started to trim out those ridges in the cut-outs. There aren’t that many really, so I’ll probably continue with that as I go.

The other issue with those lines is that they can make the laser scribed lines very hard to follow. Woody Joe uses laser scribing to mark the beveling lines on their kits too, but they use light color Hinoki, so I ‘ve never had to deal with hard to see scribed lines before.

The next thing is to partially cut through the Kawara at the dashed line.

IMG_0236

This is where the bottom of the boat angles upwards. In his book Japanese Wooden Boatbuilding, Douglas Brooks describes this as Kirimage (kee-ree-mah-gay), or “cut bending”. I don’t know about the Tosa boats, but the Aomori boat he worked on used a technique like this, though there’s more to it.

In my case, I thought this was a good opportunity to bring out my Japanese hobby saw, which is a very thin pull-type saw. The problem was that it was too thin. It cut nicely, but didn’t leave room for the piece to bend upward. So, I pulled out my old razor saw and I cut the line several times, holding the blade at different angles, so that it would cut more of a V-groove.

IMG_0238

With that done, I could add the floor frames. These are permanent frames, thought a long strong-back piece serves as a temporary alignment guide. This was interesting because so many Japanese boats are frameless, or close to it. At some point I’ll look into this further. On the real boat, these may have been added after the planks were in place.

There was a fair amount of char on the edges of these and all the other wood pieces. The kit includes a large flat sanding block that made clean-up of these parts pretty easy. I did notice that there was a fair amount of smudging on the wood faces though. I cleaned these up as best I could. I used the sanding block, but tried to keep working very lightly.

IMG_0243

I test fit the stem to how it was all going to work. The stem is made up of an inner piece and an outer one. The outer stem gets added later, but the inner one goes on next. I wanted to make sure I understood the design before continuing.

IMG_0241

First, I had to made sure the strong-back was properly aligned. The main issue was to keep it centered and perpendicular to the Kawara. The piece is also to be spot glued at the very ends to keep it in place until it is removed in a later step.

IMG_0246

Here’s where I’m at now. Steps 1 through 6 have been completed. I have only to bevel the stern most frame and the transom to complete step 7, then comes the lower planking. Japanese boats use very wide planks that are often very thick. On the Tosa wasen, the planks appear to be as much at 18″ wide.

IMG_0249

I went ahead and started prepping the lower planks. Where I am cutting in the photo, the laser does not completely cut the dark lines of the wood, so I have to go over this with the X-Acto a few times on each side to cut the pieces free.