Another brief progress update. I’ve been busy with planking the upper deck and adding add the smaller beams to the lower hull. This has been really nice, because this kind of construction is just a process you follow. Doesn’t really require much thinking, altering or planning. It’s a bit more Zen…
Category Archives: Wasen Modeling News
Building Woody Joe’s Atakebune Kit – Part 5
Today’s is a brief update. I’ve started adding the plank onto the main deck. For this kit, Woody Joe has opted to provide 2mm thick planks for the deck. I suppose they are so thick, because the sub-deck they are glued to is pretty thin.
While deck planking mostly runs across the width of the ship, the first pieces to glue into place actually run the length of the ship. To make sure that these run correctly and fit well, I temporarily taped down some of the pieces provided that will have to fit in between them first.
Building Woody Joe’s Atakebune Kit – Part 4
As you may recall from my previous post on this build, I was mentioning the planking of the deck of the “steering well,” for lack of better term, that’s at the rear of the large top deck of the Atakebune. After expanding the slot in the deck for the rudder, I extended the slot into the back wall. I then commenced planking the deck using some 1mm thick wood I have on hand.
Now, you may notice that the upper part of that back wall is missing too. That’s because I want to create an extended wall that rises up through the deck and separates the main deck from the little section aft. This is a feature that appears commonly on larger Japanese watercraft I’ve studied, namely the bezaisen like the Kitamaebune and Higaki Kaisen. The reason for the separation is mostly because is wall is really the “main” wall. The area behind this is more of an add-on extension.
Utasebune 打瀬船 Fishing Boat – 1/72 Scale Model from Paris Drawings – Part 5
Detailing of the Utasebune model continues. It still doesn’t show much change, but I’ve spent many hours on it. The primary addition are the mortise cover plates that line the hull.
As with other models in this scale, I’ve found that I could use my Silhouette Cameo 3 vinyl cutting machine to produce permanent adhesive backed vinyl to simulate the copper plates that would have covered the nail mortises on the real boat. These would darken and might actually turn a greenish hue. I think these were sometimes painted with coating of lacquer to protect the copper. On my model, I used a dark brown vinyl to simulate the “old copper penny” look. Continue reading
Building Woody Joe’s Atakebune Kit – Part 3
I’ve spent quite a bit of time working out some of the modifications I’m going to be making on this kit. Some things that I might like to do would require some re-engineering and re-fabricating some of the wooden parts, so I don’t know if I’ll go that far here. Of course, I have a second kit, and I make try those ideas there. But, for this model, most of the modifications are going to be fairly simple.
Building Woody Joe’s Atakebune Kit – Part 2
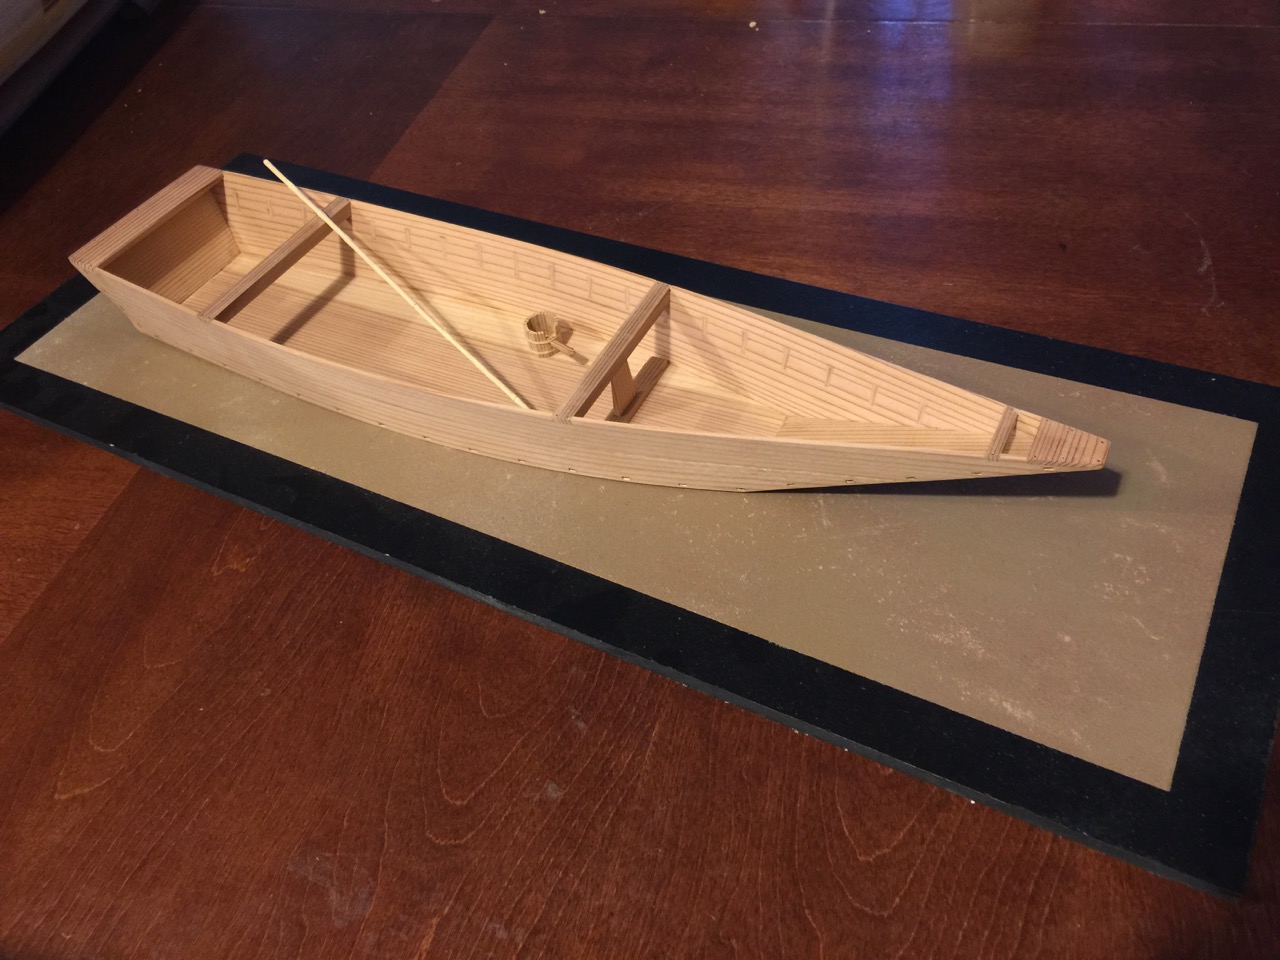
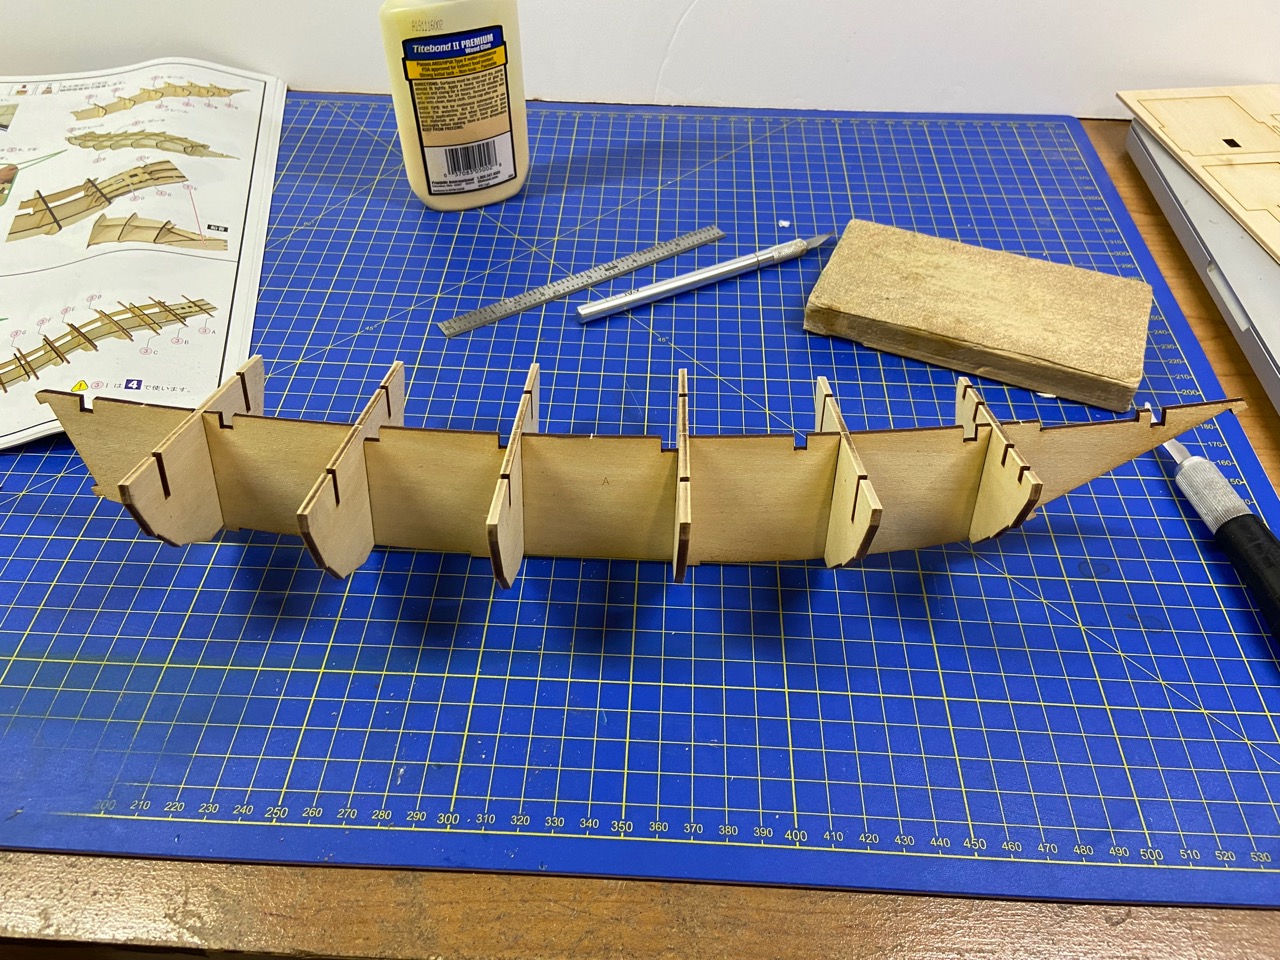
I’m taking it easy on getting this new model kit started. Last time I posted, I really only had cut out the initial parts I needed and then dry-fit them together. This week, I glued together the basic hull frames, using machinists squares to check and set alignment. I used Titebond wood glue for this work.
I spent a lot of time trying to decide what I wanted to do with the bow and transom pieces. These pieces have holes in them that alignment tabs in the keel piece will lock into. The thing I don’t like about this, is that they are then visible on the finished model. As far as I can tell, there are 5 tabs total that will be visible on the completed model, as designed.
Since I’m dying the wood, these tabs shouldn’t be as noticeable as on a kit built straight from the box. Still, I’ve considered solutions, and one is to thickness sand the bow and transom pieces down by 1mm, then use 1mm sheet wood to cover them. The covering wood will have no holes in it, so no tabs will be visible. In order that everything still fits together, I will have to file the tabs down by 1mm. Continue reading
Utasebune 打瀬船 Fishing Boat – 1/72 Scale Model from Paris Drawings – Part 4
While it may not look like a lot, I managed to do some detailing of my Utasebune model this week. At this point, the changes are on the subtle side, since all the structural work is mostly done.
I’m ready to add the uwakoberi, which is the term for the cap rail, but first I need to add the boards that cover the aft end of the hull planking. I don’t know if this is a universal term, but I know these as chiri. They are decorative, but also protect the end grain of the hull planks.
Building Woody Joe’s Atakebune Kit – Part 1
The Atakebune is the subject of a new kit from the Japanese wooden kit manufacturer Woody Joe. It’s something that I, Kazunori Morikawa of Zootoyz, and a few others were actively petitioning Woody Joe to produce. There was hesitancy on their part as there is actually very little solid information on the construction of these largest of Sengoku Period Japanese warships.
Utasebune 打瀬船 Fishing Boat – 1/72 Scale Model from Paris Drawings – Part 3
It’s been a busy few days for the Utasebune project. This is a really good thing, as I haven’t made much model progress over the past several months, and I’ve found that the Japanese boat models I make at this small scale tend to progress rapidly. There’s really not that much to say about the current progress, as I’m now basically cutting and fitting the upper beams and deck boards.
There is quite a bit of review of the hull details I can do here, but I’m mostly trying to focus on getting this model completed. At a future date, I may sit down and do a more thorough writeup of the details show in the Paris drawings, and how they relate to some of what I have learned about Japanese watercraft in general, and fishing boats, specifically.

Hull details from the Paris drawings. I’ve labeled some general items. The items marked with the question mark “?” are features where I’m not quite sure how they manifest themselves on the deck. Rather than go into a lot of explanation here, in later photos of my model, you can see how I dealt or didn’t deal with them.
Utasebune 打瀬船 Fishing Boat – 1/72 Scale Model from Paris Drawings – Part 2
When there are available drawings, if at all possible, I’ll scale them and print them out to use as patterns for the shaping of the shiki, or the hull bottom, and the miyoshi, or stem, and also to create some kind of temporary former to simplify the shaping of the hull. I make copies of the drawings, cut them out, and glue them directly to the wood.
For this small model, with its completely enclosed deck, a removable internal former seems unnecessary. So I’m going to do the same as I did for the first Japanese boat model I built from Paris drawings and build it with a permanent internal frame. This frame consists of a strong back and a couple bulkheads that define the shape of the hull planking.